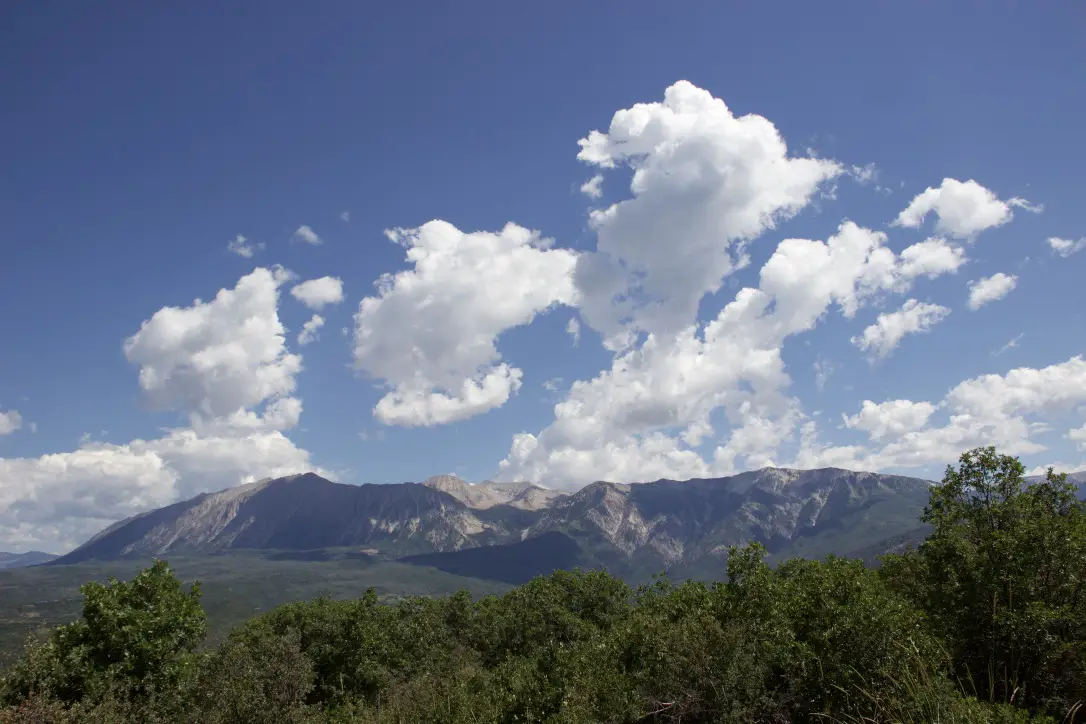
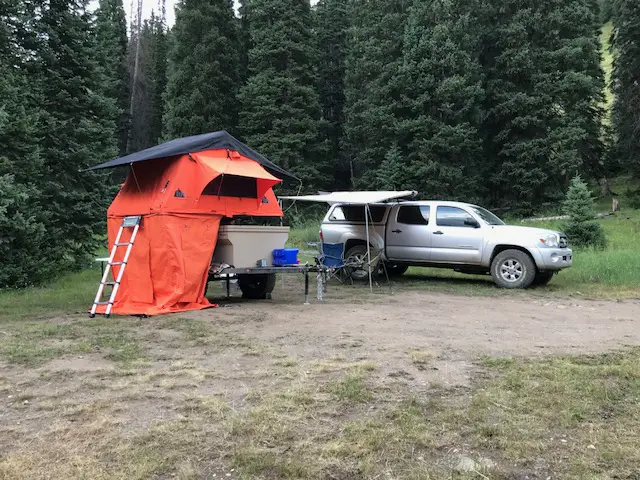
On our 2018 road trip in the Colorado High Country, we really wanted to improve our 4×4 driving (and navigation) skills. Fortunately, there are a number of backroads in Colorado that are perfect for this!
One series of books we found to be incredibly helpful is A Guide to Colorado Backroads†. It’s actually a series of books covering the northern, central, and southern regions of the state. These provide helpful information on the roads and trails including their difficulty level, equipment needed to successfully complete them, and details on each of the routes’ conditions.
Below is a listing of the new roads we enjoyed:
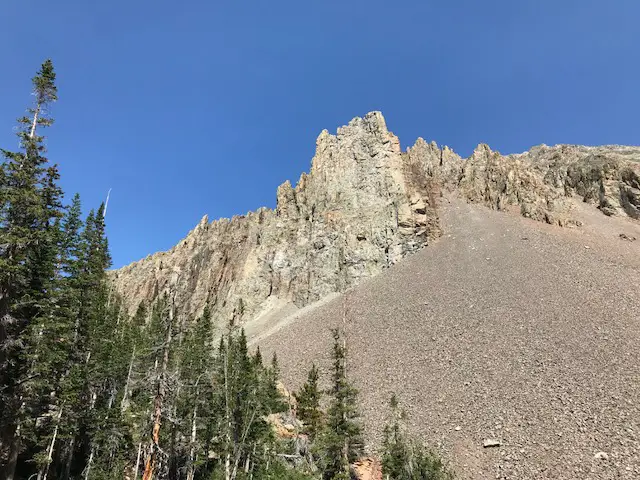
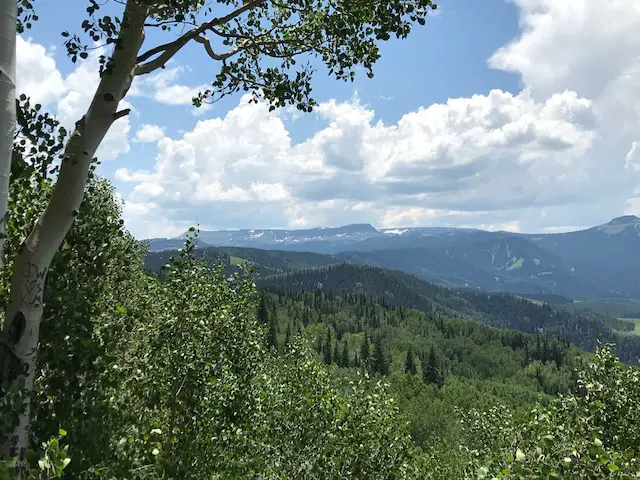
Montgomery Pass Road, State Forest State Park
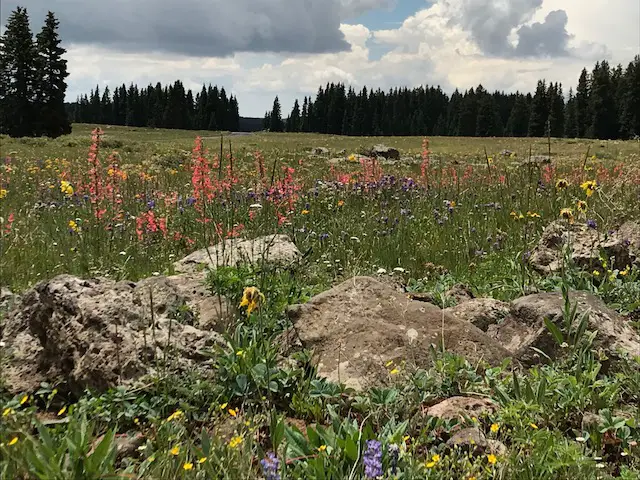
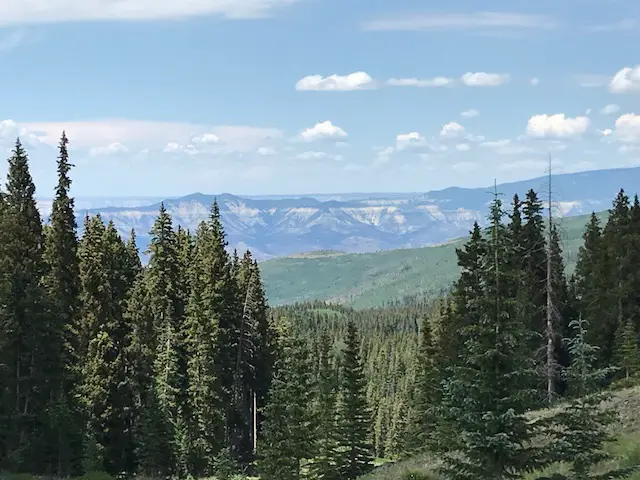
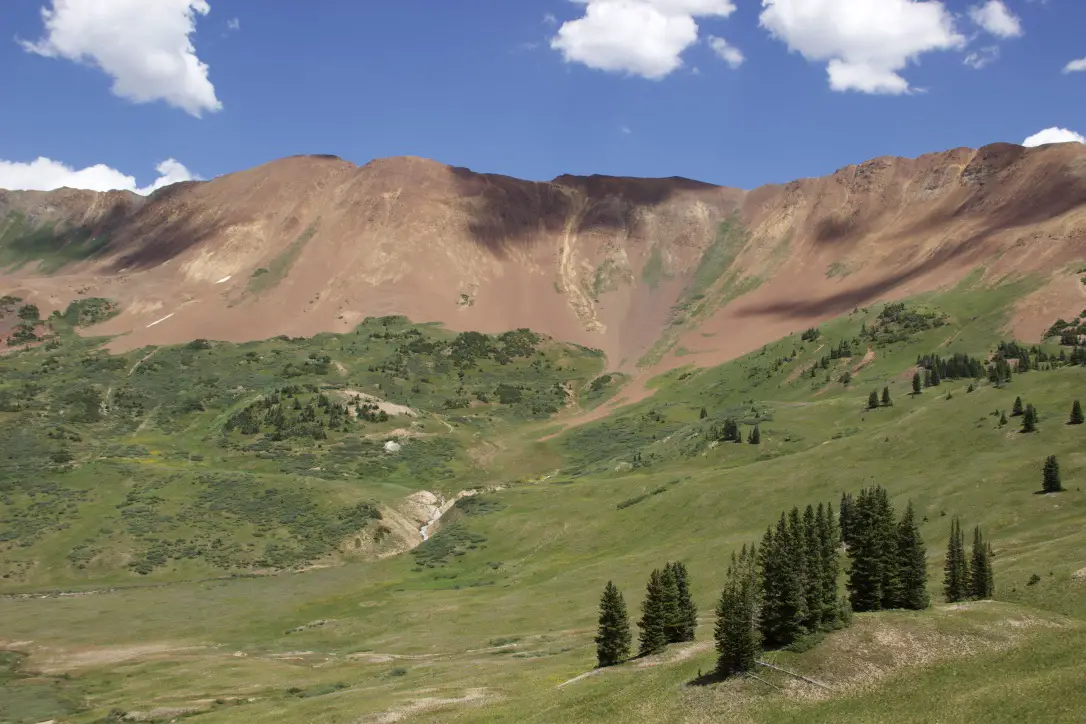
The first road we mastered, the Montgomery Pass Road at State Forest State Park, ended up being the most technical route we attempted on the entire trip. This out-and-back trek is listed as “moderate” in the guidebook. It was fun, though, definitely, challenging. A high clearance, 4WD vehicle is required and skid plates are an added benefit–we were VERY glad for them as we scraped across one particular rock. Several spots even required me to exit the vehicle and play “spotter” for Mr. Trekker to assist him in navigating the obstacles…it was fun! 😁 The road was wide, with room to pass in most spots, and mostly traversed the forest, so, it lacked the stomach-churning shelf roads we experienced on much of the rest of the trip.
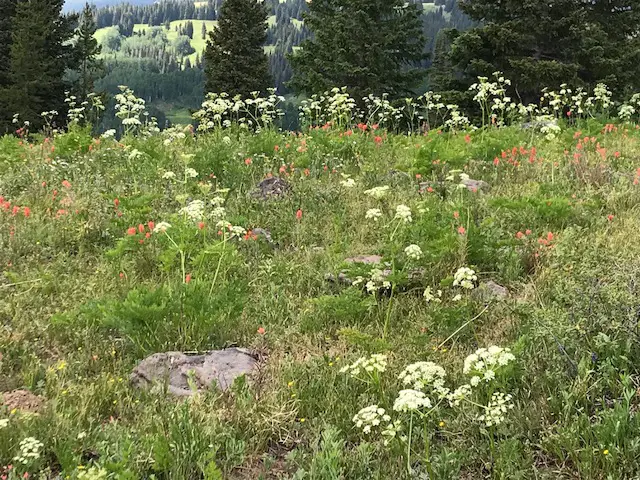
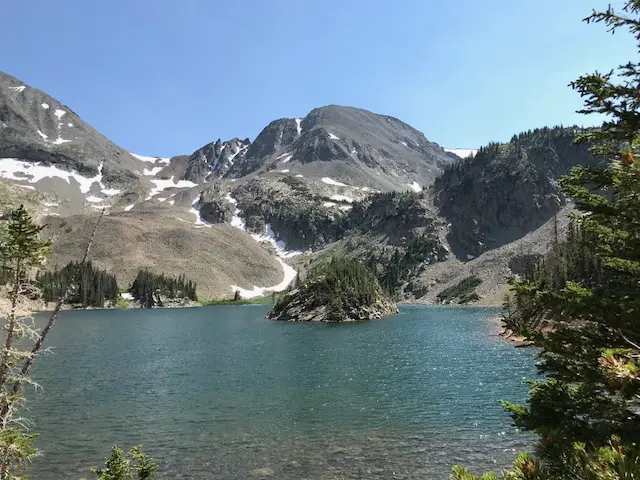
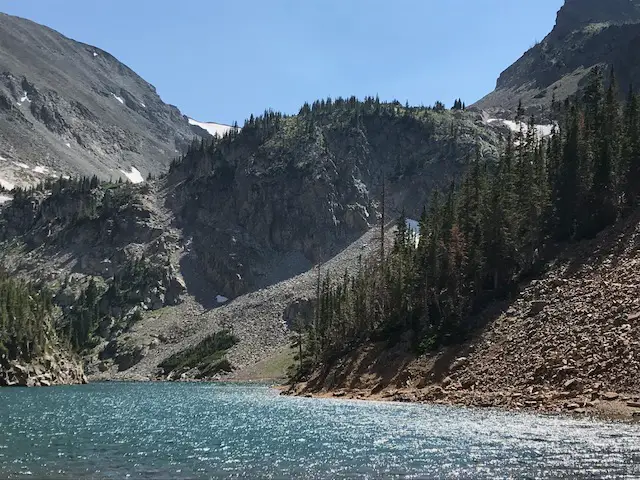
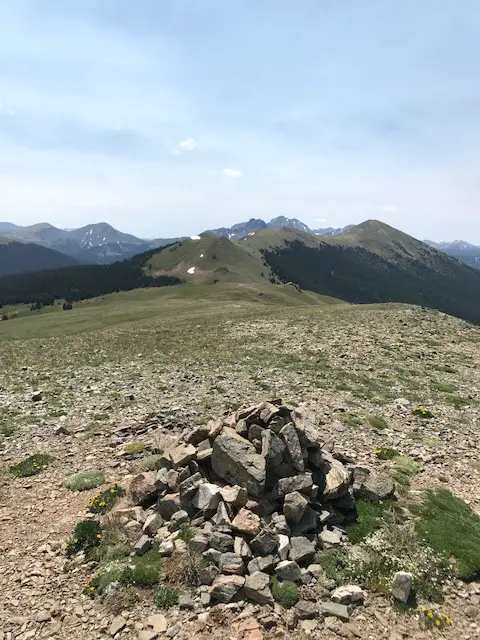
The road ends before it reaches the top of Montgomery Pass, and the final half-mile or so must be completed on foot. It’s an easy hike (minus the altitude) as the trail is an abandoned forest road. It was windy at over 11,000 feet, but the incredible views of the Never Summer Mountains and the promise of the 360-degree vista at the top provide motivation despite beleaguered lungs.

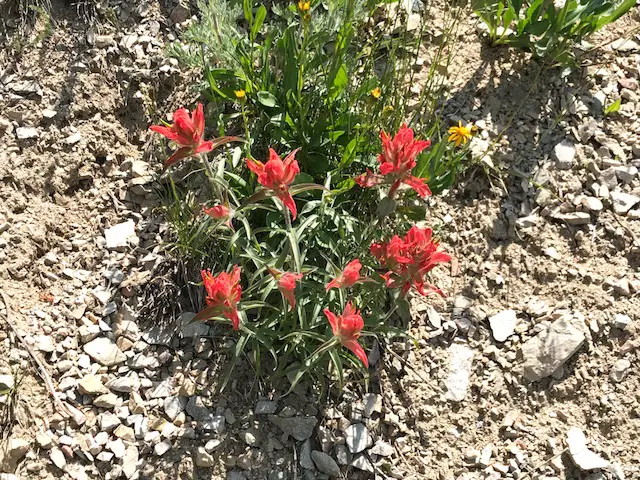
The wildflowers had begun to carpet the surrounding meadows while snow still blanketed portions of the nearby peaks (in early July!) Another quality of this wilderness area is that we felt like we had the entire mountain to ourselves on a Monday morning, seeing only two other groups for the duration of the excursion. You can also hike the entire way to the peak from the other side of the mountain. The trailhead is found off Route 14 on the eastern edge of the park.
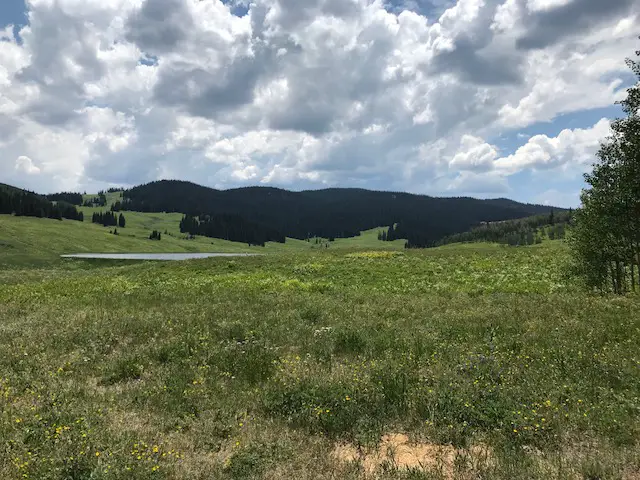
Bockman Road, State Forest State Park
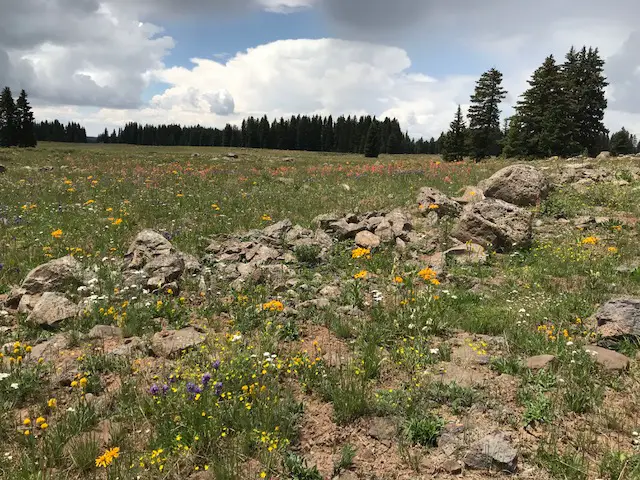
We supplemented the adventure above with a side trip down Bockman Road which intersects the Montgomery Pass Road farther down the mountain. This road was easy, I think my CRV may have been able to handle it if you were careful on a few of the bumpy sections. It was dirt, but wide enough for two vehicles and mostly graded. It made for a fun, relaxing afternoon as a bubbling creek accompanied us for much of the trip, as well as countless more wildflowers (have I mentioned the wildflowers are beautiful in Colorado this time of year?) 😉
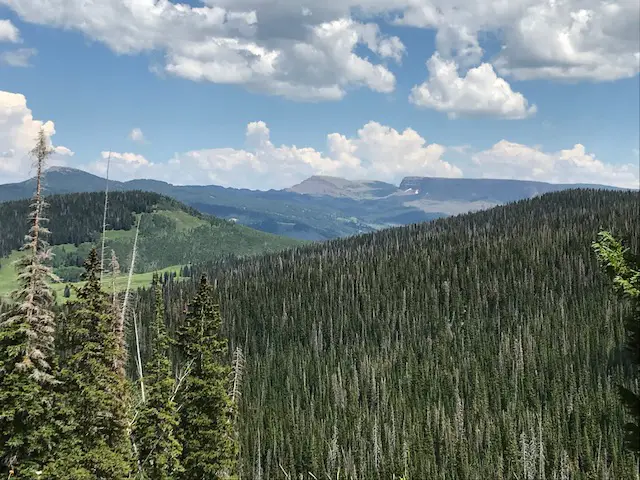
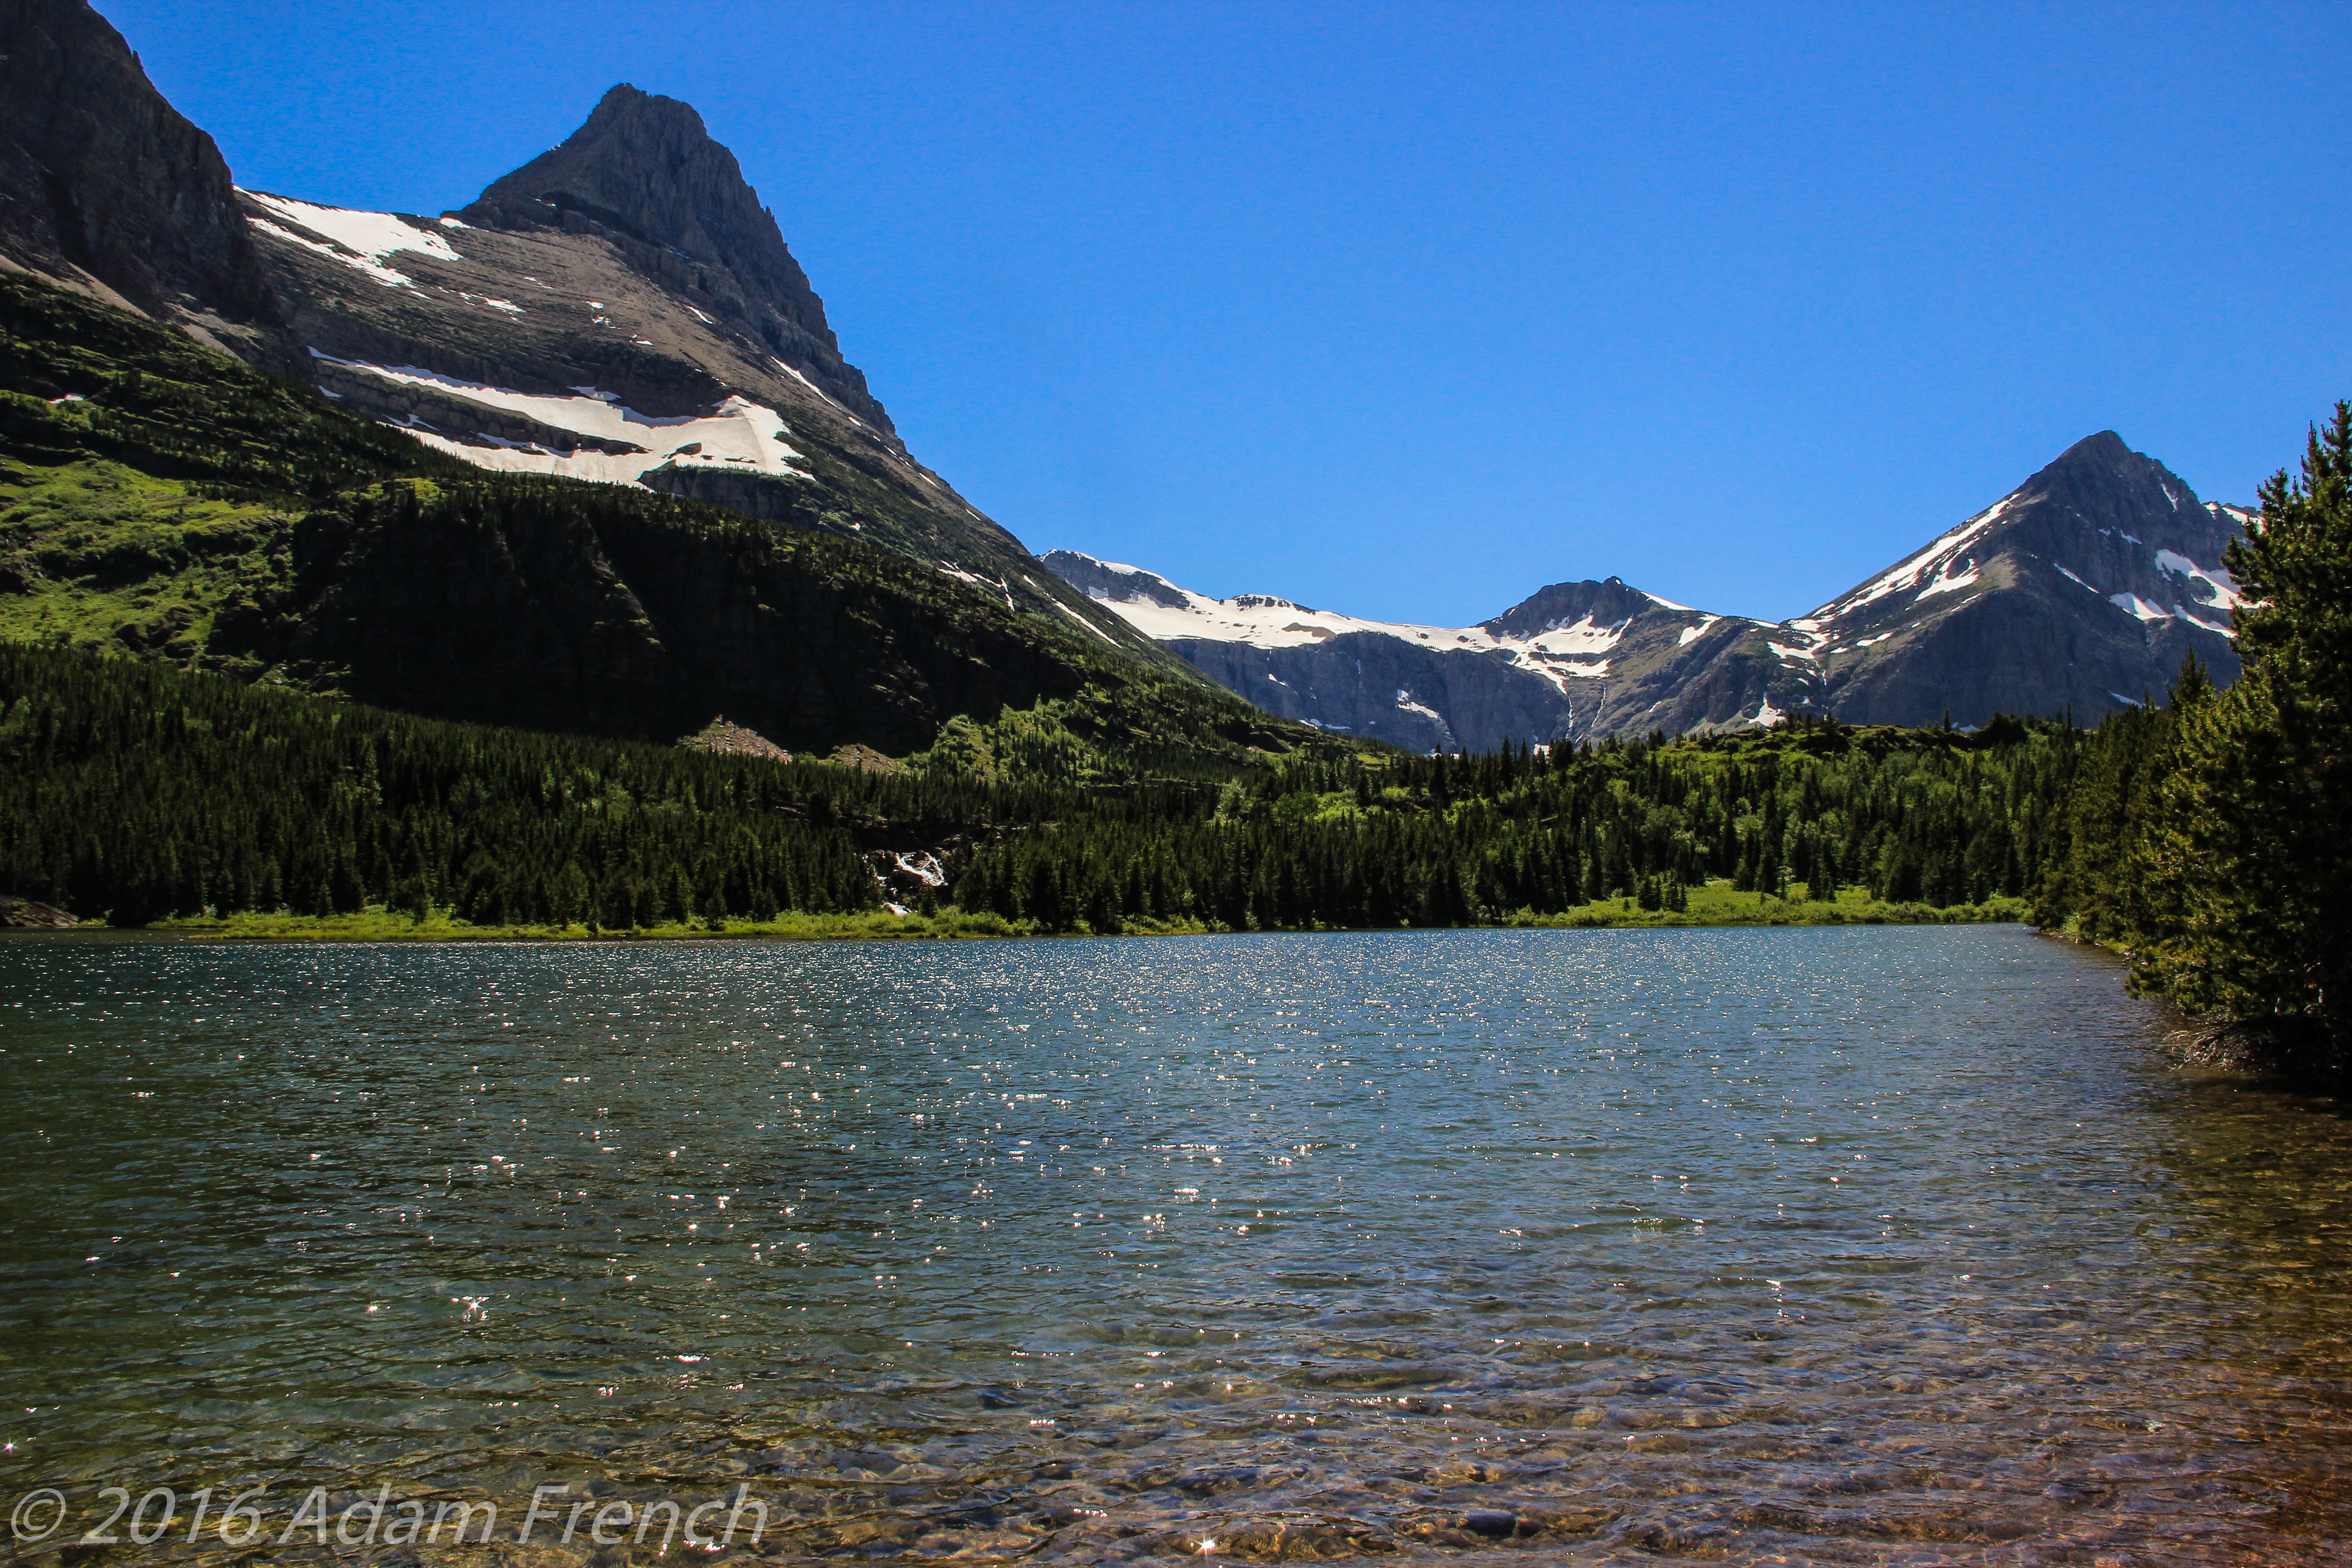
Gothic Road near Crested Butte
Probably the most nerve-wracking drive we completed was Gothic Road, from Gothic ghost town to Schofield Pass–I discuss Gothic in this post.
The road is in good condition–a sedan could probably negotiate it. The problem we ran into was that it is a 1 1/2-lane shelf road with a significant drop-off at one side and no barrier–a frequent condition we encountered on Colorado back roads.
When we were there it was also INCREDIBLY busy; filled with 2-way traffic in addition to hikers and mountain bikers. Part of the trouble was that we were there on a weekend in July (our fault, it was just the way the trip itinerary worked out). But the horde of visitors combined with people who are unaccustomed to driving in those white-knuckle conditions made for what felt like a genuinely unsafe situation from time to time.
From the top of the pass, a dangerous 4×4 road continues on through the acclaimed “Devil’s Punchbowl” to Crystal Mill–one of the worst 4×4 accidents in Colorado history occurred on this road. We chose NOT to take that route, 😝 but check out this post for the 4×4 adventure we had on Forest Road 314 from Marble to Crystal Mill!
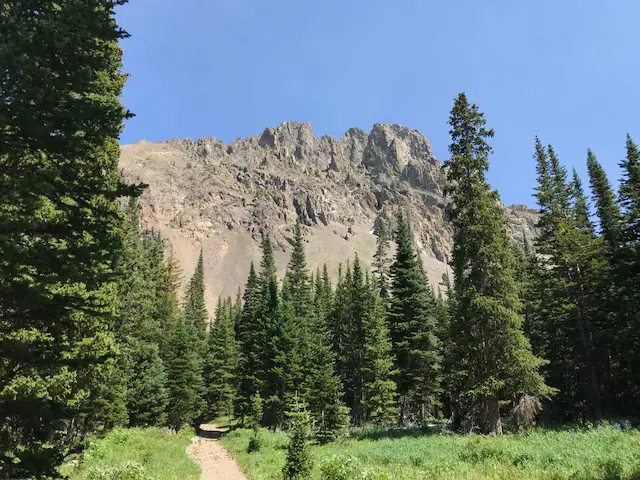
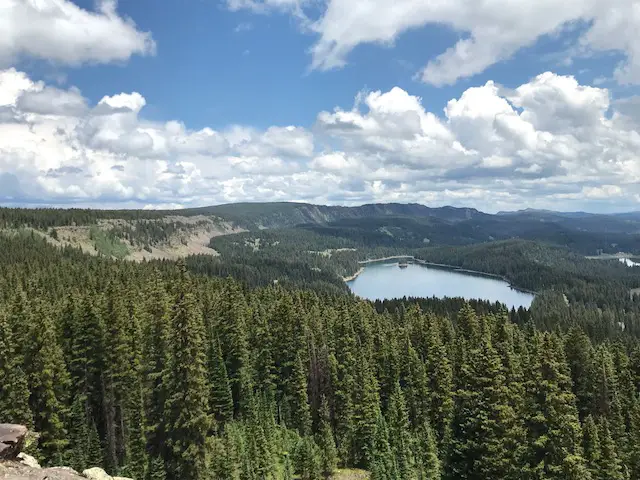
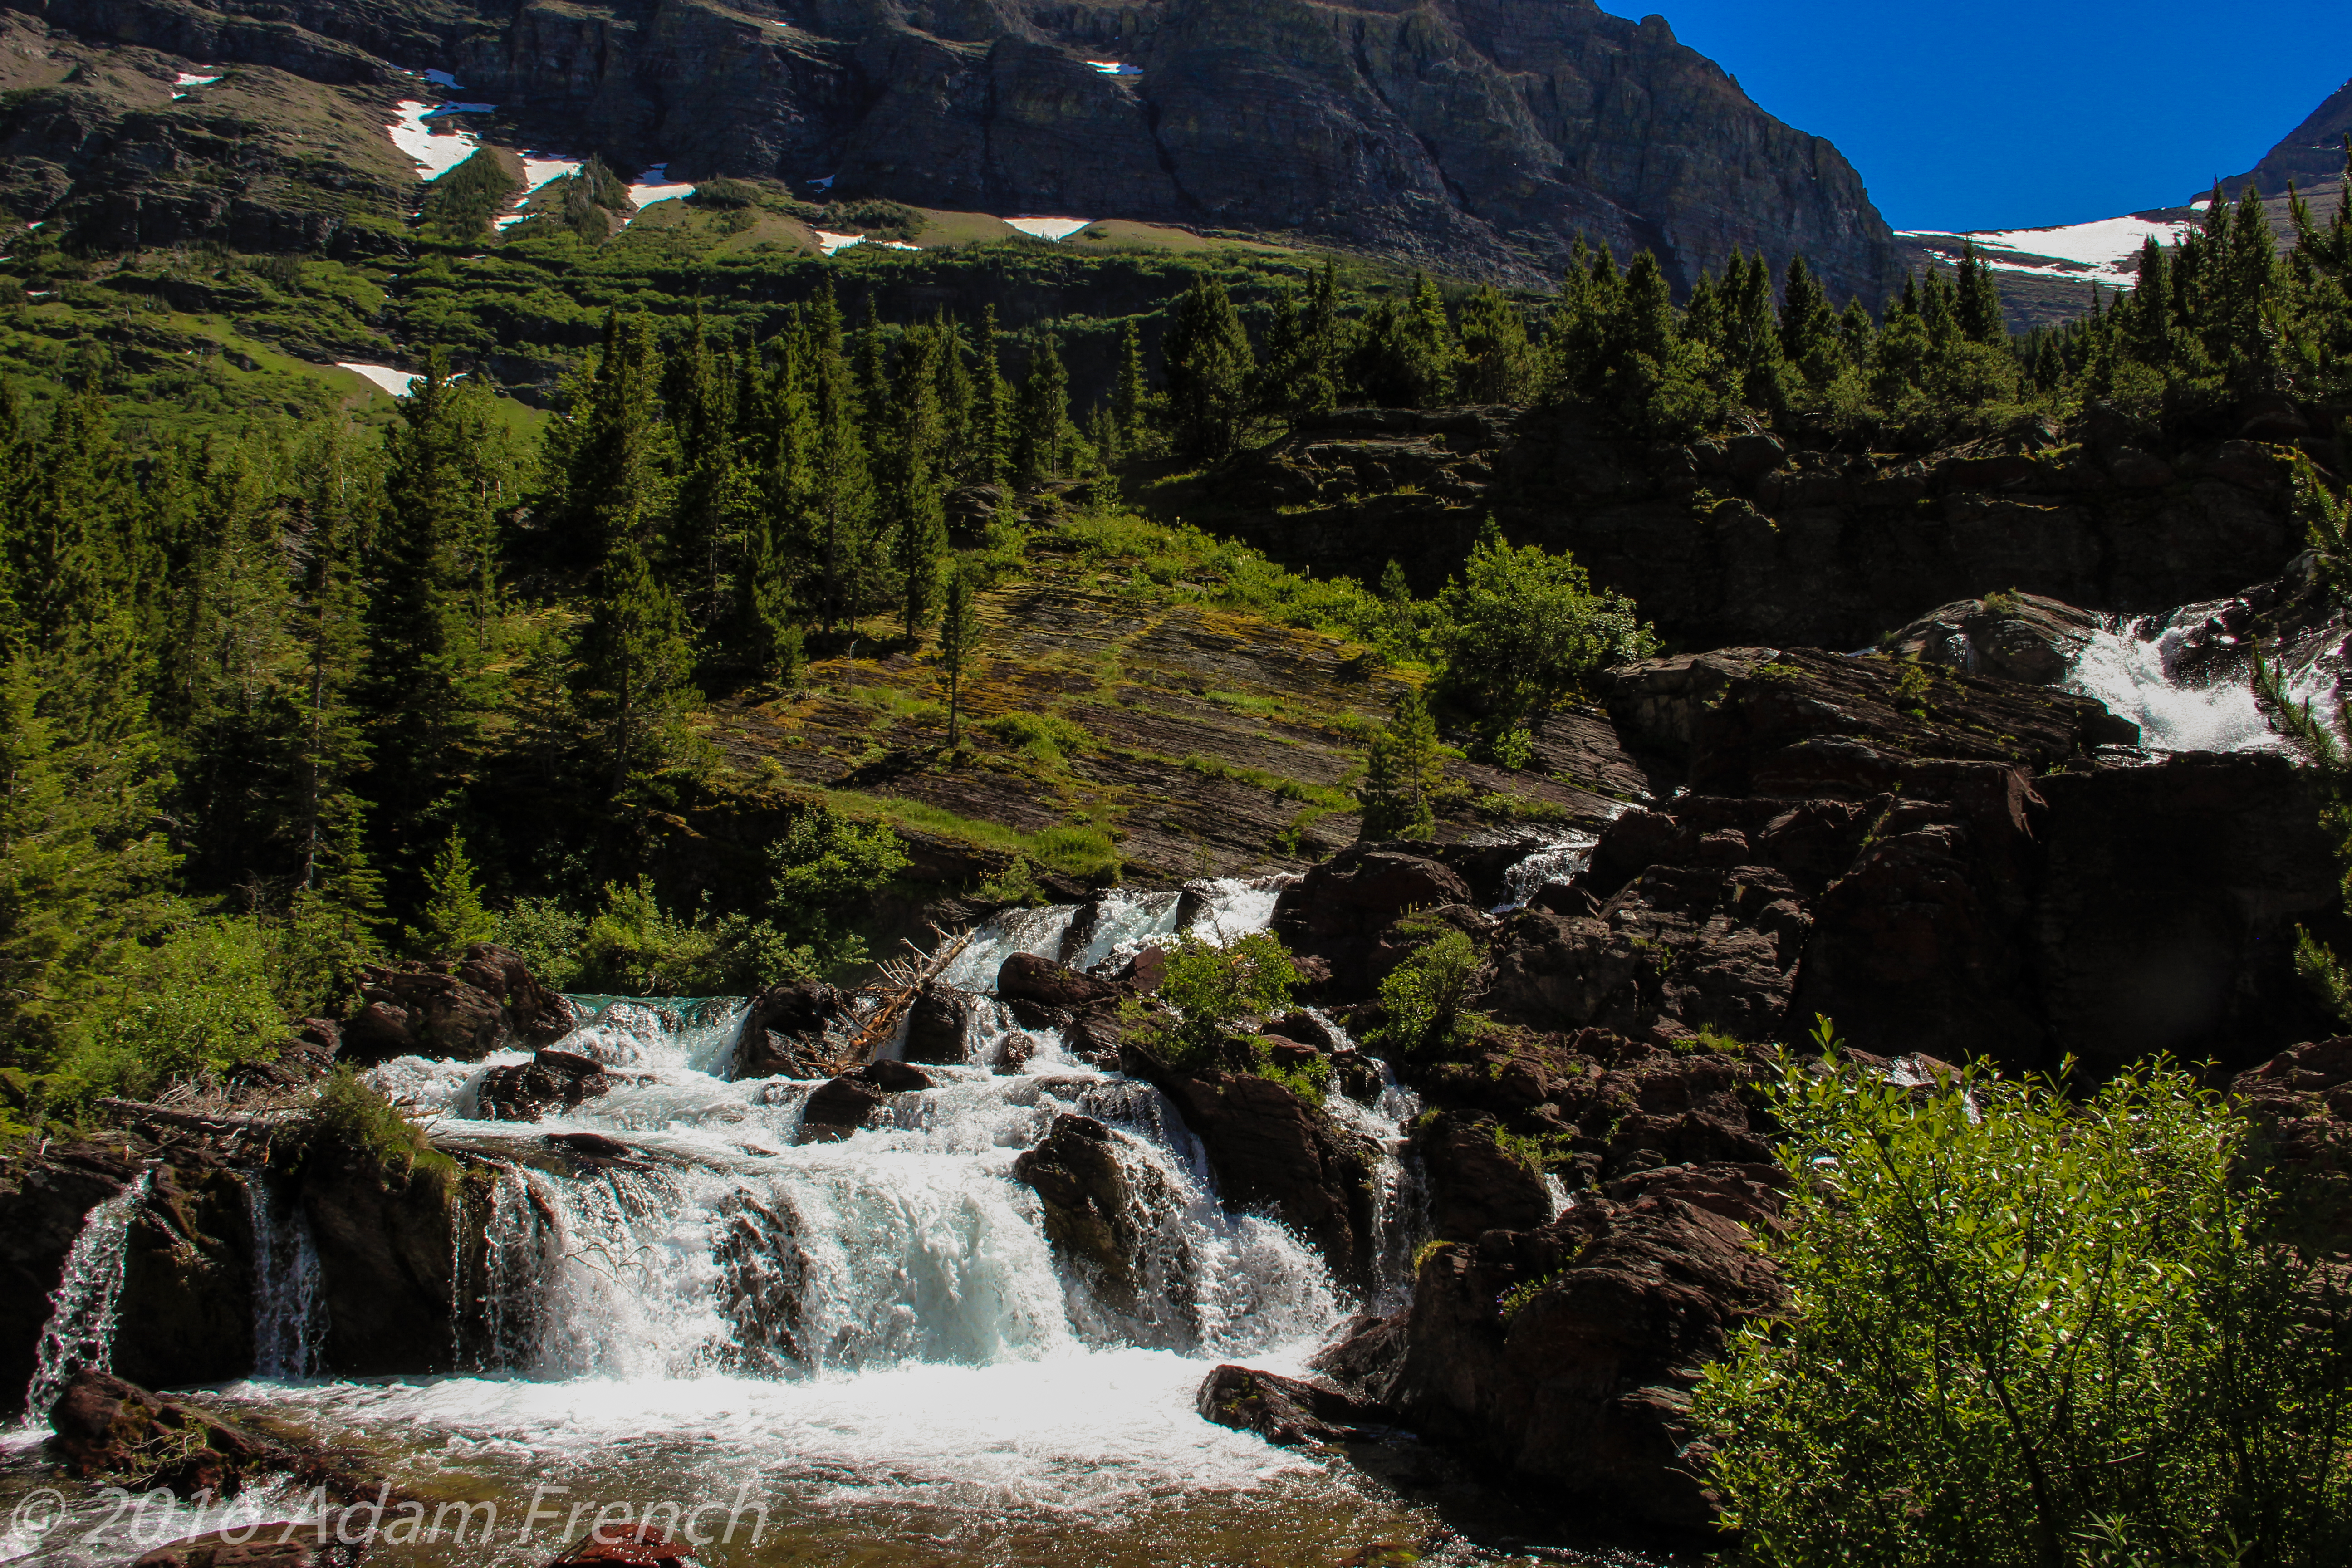
Schofield Pass and Slate River Road
Once we reached Schofield Pass, we completed the loop via Slate River Road (Forest Road 734) through Paradise Divide. This section was not only FAR quieter and more relaxing, but it was also one of the most scenic drives I’ve ever been on (it made the other half of the loop worth the gray hairs). 😉
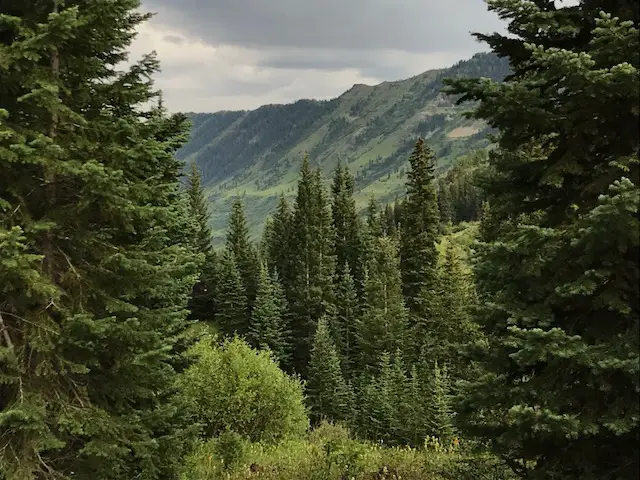
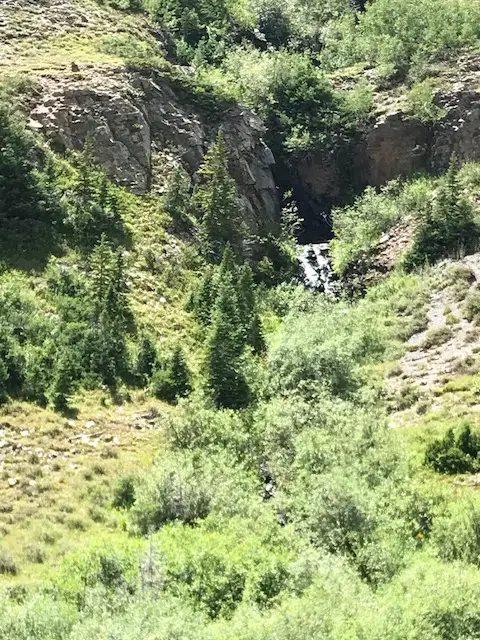
Showcasing towering mountains donning green meadows, grass-covered avalanche chutes, and streaming rivers fueled by snowmelt, this drive is incredible! We were fortunate enough to grab one of the last remaining dispersed campsites in this area that was nestled right next to a small canyon. We fell asleep listening to the water coursing through it that night!
Below is a video I took of the Divide. Be patient with me, my videographer experience is minimal, the road was bumpy, and this was taken on an iPhone. But…this valley was so INCREDIBLY beautiful, I had to share this with you! You can see why they gave it the name they did! 😎
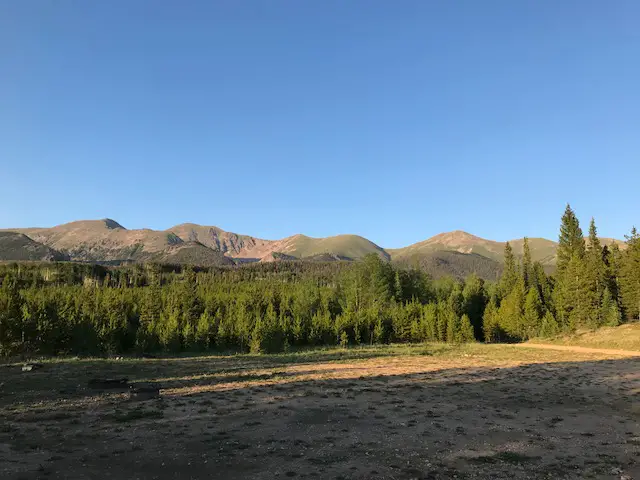
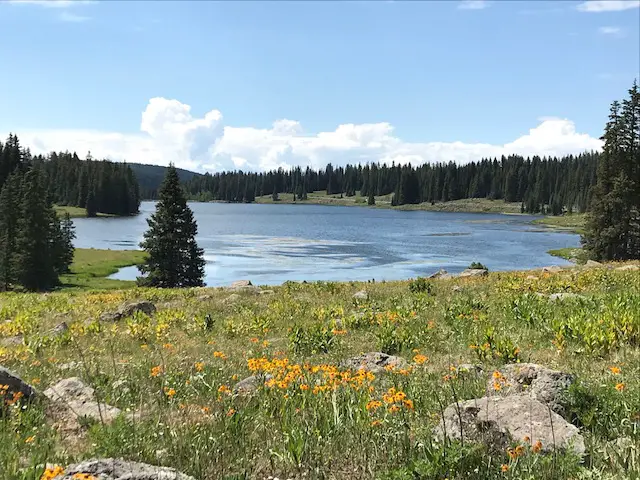
The drive from Rifle to Grand Mesa Colorado
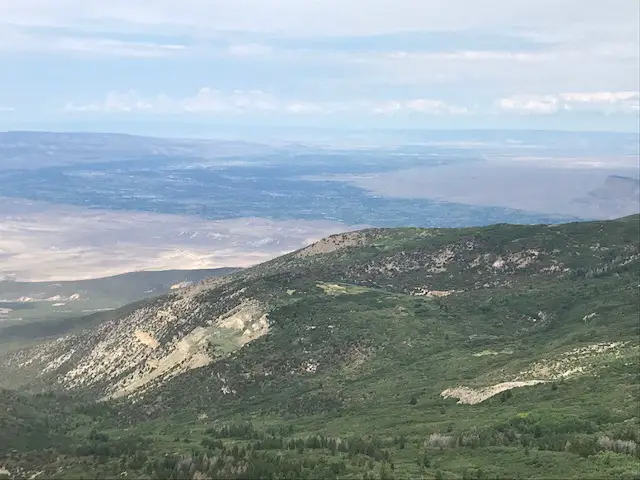
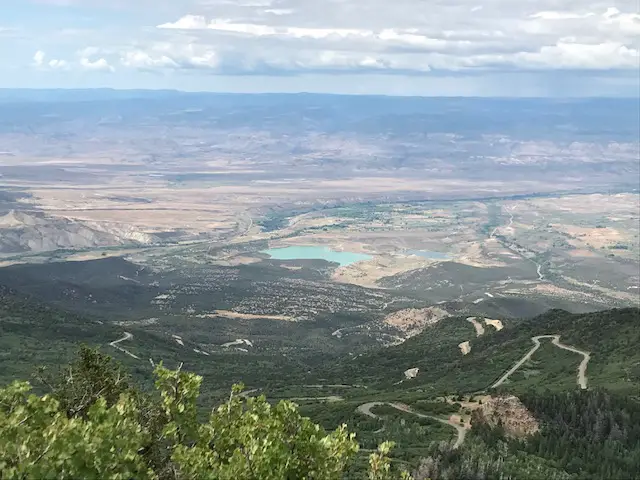
Even when not looking for a 4×4 adventure, we learned that travel on Colorado back roads can be an interesting experience. We drove the back route from Rifle to Grand Mesa National Forest, taking Dry Hollow Road from Silt. Then we continued, via Route 270, into Colbran and then took Route 121 to enter Grand Mesa the back way.
The drive was lovely! The eclectic scenery transitioned from desert-like scrubland in the Rifle area to aspen forest in the higher elevations, then to rolling farmland in the valleys (that reminded us of Pennsylvania) before ending in the spruce forests that comprise the Grand Mesa area.
Colorado is one of my favorite places to visit. Click here for more posts on this awesome state!
I mentioned earlier that the gazetteer didn’t always differentiate road surfaces well. We found the regular road atlas (and the 4×4 book mentioned above) gave far better indications of what to expect for the actual conditions of the roads…
…In this situation, these routes were indicated to be “major connectors” (and I’m sure they were for that, extremely rural, area). However, this indication included roads that varied from paved and painted to those that are dirt/gravel, with some being extremely rough due to a washboard surface. They were, often, also, narrow and winding (where two, full-size vehicles may struggle to pass). Many also hugged the sides of cliffs on shelf roads. They offered incredible views but may be alarming to people who aren’t accustomed to those conditions.
We had a great time, but I note this so people are aware these conditions can make travel more difficult and may require you to budget additional time to complete the drive.

These portions of our trip were thrilling, nerve-wracking, and challenging. However you manage to do it, whether it be machine-powered by a 4×4 vehicle or using your own two feet, I’d encourage you to venture out onto these lesser-traveled routes (as you are comfortable, of course). You’ll see sites and experience adventures that the average person misses on the more well-traveled highways. It will give you a whole different appreciation for the nature that surrounds us.
Have you ever tried out any of these Colorado backroads? Tell me about your experience in the comments!
Did you enjoy this post? Pin it!
†As an Amazon Associate I earn from qualifying purchases
Like what you read here today? Please feel free to leave a comment, like or share this post! Add your email at the bottom of the page, or the sidebar to the right, to be notified when a new post is published. By signing up for the email list, you will also receive a free copy of the Tranquil Trekker’s Top 10 Tips of Trekking Do’s and Don’ts!
You can also follow the blog on social media by clicking the links below!