*Author’s Note: This post is NOT sponsored and I have received NO compensation for it. I’m just REALLY excited about our new camper!*
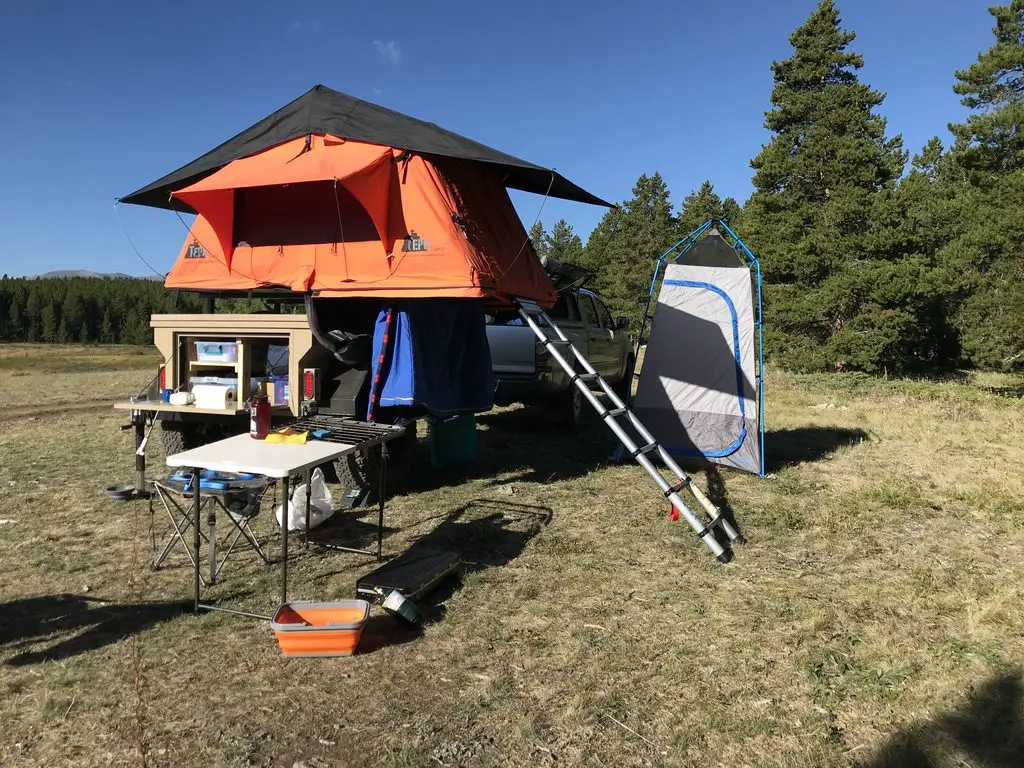
In Summer 2024 the Trekkers achieved a major goal! After years of discussions, research…and more discussions…we FINALLY agreed on and acquired a Go Fast Camper!
Why a Go Fast Camper?
We started our camping experience with a simple, ground tent Mr. Trekker picked up during our college years, for about $30 at a local Walmart. Eventually we moved on to a fancier and bigger, REI, ground tent we acquired as a wedding present (and still use from time to time!)
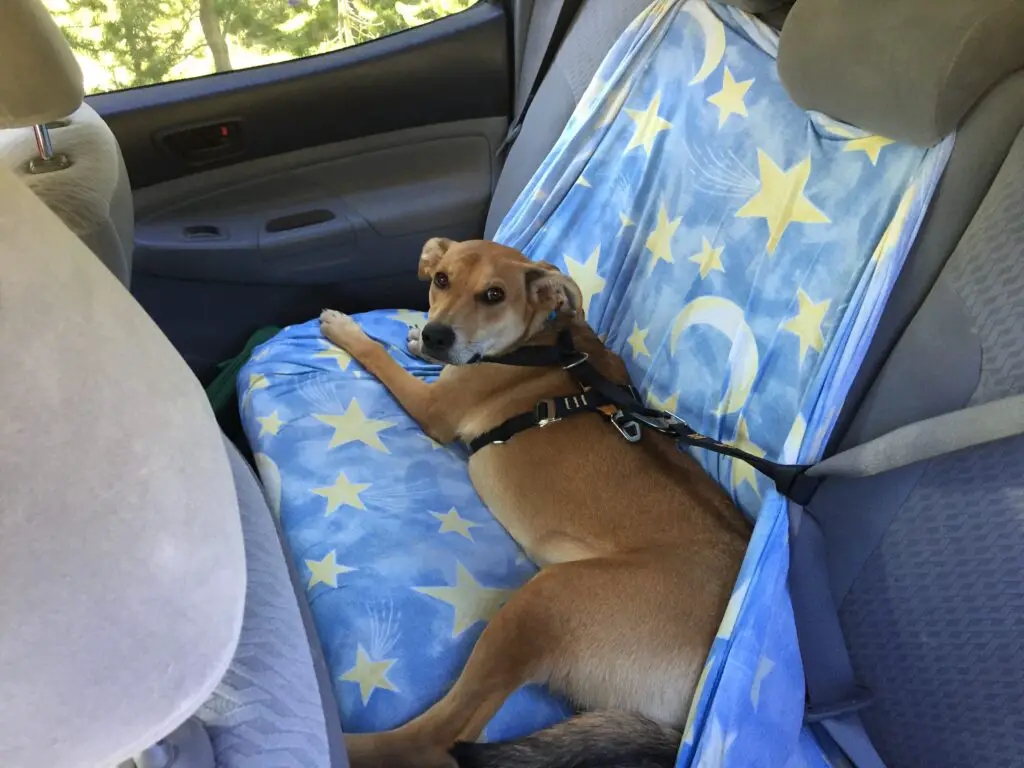
As we aged and our backs got a bit more grouchy 😉 we decided we preferred the FAR more comfortable foam beds offered by the fancier, above-ground tents. We also preferred being off the ground some (especially as we’re spending more time alone, in the Wilds, disperse-camping outside of established campgrounds–sometimes in Grizzly country!)
Initially we acquired and tried out a rooftop tent on a trailer for several years. While we liked this option it still took a little while to setup and the trailer got kind of annoying on some tight trails, or when trying to park in small, mountain towns.
We could have put the rooftop tent on the “rooftop” of the truck, but that would have meant we needed to acquire another truck capper that could handle the weight–to the tune of several $1000s. Also, rooftop tents are HEAVY and difficult to get on and off the truck so once they’re on, you tend to leave them there as much as possible–this puts a lot of strain on the truck not to mention kills your aerodynamics and gas mileage–all for equipment you only use a few times a year.
So we mostly decided we weren’t interested in another trailer of any sort, so then we considered a regular truck camper. However, we really enjoy the smaller footprint and better gas mileage of the mid-size trucks and the in-bed, truck campers that fit these are TINY–especially for two people and a dog. Also, even the smallest, most basic ones are PRICEY!
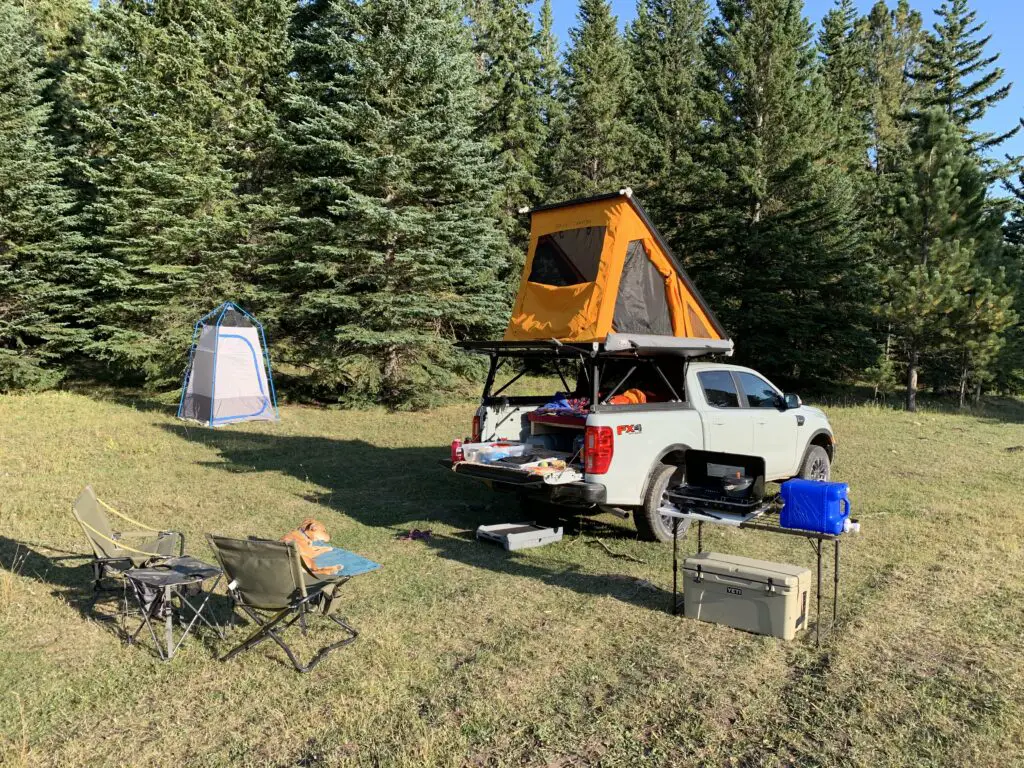
So finally we started looking at wedge campers! These offer the benefit and simplicity of a tent, while keeping you well above the heads of any critters that may be lurking around below you! Their footprint also matches that of the truck, meaning if you can fit the truck on a narrow trail or in a tiny parking space, the camper goes right along with it. The uniqueness of the Go Fast Camper also means you don’t lose the utility of the truck bed when the camper isn’t in use–you can literally have your cake (the use of the regular truck bed) and eat it too (the camper)!
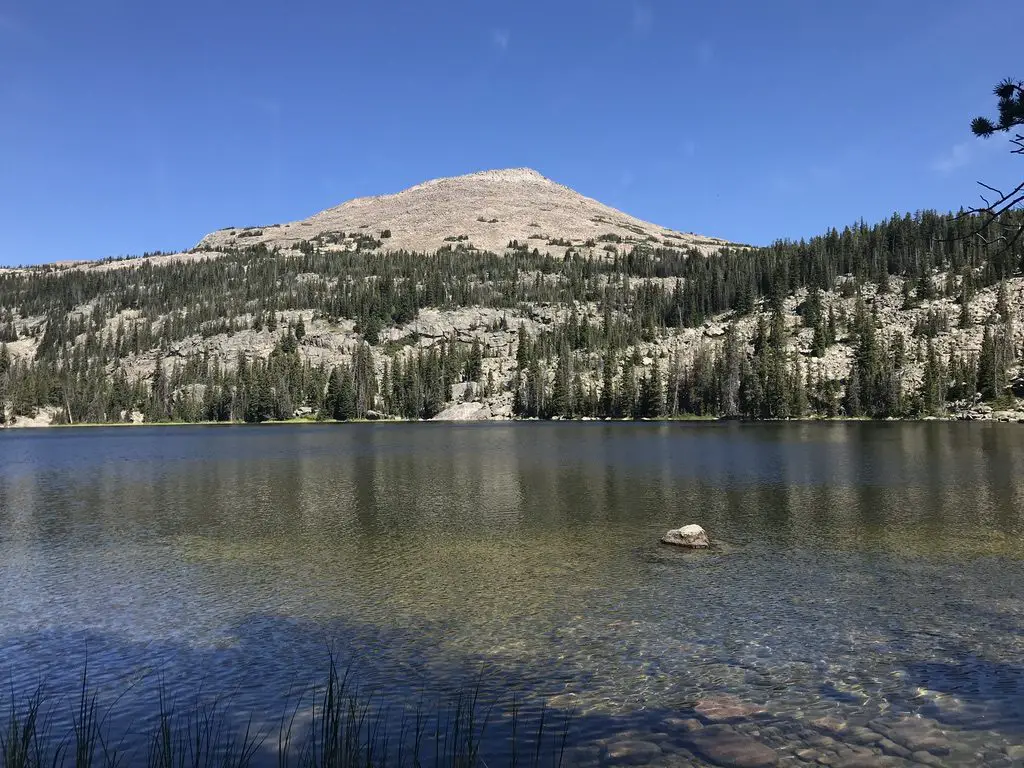
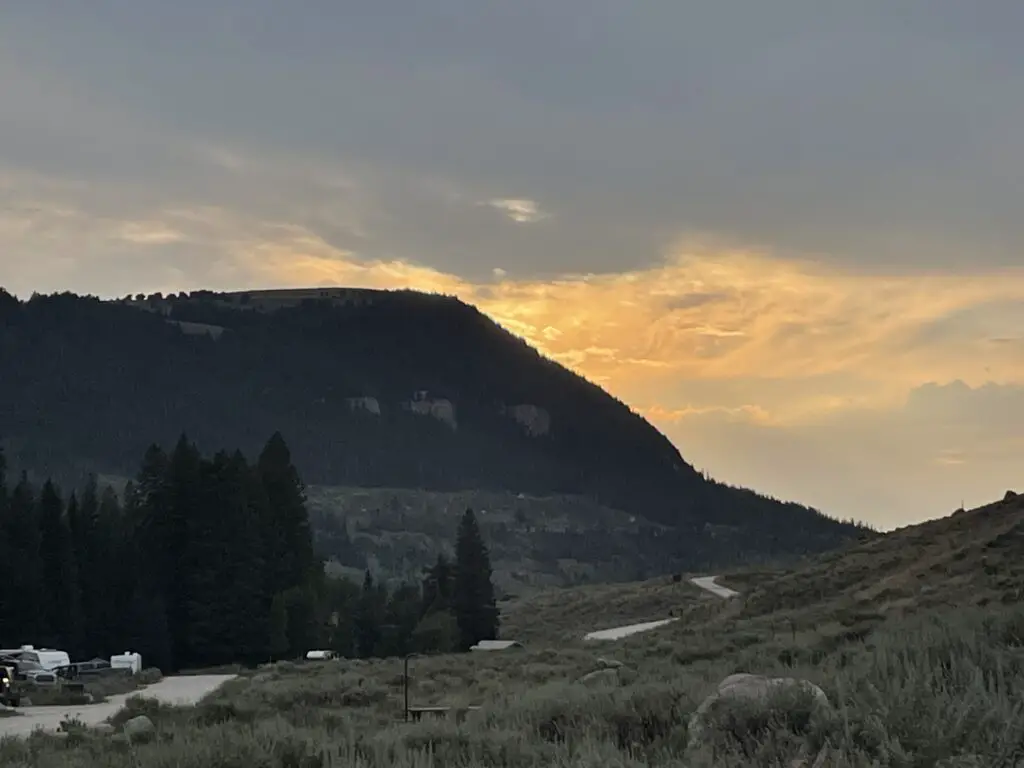
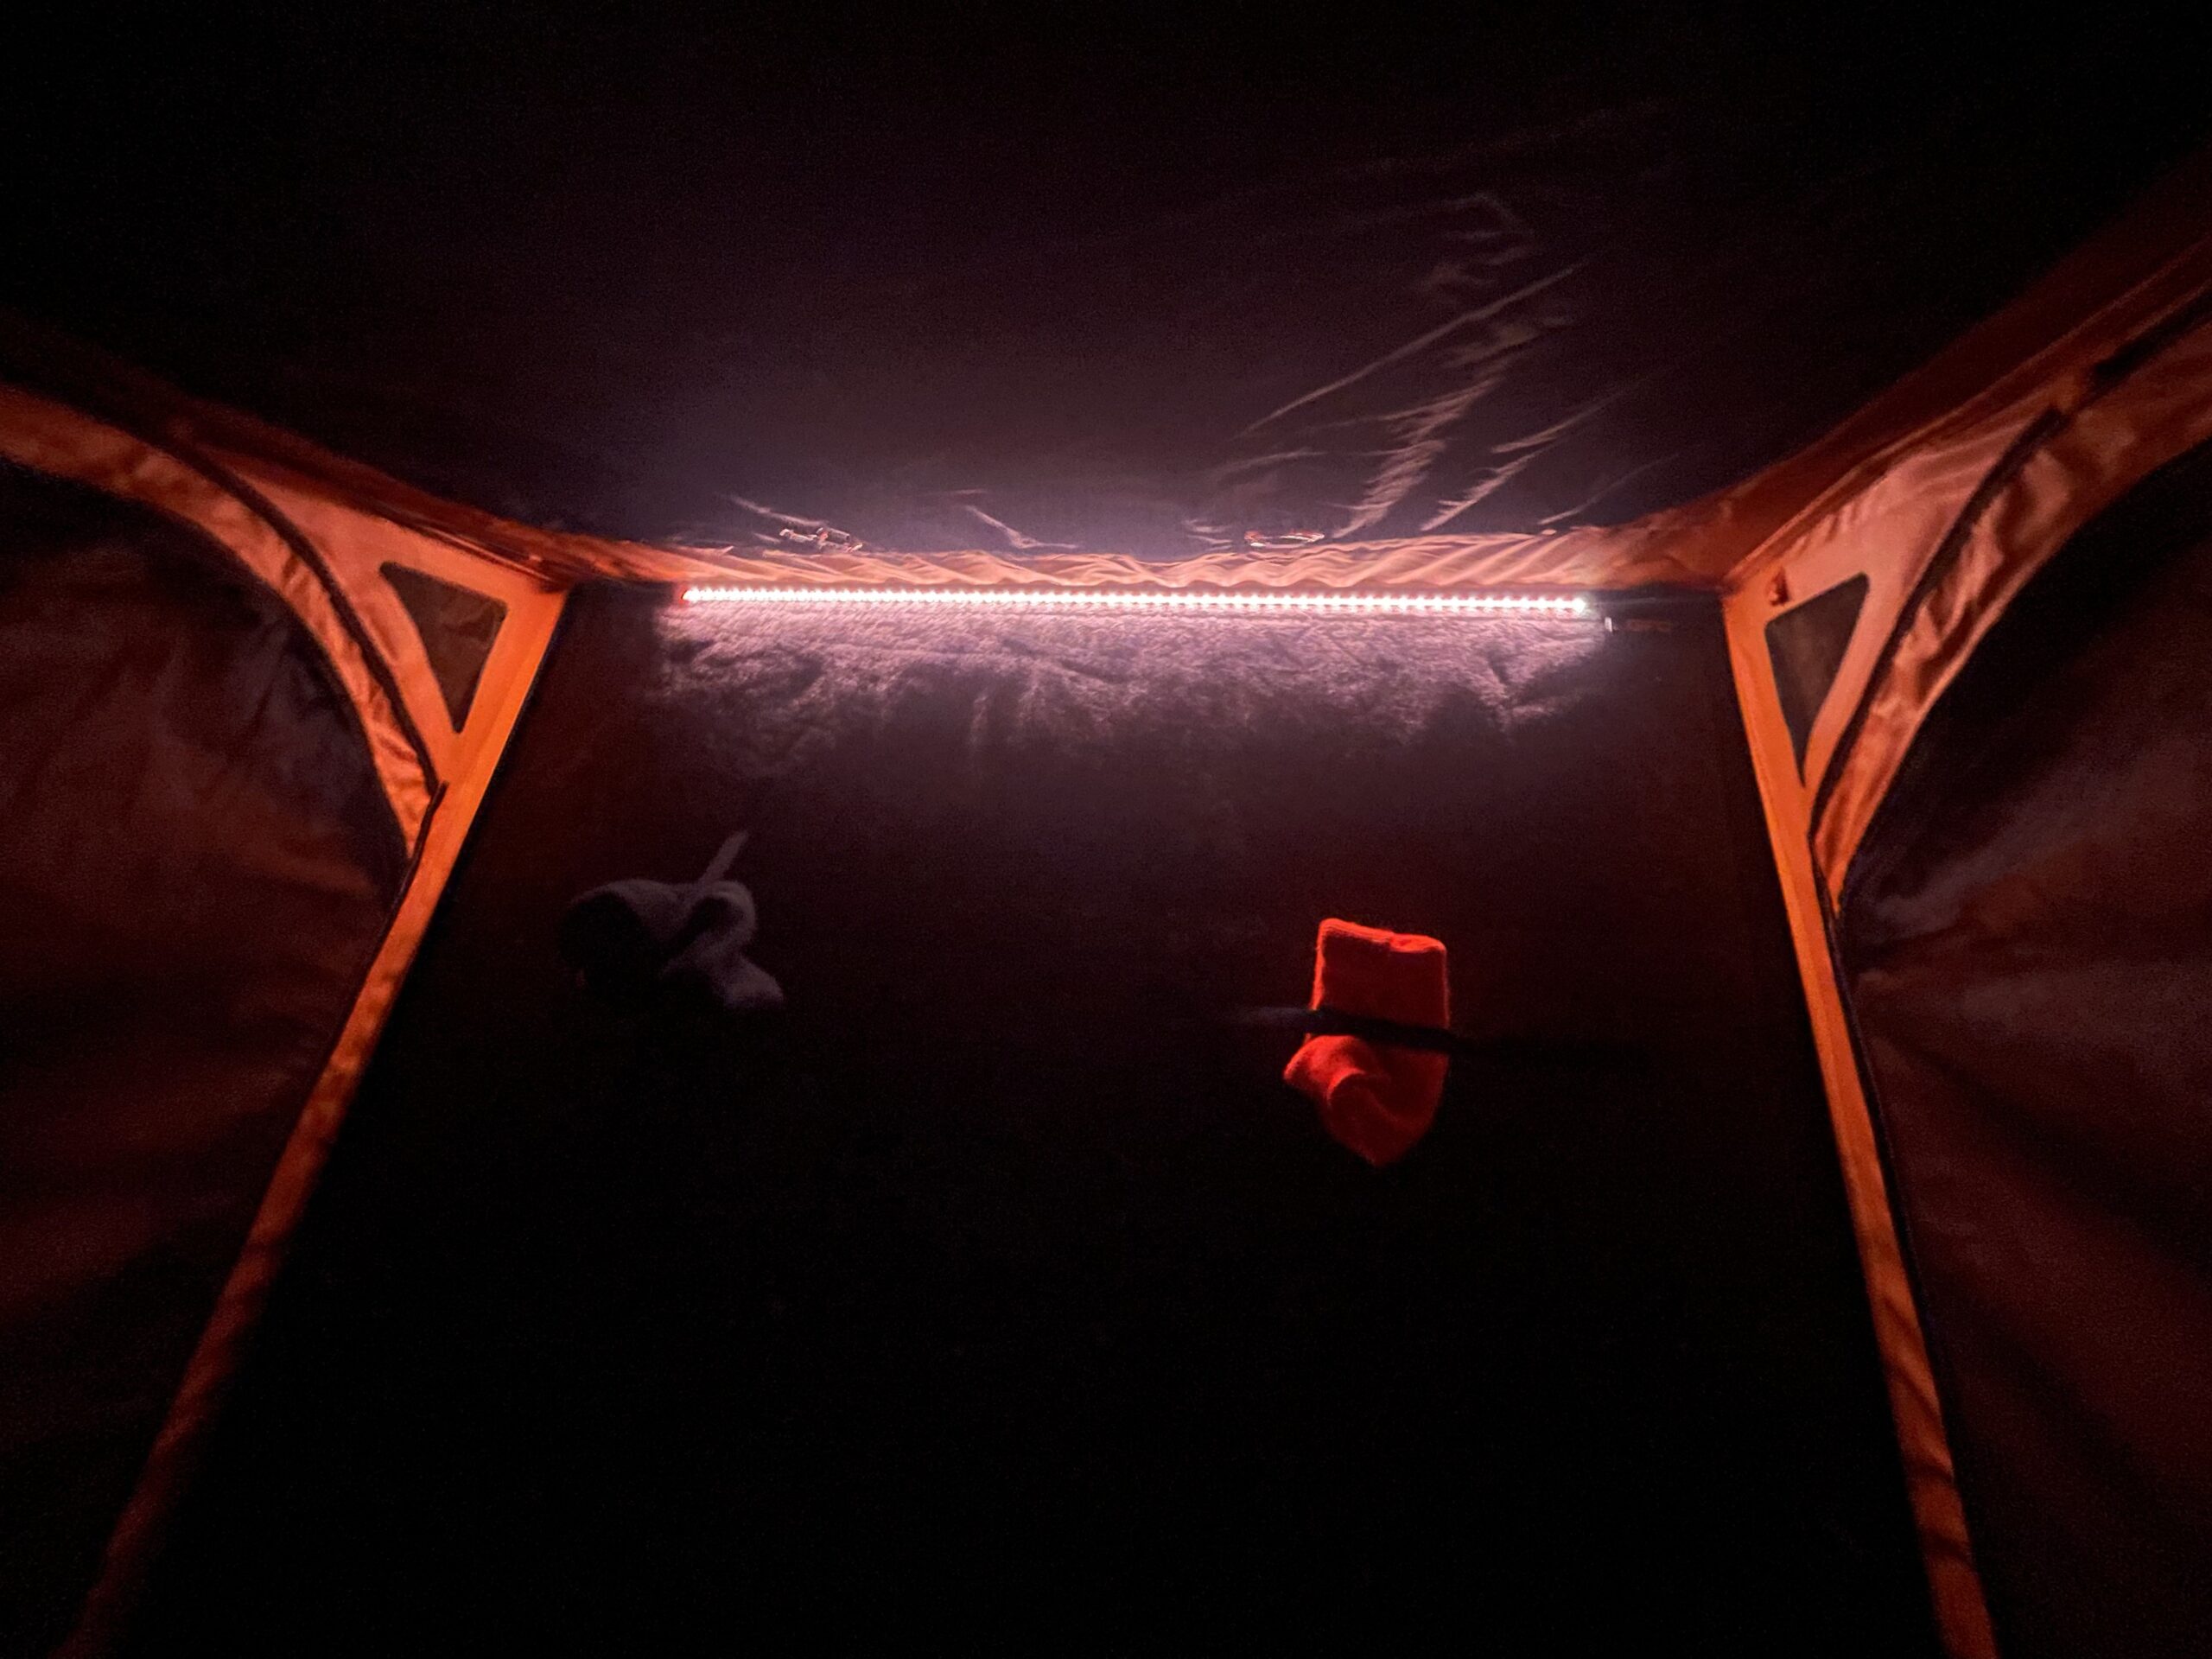
The only negative was, we had to travel to Western Montana one weekend to pick up our new toy…or darn! 😉 And then we promptly enjoyed it while camping in the BigHorns for a night! 😀
What is a Go Fast Camper?
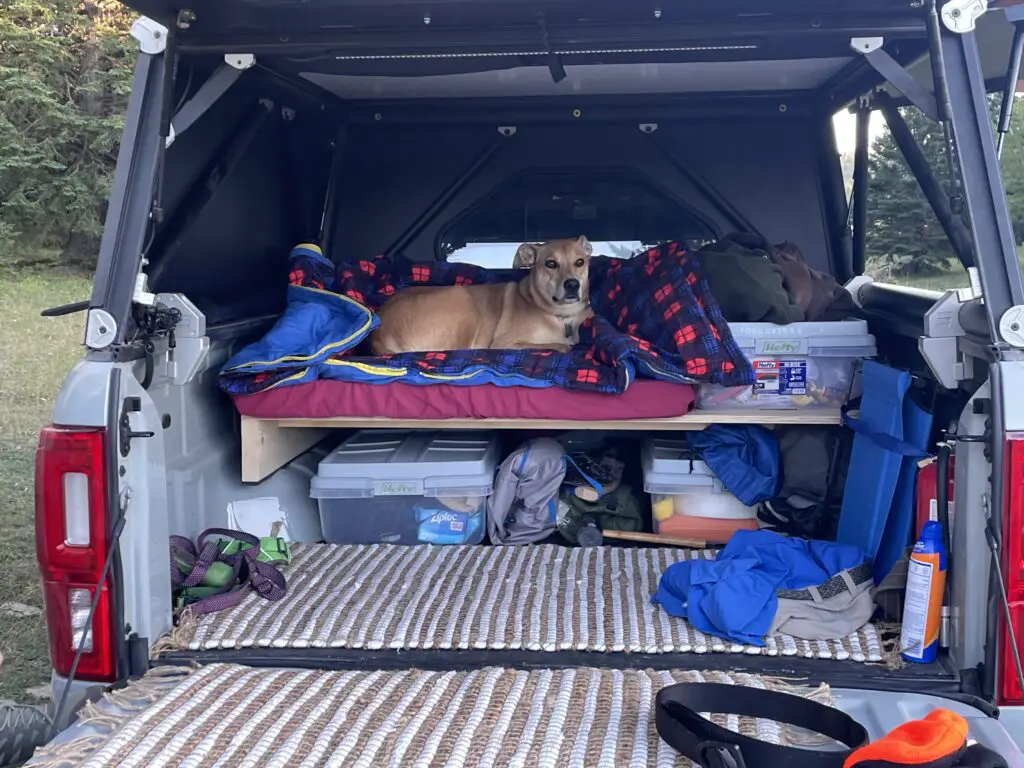
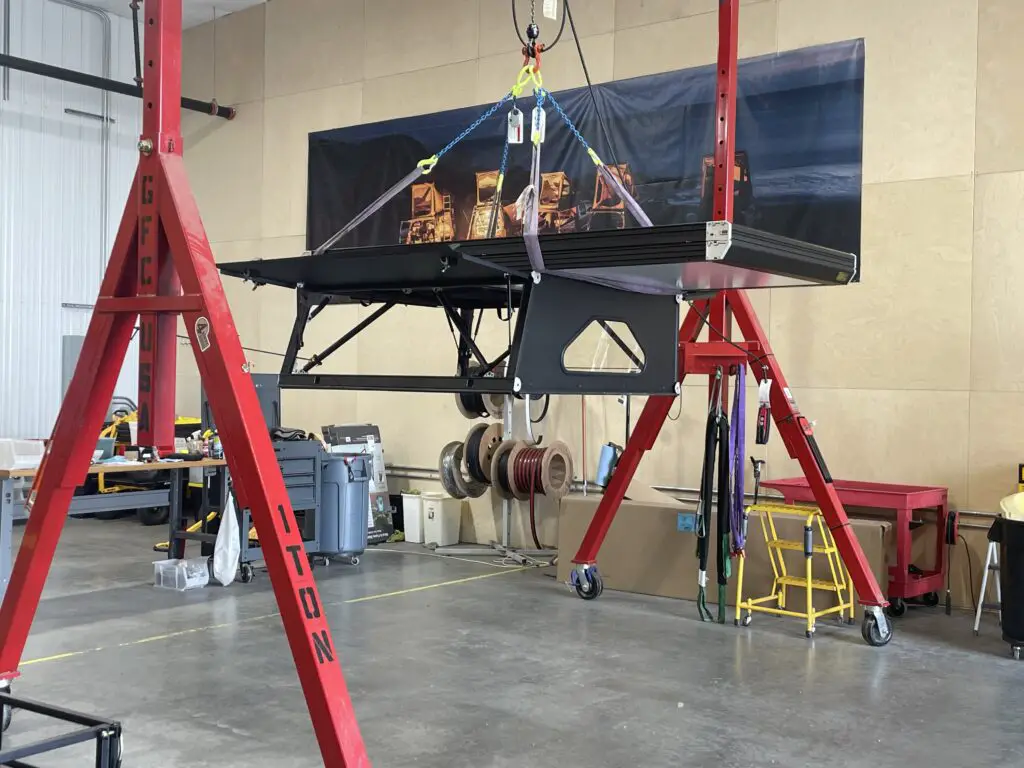
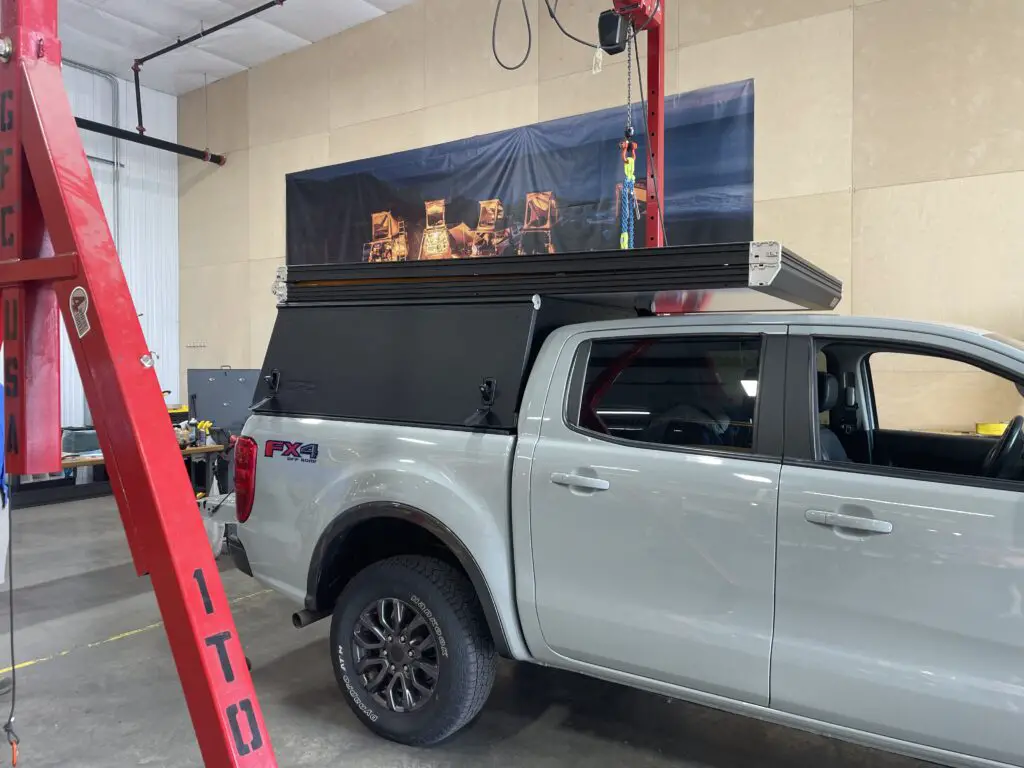
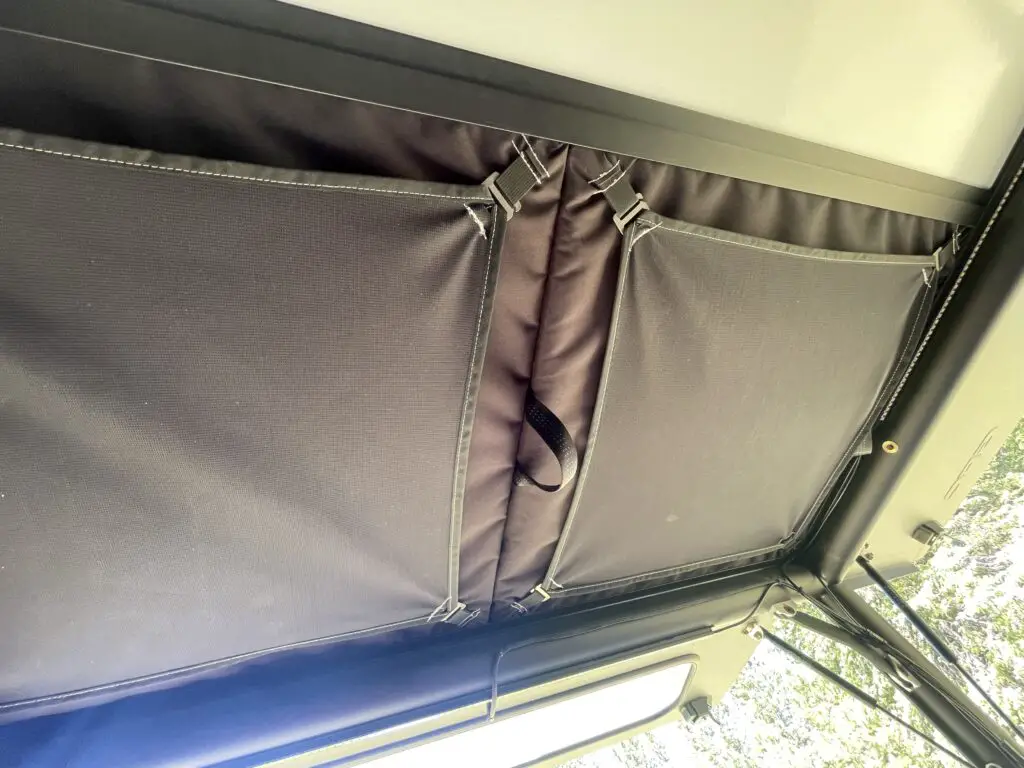
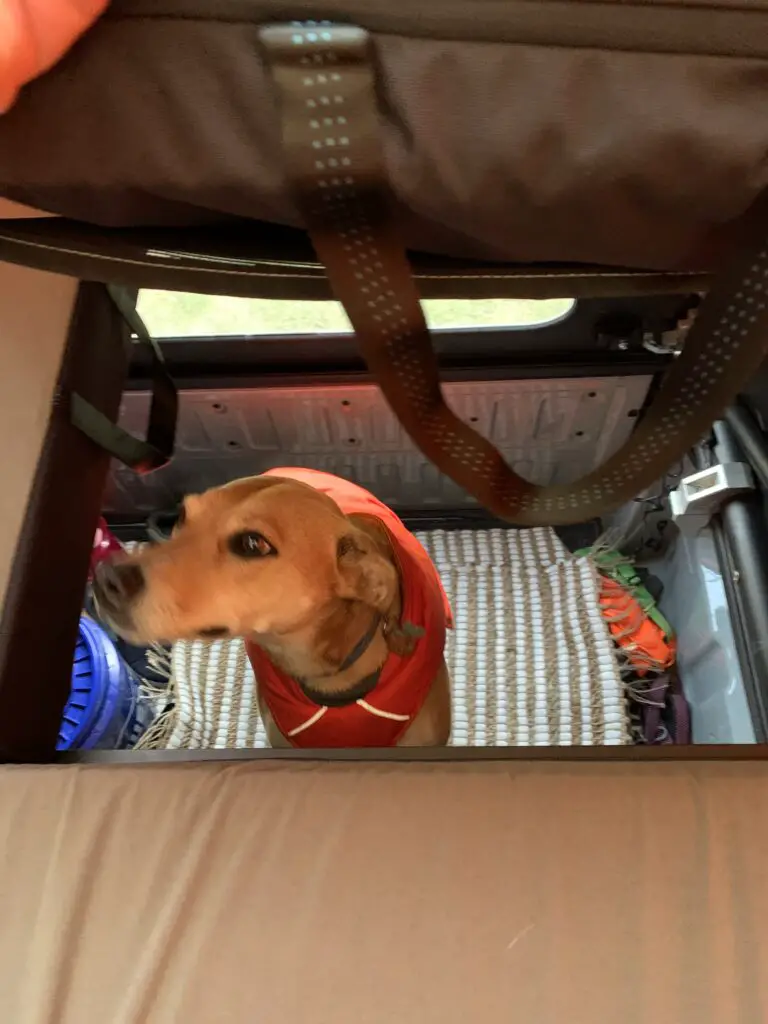
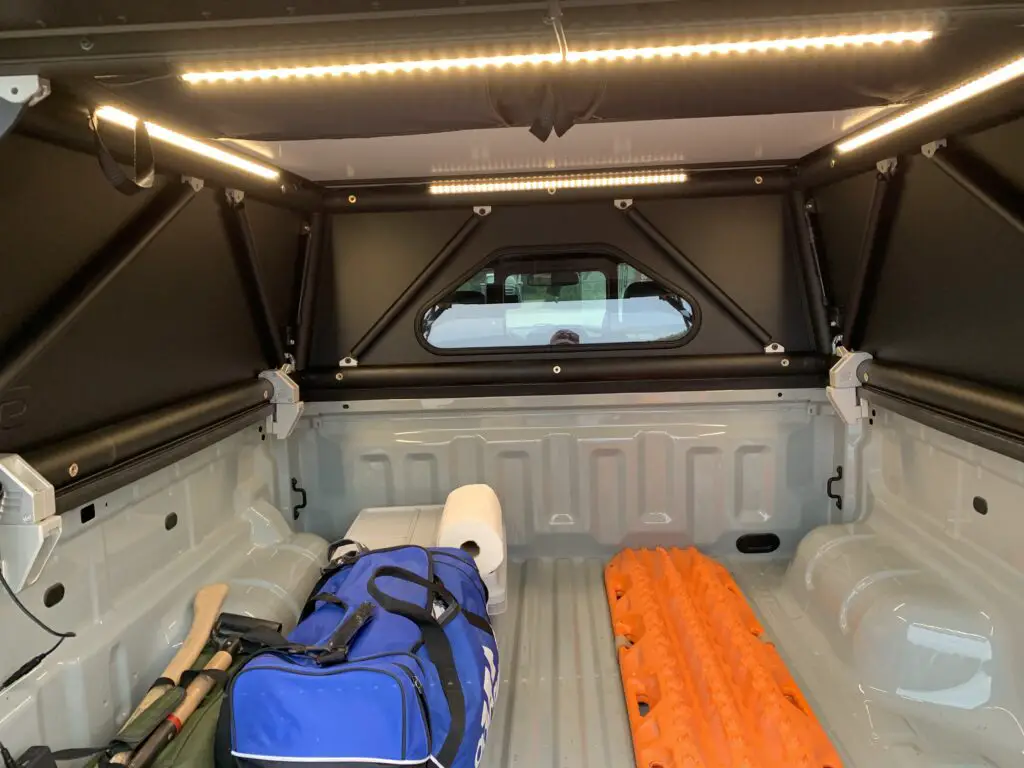
A Go Fast Camper is essentially a rooftop tent that sits and opens from the top of a typical, truck-bed capper. It is installed at a factory and stays on the truck permanently–unless you were to take the capper off. When the tent is down the truck bed can be used for any purpose you want as any normal truck bed and the bottom of the tent forms the top of the truck capper. Removable cushions/panels form a pass-through between the truck bed and the tent when the tent is open. Some models also allow for an outside ladder to be installed (like those on regular rooftop tents).
With this setup you are also free to design your truck bed however you want with a power pack, a fridge, or an in-bed drawer system if you want to use the truck more for camping-only.
How do you use a Go Fast Camper?
Setup/tear down of this camper is incredibly quick! To open the tent you simply unlock it and let it rise on it’s own (it literally takes about 30 seconds!) Tear down takes about 1.5 minutes (grab the top, push the soft sides in, pull down and fold it up!)…LITERALLY, that’s all there is to it! (It takes longer to put the tent away because you have to make sure it folds in well and none of the fabric is pinched.)
Full disclosure: the price point of a Go Fast Camper can be a barrier for some. While not “cheap” per se, a Go Fast Camper is FAR more affordable than any other trailer or regular truck camper out there–comparable in price to a combination rooftop tent/new capper for the truck. This is 1/2 (or less!) the price of a typical truck camper and 1/4 (or FAR less!) than the typical cost of a camper trailer/RV.
The Go Fast team was also great to work with! They are based near Bozeman, Montana, meaning they are a small-town company that employs local, American workers! We have had great luck with this team and appreciate the regular communication and continued service they offer!
They also contract with several other dealers throughout the country including some on the West Coast, and a few in Colorado, Texas, Missouri and North Carolina.
Be aware, there is a fairly lengthy lead time between placing the order and receiving your product. We ordered our camper in March and didn’t receive it until early August. We were aware of this situation when we made the purchase and the Go Fast team stayed in regular contact with us about how our build was proceeding.
In the interim months they actually changed the build platform some from what we’d originally ordered. As our build was still in progress the Go Fast team went ahead and added the upgrades with little-to-no additional cost to us! There were a few upgrade items they weren’t able to add at the time due to supply-line issues. But, they kept us updated regularly on the status of those and shipped them along when they were available.
Since we got the camper late in the summer we were only able to use it a handful of times, though we’re looking forward to getting out in it quite a bit this coming summer!
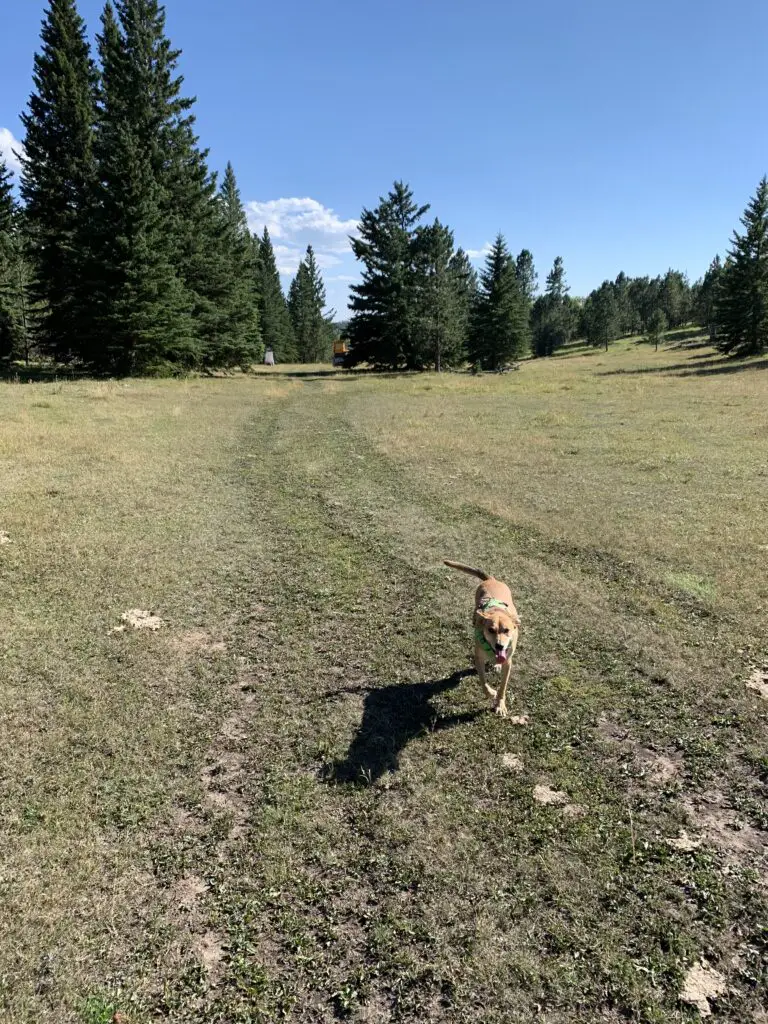
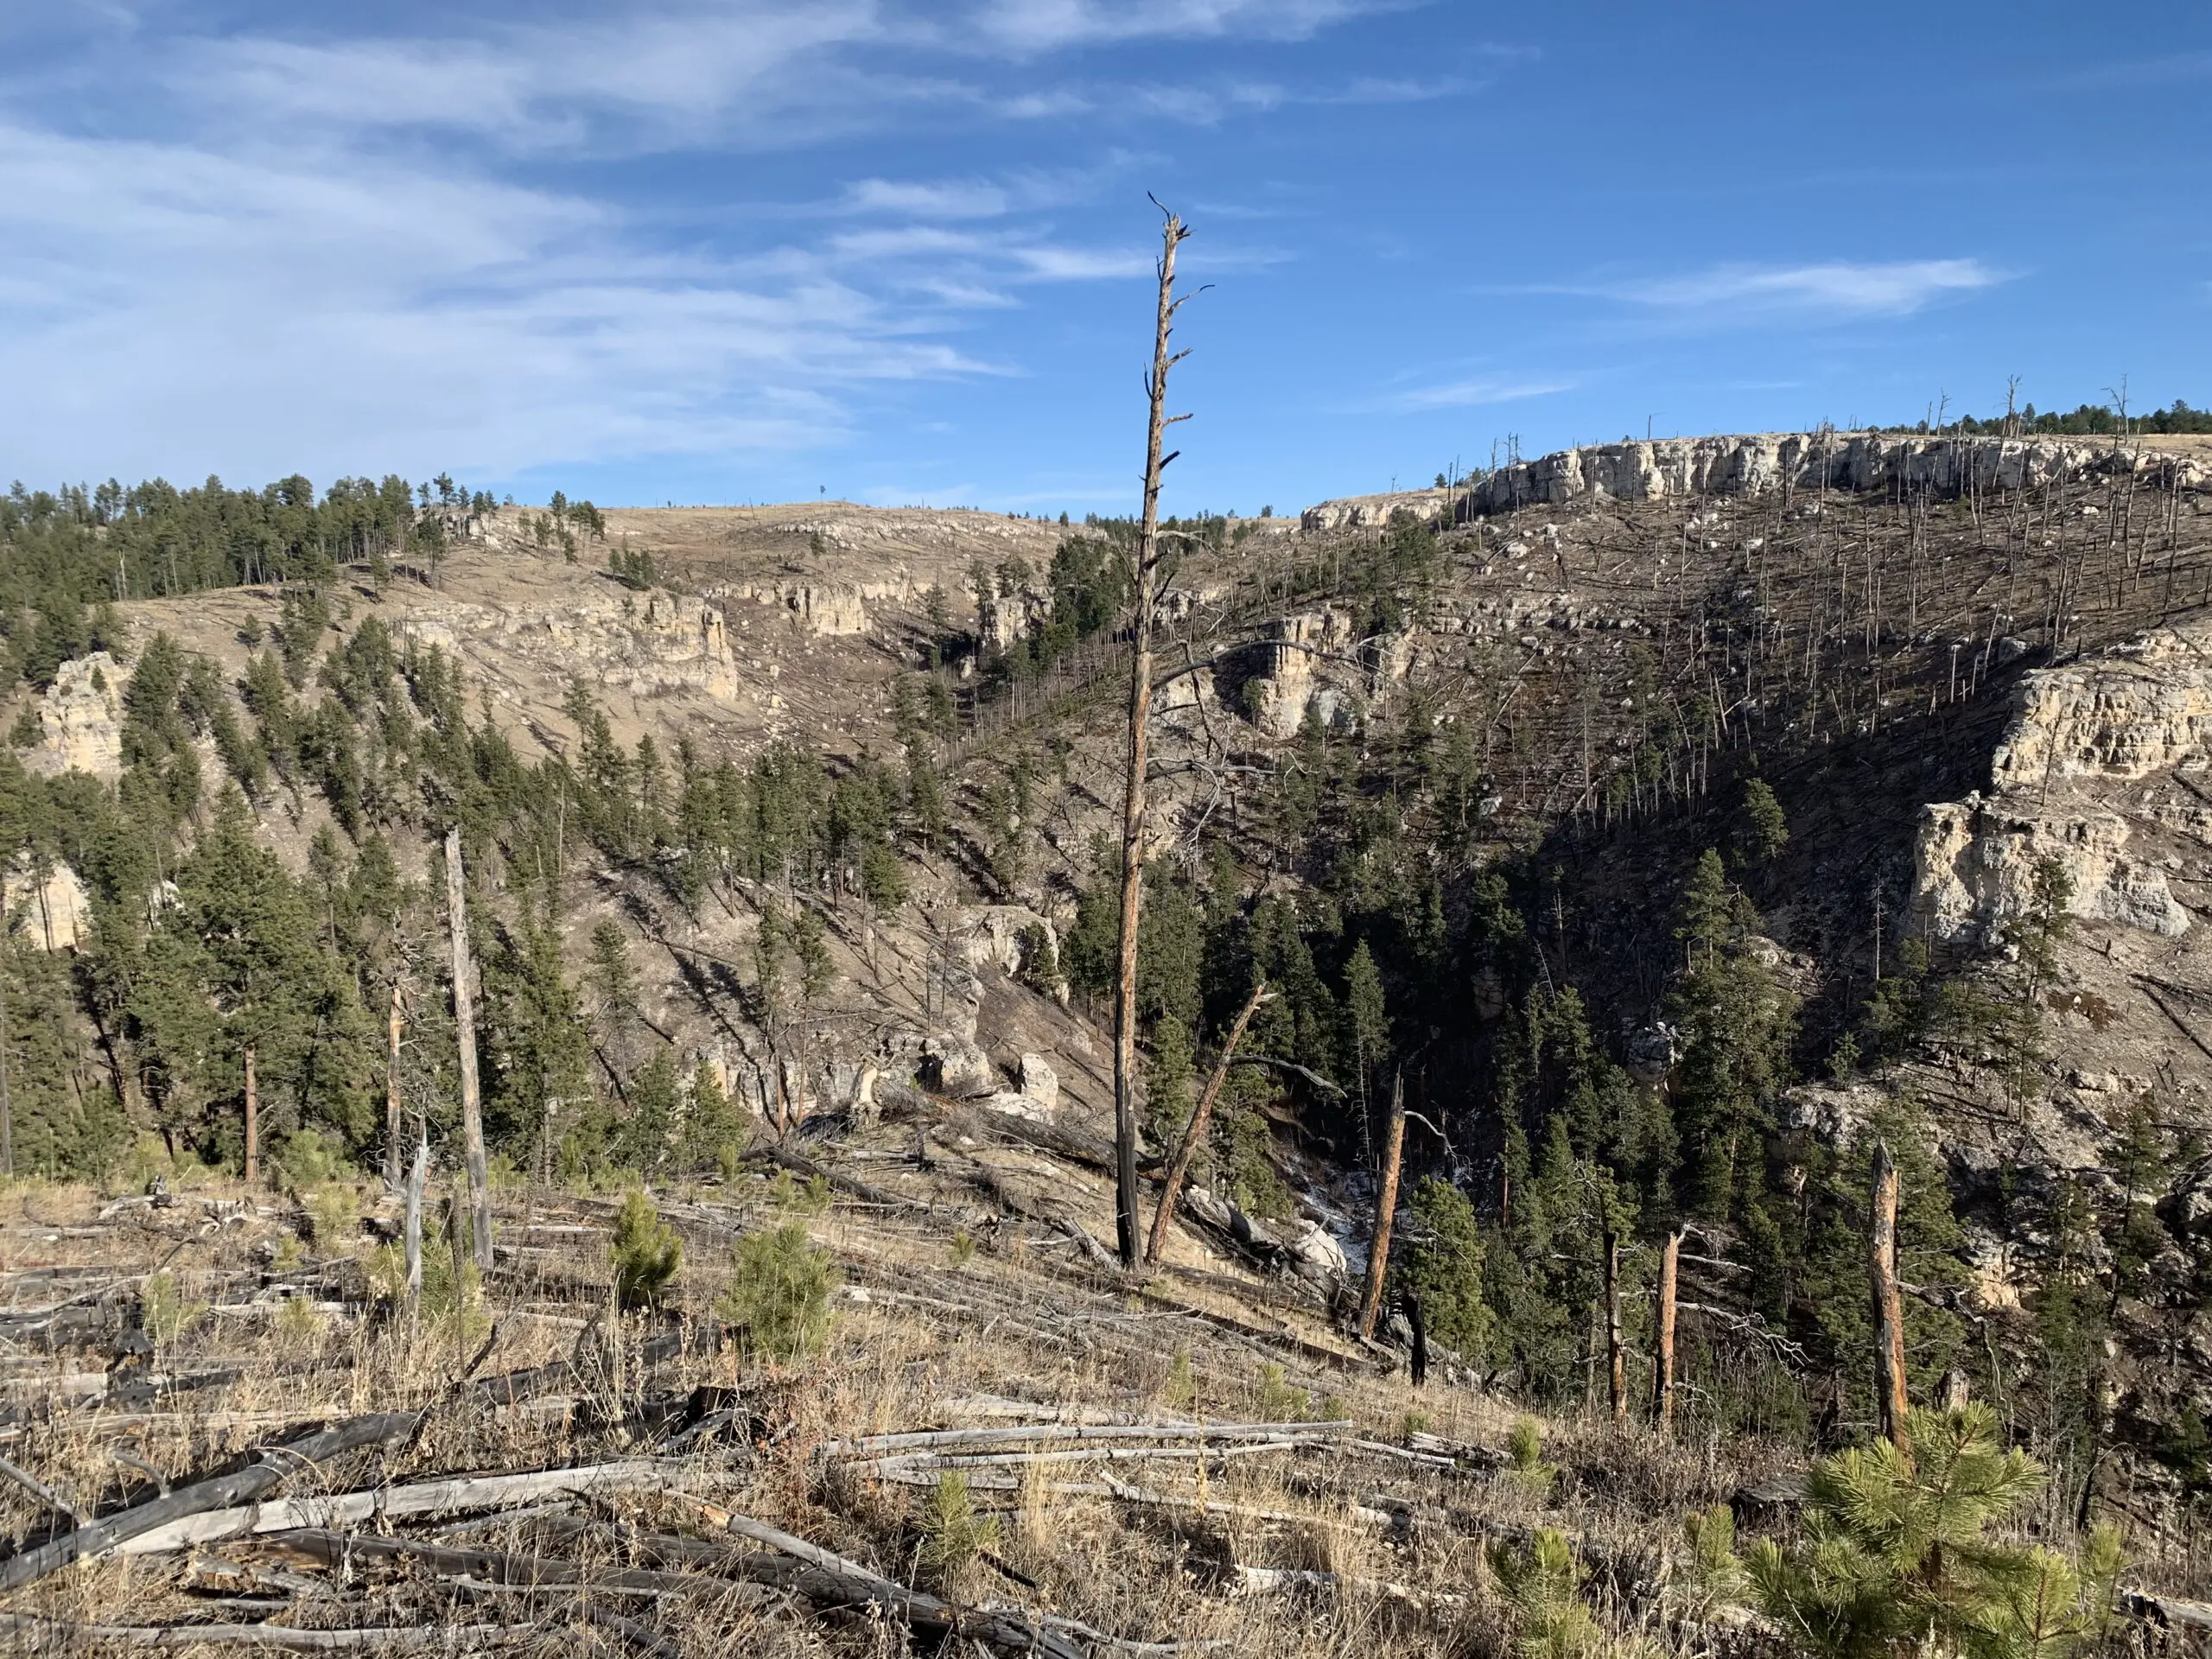
Super secret, dispersed camping area in the Black Hills on Labor Day Weekend–though I have it on good authority this is a great place to get a Christmas Tree!
If you’re looking for a fun, affordable alternative to a full truck camper or trailer, consider a Go Fast Camper!
Do you have a Go Fast Camper? Or are you interested in one? Let me know about your experiences or any questions you may have in the comments!
Did you enjoy this post? Pin it!

Like what you read here today? Please feel free to leave a comment, like, or share this post! Add your email at the bottom of the page, or the sidebar to the right, to be notified when a new post is published. By signing up for the email list, you will also receive a free copy of the Tranquil Trekker’s Top 10 Tips of Trekking Do’s and Don’ts! You can also follow the blog on social media by clicking the links below!
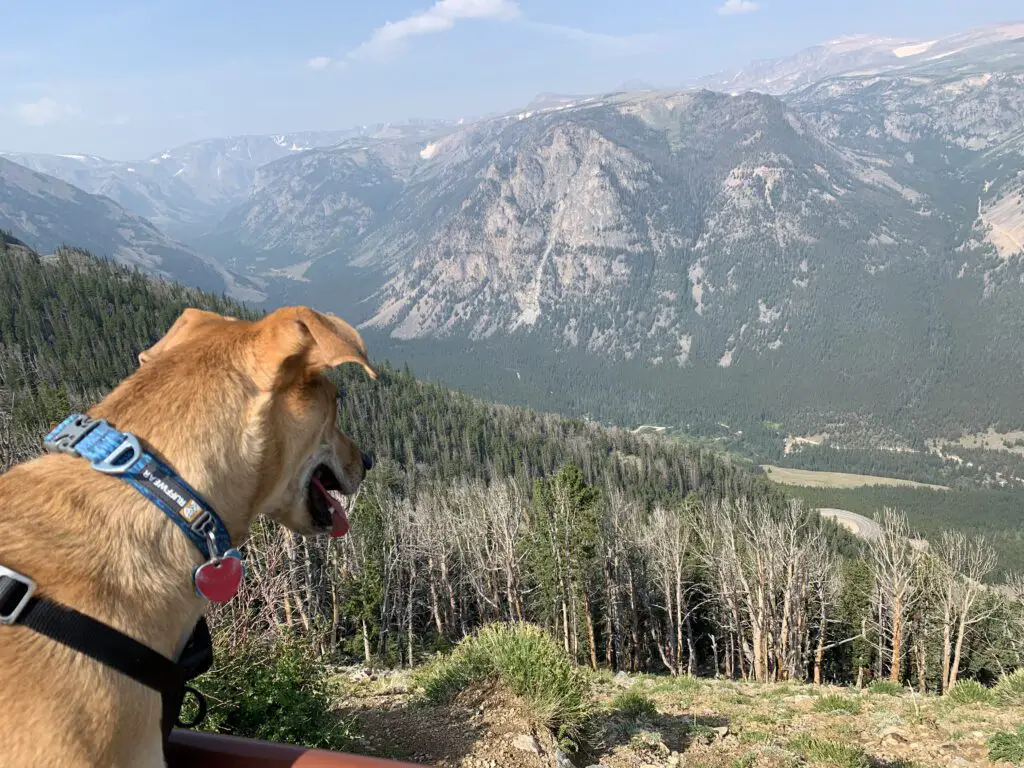
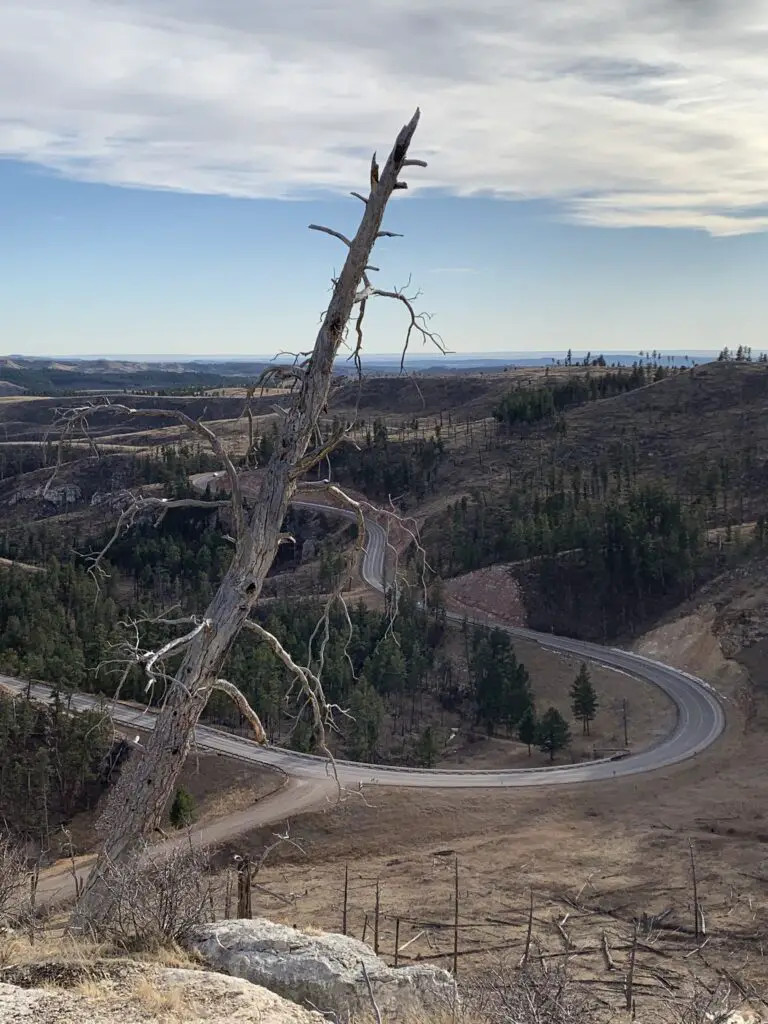

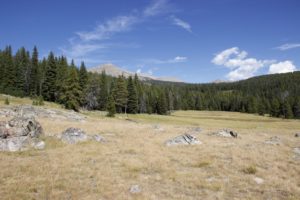
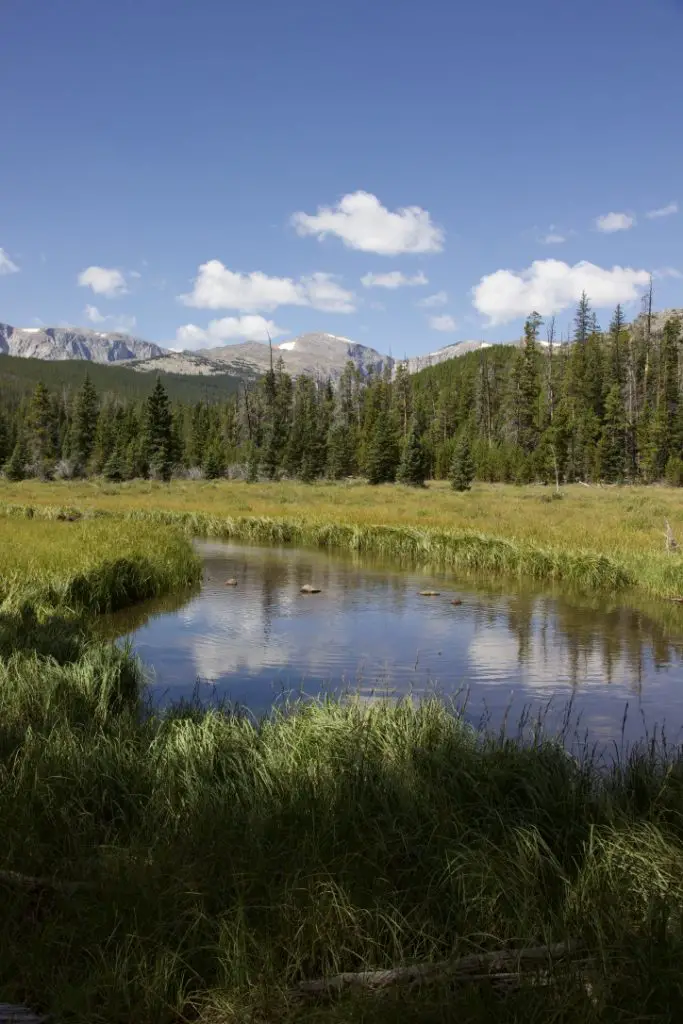 Though this area is just as beautiful as the Rockies, it is FAR less crowded, which makes it so much more pleasant to visit. 😋 There are no lines of people hiking in the Bighorns like we’ve experienced in various places around Colorado. Also, oftentimes, the lower-elevation plains may be baking in 90-degree weather, while it’s in the 60s-70s, and breezy, in the mountains!
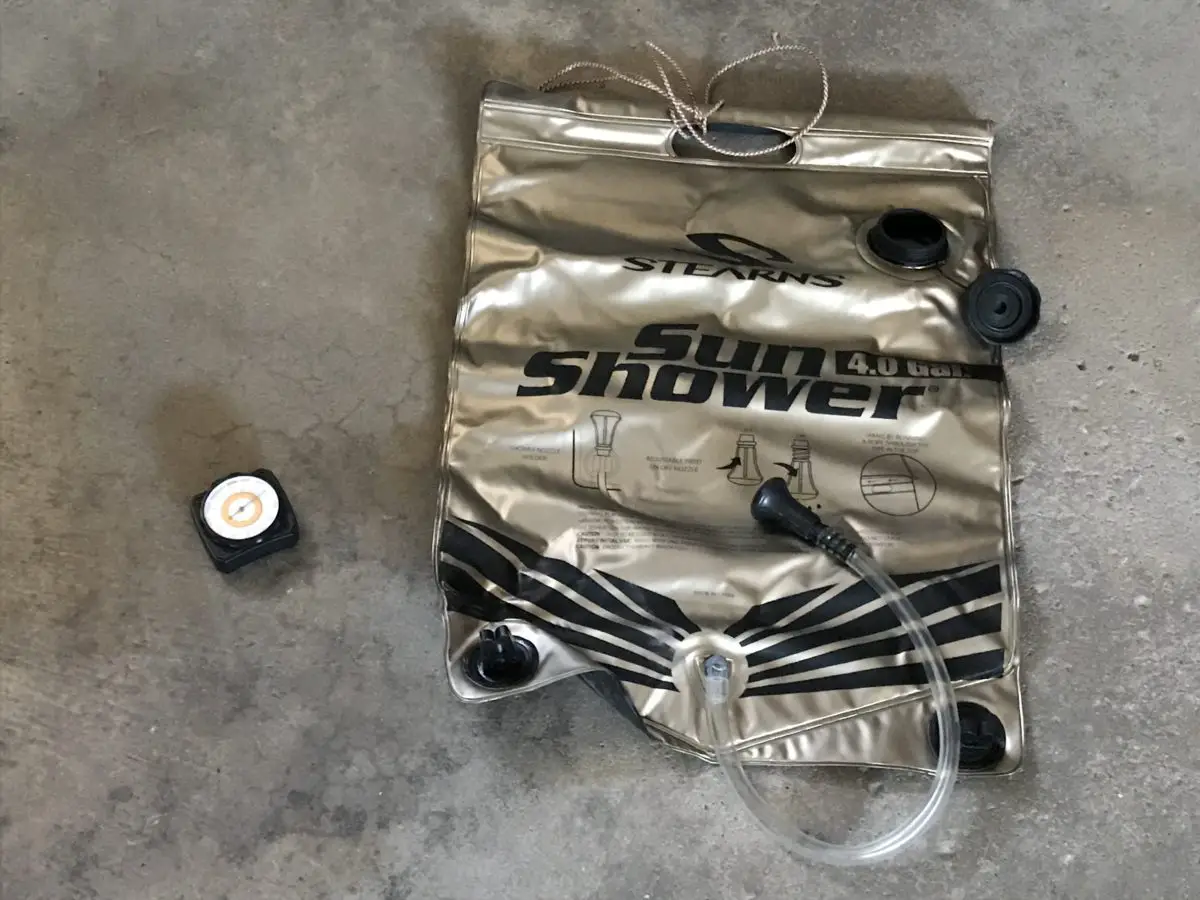
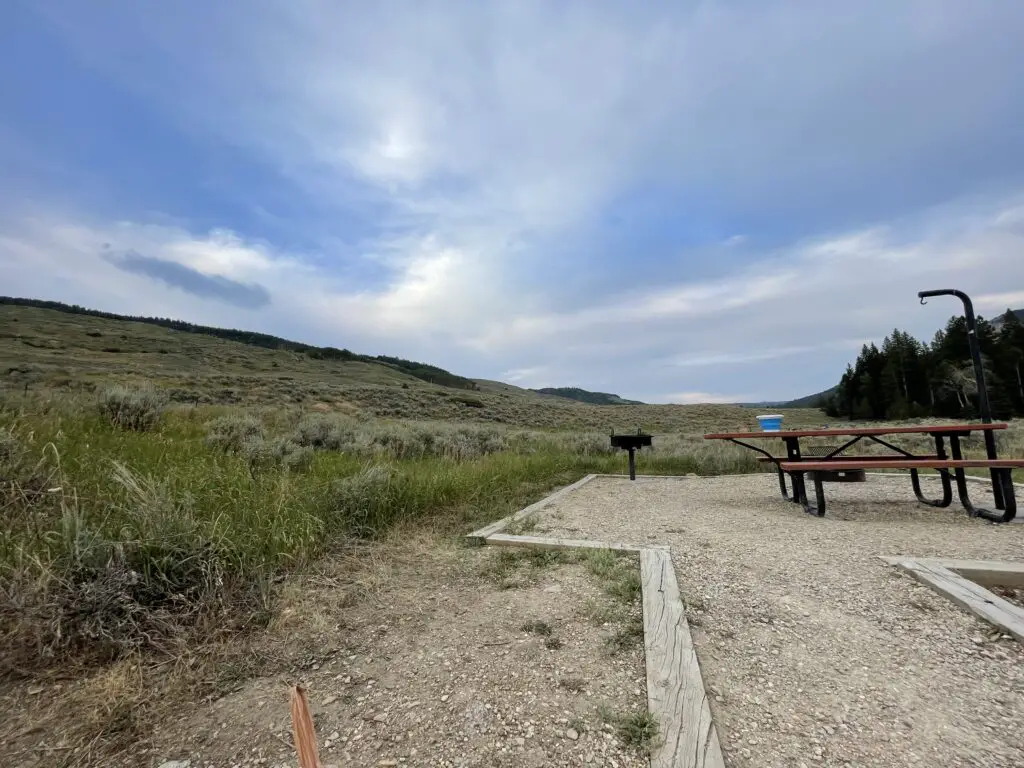
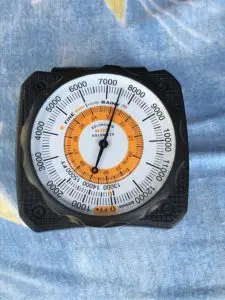 Our campsite was at about 7500 feet on this visit (oftentimes we stay much higher, closer to 9000-10,000 feet). We’ve noticed something odd at these high altitudes that we have also experienced in
 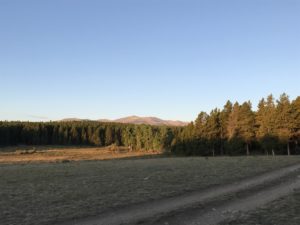 Sometimes when we head out we Disperse Camp. This is also known as “dry camping”, where you just set up your camp somewhere in the national forest, outside of an established campground. We tried this for the first time in Colorado, at both State Forest State Park and near Crested Butte. On both occasions, we did stay at an actual, numbered campsite, it was just away from any campground and we weren’t able to see our neighbors.
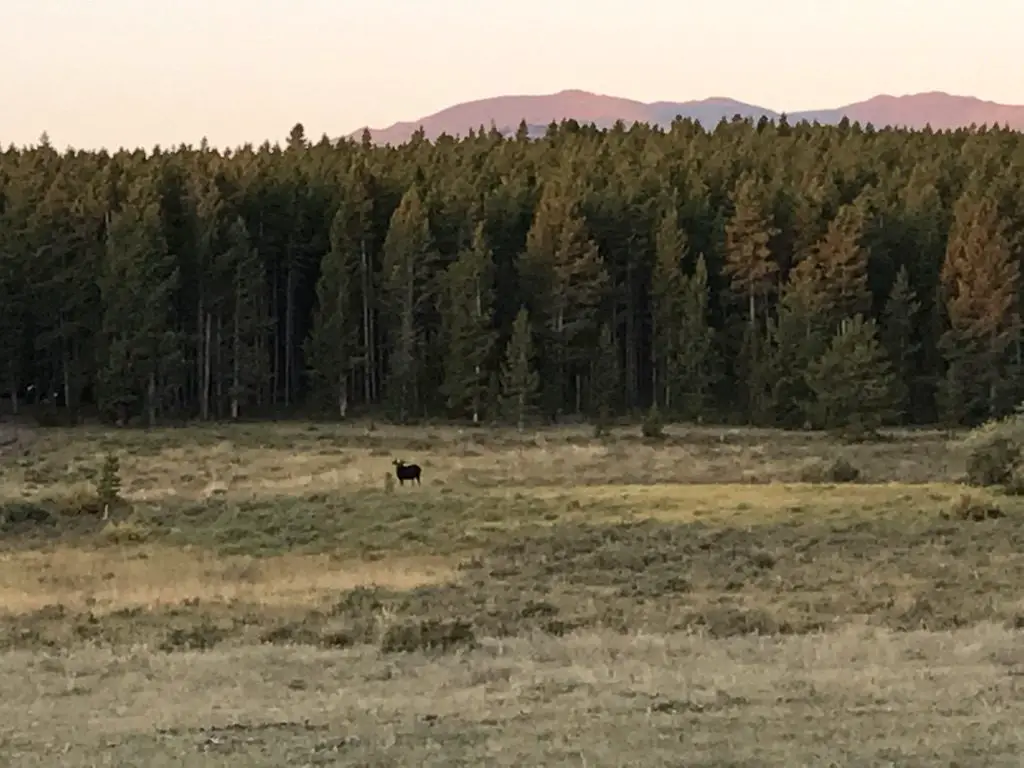
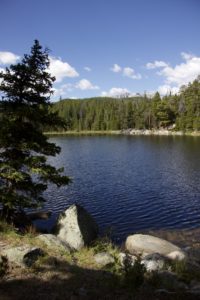
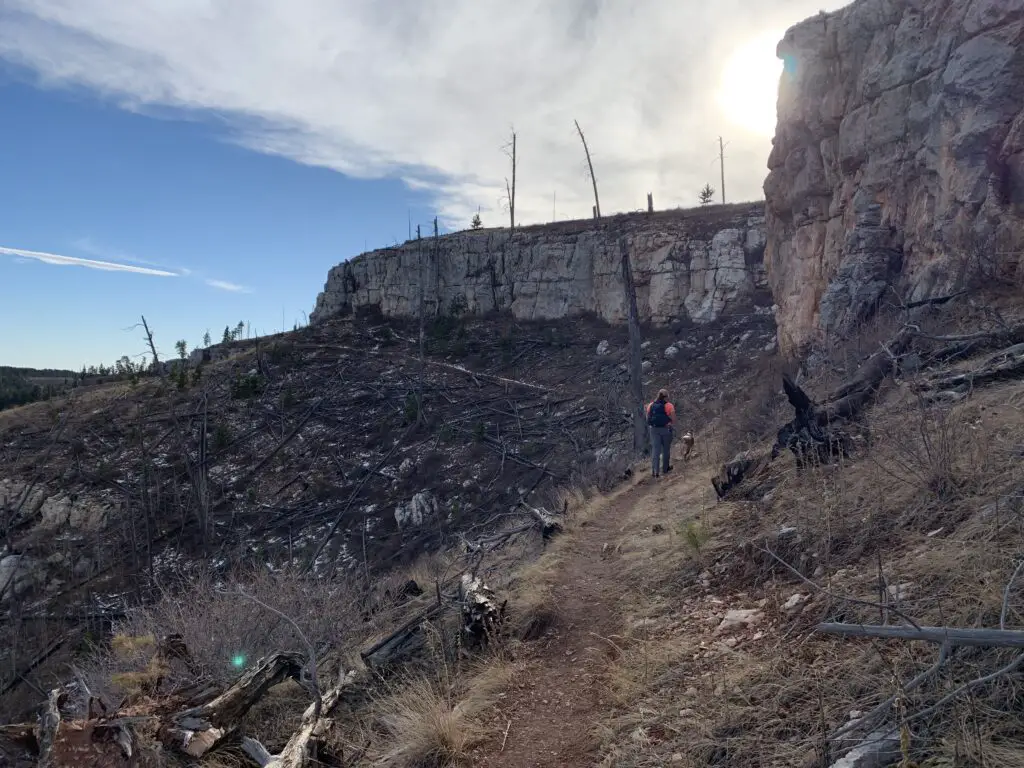
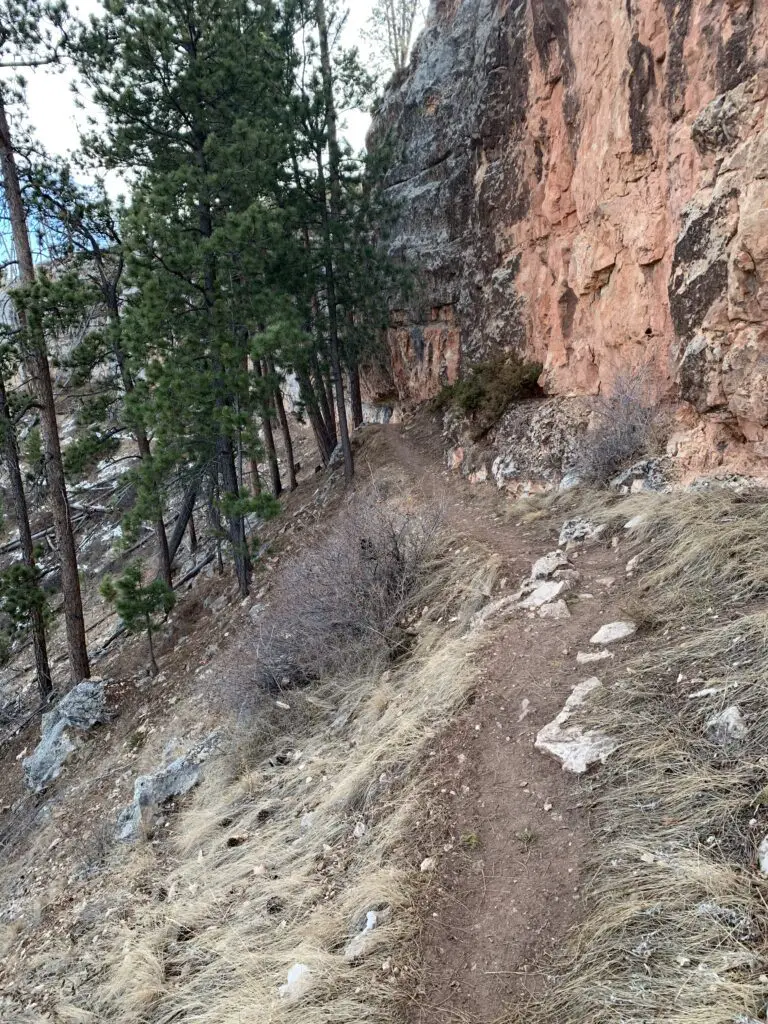
 This hike was deceptively tough. It’s only about three miles in total length, but it’s overgrown in many spots, very rocky and there are lots of downed trees. We actually lost the trail several times and had to root around to locate it again. Other parts of it are PERFECT though. They feature a flat, graded path through a moist, pine forest, that is surrounded on both sides by a green carpet of ferns, moss, and soft undergrowth. It almost felt like hiking in the cool rainforests of the Pacific Northwest. It was such an idyllic sight!