Acadia National Park: Sunsets, Lighthouses, Hiking and More!

In this post, I review the second half of our New England road trip, our visit to Acadia National Park!


Acadia National Park in Maine is a great place to visit!

**Author’s note: Just a word of warning, as this is a National Park, no dogs are allowed on any trails (exceptions for Service Animals). They are only permitted in the campgrounds and parking lots.**

Mount Desert Island, Bar Harbor and “the Quiet Side” of Acadia National Park

Acadia is a beautiful park that takes up the majority of Mount Desert Island, on Maine’s coast.  Thanks to the waterways that are found near it, this island is a bit oddly shaped.

If you’re a visual person, like me, this map may make the directions I use throughout the rest of the post more clear. 😇 

The main island is composed of two halves. The eastern half contains Bar Harbor and the majority of the touristy sites–this side is far busier.  It definitely offers the most options in way of shops, lodging and food choices, though.  Also, many of the tours leave from here, but the amount of traffic and people can get a little crazy.

The western half of the island lives up to its nickname as “the Quiet Side of Acadia” as it is far less commercialized and therefore, FAR quieter than the other areas on the island.  This is where we rented our “tiny house” Air B&B for the week, and we enjoyed staying here (we live in one of the least populated states in the country, we’re more into wildlife than people 😛).  If you’re seeking a more relaxing stay, I recommend staying here, or the even more remote Schoodic Peninsula.

A pass is required to access basically any of the park sites.  These are available easily online, but only at a few places on-site (the park gates and the Visitor’s Center).  So if you don’t get a pass online, one of your first priorities after arriving here should be to acquire one. 

Also, parking can be quite a challenge.  The outdoor store, L.L. Bean, has been generous enough to pay for the site’s public shuttles, that run throughout the park and much of the island, making them free for visitors.  Bikes can be transported on these, as well.

Acadia was a bit of a different experience for us.  The national parks out west, that we’ve become accustomed to, are frequently located in the middle of nowhere.  They are also usually surrounded by other public lands (such as BLM land, National Forests, etc.)  Also, most national park boundaries surround one big chunk of land.  I had anticipated that Acadia would fit these characteristics, as well.

Acadia National Park surprised me though.  It is comprised of individual segments of land that are surrounded by residential, privately-owned properties.  Much of the park land was donated to the National Park Service by the famous, Rockefeller family, many years ago.

While most of it is found on Mount Desert Island, some also sits on the nearby Schoodic Peninsula (on the mainland) as well as on several islands that are situated a short distance off the coast.  The park’s more residential location means it offers easier access to civilization (lodging, restaurants, and shops) but it also poses a bit of a challenge for parking and viewing some of the natural areas as you have to skirt the privately-owned land.

The Best Things to Do at Acadia National Park:

This park has been on the Trekkers’ “to-do” list for a while now.  See below for some of the highlights we most enjoyed from our visit…

The Best Sunrise and Sunset spots at Acadia:

Due to the park’s location on the east coast of the US, it is set up much better for viewing sunrises rather than sunsets.  This is mainly due to the open ocean being primarily toward the east, while to the west there are forested hills and mountains.

The flat, mirror-like water in a pond reflects the trees that surround it and the pink colors of the setting sun lighting up the gray clouds overhead.

However, if you prefer sunsets, or you want to view both (OR you are lazy, like the Trekkers, and you don’t want to get up at 4 am–or earlier–to go watch the sunrise 😉) I’ll give you some opportune places to catch a nice sunset.

Seal Cove We didn’t find this site till one of our last nights on the island, but it’s a fine place to watch the sunset (and its easy to reach too).  This location is on the southwest corner, of the western half, of Mount Desert Island.  This area is a quiet, peaceful place to watch the sunset, and during low tide, it provides a rocky beach to clamber around on.

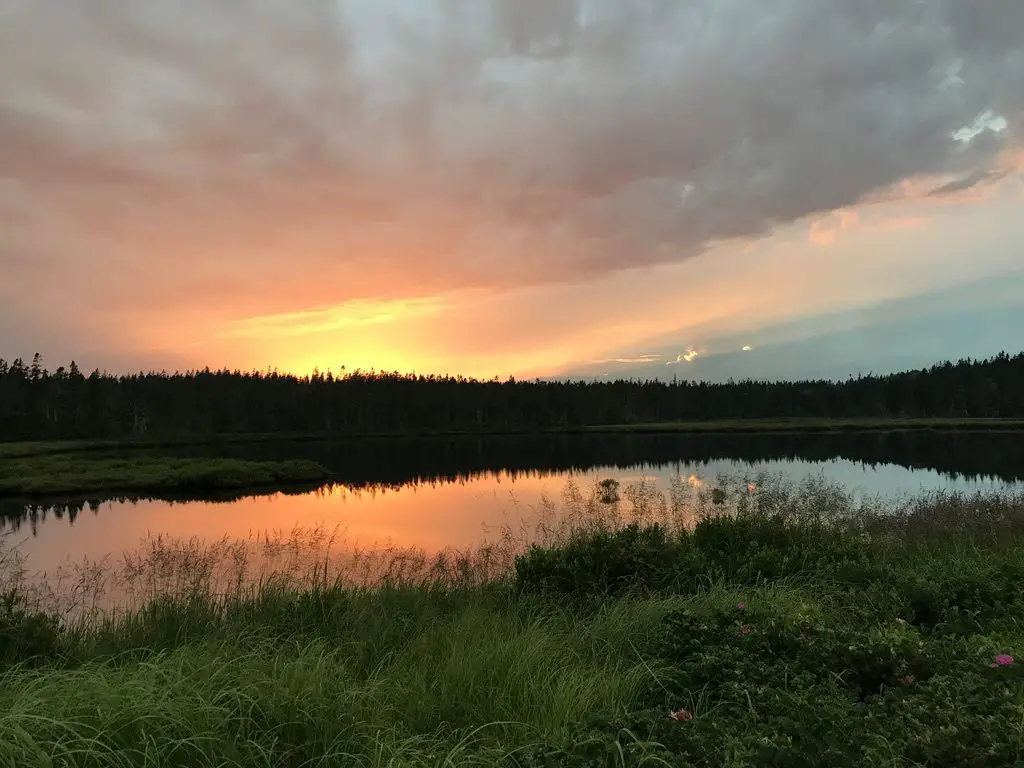
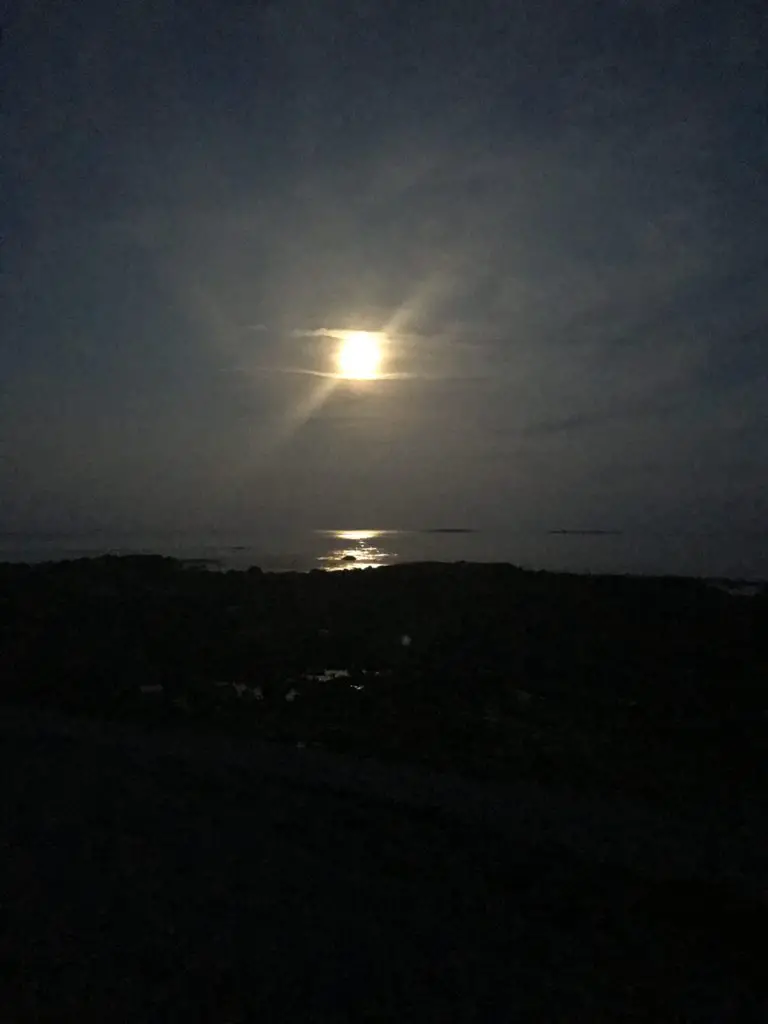
The parking area for the salt marsh, near Seawall:  We saw a GORGEOUS sunset here, over the salt marsh, to the west.  The setting sun outlined thunderheads far in the distance.  This site makes for a fine place to watch the moonrise over the ocean to the east (or the sunrise, if you’re an early bird).  Based on the activities of other visitors that we saw there, this is also a prime spot for clamming during low-tide.  No matter the reason you’re stopping here to visit, be sure to bring the mosquito spray!  This site is found on the southeast corner of the western, “Quiet Side” of the island.

The flat, mirror-like water in a pond reflects the trees that surround it and the pink colors of the setting sun lighting up the gray clouds overhead.
Sunset over the salt marsh near Seawall. Check out those storm clouds backlit by the sun!
The yellow, setting sun shines through the clouds and is reflected on the ocean water. Dark, tree-covered hills are in the foreground
The full moon over the Atlantic Ocean as seen from Seawall

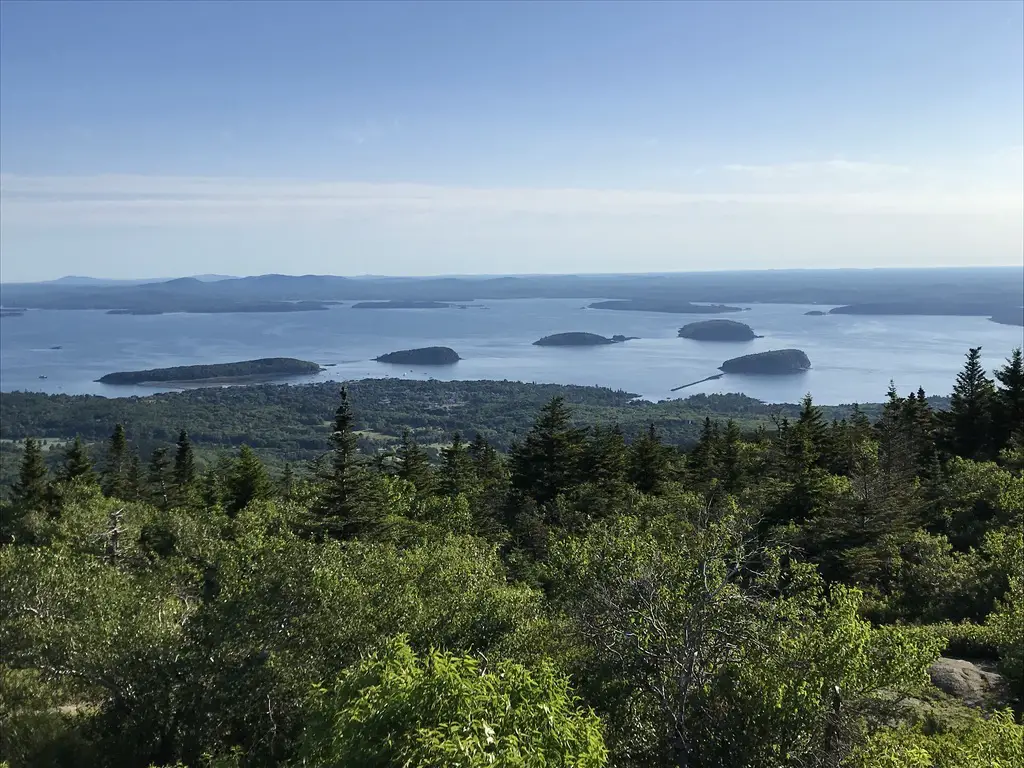
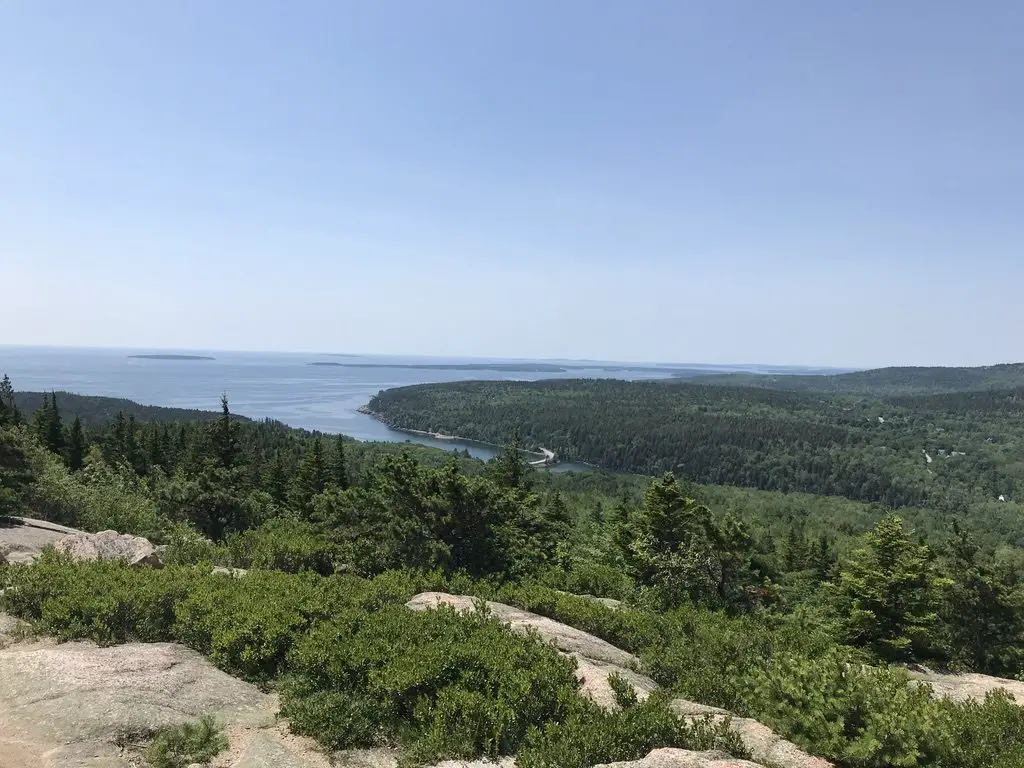
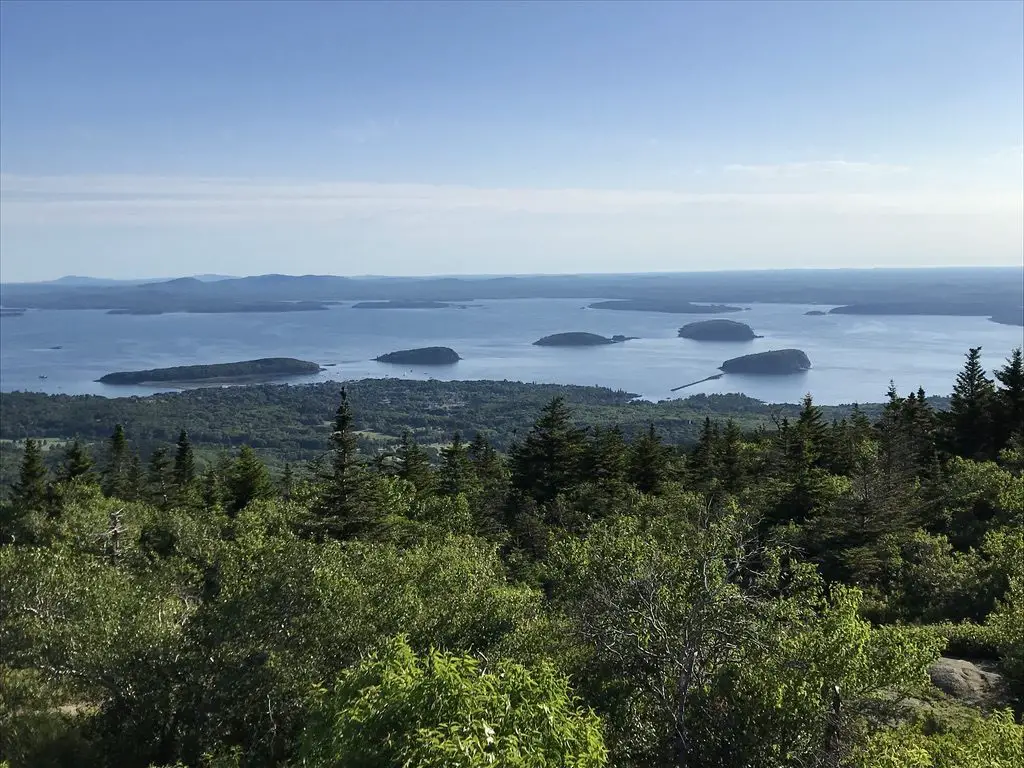
Cadillac Mountain:  This is the highest point on the island and in the park.  On clear days, it allows for FANTASTIC views of the nearby mountains, and, of course, the Atlantic Ocean and the islands that dot its bays.  Sunrise is the busiest time to visit this locale, though the Blue Hill Overlook, found shortly before you reach the summit, would make for a fine place to view the sunset as it faces west.  This site can be reached off the Park Loop Road on the eastern half of the island.

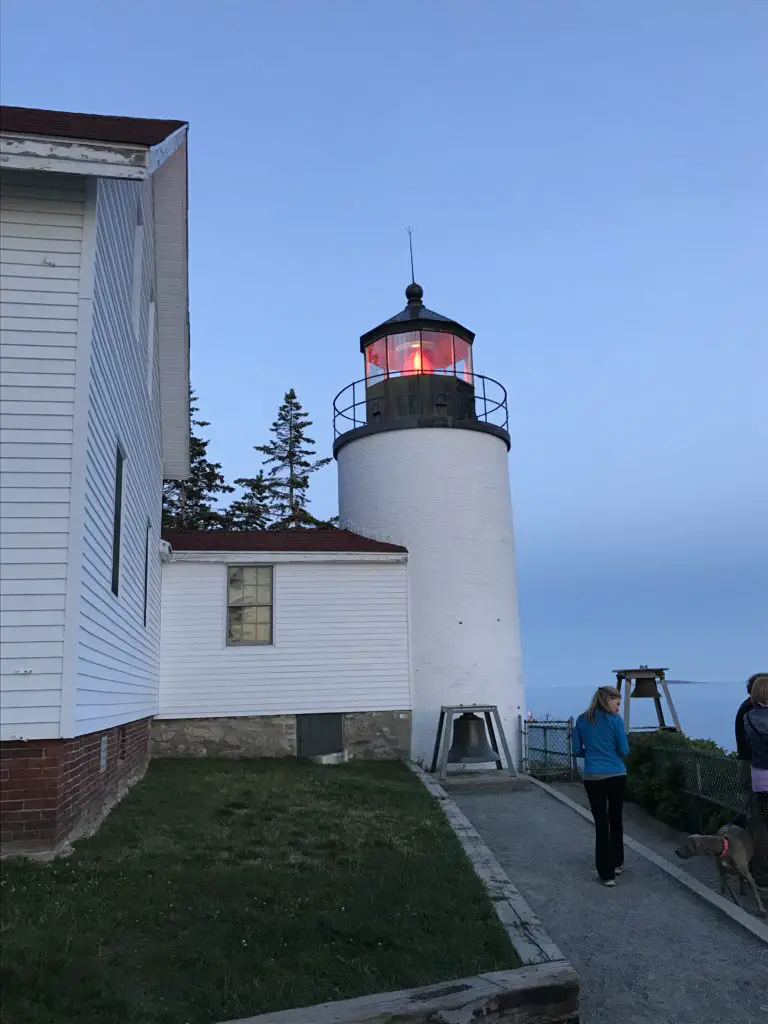
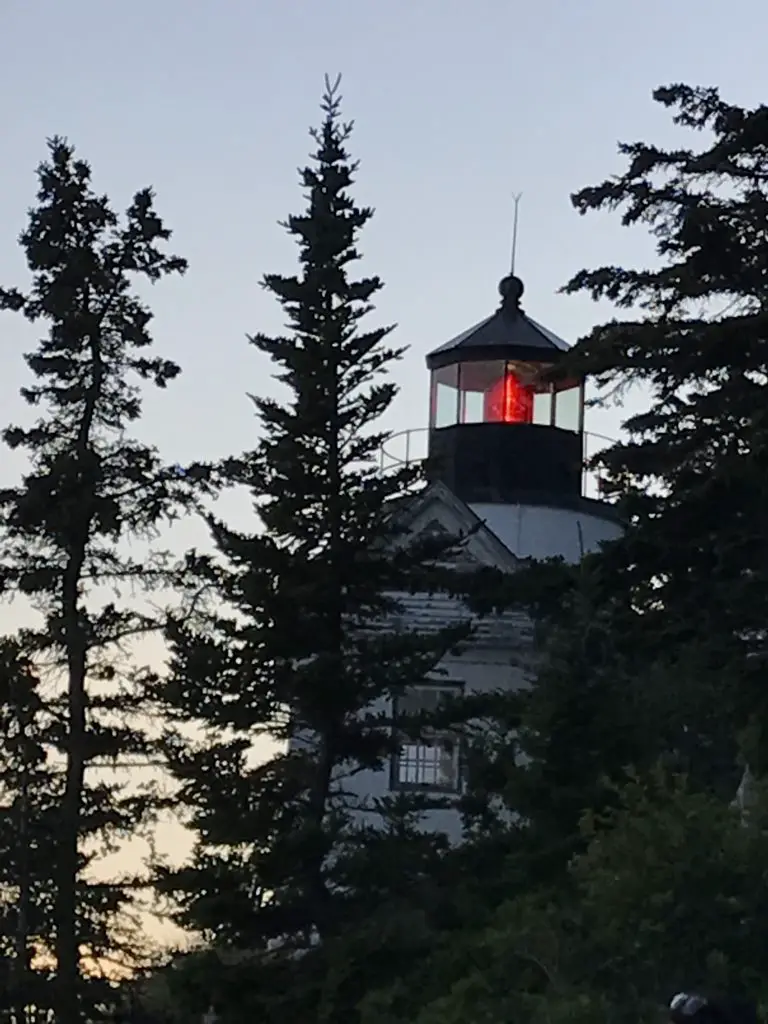
Bass Harbor Lighthouse:  It’s difficult to really see the sunset from here as it faces roughly south and there are hills that block your view to the west.  However, the way the setting sun makes the sky glow, and the way that frames the lighthouse against the rocky shoreline is quite lovely.  This site is found on the southern tip of the “Quiet Side” of the island, south of Southwest Harbor.

In the darkening light, a white building and lighthouse with a reddish-orange light on top. A bell sits in front of the lighthouse tower
Bass Harbor Light, at sunset

In the darkening light, a white lighthouse tower with a reddish-orange light on top is spotted through the pine trees

Acadia’s Lighthouses

With it’s unique location directly on the coast of Maine, Acadia offers many cool lighthouses to visit!

A white building and lighthouse. A bell sits in front of the lighthouse tower

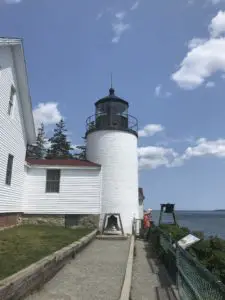
Bass Harbor Lighthouse:  This is the only lighthouse in Acadia that can be easily reached and viewed by car.  It’s also a regularly photographed spot (for good reason.)  It’s manned by the Coast Guard now, so you can’t actually go up it, but you can walk to its base.  There is a short, hiking trail that leads to the rocks on the light’s opposite side, that is nice as well–this is also the viewpoint for sunrise/sunset!  

Bear Island Lighthouse:  This is one of the only other lighthouses near Acadia that can be viewed from shore/by car, and it takes work.  We ended up with a bit of a quest to find it, but we managed, eventually! 

Based on the light’s location on the map, we knew it should be visible from the shore.  So, for several evenings, we drove around trying to catch a glimpse of it.  Alas, all those pesky trees that grow on the East Coast (and some of the privately-owned, residential land) made it difficult. 😉  We DID finally find it though (without trespassing I might add 😉). 

**If you’d like to set out on your own quest to search for it yourself, be my guest.  If, however, you’d like directions on how to find it, scroll to the bottom of this post and I’ll leave them there.** 

If you visit Acadia National Park and enjoy lighthouses as we do, I highly recommend taking a lighthouse boat tour.  Almost all of the structures reside on nearby islands, and some are open for touring, at certain times of the year.  I didn’t realize just how many islands are included within the park’s boundaries (and scattered around the nearby waterways).  This means many of the lights can really only be viewed from the water.

Hiking Trails around Acadia:

There are numerous hikes available at Acadia, ranging from short to lengthy and easy to difficult.  Below are the ones we enjoyed:

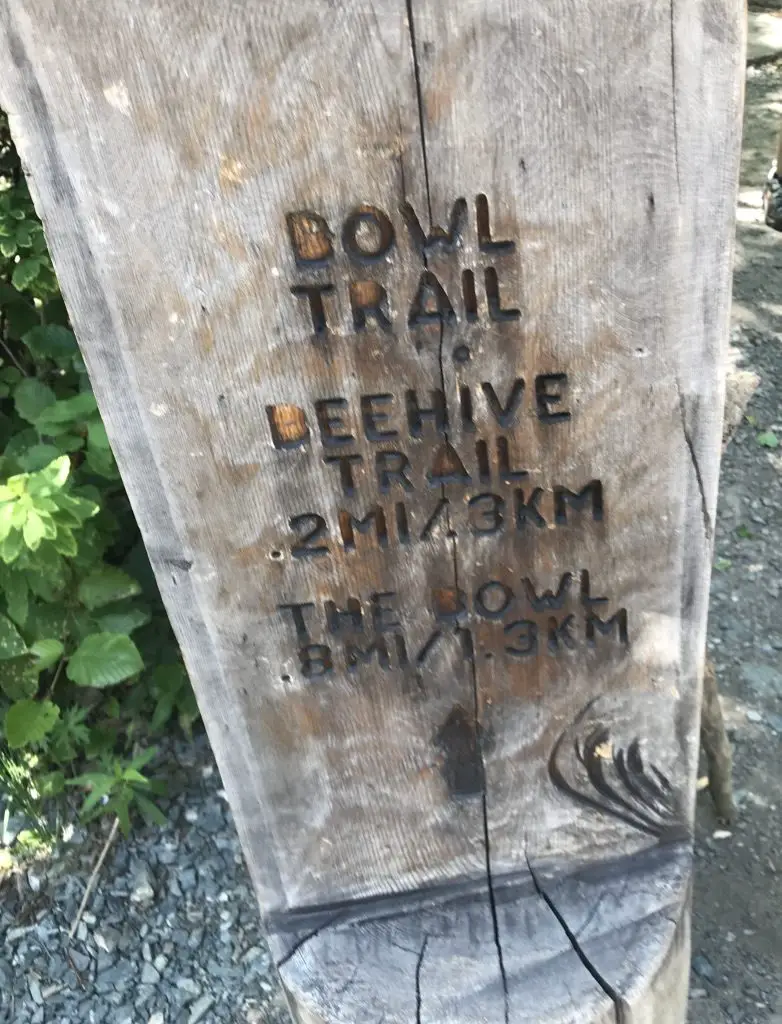
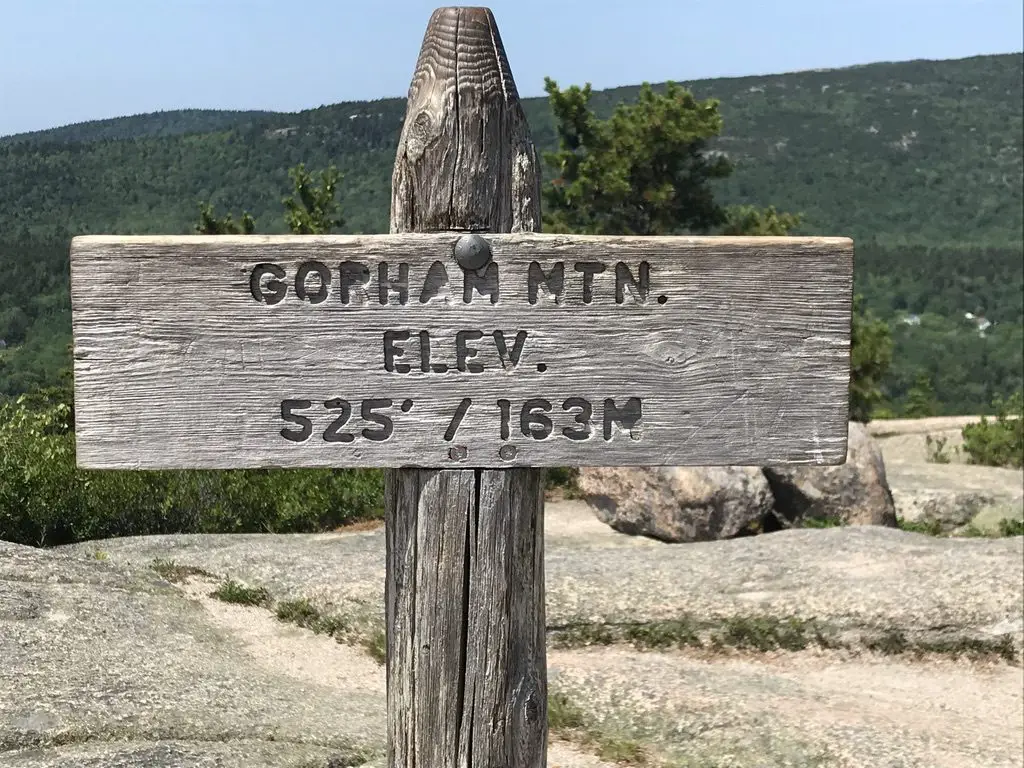
The Beehive/Bowl/Gorham Mountain Trails:  The Beehive Trail is an AWESOME hike!  This was on my “must-do” list while visiting Acadia.  This trail is the little brother to the infamous “Precipice Trail”.  Now THAT ONE looks scary.  It was actually closed when we were there (and is for much of each summer) due to it being a nesting area for peregrine falcons. 

We knew this going in, and I was fine with it.  I don’t know that my fear of heights would allow me to complete this scramble up the side of a mountain. 

Wooden signpost marks the start of two hiking trails. The sign reads, "Bowl Trail--Beehive Trail 2mi/3km; The Bowl .9 mi/1.3km"

All of these trailheads can be accessed via the Park Loop Road on the eastern side of Mount Desert Island, south of Bar Harbor.

Wooden signpost reads, "Beehive Summit Elev 520 ft/160m

We also combined the Bowl and Gorham Mountain Trails into this hike, as they all connect.  We had intended to make a loop of it by including the Cadillac Cliffs Path, and then take the Ocean Path back to the parking area, but I was starting to have my usual struggles with the heat, so we cut it a bit short.

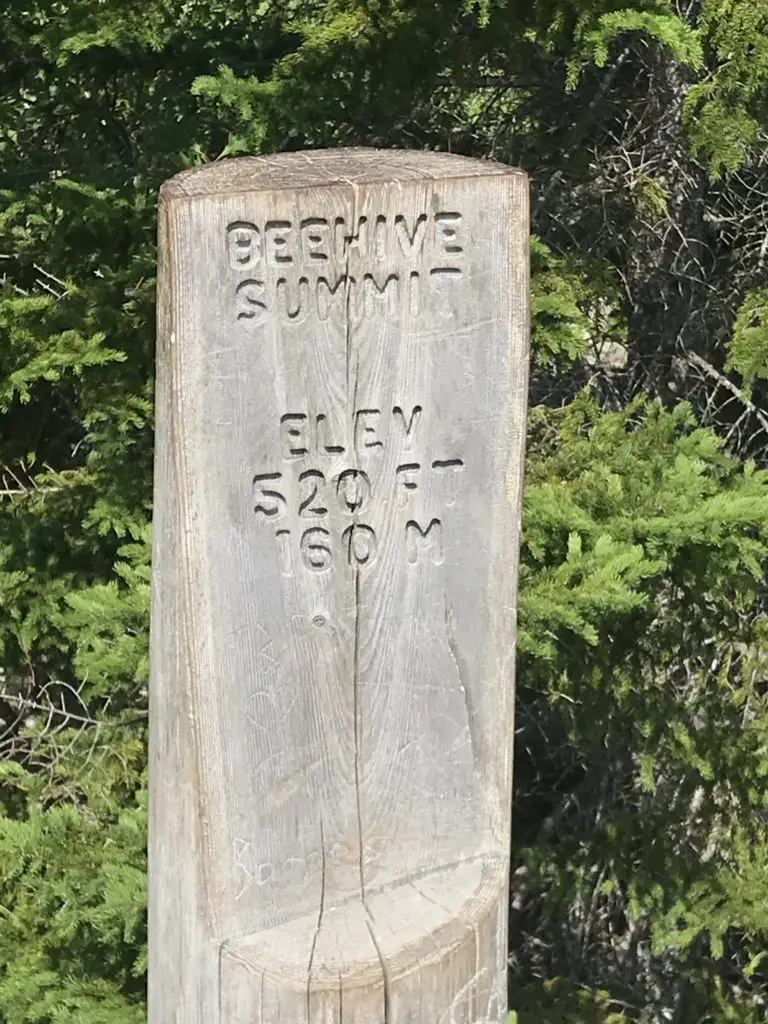
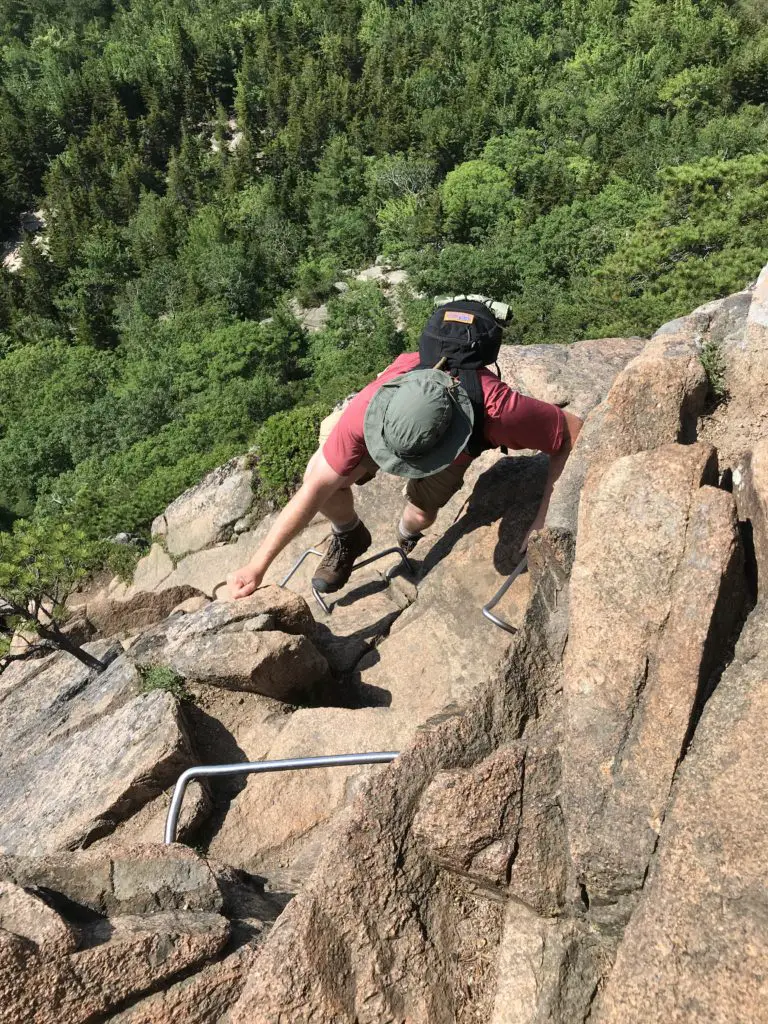
All of these trails were of moderate length.  The Bowl and Gorham Mountain Trails were moderately strenuous.  The Beehive Trail was quite strenuous (though mercifully short) as you basically scramble up the side of the mountain, free-climbing over boulders and using iron rungs that have been strategically placed throughout the route.

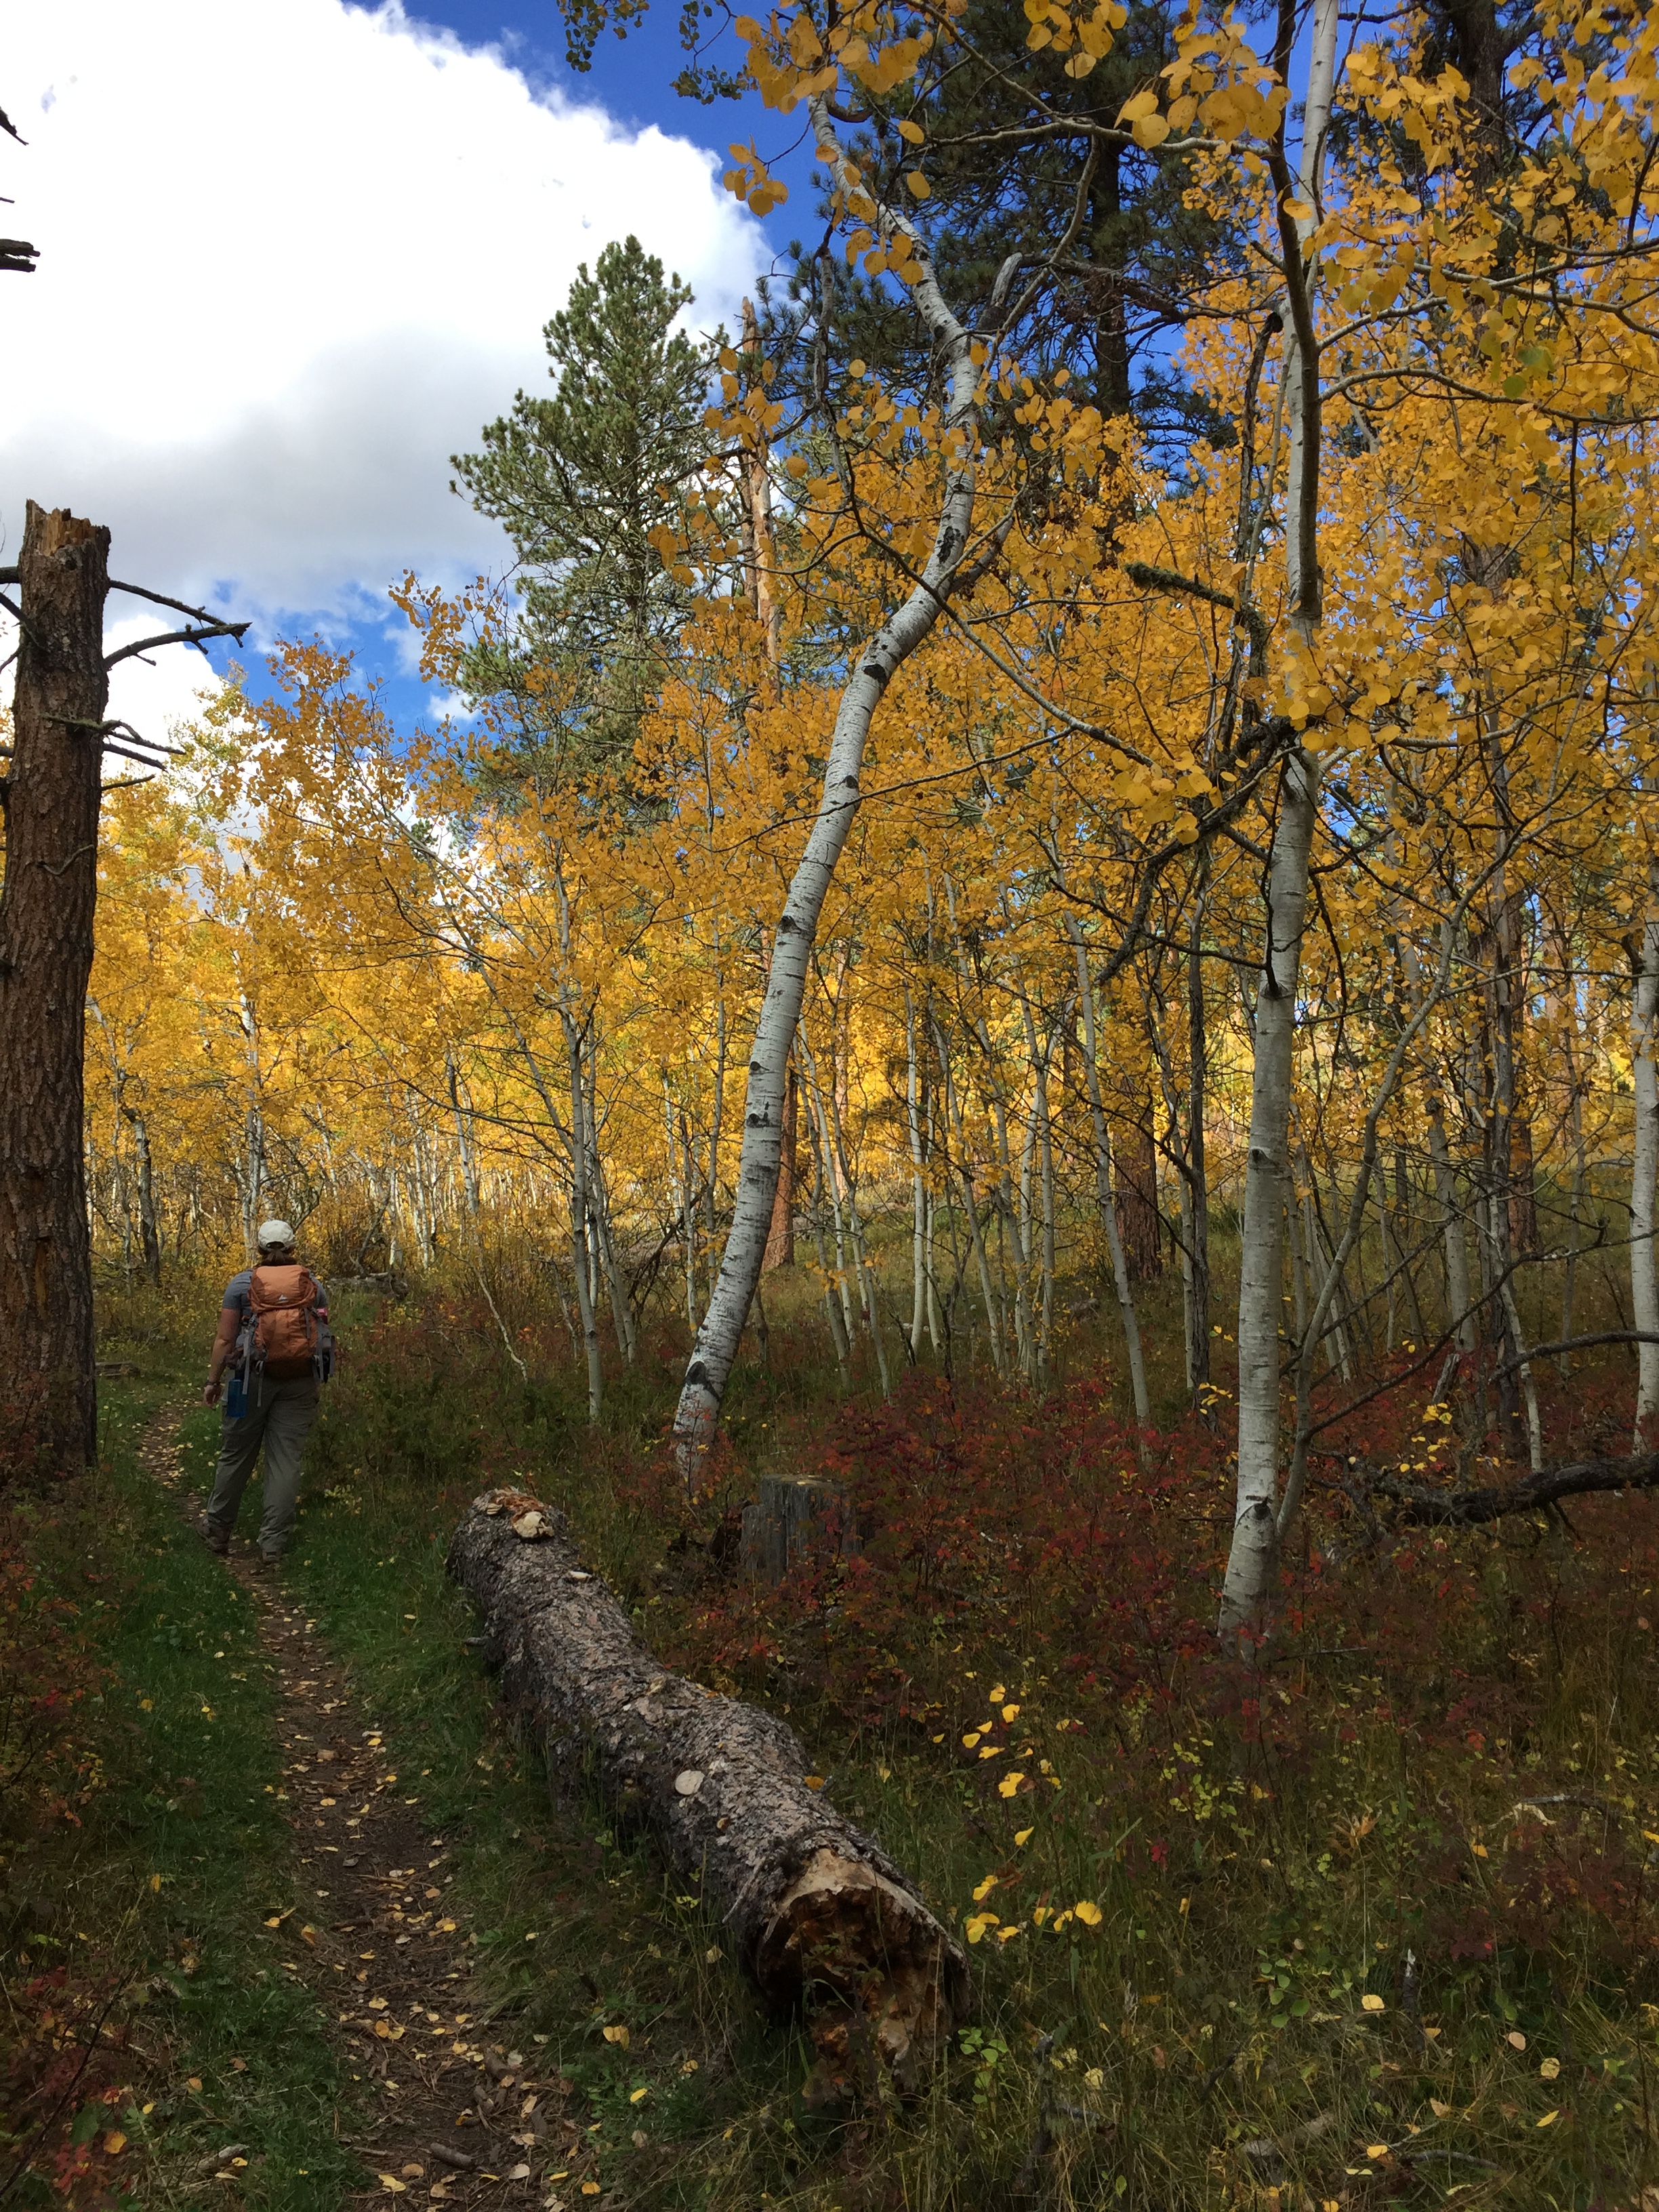
The picture below looks pretty terrifying, but it actually wasn’t that bad.  Trust me, I don’t like heights, but there was only one brief moment when I became uncomfortable (and it can be crossed in just a few steps).  The views from the top are INCREDIBLE though, and make the trek worth it!  If you’re hot, you can loop around and take a dip in the refreshing Bowl in the valley below!

A park climbs up a rock wall on metal rungs in the foreground. In the background, green, tree-covered hills spread far below
Mr. Trekker’s brush with death on “The Beehive” (it’s actually not NEARLY as bad as it looks, but this pic is GREAT, right?! 😉)
Green trees in the foreground with a rock wall, scattered with trees in the background, all under a blue sky. A line of tiny, multi-colored hikers is climbing the rock wall
A line of hikers ascending The Beehive
Green trees in the foreground, a green, tree-covered mountain rises in the middle, all under a blue sky
The Beehive as seen from Gorham Mountain
A small lake surround by trees and green, tree covered mountains, all under a blue sky
The Bowl

Wooden sign post on a rocky, mountain summit. Green, tree-covered mountains rise in the background. Sign post reads, "Gorham Mtn. Elev. 525'/163 m

A rocky, mountain summit in the foreground. Green, tree-covered hills stretch to the blue ocean in the background, all under a clear, blue sky
The view from the Gorham Mountain summit

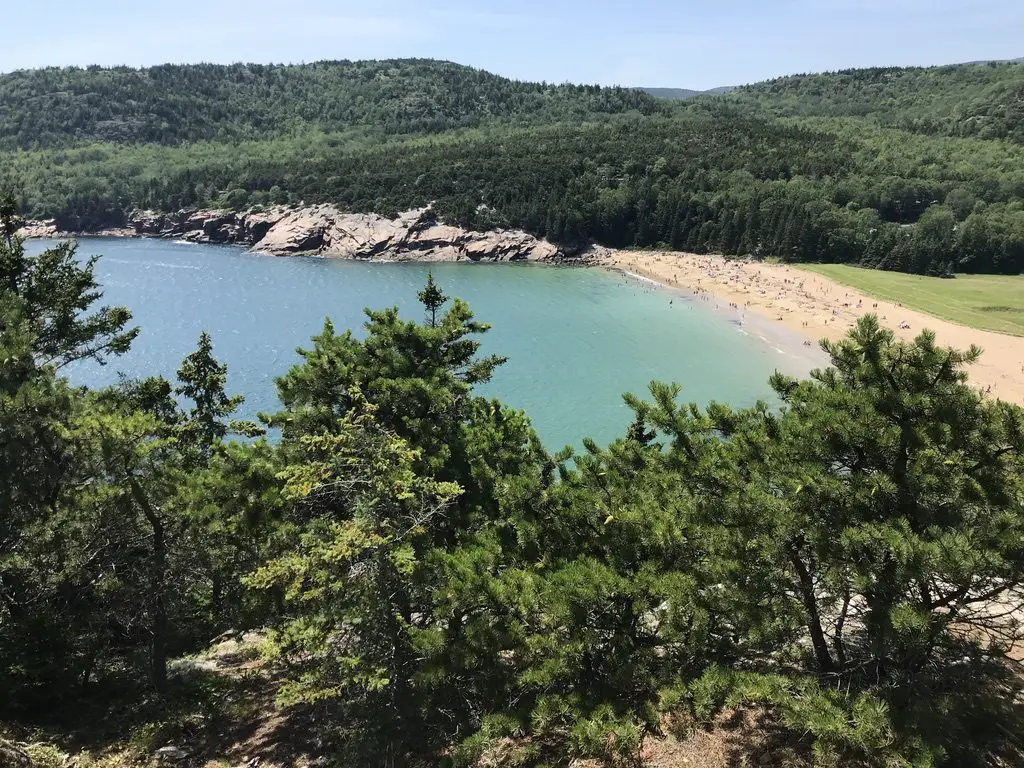
Great Head Trail:  Because we chose to cut the above route short, we were able to enjoy a good portion of this trail that is found in the forest, just to the west of Sand Beach.  Sand Beach can be reached from the same parking area as the Beehive/Bowl trailheads.  This was really convenient as we were able to park the car once and hike for most of the day (just make sure to get there early!)  

Green trees in the foreground overlook a blue-water bay that leads to a narrow, sandy beach. Green, tree-covered mountains rise in the background
Sand Beach

Wonderland Trail and Ship Harbor Trail:

The Wonderland and Ship Harbor Trails are accessed via Route 102A, on the western side of the island, south of Southwest Harbor.

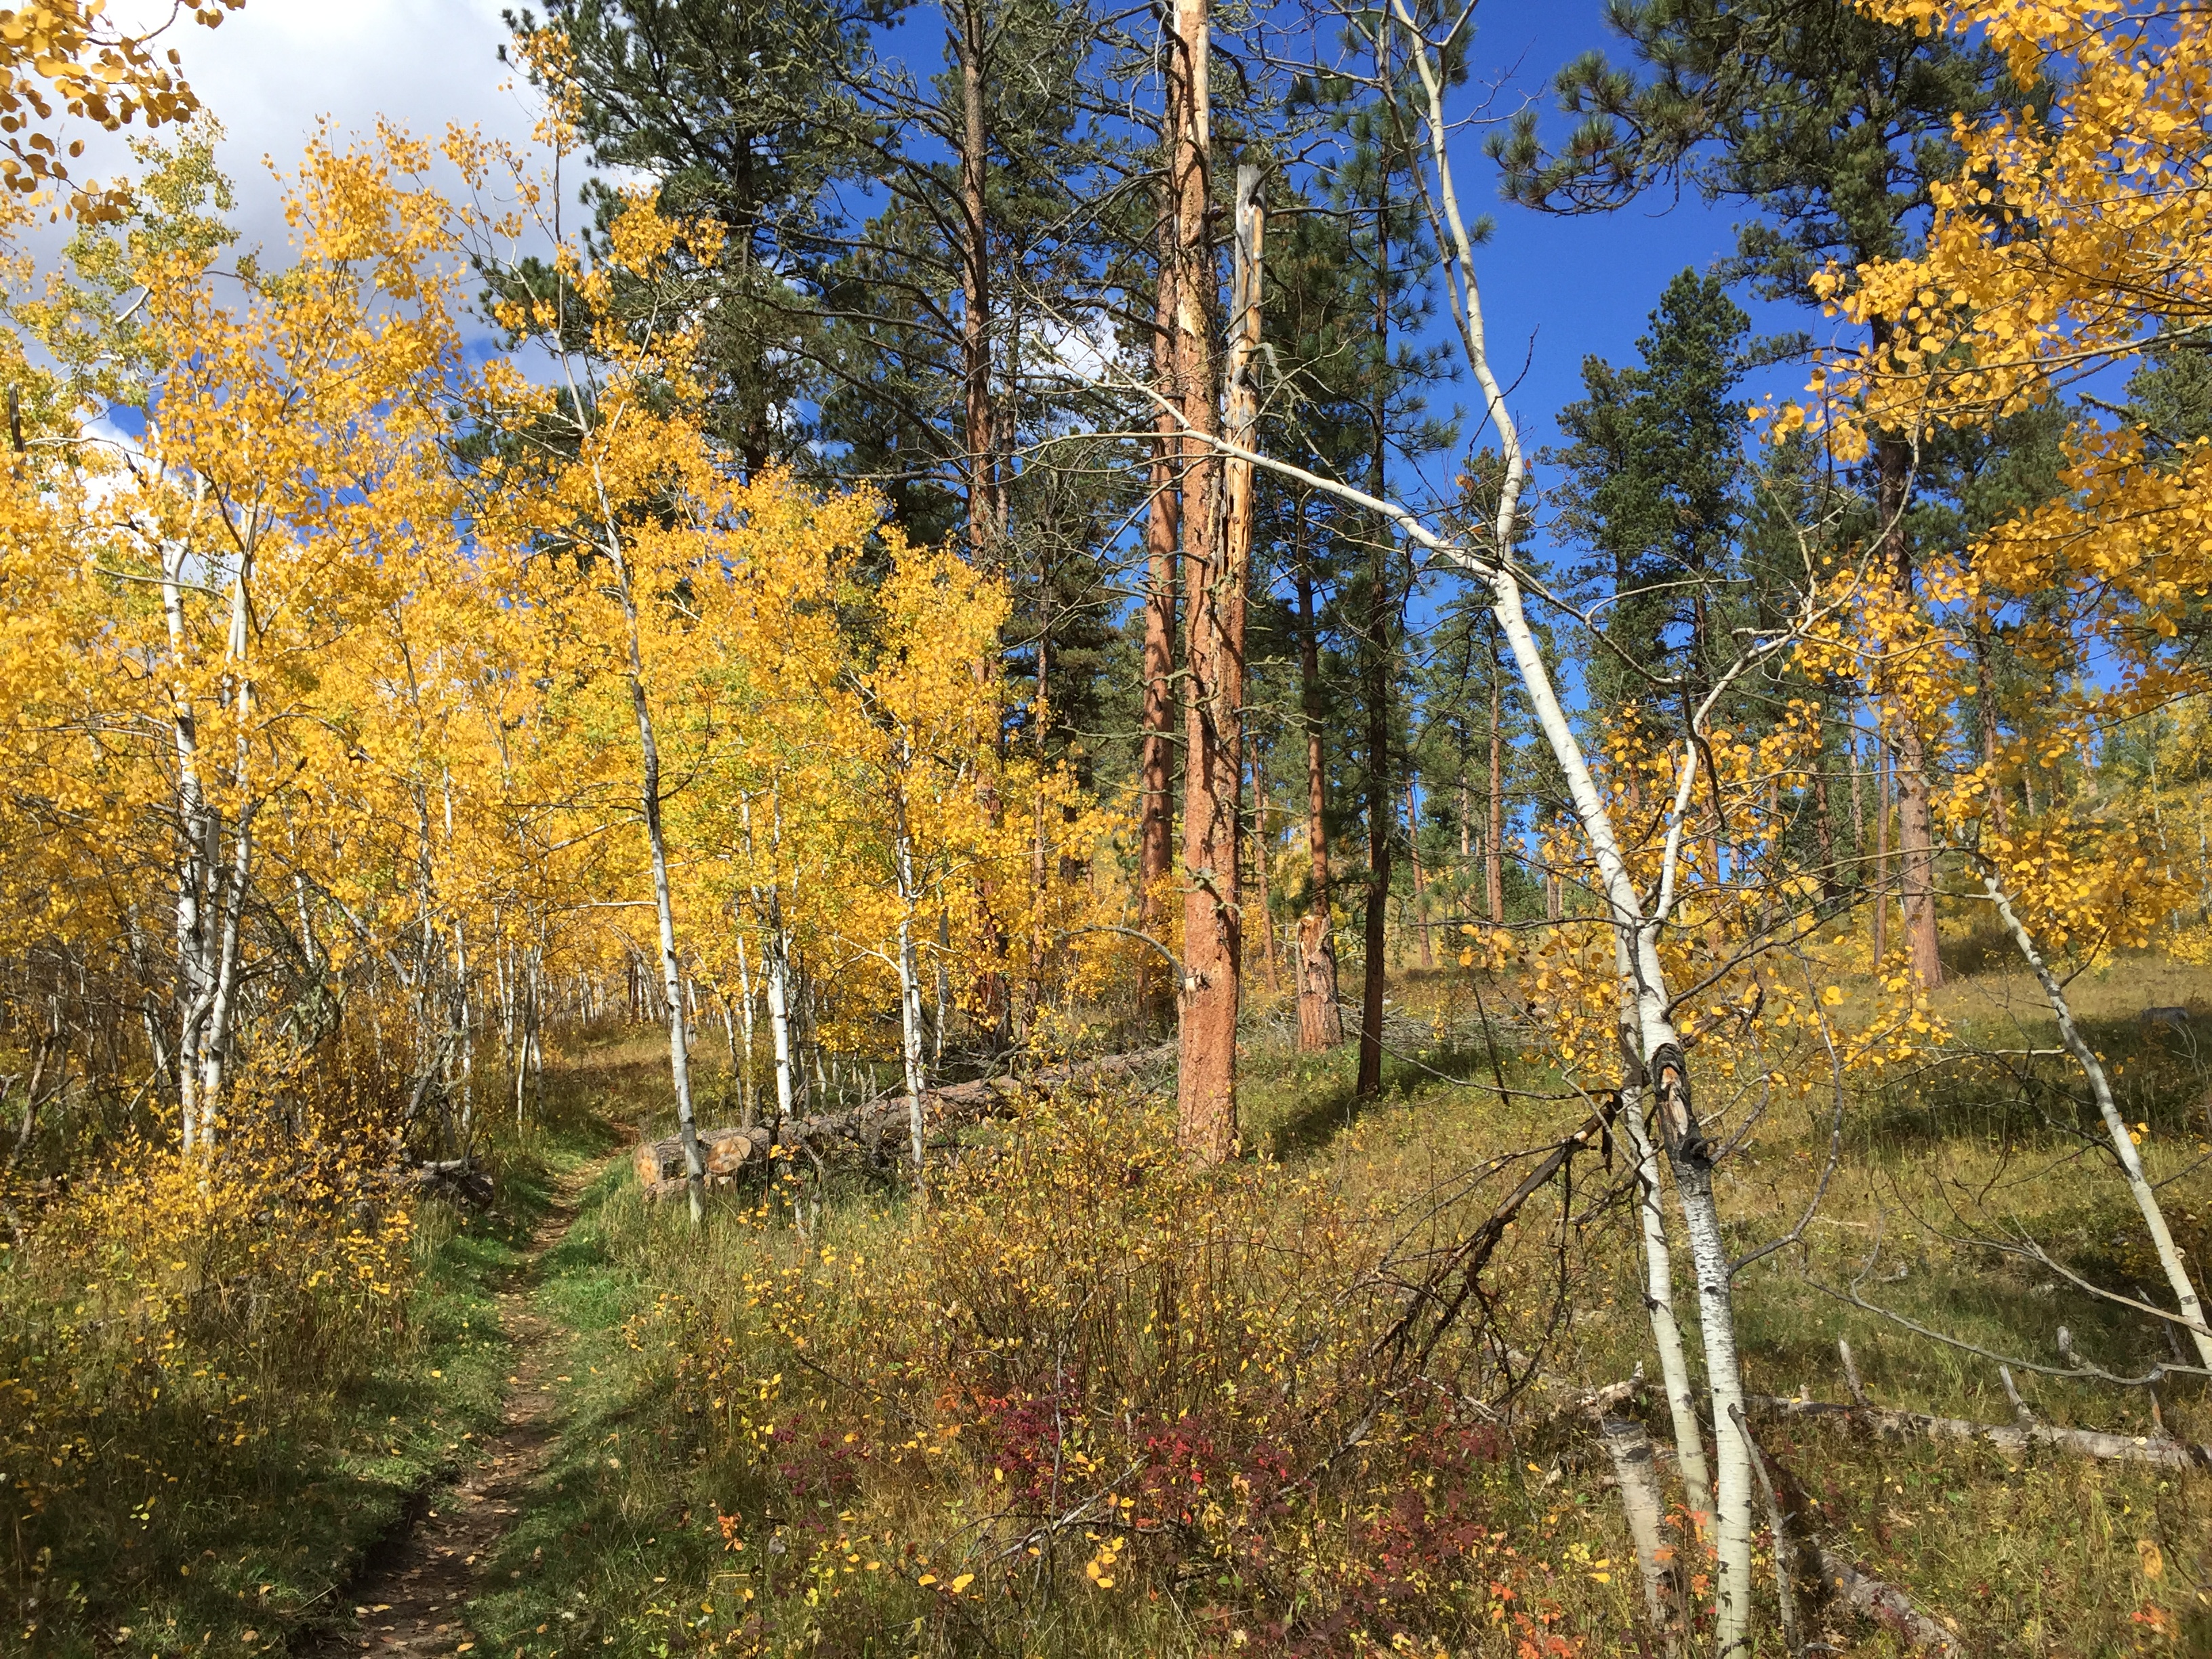
These hikes were short, easy and VERY enjoyable.  Due to their location on “the Quiet Side” of the island, they were much less busy than other areas of the park. 

Mr. Trekker thought the photography opportunities they offered were comparable to ones we found in many of the more well-traveled sections of the park, as well. 

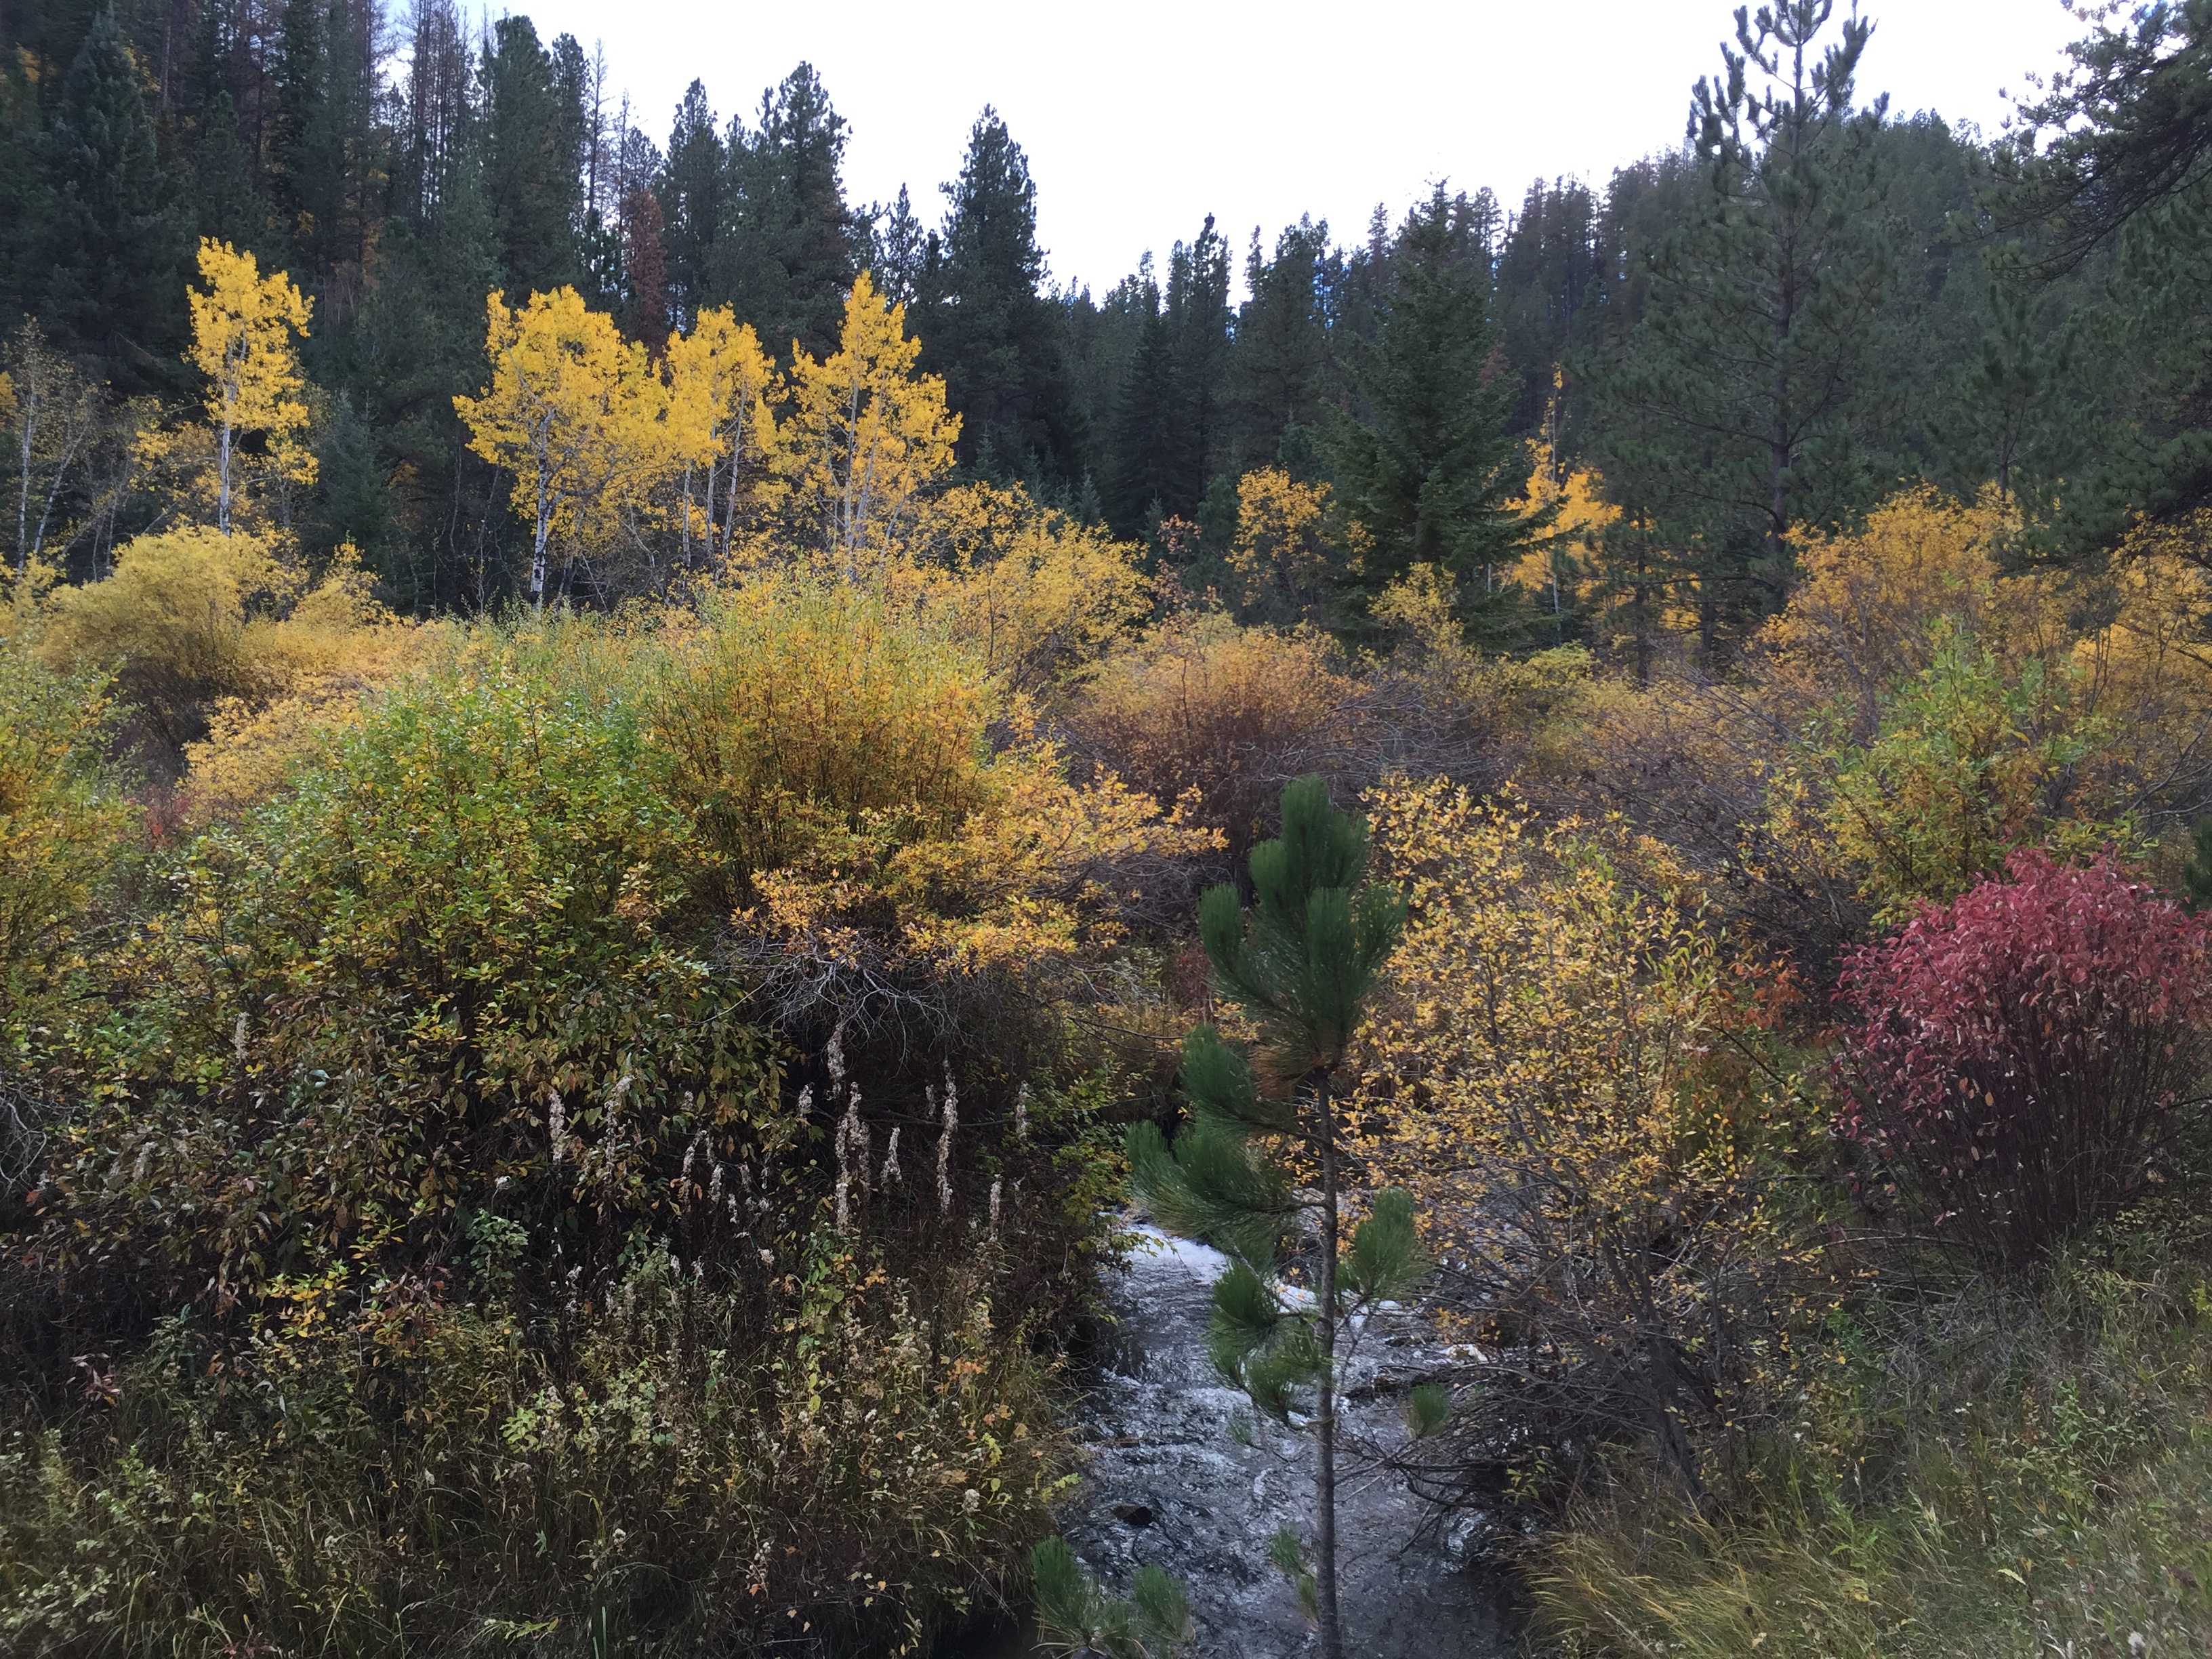
These routes take you down to the shore where you can walk the rocks and view the organisms living in the tide pools (at low tide). 

Other Fun Things to do at Acadia National Park:

Thunder Hole:  So this place is pretty awesome…when the winds and tide are strong.  When the conditions are right…the wind forces the waves into a small cave on the shore, which then, in turn, forces air out of the cave creating a crashing sound that reverberates off the nearby rocks!

Click here to see its full potential! (Take note, when we visited this site we were standing on the walkway you see at the bottom of the video, and others were standing on the rocks at the top of the frame. 😮–the trail is closed during this type of bad weather.)

When conditions aren’t right…it’s still cool, but not quite the draw it could be.  Fortunately, we were blessed with pretty nice weather throughout our trip.  Unfortunately, nice weather doesn’t bode well to experience the full effect of this location.  When we were there it was more like  “gurgle hole”.  😂

Carriage Roads:  This is another activity I’d put on our “must-do” list if we return to the park in the future.  These gravel roads snake throughout the forests of the interior of the island.  Bike rentals are available, though you still need to figure out how to get the bike to the trails. (I’d recommend bringing your own.  We considered it, but decided not to drag our bikes on a 5000+ mile road trip for one day of biking. 😛)

These trails were used by the Rockefeller family for their carriages when they owned the land–hence their name.  There are also some carriage rides still available through the stables on the island, where your carriage is pulled by beautiful draft horses!

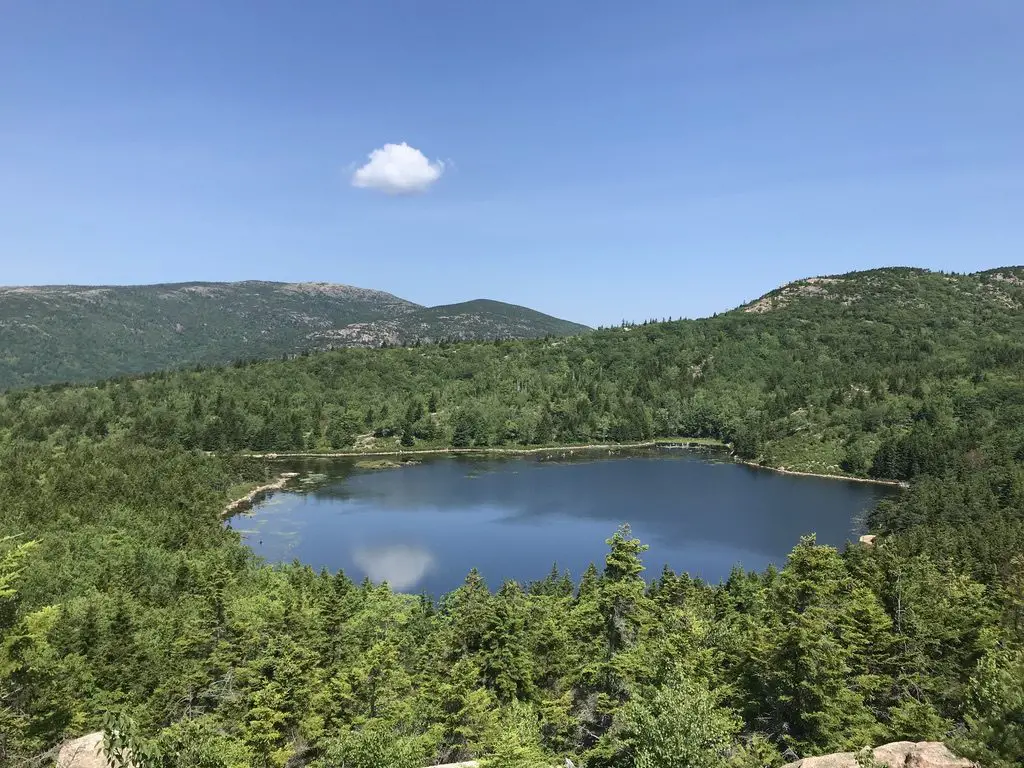
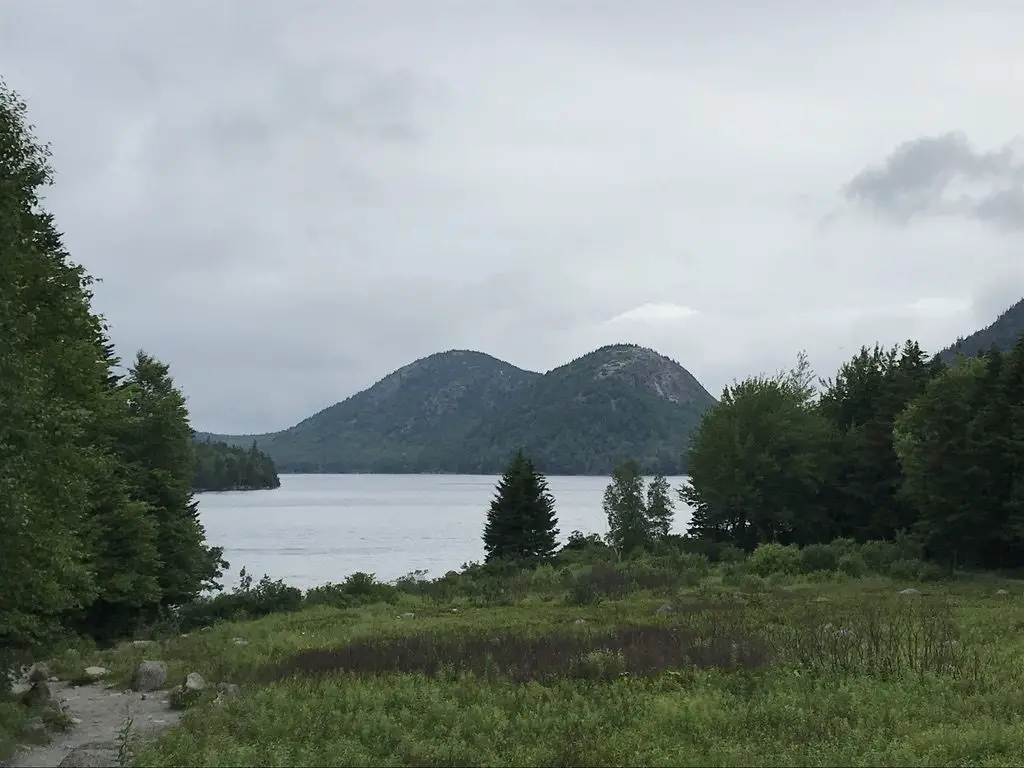
Jordan Pond/”The Bubbles”:  As I mentioned in a previous post, Jordan Pond is again a place where they use the word “pond” when “lake” would make a much better descriptor. 😂  Several carriage roads start from here.  There’s also a restaurant and store in the historic building that was the original farmhouse built on this site.

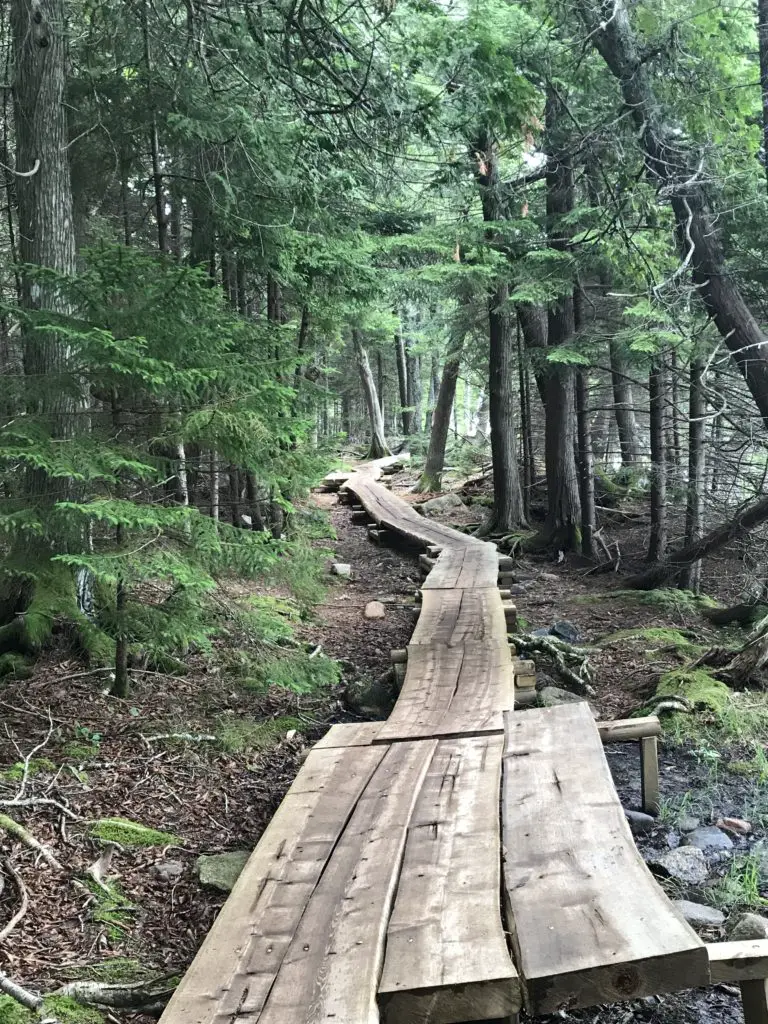
There is a decent hiking trail that circles the lake.  We only did a portion of it (the easy part that was on a boardwalk).  The other half appeared to be more rugged.  I don’t think it had much elevation gain, just a lot of rocks to clamber over.

We met a lady later in the day, who had actually slipped off some rocks on the harder section and fell in the lake 😮 (she was fine). 

A narrow, wooden boardwalk through the pine trees
The boardwalk on the trail around Jordan Pond

The boardwalk portion is basically completely flat and offers fine views of the lake, the nearby building and “The Bubbles”–I’m not sure who gave this name to these twin mountains.  They looked like something more PG-13 rated to me but…to each their own. 😱

Green grass in the foreground with a large lake in the background, leading to twin mountains covered in green trees
The “Bubbles”. What do these look like to you? I mean, come on! 😝

Cadillac Mountain:  We actually chose NOT to hike Cadillac Mountain on this trip.  This was for several reasons:

–We only had a few days at Acadia and we can hike mountains whenever we want, but we CAN’T visit the beach too often.  So, we chose to spend most of our time there. 

–Also, aspiring hikers should be aware that much of Cadillac Mountain trail has little shade, so it can be quite hot in the summer months. (This was another reason we chose to skip it, as heat and I don’t get along. 😝) 

We did make the easy drive to the summit on multiple occasions.  Sunrise is a busy time here, for obvious reasons, so if you’re choosing to go then I suggest you plan to leave early.  It’s beautiful at any time of day though, so long as the weather is clear. 

In the far background, several small, green, tree-covered, circular islands sit in a bay of the ocean. Green , tree-covered mountains run to the ocean in the foreground and are in the far background, behind the bay
The islands in the bay as seen from the summit of Cadillac Mountain

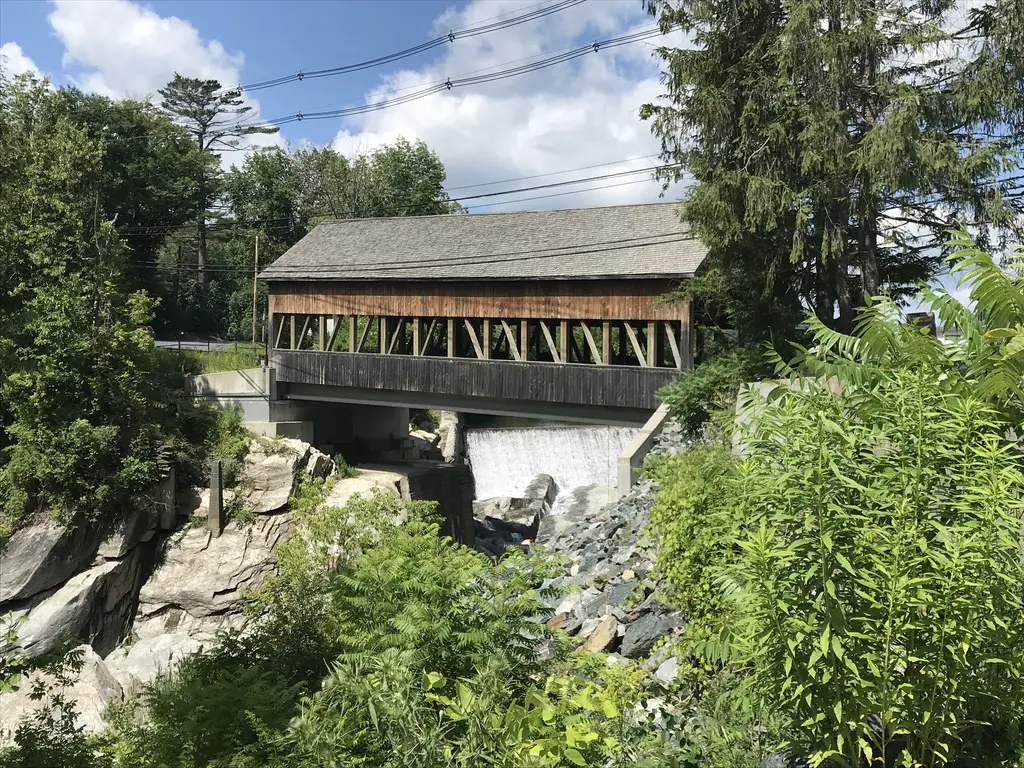
The Park Loop Road:  This road basically “loops” around the outer boundaries of the park (hence the name).  It features numerous pull offs where scenic views can be enjoyed, as well as plenty of recreational sites.  There are several picturesque bridges along its length that reminded us of the ones we saw in Virginia on the Blue Ridge Parkway.

Wildlife:  We were told there are bears and moose on the Schoodic Peninsula portion of the park, on the mainland.  Other than that, the majority of exotic wildlife that Acadia offers is sea life.  (This would have been a cool sight as we don’t usually see these types of critters at the landlocked national parks we frequent in the Western US!)

We didn’t see many sea creatures, but this is likely due to the fact that we didn’t venture out on the water.  There are whale watch tours that depart from near the park.  I’ve also heard stories of people who go on sea kayaking tours where seals and dolphins are known to come close and curiously inspect the watercraft. 

As we only had a few days here, we chose not to do these, but if we return for a future visit, they’ll definitely be on our “to-do” list.  If you visit the park, I would encourage you to seek these out as you may see some unique wildlife not always available at other parks.
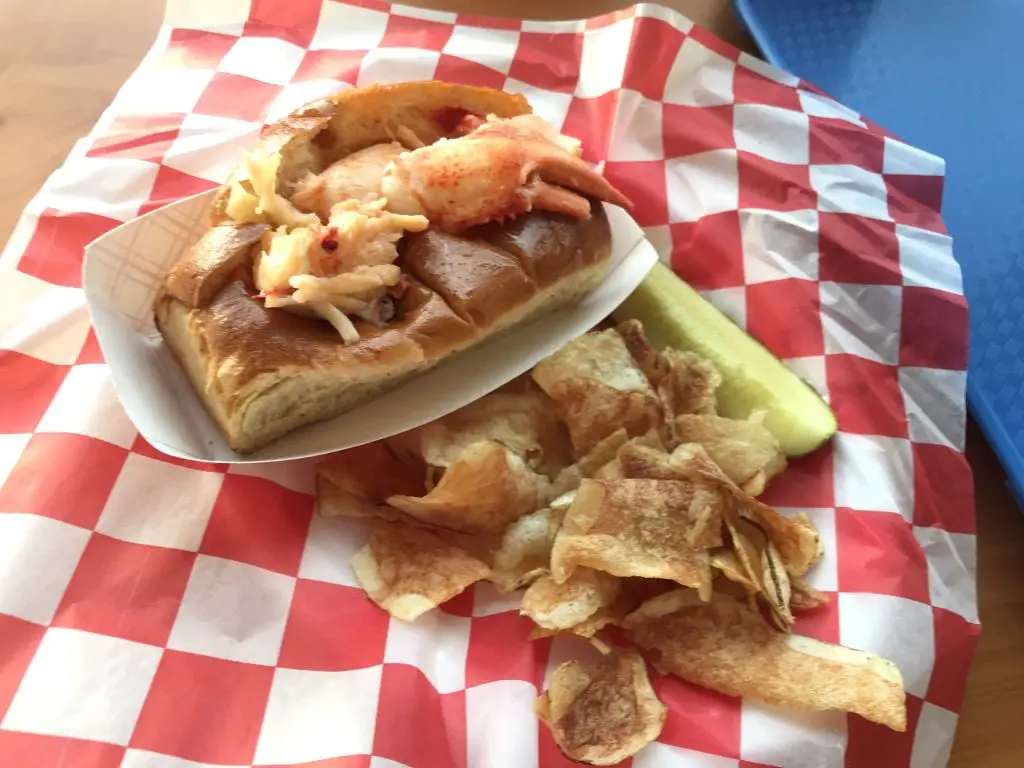
LOBSTER!!!

I got to enjoy my first lobster on this trip (and my first New England lobster roll!)  I liked it!

I got a “classic” roll, with the lobster already shelled for you and warmed with butter, on a buttered, toasted roll.  It was easy and delicious!  After watching many of our seat-mates struggling to crack through the shells of their dinner, I was happy to go the easy route.

We enjoyed our meal at Beal’s Lobster Pier in Southwest Harbor.  This place is NOT fancy (and I mean that in a good way).  It was the PERFECT place for us to enjoy our first lobster experience, though.

It’s basically a walk-up counter, and then your number is called and you get your food.  You enjoy it outside, or on a screened-in porch, all on picnic tables.  We absolutely LOVED it! 

If you’re looking for something more up-scale, there’s plenty of options for those as well, but the Trekkers are a casual bunch. 😛

A lobster roll with chips and a pickle on a tray
LOBSTA!

We really enjoyed this trip!  Our goal was to travel as few interstates as possible once we reached “northern New England”, and we felt like we were fairly successful at that.

I’ve mentioned before how much I enjoy taking the slower backroads (and by this, I mean anything from two-lane, US highways to dirt, county and forest roads).  We’re already planning another trip to that area in the next few years, to more fully explore the Adirondacks and Finger Lakes regions of New York, as well as more of Vermont and New Hampshire.  On that trip, we’ll map out “backroads” more before we go, with the goal being to avoid interstates as much as possible once we reach New York! 

I hope you enjoyed my review of Acadia.  It definitely has some unique characteristics as far as national parks are concerned.  We enjoyed visiting it, and would certainly consider another trip.  While we love living in the Black Hills, we both miss easier access to the ocean (especially Mr. Trekker).  Neither of us is really a “beach bum”, but exploring the rugged, rocky shores of Maine is right up our alley!

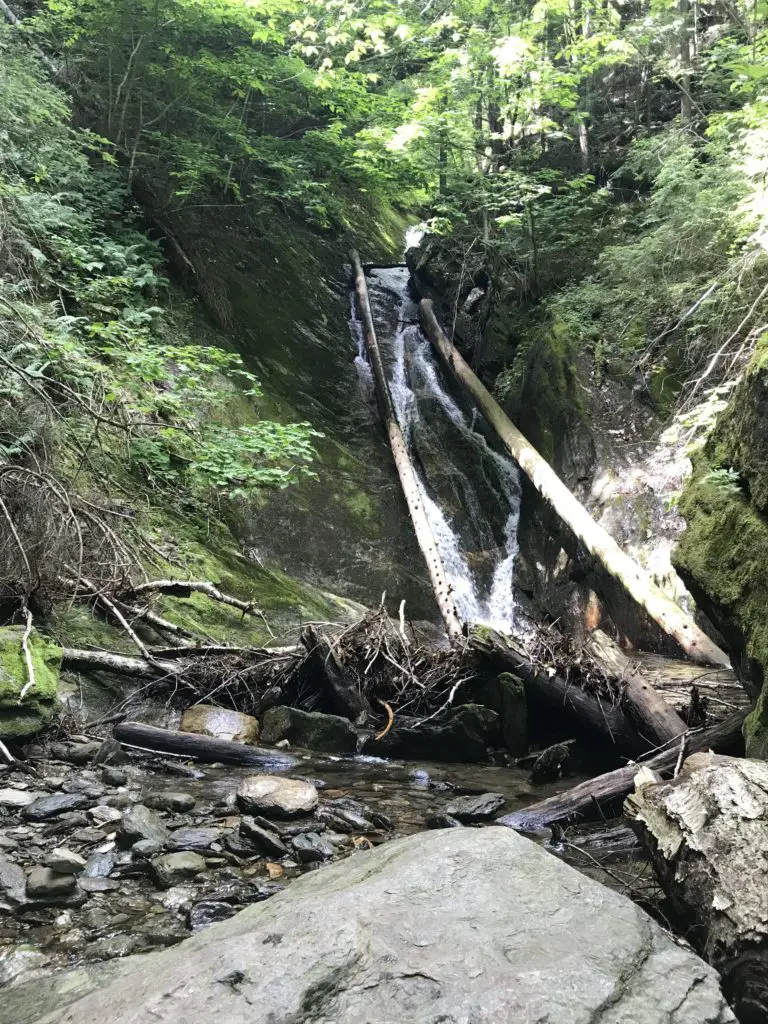
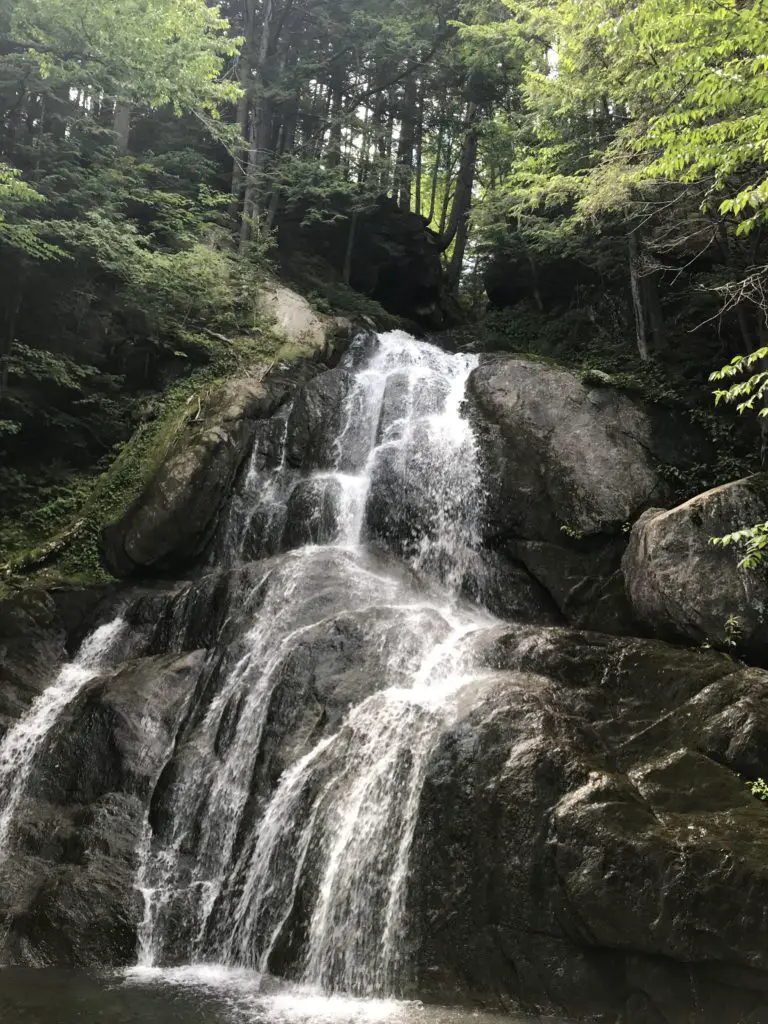
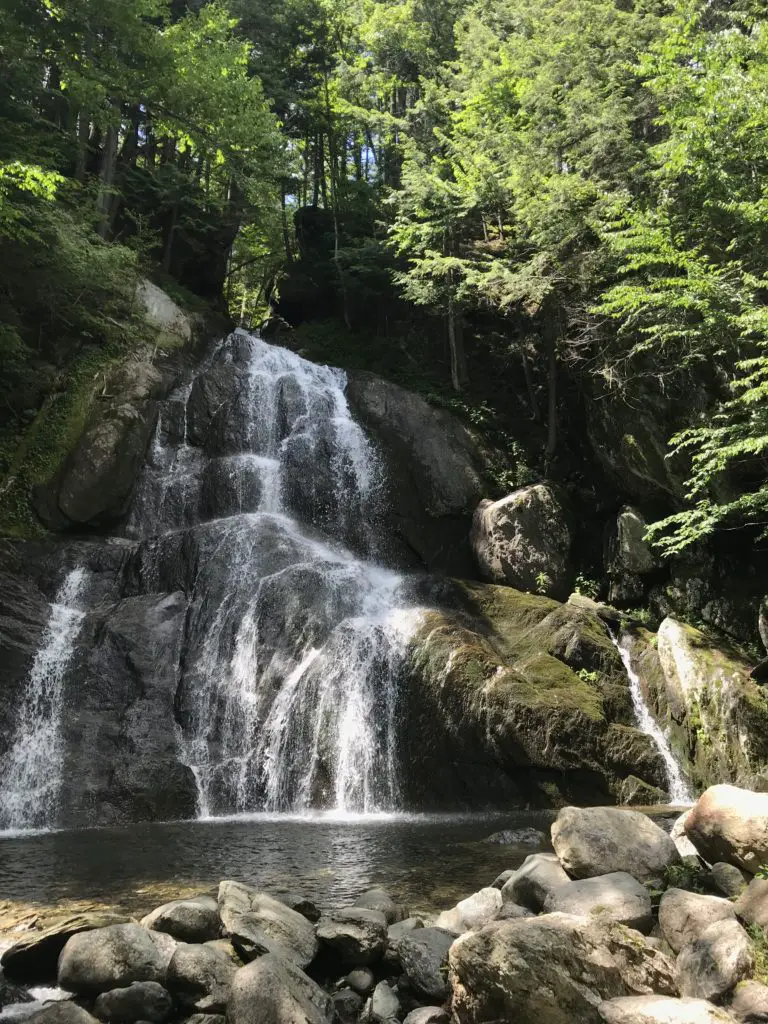
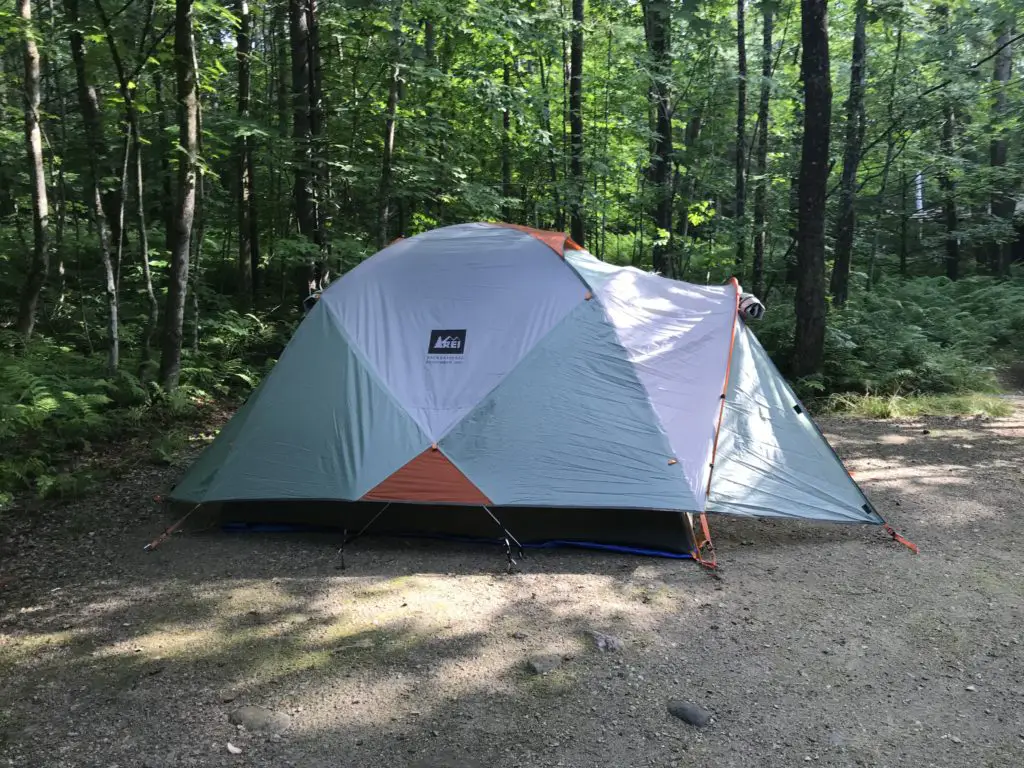
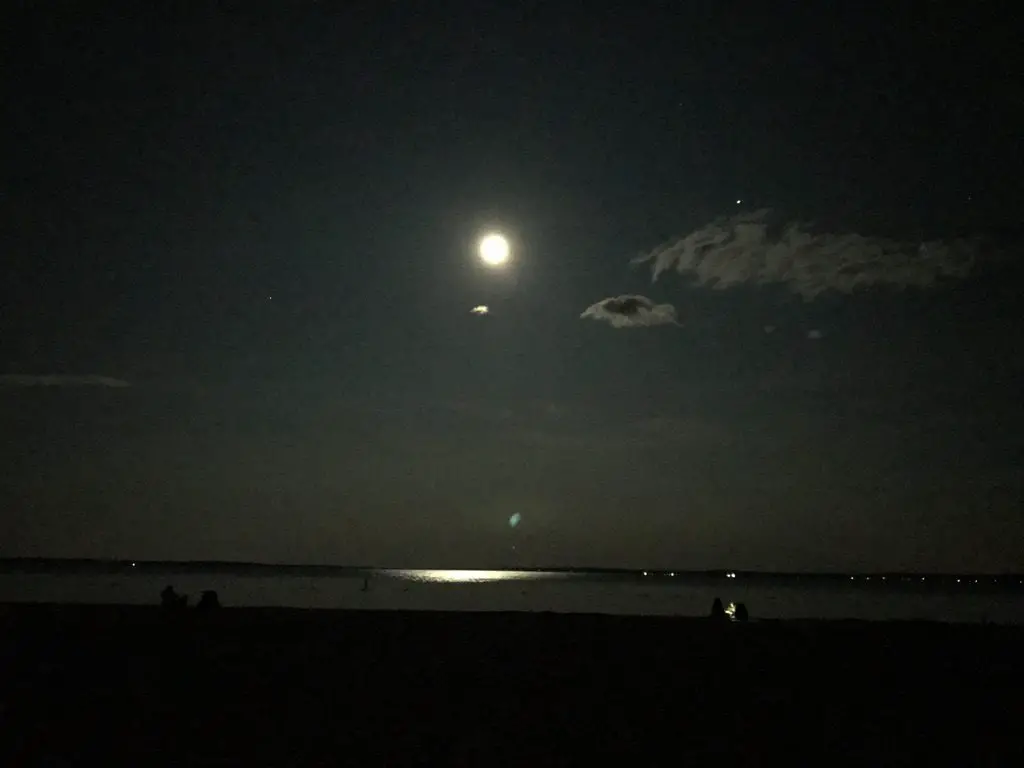
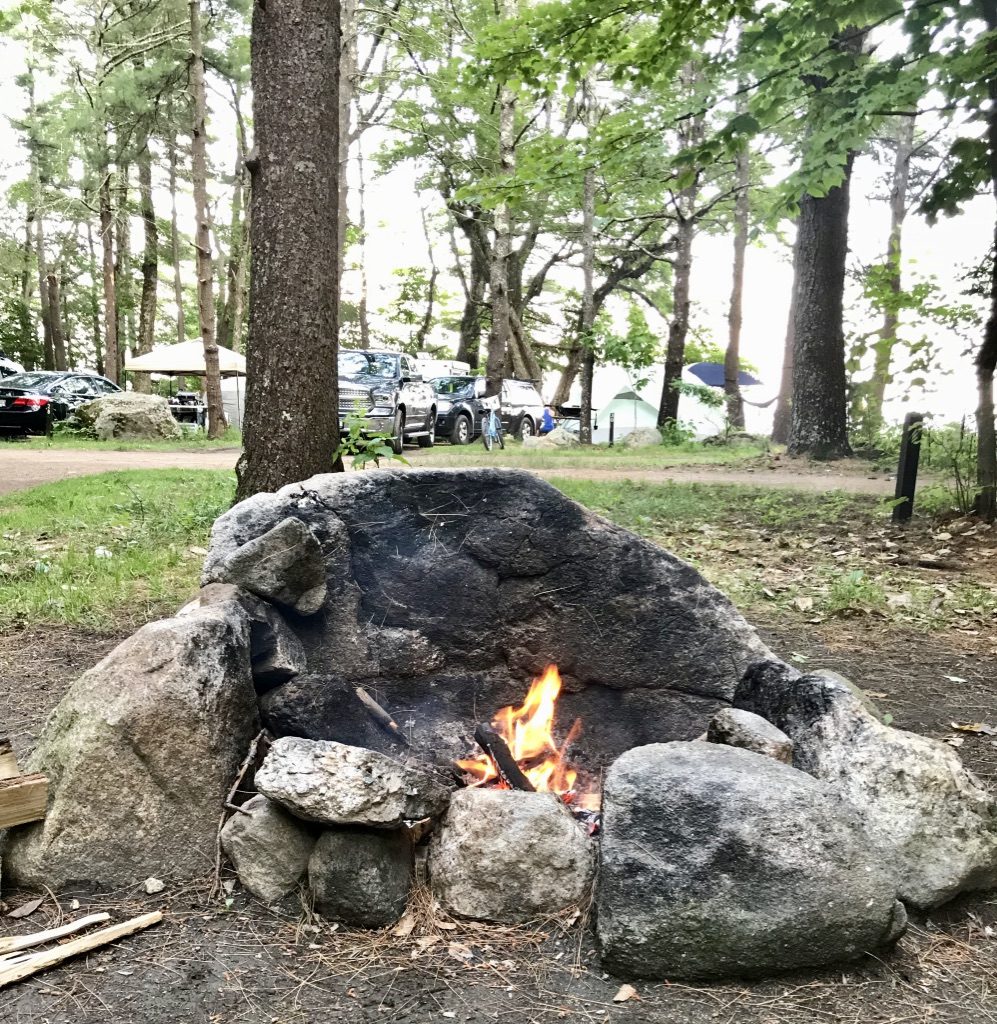
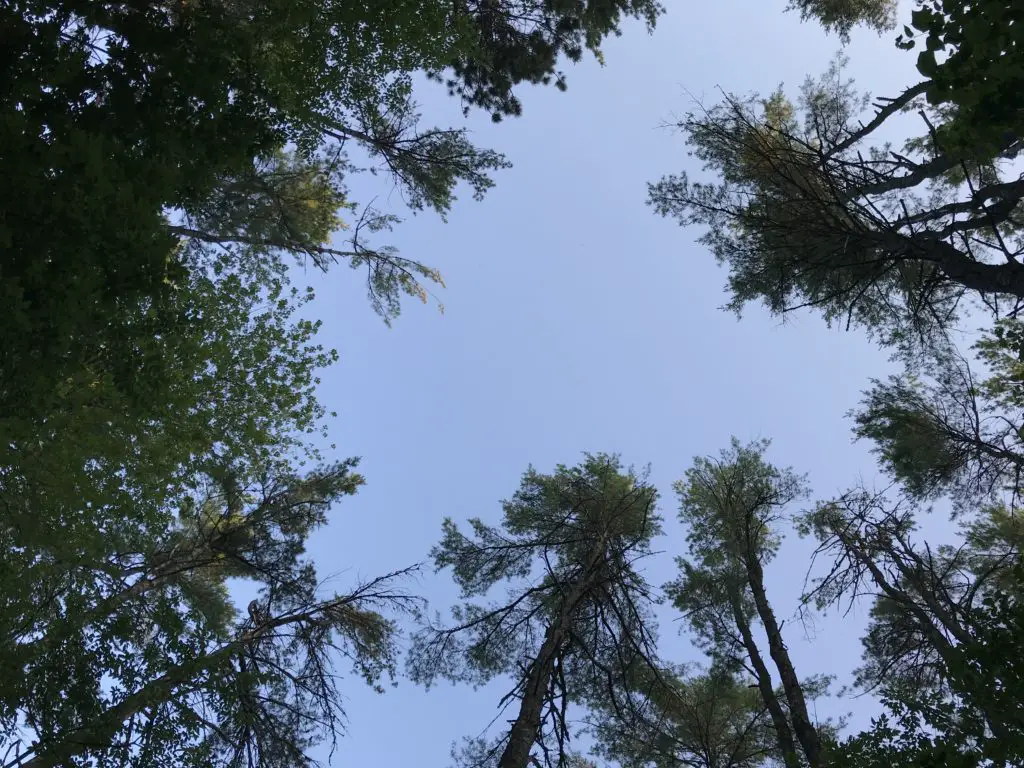
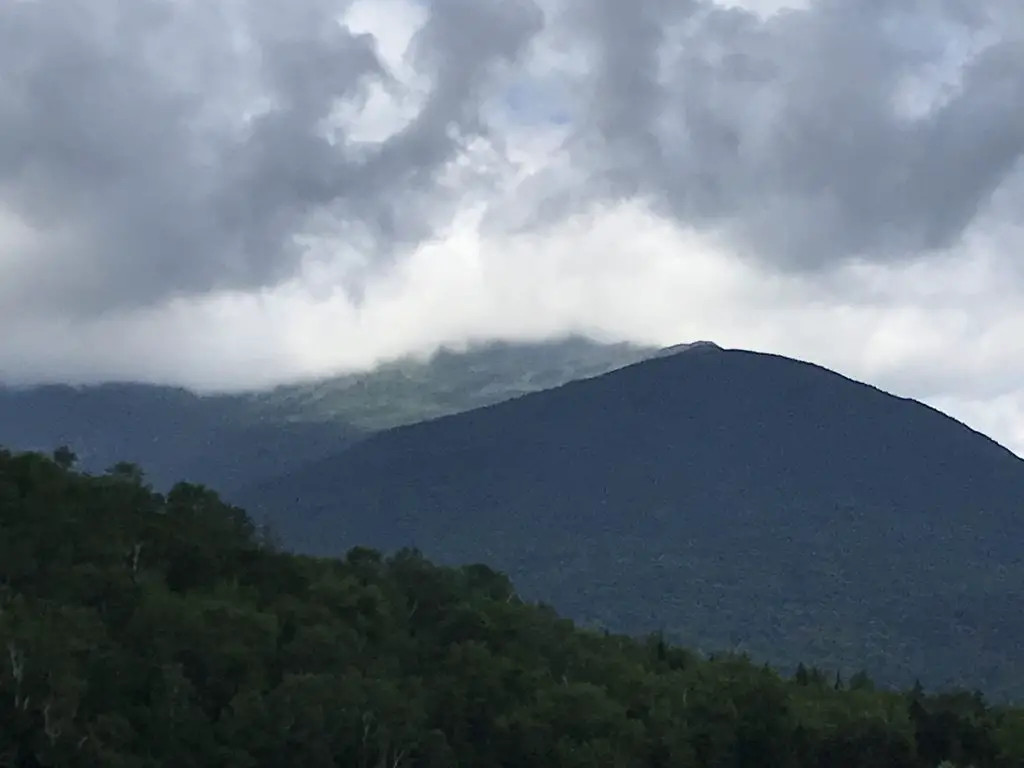
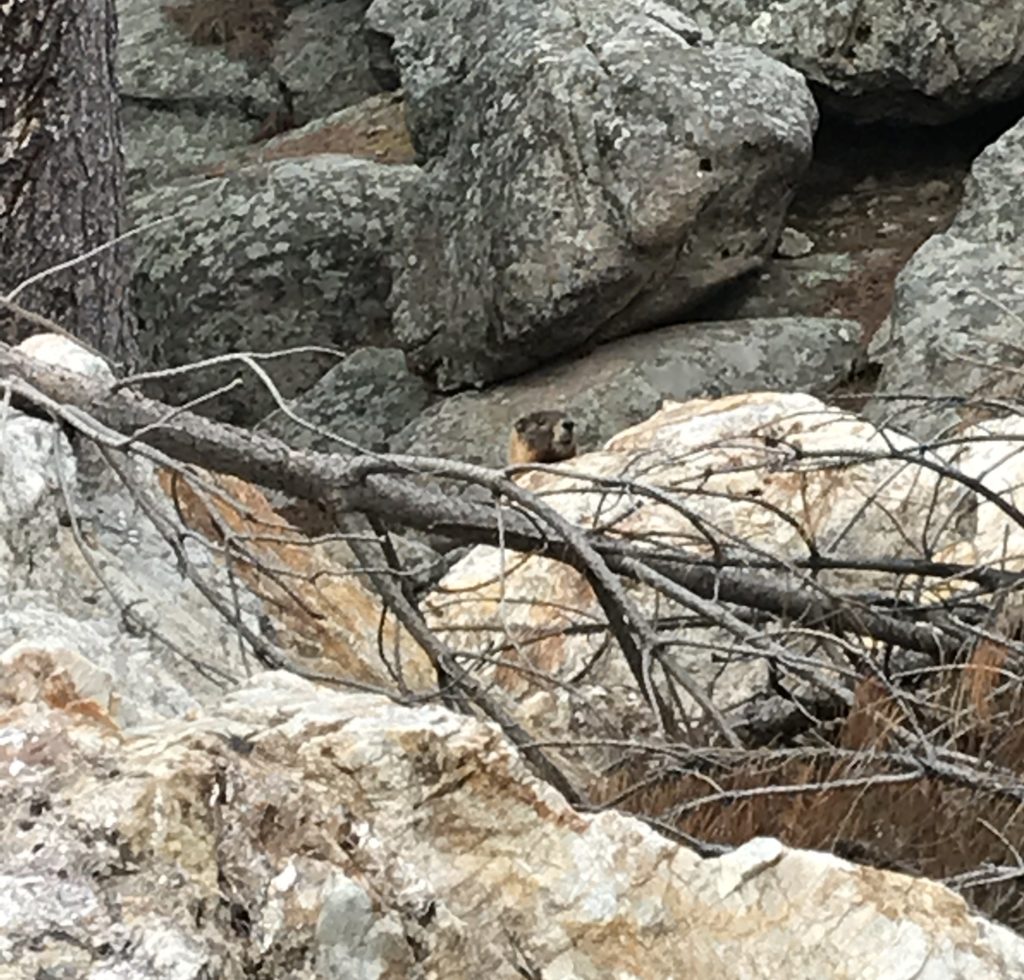
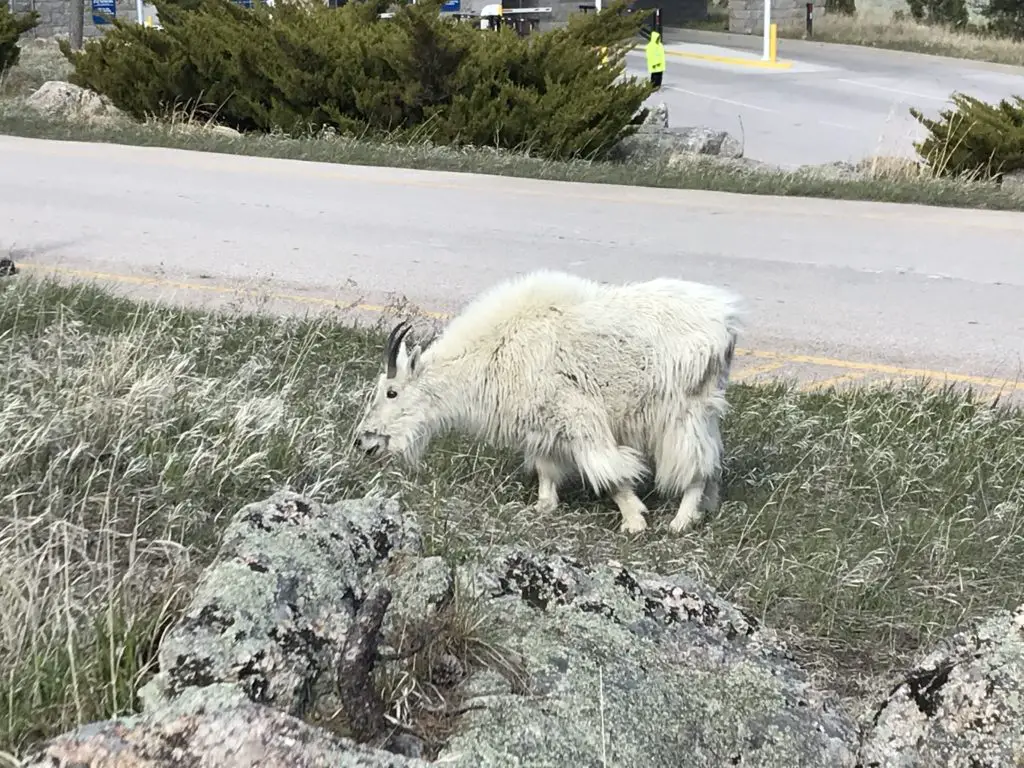
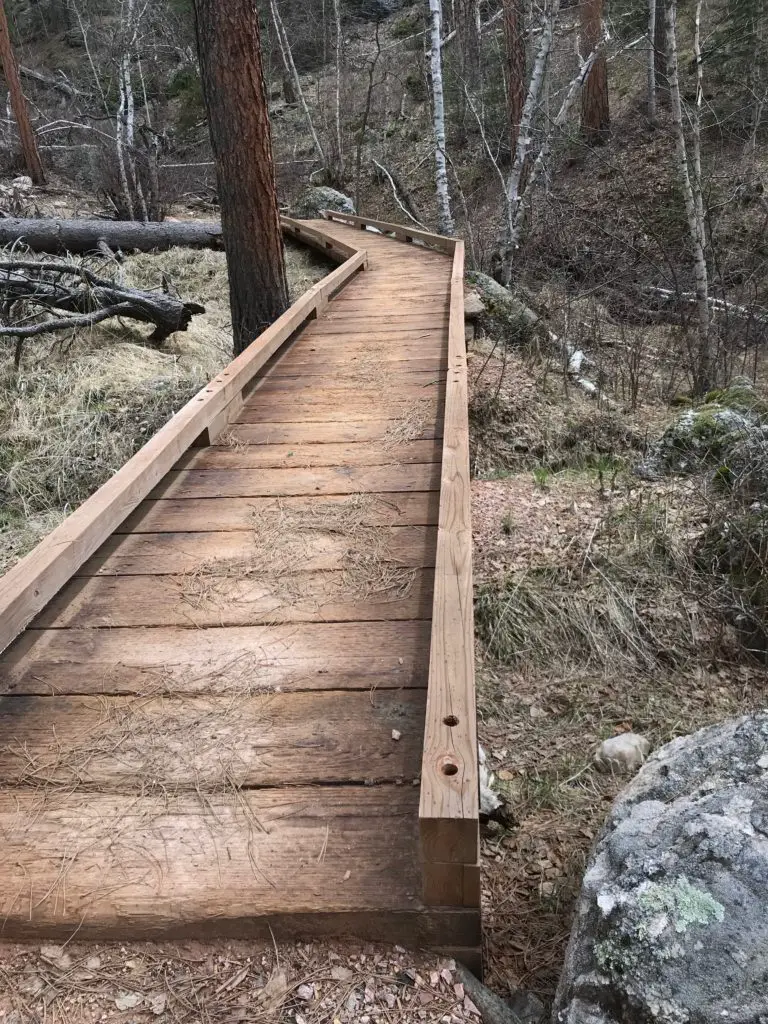
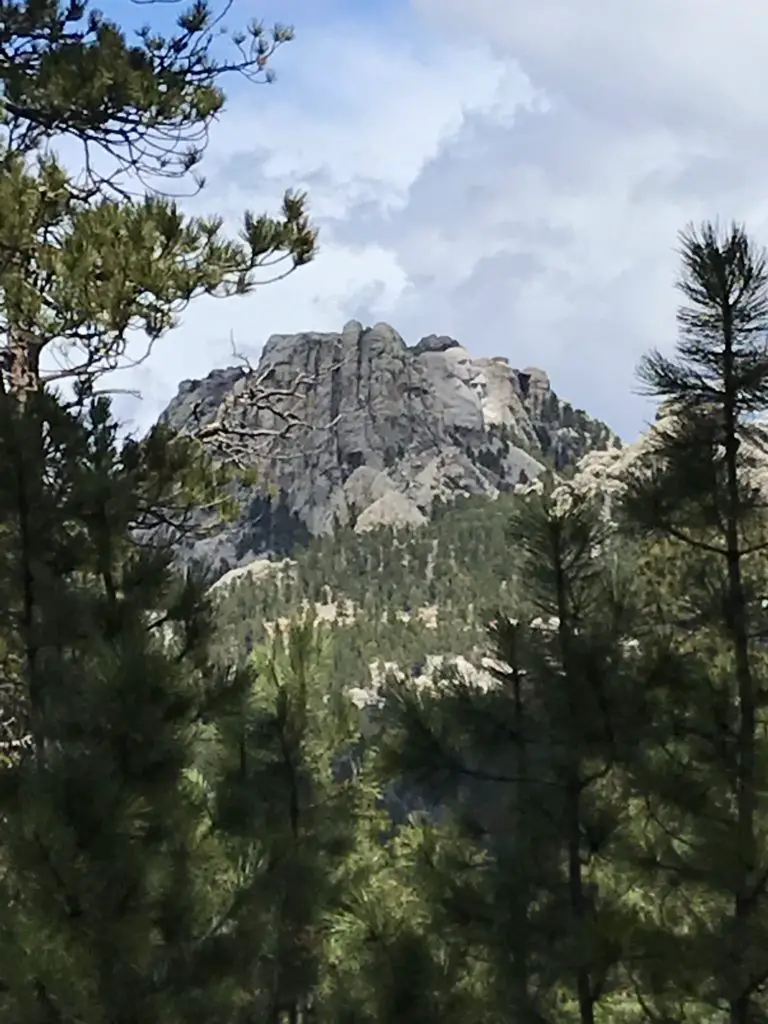
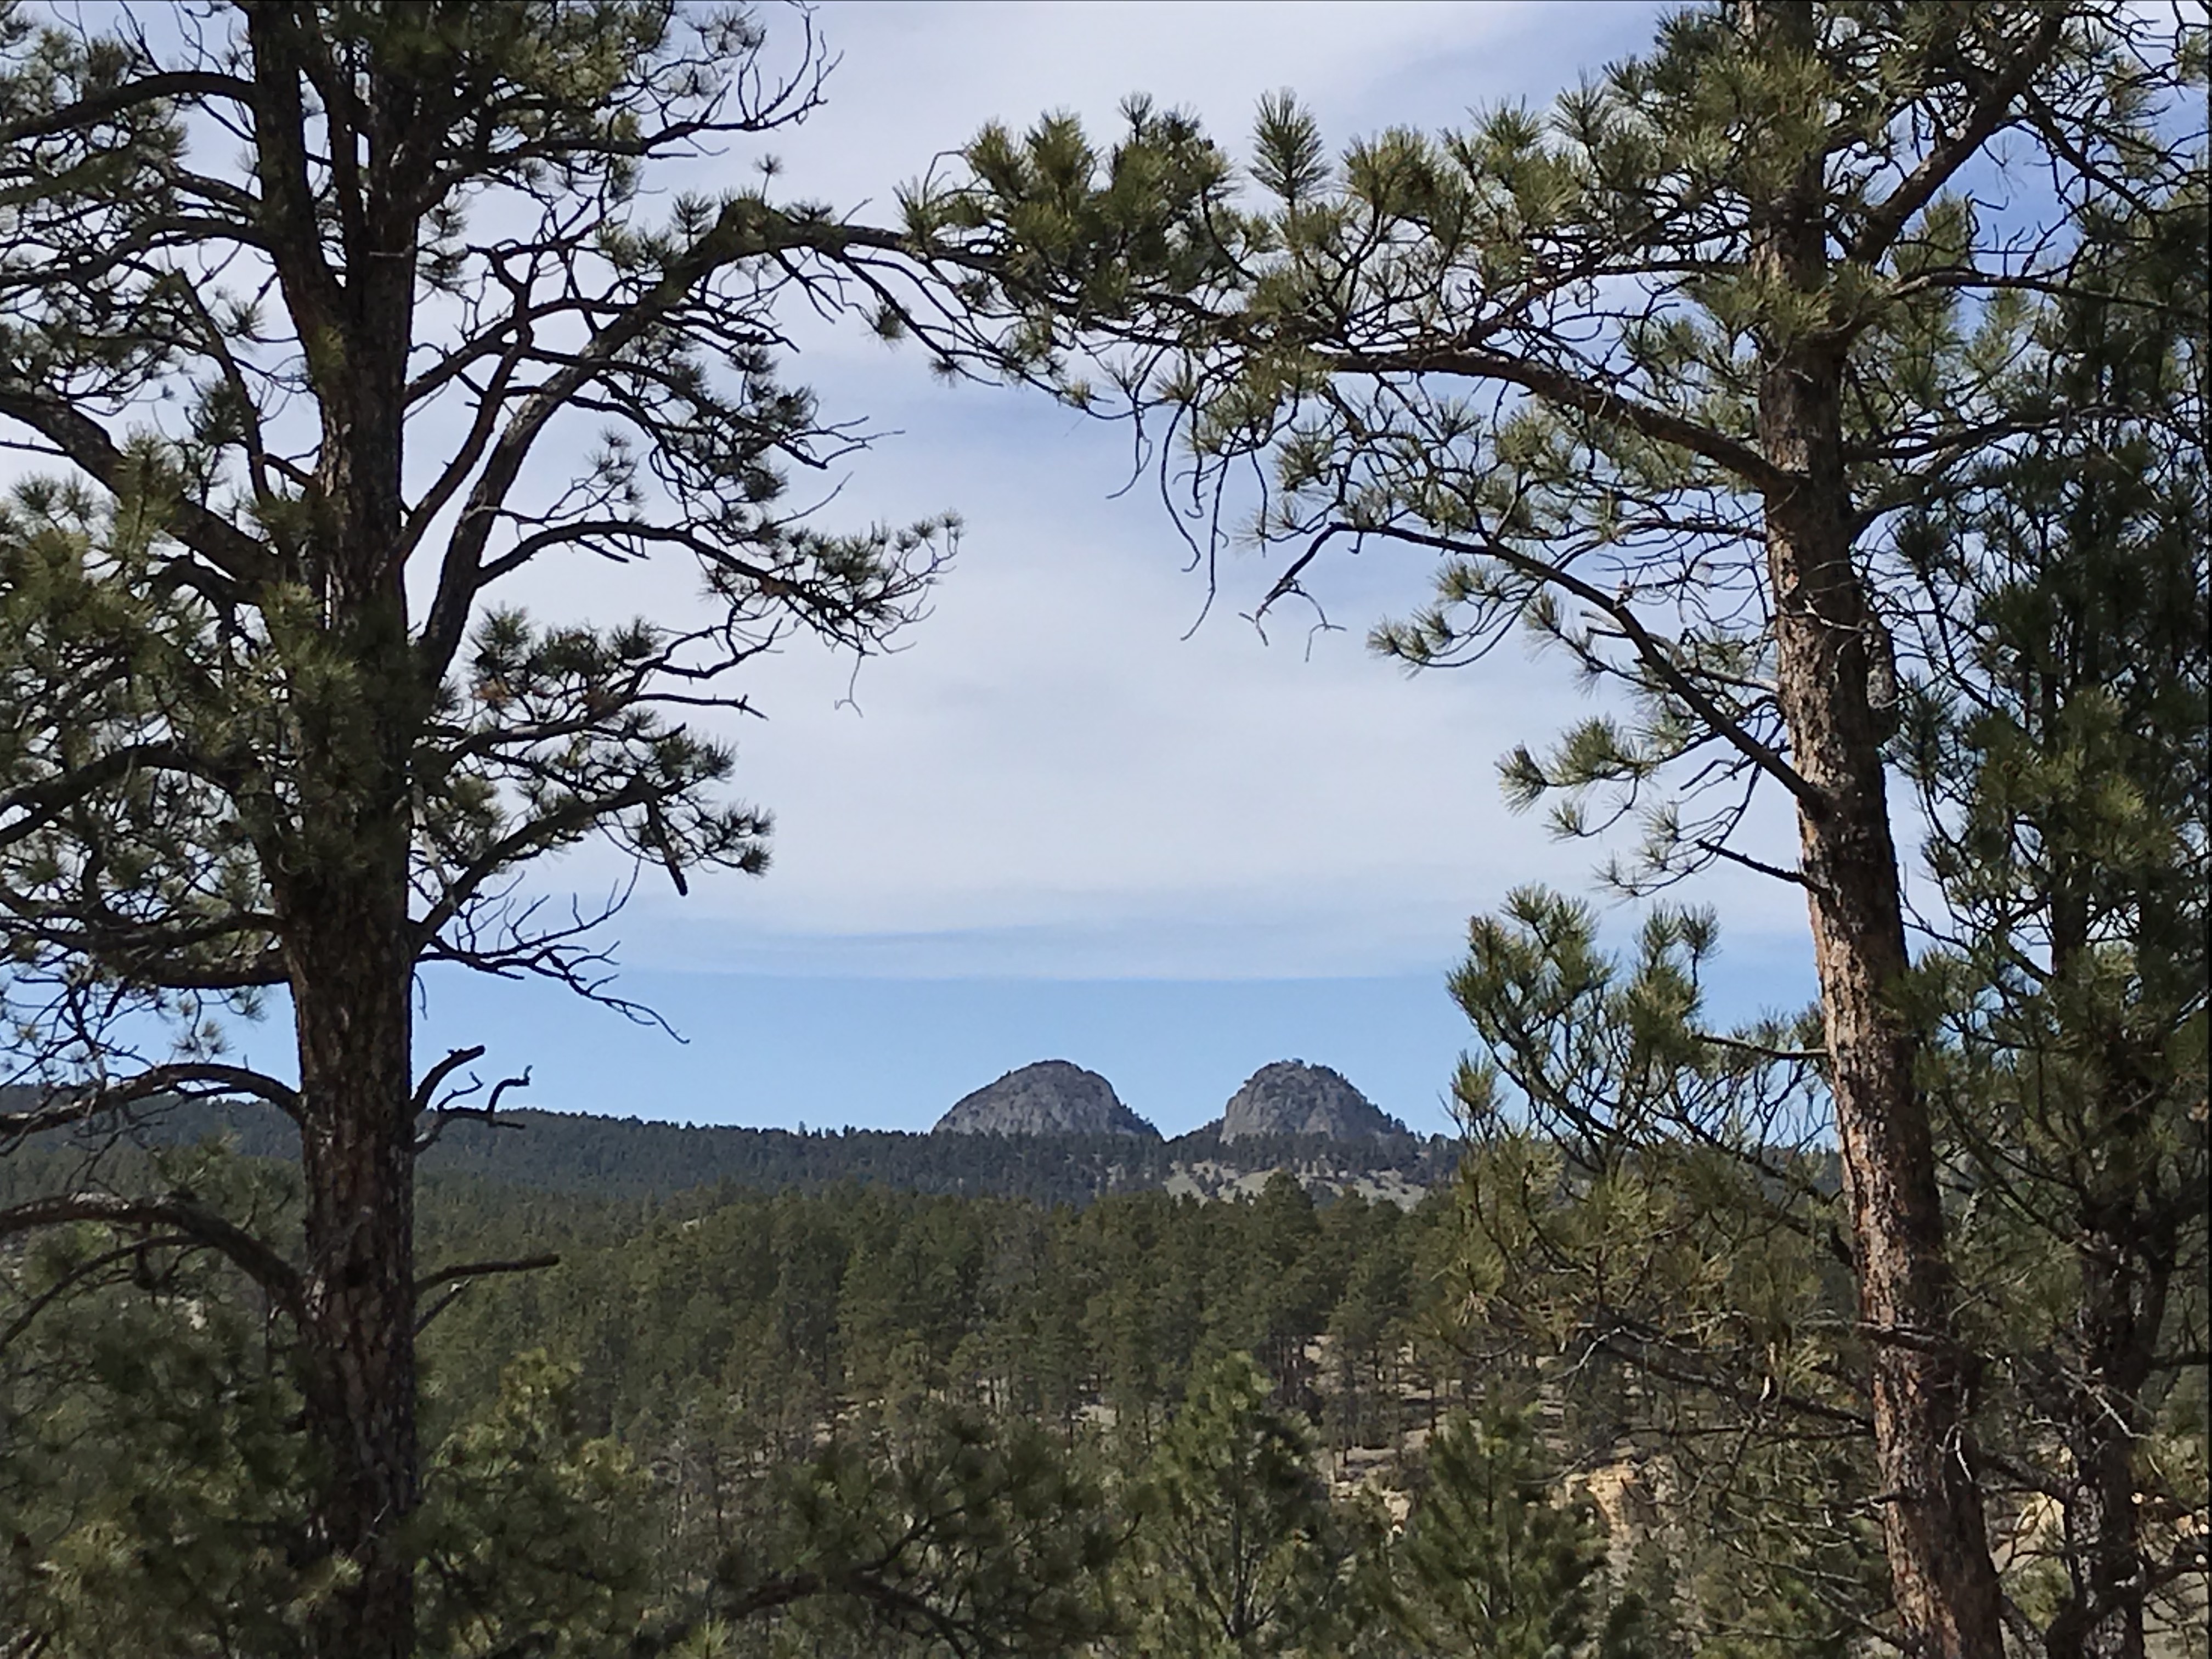
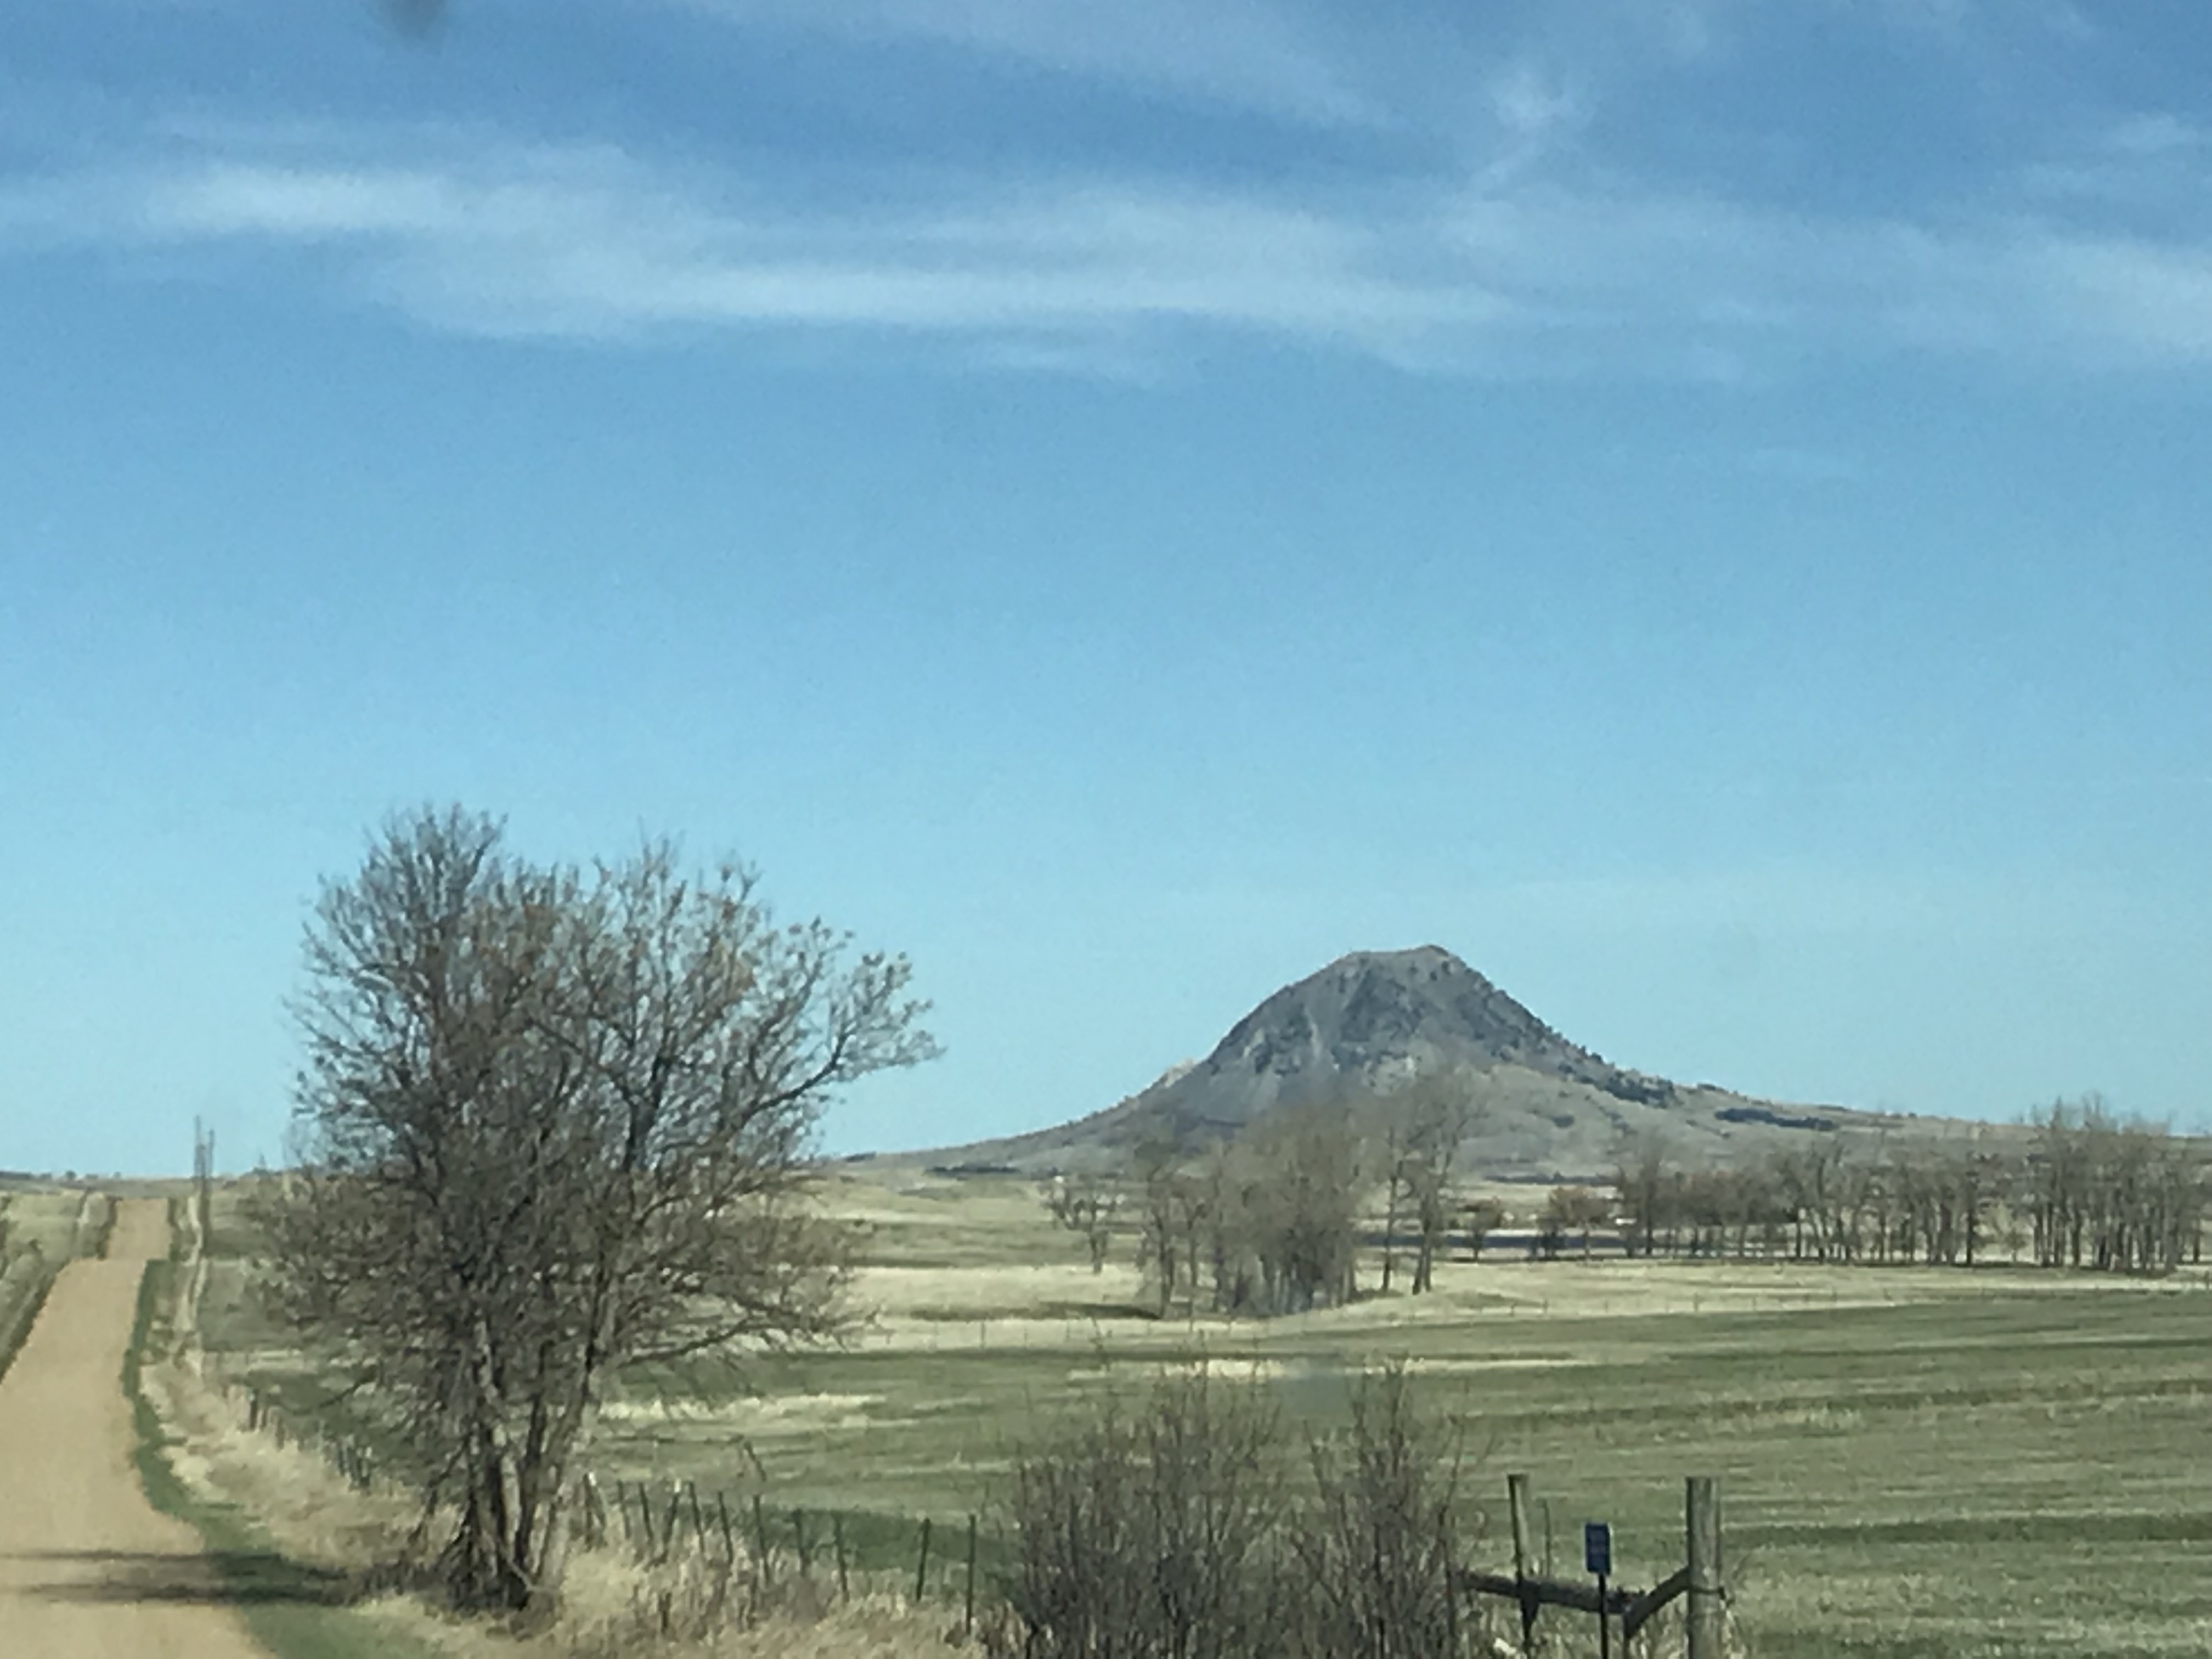
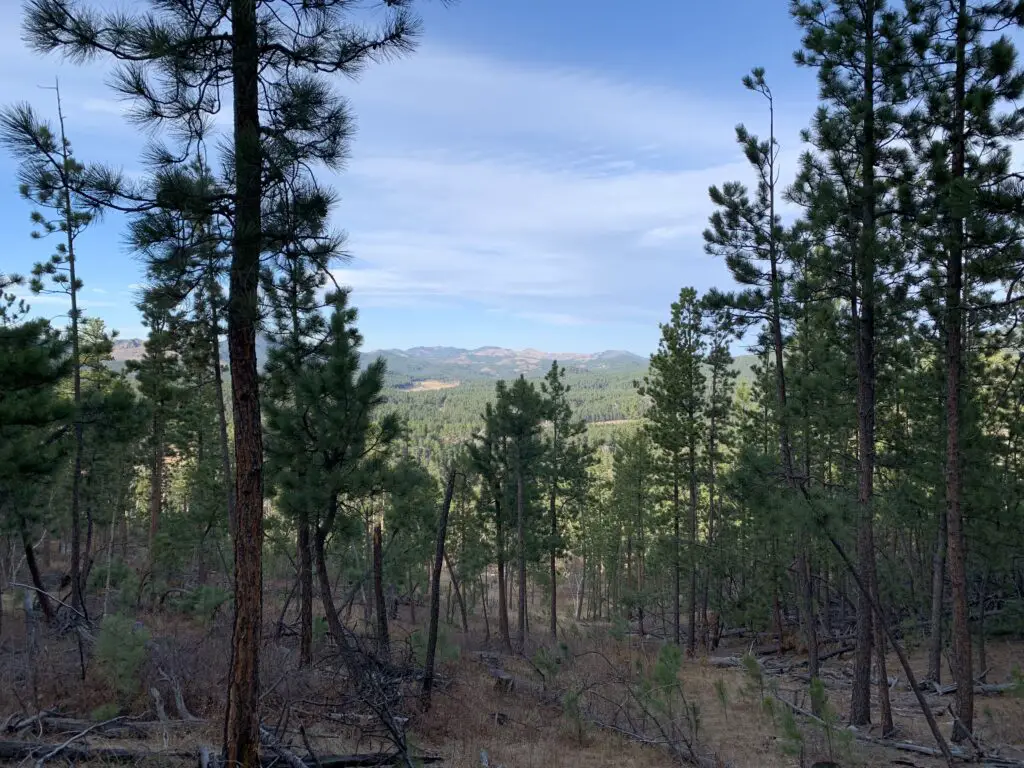
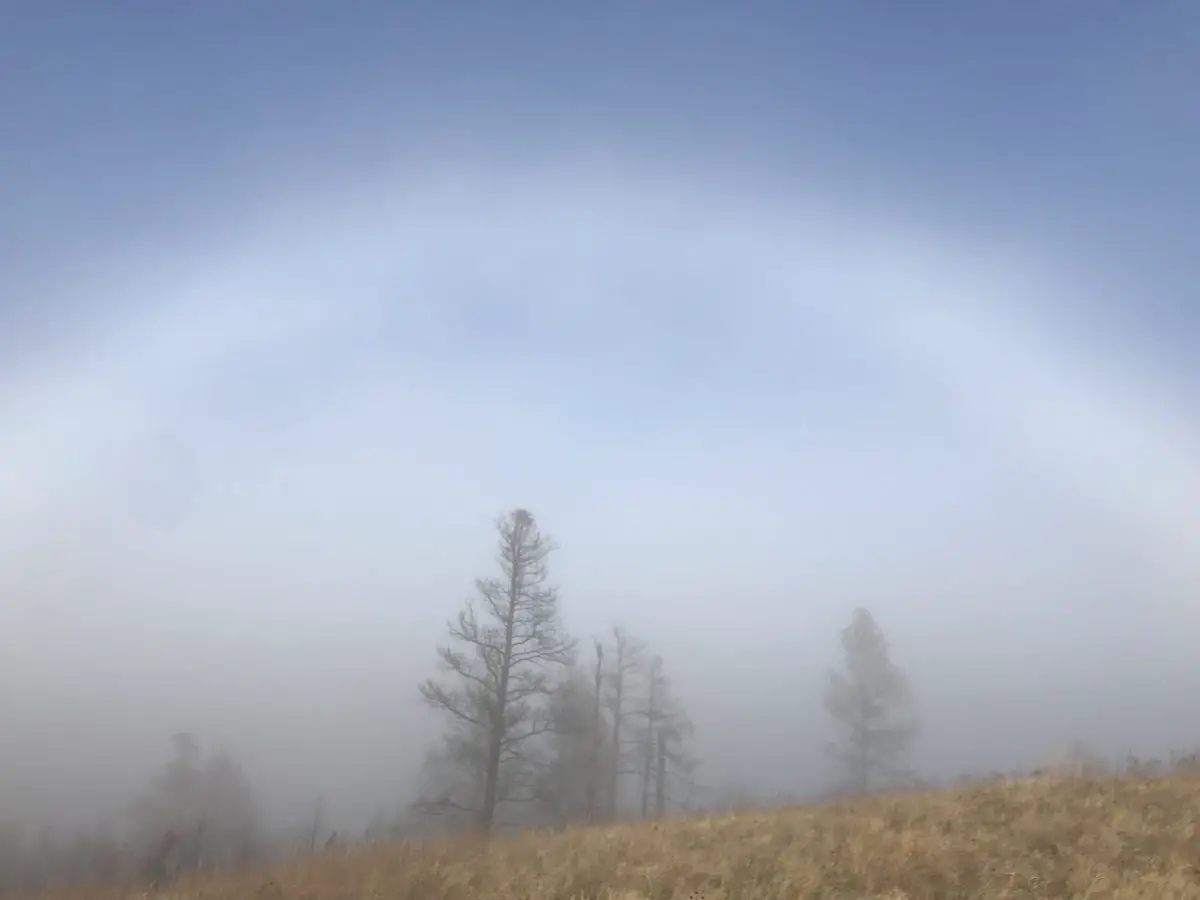
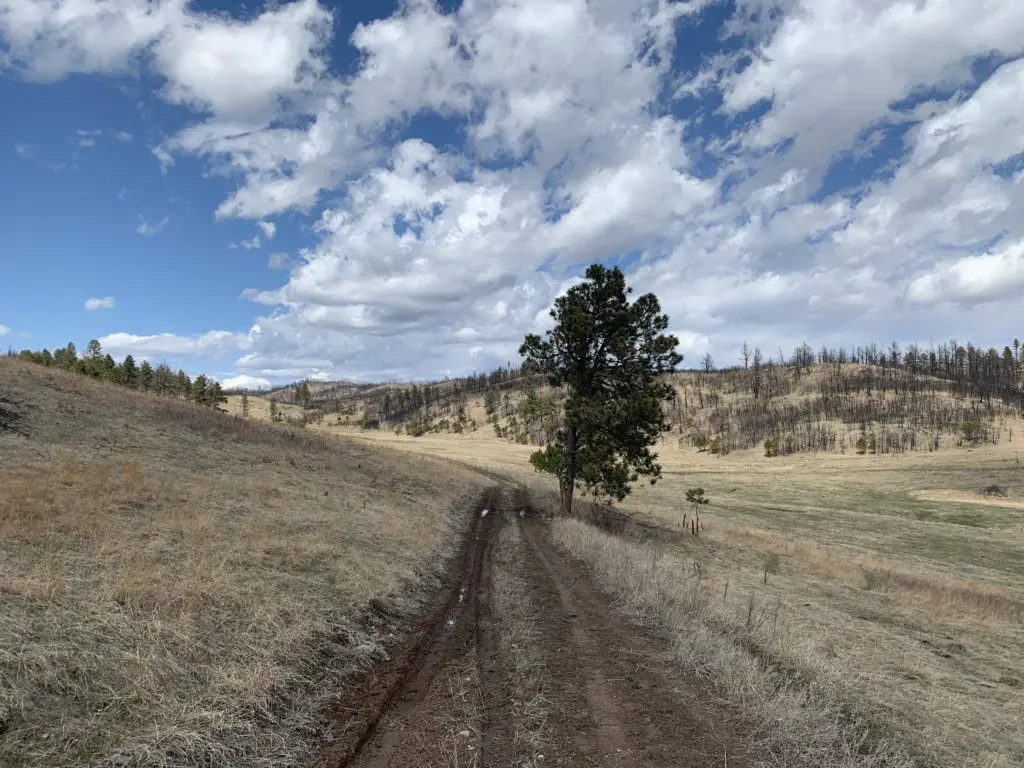
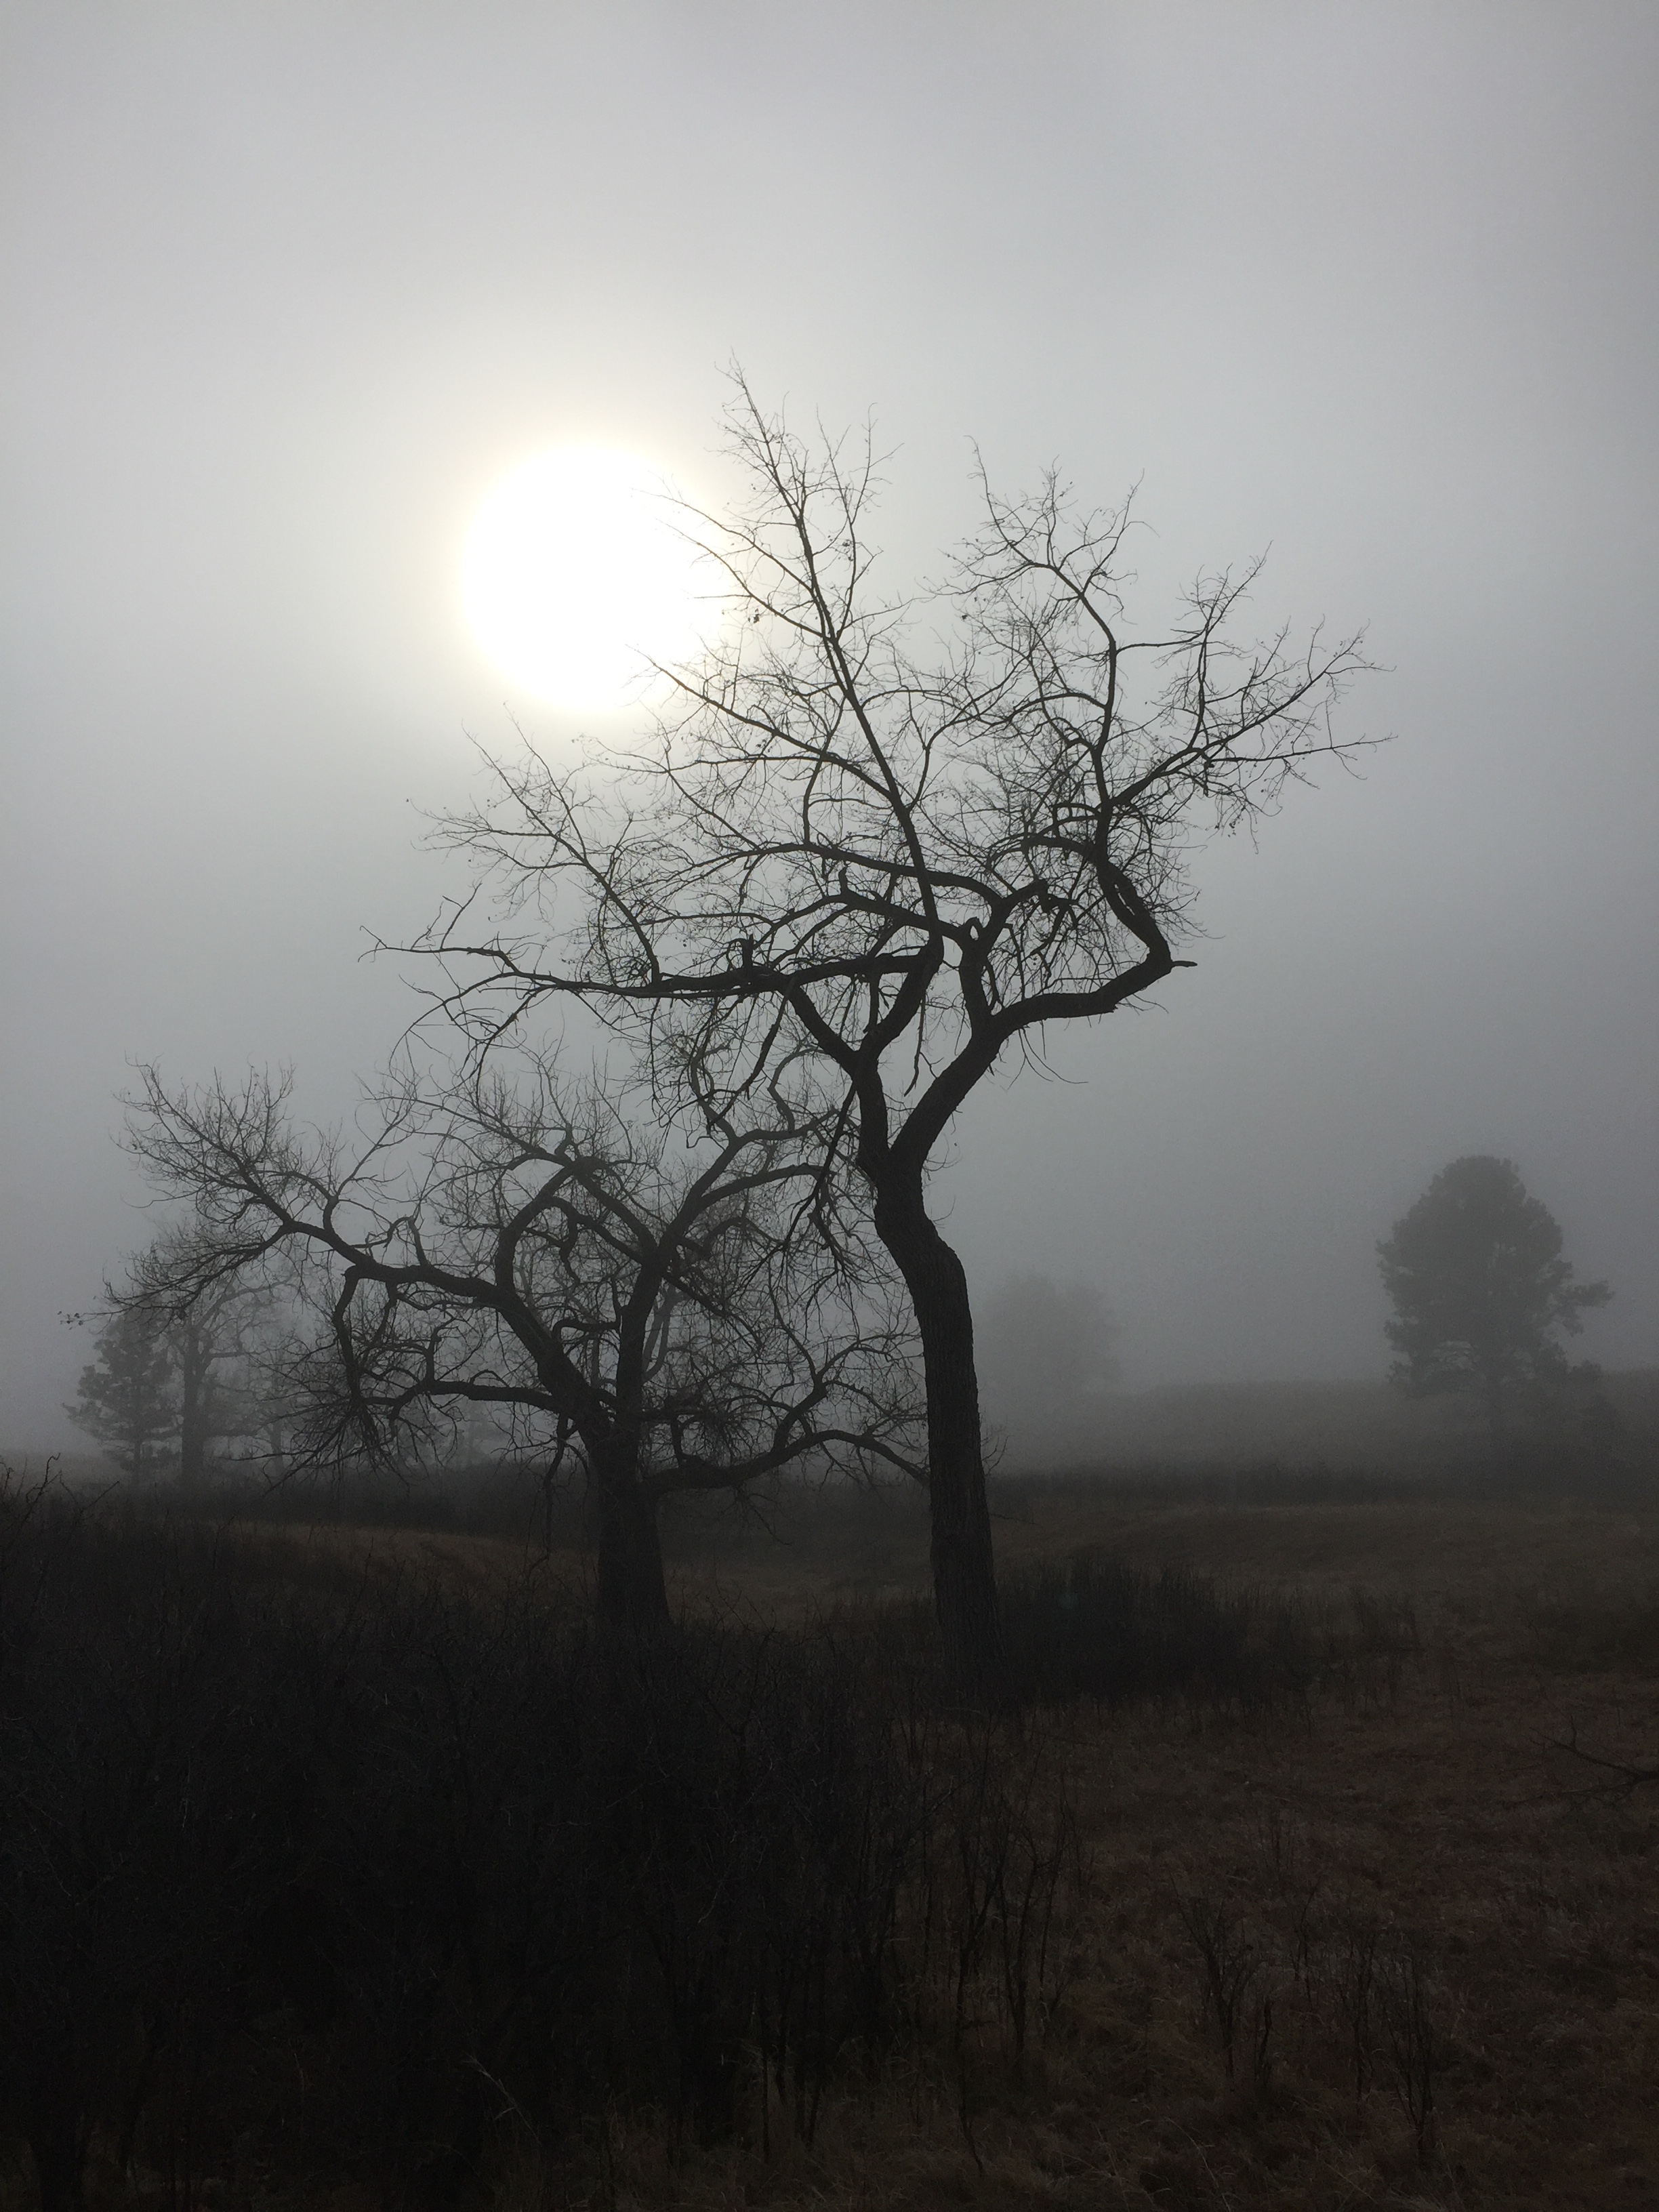
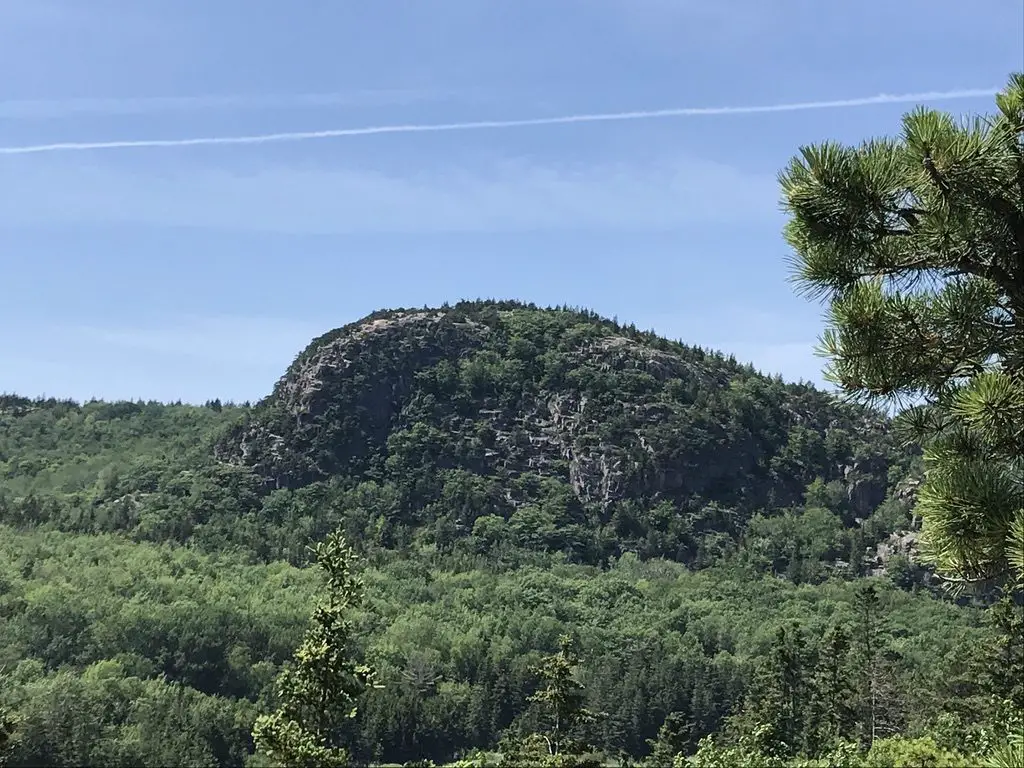
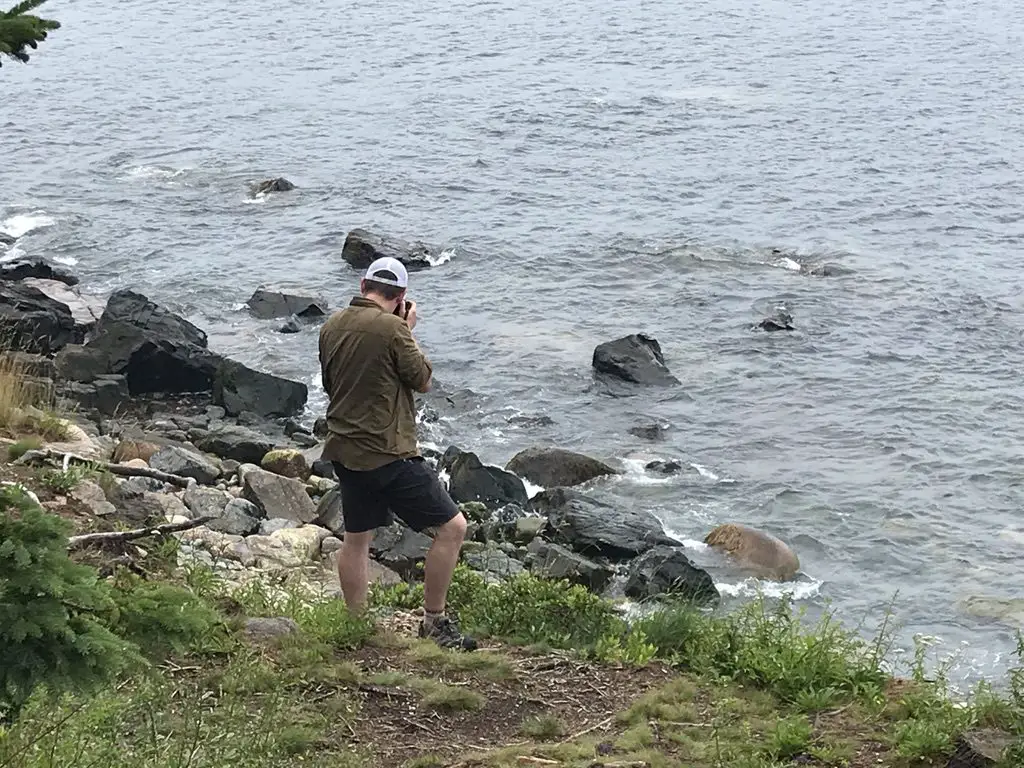
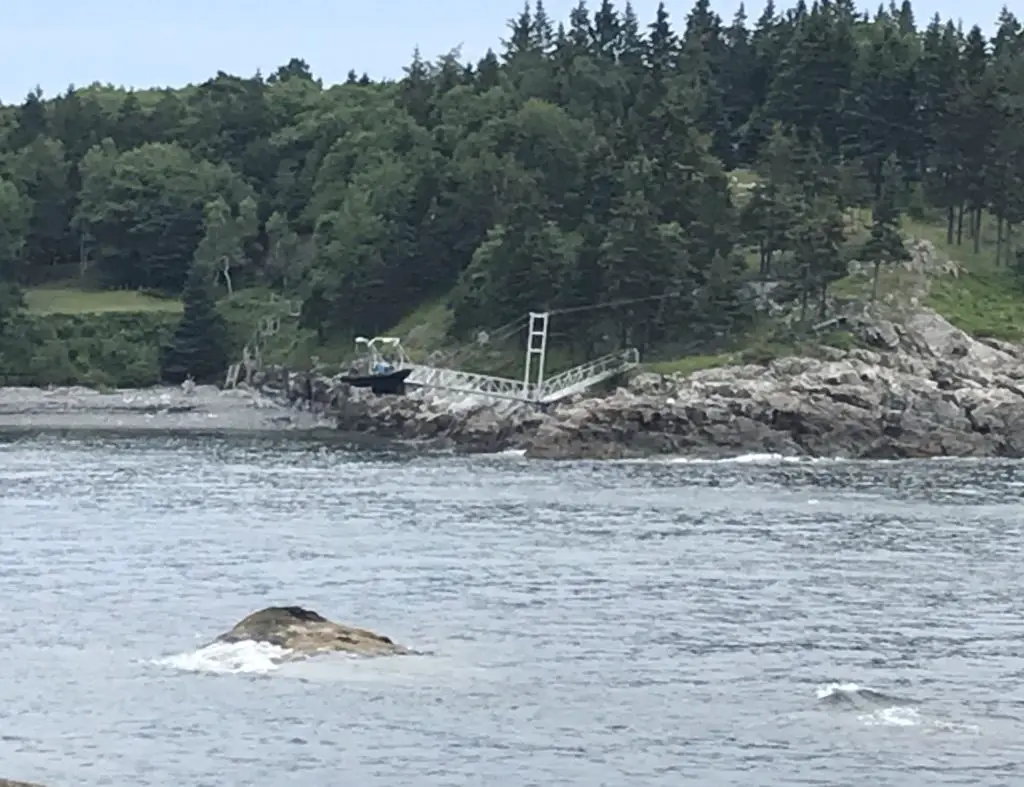
A few more pics from the trip:

Car consul display reads P (for parked); 5,088 miles
The final mileage tally. And this was about 50 miles short, as we forgot to set it until we got to Wall, SD on the way out of town. 😝
A tiny, wooden, wagon-cabin sits amongst the trees on a gravel road
Our “tiny house” Air B&B for the week
Rear view of a man standing on the rocky shore, taking a picture while looking out into the water
“A wild photographer stalks his prey!” (said in my best “Steve Irwin” voice) 😁
A boat and metal dock rest on bare rocks across a shallow bay. A short, tree-covered, rocky hill is in the background
I call this one, “low tide is weird”. 😝


**SPOILER ALERT!!!**

OK, if you want to know how to find the Bear Island lighthouse, you can spot it, flashing at night, from a public parking lot off of Norwood Road, east of Southwest Harbor.  Good luck on your quest!  I don’t actually know if it’s visible from there in the daylight, we didn’t get over there at that time of day.  If anyone knows of other places to view the lighthouse from public land, let me know in the comments!


Did you enjoy this post?  Pin it!

Four pictures: 1) Several small, green, tree-covered, circular islands sit in a bay of the ocean in the far background. Green , tree-covered mountains run to the ocean in the foreground; 2) View from a rocky cliff looking down into the water far below; 3) A creek runs through a green-grass meadow between tree-covered mountains; 4) View from a rocky cliff looking down to the water far below. Pin reads, "Acadia National Park Sunsets, lighthouses, hiking and more!"


Like what you read here today?  Please feel free to leave a comment, like or share this post!  Add your email at the bottom of the page, or the sidebar to the right, to be notified when a new post is published.  By signing up for the email list, you will also receive a free copy of the Tranquil Trekker’s Top 10 Tips of Trekking Do’s and Don’ts!

You can also follow the blog on social media by clicking the links below!

Facebook

Twitter

Instagram

Pinterest

9 “Don’t Miss” Places for Your Vermont and New Hampshire Road Trip

In this post, I review the New England road trip we took through Vermont and New Hampshire during the summer of 2019.


3 weeks, 13 states, 5,138 miles, and 2 quarts of oil (FYI, Subarus inhale oil) gives you a grand New England Road Trip!  Because, when you live in Western South Dakota, why wouldn’t you drive all the way to the coast of Maine for summer vacation? 😮😛

In 2019 the Trekkers spent three weeks on a whirlwind tour of the Northeast. We spent the first week visiting with Mr. Trekkers’ family in Connecticut, enjoying some of the old haunts from his childhood.  Then we spent a weekend toodling around Vermont and New Hampshire, and then enjoyed several days at Acadia National Park, in Maine.  We finished with a quick visit with my family in Indiana on the way back. Read on for “Don’t Miss” places for your Vermont and New Hampshire road trip! 

Northern New England Countryside

I love northern New England!  After traveling the crazy highways that snake all around its southern section, you hit the Vermont state line and life seems to slow down a little, again.  You find yourself quickly returning to the small-town charm of country towns; earthy, damp smells radiate from the walls of green trees and ferns in the woods that surround you.  It feels different here… most of the trees are deciduous hardwoods, whereas we’re used to the evergreens more commonly found in the Black Hills (and areas of Colorado that we frequent).  It feels almost like a rainforest compared to the more arid land we’re used to.  It reminded us a bit of the Redwood forests in California (except without the Redwood trees 😛).

“Don’t Miss” sites in Vermont and New Hampshire

Below are some highlights from our whirlwind tour…

Route 100, Vermont:

We traversed much of this scenic byway that spans the majority of the state, from north to south.  Several of the locations listed below were found on or near that road.  Throughout these travels, we enjoyed one of Vermont’s prime attractions, covered bridges, as well.  

Small waterfall trickles down rocks into a rocky pool of water, surrounded by forest and boulders
Moss Glen Falls

A waterfall over rocks landing in a pool at the bottom in the middle of the woods


For more pictures of some great waterfalls around New England, check out my friend, Kathy’s blog here.


A waterfall over rocks landing in a pool at the bottom in the middle of the woods. Large rocks sit in a pile near the pool of water

Large, covered bridge spans a river
Covered bridge over the Quechee River

Large, covered bridge spans a river

Ben and Jerry’s Flagship Store, Waterbury Vermont: 

We decided we didn’t have time to actually do the factory tour where you can watch how the ice cream is made (though that would have been REALLY cool).  However, we did get ice cream from the official store, and I’ve got a tie-dyed t-shirt to prove it!  We did take the time to check out a portion of the grounds called the “flavor graveyard”.  It was a little weird 🙃 but it was interesting seeing the various flavor options that have come and gone throughout the years.  Check out the website for the factory here

Cold Hollow Cider Mill, Waterbury, VT: 

Just up the road from Ben and Jerry’s is a cool cider mill.  It specializes in fresh-baked, cider donuts.  I thought they tasted more like spice cake, but either way, they were good! Click here to check out the website for the mill! 

The Vermont Country Store, Weston, VT: 

This place was nice.  It kind of reminded me of Wall Drug, in Wall, SD, but was far less immense.  It was definitely a cute place to pick up some local delicacies and check out some cool, retro toys and games from the ’80s, that brought back memories of our childhoods. 😁

Quechee Gorge, Hartford, VT: 

This place was really cool!  The Ottauquechee River cuts through over 100 feet of rock in this area, the result is a GORGEOUS, scenic view.  A hiking trail nearby takes you on an easy hike of less than one mile, to the head of the gorge, where the river is dammed.  This provides a unique view down the length of the canyon. 

The trail also traverses about a mile downhill, the length of the gorge, to where the river emerges from the rock again.  This is a popular swimming area.  Be aware though, as it’s downhill from the main parking lot all the way to the swimming site, you know what that means for the return trip! 😛

Looking through a hole in the trees, a dam in the background narrows into a large waterfall over some rocks
The dam at the head of the Quechee Gorge
Looking down the length of a tree-lined gorge from above. Rocky walls lead to the river far below
This pic gives you an idea of how deep the gorge is
Looking down the length of a tree-lined gorge from above with tree-covered mountains in the background
A view of the gorge from the bridge

Looking down the length of a tree-lined gorge from eye level

Simon Pearce Glass Mill and Store, Quechee, VT: 

Ran using hydroelectric power from the same river that formed the Quechee Gorge, this place was AWESOME!  We were able to watch the artisans blow and shape the glass in the mill, in the basement, while the final product is sold in the store upstairs.  The shop also features a nice restaurant that overlooks the river. 

We decided the creations (even the seconds) were a little too rich for our blood, especially with the risk of breaking them as it was the middle of a lengthy road trip!

A glass blower crafts red-hot, liquid glass in a workshop
A glassblower craftsman at Simon Pearce

Camping at State Parks in Vermont and Maine

Because we enjoy camping, and it helps to keep costs down when on road trips, we spent a few nights at state parks in both Vermont and Maine. The mosquitoes were bad throughout the trip, but that’s to be expected in the middle of the damp woods. 😉

I’m a nature girl, I like critters, even the slithery, skittering, venomous–if we must–kind, as long as we can leave each other alone.  What I can’t abide are mosquitoes.  Seriously, why, just why?  That will be one of the many questions I have for the “Big Guy” someday. 

What purpose do they serve?  Food for other critters?  That’s fine, but why do they have to suck OUR blood, causing welts that itch to high heaven (and are bigger than the critter that left them) that last for days on end, and can even end up infected due to excessive scratching brought on by the extreme itching (I know from experience).  A bug that DOESN’T carry potentially deadly disease couldn’t fill that spot?  I’m just saying. 😛  They say God doesn’t make mistakes but the presence of mosquitoes makes me wonder a bit. 🤔  

The campsites throughout the campgrounds were largely gravel and flat.  They have large stone hearths to use for fires, we aren’t used to that in the Black Hills.  It made me think of the Flintstones. 😂  Most of the sites were large enough they could fit a small trailer/pop-up camper (we just brought the old, trusty, ground tent for this trip).  There were also flush toilets, electricity, and showers (oh my! 😱)  I can’t remember the last time we had those types of “fancy” amenities when camping! 😉 

This may be because it’s been a while since we stayed at a state park.  We’ve gotten used to national forest sites, with their vault toilets (and that’s it). 😋  Other than their more rustic accommodations though, national forests are still my favorite places to camp.

Below are some of the parks we visited:

Coolidge State Park, Plymouth, VT: 

This is a newer park, and it includes buildings from the historical homestead of the 30th President of the United States, Calvin Coolidge.  This was the first place we camped, and the quietest.  Sites were shaded and well-separated from each other.

A tent sits on a wooded campsite
Our campsite at Coolidge State Park
New Discovery State Park, Marshfield, VT: 

This place was cute.  It rained that night, but not till we were nearing the end of our fire logs, so it was a nice sound to lull us to sleep.  There was a weird bird that kept attacking its reflection in the side mirror of my car, and a garter snake got my heart racing when it crawled out of a hole in our fire hearth! 😱  Other than these visitors, though, it was a decent little campground.

Sebago Lake State Park, Naples, ME: 

Funnily enough, I actually completed a writeup about this park, just a few weeks before we visited, for an online job I had at the time!  This was the busiest park we stayed at, with sites that were placed the closest together.  They were nice, and shaded, and allowed you close contact with all your New Yorker neighbors 😋 (we definitely don’t hear the Brooklyn accent much out in Western South Dakota! 😂)  One unique aspect of this area was all the sycamore trees, with their LARGE, scalloped leaves. 

This park sits on the northern shores of the VERY large, Sebago Lake.  It was cold, but refreshing to swim in.  We enjoyed our almost-lakeside campsite.  It was cool watching the full moon rise over the flat, mirrored waters of the lake after dark.

A full moon in the dark, night sky. It is reflected in the dark water of the lake, below
The full moon over Sebago Lake
A small fire in a rocky hearth in a campground
The cool, rock, fire hearth

Camping in Vermont

I love camping!  I love the random, natural experiences you have that you don’t notice cooped up in a house…the sun that dapples through the treetops as water droplets dribble and drip from the still-wet leaves after the rainstorm from the night before…you can see blue sky and stars peeking through the crowns of the trees…the sunbeams filter through the crown of tree leaves and slice through the morning mists that rise from the damp ground…you wake up in the morning to the granddaddy-long-leg who waves at you from his perch on the outside of your tent…

Blue sky through a crown of green trees

Vermont state parks are pretty nice.  They have lean-to’s that can be rented out, which we’ve never seen at developed campgrounds before.  They don’t seem like they would provide the most privacy or protection from the weather–or any critters–as it appeared people just set their hammocks/sleeping gear up in the shelter that has a roof, but only three walls.  We did see several people putting up tarps as a fourth wall.

They’re big on their “ponds” in New England, except many of them are bigger than the “lakes”.  Many are as big as some of the largest reservoirs in the Black Hills.  They may need to work on their wording a bit. 😋

Scenic Drives in New Hampshire

As we’ve already driven several of the main scenic routes through the White Mountains in New Hampshire, this time we chose to try out the northern route (US 2 to Route 16).  As it turns out, this isn’t nearly as pretty as the scenic byways that are comprised of Route 112 and US 302, that traverse areas such as Franconia Notch.  Those areas are GORGEOUS!

We then ventured into North Conway for lunch.  This was our second time visiting this little town.  We realized we had been there almost exactly 10 years ago, shortly before we got married! 

We had attempted to hike the infamous Mount Washington on that trip, but we didn’t make it to the summit thanks to several factors (including a certain blogger leaving breakfast on the side of the mountain 🤮).  I want to come back and try it again though, Tuckerman Ravine looks SO beautiful!  Now that we hike more regularly and are FAR more used to higher altitudes, I’m hoping we’ll be able to handle it a bit better.

Green, tree-covered mountains cloaked in clouds
Mount Washington, lost in the clouds (it’s the peak you can’t see)

Both of the Trekkers visited New Hampshire several times throughout our childhoods and we always really enjoyed it.   We were surprised to note that, on this trip, we both found the woods of southern Vermont to be more welcoming than the rugged forests of northern Vermont and New Hampshire/Maine. (The northern mountains reminded us of the Black Hills so they didn’t seem as much like a vacation. 😋)  They also reminded us of other northern forests that we’ve been to, such as those in Michigan’s Upper Peninsula, those in Glacier National Park/northwestern Montana, those in the Big Horns, and those in northern Colorado (such as in State Forest State Park).

Looking for more amazing pictures of the New England mountains? Check out the Rusch to the Outdoors blog!

It got us to thinking about how much has happened in 10 years:  we got married; we moved to South Dakota; there were new jobs for both of us; we bought a house…what will the next 10 years bring?  Good things hopefully!

Next up,  Part 2 of our trip, Acadia National Park

Have you ever been to these parts of New Hampshire or Vermont? Tell me about your experiences in the comments! 


Did you enjoy this post?  Pin it!

Three pictures: 1) A waterfall over rocks landing in a pool at the bottom in the middle of the woods; 2) Large, covered bridge spans a river; 3) Looking down the length of a tree-lined gorge from above with tree-covered mountains in the background. Pin reads, "9 'Don't Miss' places for your next Vermont and New Hampshire Road Trip"


Like what you read here today?  Please feel free to leave a comment, like or share this post!  Add your email at the bottom of the page, or the sidebar to the right, to be notified when a new post is published.  By signing up for the email list, you will also receive a free copy of the Tranquil Trekker’s Top 10 Tips of Trekking Do’s and Don’ts!

You can also follow the blog on social media by clicking the links below!

Facebook

Twitter

Instagram

Pinterest

Black Hills Blackberry Trail, near Mt. Rushmore

In this post, I review the Blackberry Trail in the Black Elk Wilderness!


The Blackberry Trail is a great hike into the Black Elk Wilderness.  This trail is fairly unknown, which is ironic because it sits directly across from one of the biggest tourist spots in the Black Hills, Mount Rushmore!

Where is the Blackberry Trail in the Black Hills?

The Blackberry trailhead is found in an old gravel parking area (that is sometimes roped off) directly across the road from Mt. Rushmore.

If the gravel parking area is roped off, you can actually park in the Mt. Rushmore parking deck. (This means you will have to pay the parking fee at the site. It used to be that once you bought a pass it was good for a year.  Now it’s only good for the day. 😛–Insert rant here, from Mr. Trekker, about the evil, automated kiosks they installed to replace humans 😂.)

We had interesting weather the day we trekked this trail, typical of spring in the Black Hills.  It was windy, with precipitation varying between light rain, heavy snow showers, and pelting mini-ice balls!  This was all mixed in with blue sky and warm sun, and we experienced all of these conditions within about 30 minutes of each other! 😛

Bring Extra Clothes when Hiking

As we were navigating the route, Mr. Trekker proved why you always bring extra supplies along, especially a change of socks!  You never know when you’re going to slip off a mossy rock and fall knee-deep into a swollen creek!

(I can’t make fun of him too much, he was actually trying to find an easy way across so he could then help me across. 😳  Of course, if he had listened to his wife and taken the route I suggested in the first place…😉.)

The water level seemed much higher than usual, as many of these creeks are just suggestions in drier times.  With the recent snowmelt and wet conditions of spring, the local waters were definitely running higher than normal.

What you’ll see on the Blackberry Trail

This is an absolutely GORGEOUS trail!  While it does climb the majority of the way, the route undulates through the hills and beautiful canyons that are common in the Black Hills National Forest.  There were a few lengthy, steep spots, but for the most part, they didn’t become overbearing.  The first half mile or so of the trail actually runs downhill. (You know what that means for the return trip!  Everyone loves a good, uphill climb to finish! 😛)

We did an out-and-back trek, taking the Blackberry Trail south to where it meets up with the Centennial Trail (just in the last few years, this portion of the route earned the classification of a National Recreation Trail.)  Then we took the Centennial Trail south, to its junction with the Grizzly Bear Creek Trail, which I discuss in this post.

I’m not sure why it’s called Grizzly Bear Creek. There may be been grizzlies in this area at one time, but that was MANY years ago (we’re talking centuries. 😛)

A portion of the way, the path runs along with Grizzly Bear Creek, which helps to make it so picturesque.  There were numerous water crossings and very few bridges throughout the trek.  Again, in drier times of the year, this may not be an issue, but I would recommend wearing either waterproof hiking boots or sandals you don’t mind getting wet if you’re planning to tackle this hike.  Also, be on the lookout for mountain goats and marmots, as they tend to frequent this area!

A marmot peaks it's head over some boulders
Marmot!
Mountain goal eating grass on the side of the road
You see these guys A LOT at Mt. Rushmore!
A boardwalk traverses the forest floor
One of the only bridges we encountered. It was quite picturesque!

How Long is the Blackberry Trail?

This route was about eight miles, out-and-back.  Not a bad day’s hike for us, though you could easily make it shorter or longer, to suit your tastes. Depending on how adventurous you are, this is a great area for backpacking, as it would allow you more time to fully explore the various trails that wander through the Black Elk Wilderness Area.  One other unique thing about this trail is that it offers cool views of Mt. Rushmore along the way!

Mt. Rushmore as seen through a break in the trees

Harney Range in the Black Hills National Forest

I know I’ve mentioned it in the past, but I LOVE hiking in the Harney Range.  The granite mounds and spires that are frequently found throughout the area give the region its own, unique flair.  The Ponderosa Pines that grow here allow a lot of light through their branches.  Also, the drier conditions (usually) found in the Hills lend themselves to little or no undergrowth on the forest floor. This means, even in the midst of the forest, you can actually see for quite a distance.

This is pretty unique compared to many forests we’ve visited.  Some areas of Colorado and Wyoming are similar, but these definitely contrast with forests that you find in many other parts of the country.  Most of those are comprised of dark, foreboding woods with trees so thick it’s hard to see between them.  Even in North Carolina, with the almost-tropical plants and ferns that covered the forest floor, it was easy to lose the trail.

There are all sorts of trails winding around the Black Elk Wilderness.  These aren’t the big trails that all the tourists hear about throughout the Wilderness Area and Custer State Park, though many of these do connect with the better-known trails, such as Black Elk Peak Trail, Trail #9 (formerly the Harney Trail) or the Cathedral Spires/Little Devil’s Tower Trails.

But if you’re looking for a nice, afternoon jaunt through the woods on a warm day, these are perfect.  Because they aren’t as well known, they tend to be far less crowded.  They aren’t overly difficult either.  I would give the majority of these side trails a moderate rating, with some strenuous spots.  They are sometimes single-track, rather than wide and graded, and you do have to watch for roots and rocks that you may need to clamber over or around.  But there aren’t any large, rocky areas that need to be navigated.

More pics from our day on the Blackberry Trail!

A dirt hiking trail forms a tunnel between the trees
I LOVE “tunnels”!
Mountain goats on the side of the road with Mt. Rushmore in the background
Our “Greeter” at Mt. Rushmore!

So the next time you’re looking for an interesting hike in the Black Hills, consider one of the lesser-known trails in the Black Elk Wilderness like the Blackberry Trail.  You may be surprised how much you enjoy these hidden gems!

Have you enjoyed this trail or do you have any questions on how to reach it?  Feel free to leave your experiences or any questions in the comments!


Did you enjoy this post?  Pin it!

A boardwalk in the woods with the title "Blackberry Trail"

Like what you read here today?  Please feel free to leave a comment, like or share this post!  Add your email at the bottom of the page, or the sidebar to the right, to be notified when a new post is published.  By signing up for the email list, you will also receive a free copy of the Tranquil Trekker’s Top 10 Tips of Trekking Do’s and Don’ts!

You can also follow the blog on social media by clicking the links below!

Facebook

Twitter

Instagram

Pinterest


Hiking Devils Tower

Devils Tower, in nearby Wyoming, is worth the time it takes to visit. In this post, I review the hiking trails that help you enjoy the site, as well as its history and some unusual legends that surround this other-worldly monolith.


**Author’s note: Just a word of warning, as this is a federal, National Monument, no dogs are allowed on any trails (exceptions for Service Animals). They are only permitted in the campgrounds and parking lots.**

As it holds the title of the nation’s First National Monument (thank you Teddy Roosevelt!), Devils Tower should be on your bucket list!  Several different hiking trails offer beautiful views as the site rises over the surrounding valley floor.  You’ll find yourself surrounded by yellow rock layers that stand out in contrast to the red layers of the Spearfish Formation, while the gorgeous Wyoming countryside spreads out before you like a mottled quilt.

As it holds the title of the nation’s first National Monument (thank you Teddy Roosevelt!), Devil’s Tower should be on your bucket list!  You’ll find several different hiking trails throughout the park, of varying lengths and difficulties.  Beautiful views are available from all the trails as the tower rises above the surrounding valley floor.  Below you, the gorgeous Wyoming countryside spreads out before you like a mottled quilt. The yellowed rock layers that surround you stand out in contrast to the red cliffs of the Spearfish Formatio

Watch out for rattlesnakes in this area during the warmer months. You won’t usually find them on the well-traveled paths–though they will, occasionally, seek out the warmer blacktop in the mornings or evenings.  However, you may come upon them in the grass if you wander off-trail, or if you are hiking some of the more rugged, grassier routes.

If you visit the Visitor’s Center, you can see views of the top of the Tower. Interestingly enough, there is actually grass up there!  It offers a nice place for the climbers to relax and take a break before they trek back down.

Snakes have even been found on the summit, though naturalists aren’t quite sure how they got there.  It has been theorized that they may have been dropped by birds that were planning to make a meal of them.  While this meant good fortune for the snake, it also meant an empty tummy for the bird. 😳

Devils Tower Hikes:

All of the hiking trails at Devils Tower are worth checking out and can be enjoyed by those with a variety of hiking expertise.  You should be aware, there isn’t a lot of shade available on any of the routes.  While this makes for a hot trek in the warmer months, the good news is you’re in Wyoming, so there is almost ALWAYS at least a slight breeze! 😉

The Tower Trail:

This is the main trail that traverses the base of the tower.  At a little over a mile in length, it is paved or graded the entire way and offers benches for resting.  This route should be accessible for most people, just watch out for the occasional root.  Bring binoculars and watch for climbers on the monolith!

South Side and Valley View Trails:

Both of these are side trails that connect to the Red Beds Trail and add an additional half mile to that route.  They are shorter and take you into the valley that skirts the south side of the tower (imagine that!) 😝  They wind through a prairie dog town that is also accessible from the road.  The furry little critters are cute, but stay back!  DO NOT FEED THEM!  Their fleas carry Plague (yes, THAT plague). 😝

The Joyner Trail:

This trek is a 1.5-mile loop that covers mostly the grassland north of the tower.  It also includes a connector to the Red Beds Trail if you choose to use it.  Its trailhead is found in a different location on the north side of the park, which also makes a prime lunch spot as it offers one of the most dramatic shots of the monolith (see below):

A large, rock monolith rises above the trees and brown, prairie grass into the cloudy, blue sky.

Red Beds Trail:

This is our favorite hike at Devils Tower!  At almost three total miles in length, this loop is the longest and most strenuous of all the trails.  You can take it either direction, though both will start by heading downhill to about the halfway point and then will return uphill.  So, while you think it’s easy at first, remember, it’s uphill ALL the way back! 😉 

While you won’t have as good of views of the tower from this route, it tends to be far less busy and it offers more views of the surrounding landscape.  It also takes you through different ecosystems including the nearby grassland and the dry, red rock bed–hence the name–of the Spearfish Formation.

Below are some of the scenic views available from the Red Beds Trail:

View up a hill covered in brown grass and sparse, pine trees. A tall, rock monolith rises from behind the crest of the hill.

View from the bottom of a brown-grass and sparse, pine tree-covered hill. A tall, rock monolith rises from behind the crest of the hill.
This route does offer a few nice views of the tower!

A muddy river snakes through brown-grass and pine tree-covered banks.
The Cheyenne River

A red rock wall spreads to the distance. Pine and brown-grass-covered hills are in the foreground.
You can see why they call it the Red Beds Trail!

Pine tree-covered hills in the fore and far background. A brown grass valley sits in between them.
The surrounding valley
View from between two pine trees of pine tree-covered hills with two rocky mountains rising above them in the far background.

How was Devils Tower Formed?

There are several explanations for how the tower came to be:

The “boring” scientific explanation 😉:

There are various theories that explain the creation of the Tower, but the most accepted one is that, back when the Earth was young, this was once a volcanic plug that allowed lava to escape to the surface.  The rock that formed around the plug was harder and of a different type than the surrounding rock.  In later years, this softer rock eroded, leaving the plug behind.  

But enough with “provable facts”, let’s move on to the far more interesting legends. 😁

American Indian legends:

The legends vary by tribe, but most feature young children being chased by a large bear.  The children usually climb on a rock to escape the bear and pray for help.  The Great Spirit causes the rock to grow so the children are transported out of the bear’s reach.  As the bear tries to climb the rock and falls, his claws leave large gashes in the rock (this explains the igneous columns).

Several of the legends state the children are girls who eventually turned into the Seven Sisters star constellation.  One Lakota Sioux legend states the bear grows tired, wanders away to the land that is now South Dakota, and eventually falls asleep.  He then turns into Bear Butte, a sister volcanic plug found in the northern Black Hills.  

Both of these sites are considered sacred by numerous American Indian tribes.  It is common to see prayer bundles at either location and sometimes, people can be observed practicing ceremonies there. These locales are occasionally closed to visitors when certain tribal events are occurring.  Please respect any religious observances you note and refrain from touching or moving them.  We are truly visitors to these sacred areas and should respect them as such. 

“I’m not saying it’s aliens…”

Then there’s the “other” explanation…when in doubt, always assume it’s the aliens! 👽  

Some people may have never heard of one of Steven Spielberg’s classics from the 1970’s–and one of Richard Dreyfuss’ first big movies–Close Encounters of the Third Kind.  This film was old when I watched it as a kid (and we don’t need to discuss how long ago THAT was! 😝).  It’s always been one of my favorites, though I may be a little biased as a large portion of the movie takes place in my home state of Indiana. 😉 

Devils Tower features heavily into the plot of the film, so you can imagine how excited I was to learn it was nearby when we moved to the Black Hills.  The movie is relatively kid-friendly, aside from one (in my opinion) unnecessarily, frightening scene.  The aliens are more akin to those found in ET than Independence Day. 😉  

I STRONGLY recommend you check out the movie after visiting the tower, especially the Director’s Cut with all the deleted scenes.  The Special Edition version is actually my favorite, as it is the only one to include the fabled “Mothership Scene” at the end.  While Spielberg later regretted bowing to the film studio’s pressure and adding this scene in, it was always one of my favorites.  Think about the special effects that were required to make this scene and how few of them would have been available to Spielberg in the ’70s.  This was well before computer effects kiddos! 😳  And yes, once you hear it, that theme music will be an earworm that will drive you INSANE! 😝

Where is Devils Tower?

 The tower is pretty easy to reach from the Black Hills.  The directions are simple: drive west on I-90; follow the signs. 😉 

Driving through beautiful Wyoming

Though it does take a couple of hours, part of the reason we enjoy this trip so much is the drive (I’ve mentioned before how much I enjoy long drives through the countryside).  There are a couple of different routes you can take…

We like to form a loop where we take I-90 out (the quick way) to Sundance, get off on US 14 North, and take that to Route 24 North.  When we leave the site, we continue on Route 24 to the north (the scenic route) and take that all the way back to Belle Fourche, SD where you can pick up I-90 again.  The drive takes around 1.5 – 2 hours or so each direction, but boy is it worth it!  

This part of the country is, truly, God’s Country.  I love South Dakota, but the Wyoming countryside brings with it a new definition of wild and wonderful.  It’s so incredibly rugged (as is the weather!) and you’ll notice the change immediately after crossing the state line.  The red rocks form a distinct backdrop as they stand out in direct contrast to the dun-colored prairie.

Take the time to visit the Wyoming Black Hills, you’ll be glad you did! 

A dirt road skirts a brown-grass meadow. A bare, rocky mountain rises from the prairie in the far background.
We even got a nice view of Bear Butte on the way home!
What is your favorite legend for the creation of this unique monolith?  Let me know in the comments!Did you enjoy reading this post?  Pin it!

A large, rock monolith rises above the trees and brown, prairie grass into the cloudy, blue sky. Pin reads, "hiking trails at Devils Tower".

Like what you read here today?  Please feel free to leave a comment, like or share this post!  Add your email at the bottom of the page, or the sidebar to the right, to be notified when a new post is published.  By signing up for the email list, you will also receive a free copy of the Tranquil Trekker’s Top 10 Tips of Trekking Do’s and Don’ts!

You can also follow the blog on social media by clicking the links below!
Facebook
TwitterInstagram

Pinterest

Humans Aren’t at the Top of the Food Chain

In this post, I discuss the humbling status of where humans rank on the food chain when we venture out into the Wilds.


The Trekkers had a unique experience when snowshoeing one early, spring day.  It was a humbling reminder that when we venture out into the Wilds, humans are NOT at the top of the food chain!

We were snowshoeing on the Deerfield Trail, just off the Mickelson Trail, in the central Black Hills of western South Dakota.  We were trudging down a forest road, just tromping along.  It was a lovely day!  The sun was shining in a bright blue sky, the birds were tweeting, we were happily enjoying our own, peaceful, little slice of paradise.  That all changed when we wandered around a bend in the road and came upon a deer…that had seen better days (or, at least, what was left of it). 😳  This was easily the most gruesome, mountain lion kill scene we’ve ever come across.   

I’ll spare you the grisly details, except to say it was a bit unnerving to see blood spatters scattered along a long span of the road.  It raises the hairs on the back of your neck a bit when you come upon this type of scene.  Our senses were immediately heightened to the possibility that we may not be alone out there, especially as mountain lions are known to guard their kills. (We never saw or heard any sign of the predator, fortunately.)  

There wasn’t much remaining of the deer other than the head and spinal column. While some birds were still snacking on the remnants, we assumed any larger predators had already had their fill and wouldn’t be returning, though we opted not to stick around to find out. 😝 

We assumed it was a mountain lion kill, as there weren’t many tracks to be found in the snow.  It appeared there may have been a coyote or two that had come by.  We surmised this due to tracks, and because big cats usually cache their kills.  However, in this case, lengthy drag marks had been left in the snow and the kill had been scattered over a wide area.  We didn’t see any obvious evidence of a coyote pack so it may have been a loner.  These critters have been known to scavenge and even try to steal kills from mountain lions (they are a lot braver–stupider?–than I am! 😝) 

I didn’t take any pictures, for obvious reasons.  I try to avoid putting anything too grisly on this blog, and it felt a bit disrespectful to the dead.  In a bit of an odd contrast, there was one interesting sight–amongst the gore–you could see marks left in the snow from where the wings of flying scavengers had whisked across it as they landed.  It felt odd to see something so beautiful in a scene so full of death.  

Humbled by Mortality

It’s humbling to view a sight like that.  This isn’t the first kill site we’ve ventured upon while traversing the Wilds, and I’m sure it won’t be our last.  Though it was one of the more bloody sites we’ve encountered, I have found my anxiety surrounding these situations continues to abate with repeated exposure.  We’re always careful to watch and listen for critters, and we don’t hang around these macabre scenes long.  

It seems brutal, but it’s a perfectly natural act.  The mountain lion gets hungry (and if it was a female, she may have either been pregnant and near birth, or may have been caring for newly born young in a den). 

The predators also provide a necessary check on the local deer population.  Without them, the number of deer would quickly grow out of control, to the point that the natural resources of the local area would be depleted and wouldn’t be able to sustain their large population.  This eventually leads to famine and starvation within the species (and possibly that of other animals living in the local area).  

So, this is, obviously, a necessary service.  I am reminded of when I was a child, and my family would watch the show “Nature”, every Sunday night on the local PBS station.  A favorite saying of one of the narrators was, “where there is something to eat, there will be something to eat it.” 😮

Nature Shows no Mercy

This situation offers a stark reality check and a reminder that nature isn’t kind.  It isn’t always pretty and it certainly isn’t always gentle.  It favors the strong at the expense of the weak.  Nature isn’t “fair” and it isn’t “compassionate”, it’s all about survival of the fittest.  We must remember this when we venture out into the wilderness, especially because this policy applies to us as well!

We must always respect Mother Nature when we set out to commune with Her.  We can never turn our back on Her because, when we embark on a wild adventure…we become part of the food chain…and we aren’t necessarily on top! 😳

How to Protect Yourself in the Wilderness

There are various methods you can use to protect yourself when out in the wild, some are more useful than others: 

Recreating alone is risky:  One of the biggest and easiest things to remember is that it is very risky to recreate solo.  This isn’t always a popular opinion, but I stand behind it 100%.  Not everyone has human companions to adventure with (consider this motivation for locating some!) while others truly enjoy their solitude and prefer to head out alone (or just with a four-legged friend).  

The bottom line is though, being out in the wilderness alone puts you at FAR greater risk of both injury and animal attack.  Cell phone service is frequently spotty in these areas and all it takes is one wrong step to sustain an injury that will make it impossible for you to hike out.  If you don’t have good cell service where you’re located, that leaves you with no choice but to crawl to a place you can get it.  This could require hundreds of feet (at a minimum) of dragging yourself over unforgiving terrain.  Your four-legged friend can’t offer much assistance in this instance either (no opposable thumbs 😝).  

If you can avoid injury, it is still more likely that you could be at risk of wild animal attack when alone.  Your four-legged friend will be able to assist in this matter, as you’ll both make noise to warn away any wild animals.  Your furry companion can also serve as a deterrent, though don’t allow them to antagonize a wild animal.  Moose, especially, hold no fear of dogs and will attack if they feel threatened.  

Any time you are present in a group (of at least two or more humans), you make more noise, that’s just physics.  Even if none of you speak, the sounds of your feet, or snowshoes, or skis (or paws) making their way through the environment, create quite the clamor. Humans are inadvertently loud, and we also stink of awful things like shampoo and soap. 😉  Animals know those smells and sounds aren’t “natural”, so they prefer to just avoid us if they know we’re around.  Venturing out in a group can really help with this.  

Firearms:  I will begin this portion of today’s lesson by admitting this is a controversial subject. 😝 (Anything said below is meant to be US-centric.  I can’t speak to any laws outside of the United States.)  

I’ve mentioned before that I lean Libertarian, so I fully support the 2nd Amendment and the responsible use of firearms.  This is a personal choice that we all must decide for ourselves.

HOWEVER–and I can’t stress this enough–“responsible use” means following ALL Federal, State, and local laws of the area where you are located (whether you agree with them or not).  Always remember that laws can vary greatly between states with lenient gun regulations (like South Dakota) and those with much stricter laws (such as California or Connecticut).  It is YOUR RESPONSIBILITY to educate yourself on the laws of the local area.  Ignorance is NOT an excuse.  

It should also be noted that according to the US Fish and Wildlife Service:

“Persons encountering grizzlies and defending themselves with firearms suffer injury about 50% of the time.  During the same period, persons defending themselves with pepper spray escaped injury most of the time, and those that were injured experienced shorter duration attacks and less severe injuries.”  

And on that happy note…

Bear Spray:  I am a big believer in this, though again, it must be used responsibly.  Bear spray is pepper spray, on steroids.  People and pets can be severely injured with it, so please, treat it with the respect it deserves.  Though it’s legal in most states, some have strict laws regarding its use, and again, it’s your responsibility to educate yourself on these.  

The biggest thing to remember with bear spray is to ONLY SPRAY DOWNWIND! (This may seem obvious, but in an intense situation, this crucial detail could be easily forgotten.)  If you spray into the wind, all you’ll succeed in doing is making yourself an incapacitated, pepper-flavored snack. 😝 

It should also be noted that this is NOT a bear repellant.  It should NEVER be used unless you feel an attack is likely/imminent and then only as a deterrent.  Educate yourself on the use of this product BEFORE it is needed.  

Another point to note, “bear spray” can be used on any animal that is posing a threat, it doesn’t have to be a bear. One thing I like about this method is that it is intended to be non-lethal.  It will, likely, cause intense pain to the animal, but any damage should be temporary.   

We should not be flippant about the use of bear spray; however, if it is used successfully, while the animal will be uncomfortable for a time, the experience will serve as an important and unpleasant reminder that getting too close to humans results in pain. The goal being, in the future, the animal will do all it can to completely avoid a human, to begin with.  This negative reinforcement is a behavioral method for deterring the animal. (Ever burn your hand by touching a hot stove when you were a kid?  Did you touch the stove again?  The same principle applies here. 😝)

Mother Nature Deserves Respect

I don’t bring this situation up to scare people.  I LOVE spending time in the wild (and that includes in “Big Cat” and “Grizzly Country”).  It can be such a rewarding experience, I want to encourage everyone to try their hand at enjoying it.  I just want people to keep in mind that when they do venture out, you are leaving behind the safety and security of our dull, civilized lives.  This is a good thing!  However, it is something that needs to be kept in mind and respected.  Follow these guidelines and you’ll increase your likelihood of having a safe, enjoyable adventure.  

Humans may not rank at the top of the food chain when we set out into the uncivilized, natural world and nature may be all about “survival of the fittest”.  Fortunately, we were blessed with intelligent brains that make up for what we lack in brawn.

Have you had any hair-raising experiences with animals in the Wild?  Tell me about them in the comments! 


Did you enjoy this post?  Pin it!

Horned animal skull and vertebrae against a black background. Pin reads, Humans aren't at the top of the food chain."

Like what you read here today?  Please feel free to leave a comment, like or share this post!  Add your email at the bottom of the page, or the sidebar to the right, to be notified when a new post is published.  By signing up for the email list, you will also receive a free copy of the Tranquil Trekker’s Top 10 Tips of Trekking Do’s and Don’ts!

You can also follow the blog on social media by clicking the links below!

Facebook

Twitter

Instagram

Pinterest

Conquer Lengthy Trails in Small Portions

In this post, I discuss how to build your self-confidence by “connecting the dots” and finishing portions of trails you haven’t conquered in the past.


Today I’m going to discuss the incredible feeling of accomplishment that comes from completing a lengthy trail in small, manageable portions, regardless of how many tries, trips, or years it takes to achieve that goal. 😁  Below I outline several different trails we’ve done sections of in the past and have finally “connected-the-dots” on.

Willow Creek/Rushmore Trail (Trail #5)

View through the woods of pine trees and tree-covered mountains in the background

 We completed the Willow Creek/Rushmore trail (Trail #5,) all the way to where it meets up with the Harney Trail {Trail #9, the hard way up Black Elk (formerly Harney) Peak}.  

This is really just a connector trail and not that big of a deal (though it’s a nice trek with lovely views).  It’s just such an accomplishment when you complete these various routes.  

The Willow Creek/Rushmore Trail was one I’ve been wanting to do for years.  Every time we’ve hiked the difficult Harney Trail (Trail #9), we’ve always used the Willow Creek turn-off as a bit of a landmark to watch for.  So, to finally connect the two was such a delight! 

This accomplishment was especially exhilarating as it was already getting snowy up that way and some of the knee-deep snow was a challenge to hike through–we hadn’t taken snowshoes that day as the lower elevations didn’t have any snow and we didn’t know how much we’d be encountering.

Eagle Cliff Trails in the Black Hills

After numerous tries throughout multiple seasons, we finally completed several sections of various trails in the Eagle Cliff area. 

We’ve enjoyed parts of these trails in previous years–sometimes skiing, sometimes snowshoeing, sometimes mountain biking–but we’ve never fully connected them all.  In the past, we failed to complete the entire loop as we’ve always turned around due to being tired, being cold, or losing the trail.**

This time, however, we started with the Hamburger Snowshoe Route (who comes up with these names?! 😝); took that to Lily Park Trailhead; then continued on to the Holey Rock Trail.  We then looped back to the Bratwurst Ski Trail and brought that all the way back to our starting point–not to worry, we stayed off the ski trails. 😇 (Another group had, kindly, already blazed a snowshoe trail alongside the main road that we were able to follow. 😁)

**As much as we love the Eagle Cliff area, we’ve frequently lost our trail up there.  This has occurred both in the summer and the winter months and has actually been worse in the summer (the tall grasses don’t do much to suggest a trail.  At least in the winter, there are, oftentimes, other tracks to follow!)  Fortunately, we’ve never gotten lost to the point of being in trouble, we were always able to retrace our steps and find our way back.  Sometimes too, we’ve been able to spot the valley we were seeking from a ways off and reach it via off-trail routes.  

I do believe some of this was due to poor signage, the old maps were difficult to read and often sun-faded, or they were an inaccurate match with the current trails that year.  The new ones seem far more clear.  The trail blazes on the trees also seem to be closer together and better-marked now.  It could also be that we’re finally getting comfortable with the area as we’ve completed so many of the trails.  

Related posts:  Cross-Country Skiing at Big Hill, Spearfish, SDWinter Activities at Eagle Cliff

To Conclude

The point to discussing all this is that, if there is a difficult or lengthy trail (or set of trails) you’re interested in, but they seem too challenging or long for you to accomplish in one sitting, complete them in sections!  It still counts as mastering the entire monster, even if you don’t do it all in one try!
Start from one end and try to make it halfway.  Then, on another occasion, start from the other end and make it halfway again.  You just finished the entire thing, even if you only ever did half a section at a time!  

I have a few other, personal examples of this in relation to local trails.  The Trekkers are aiming to hike the entire, 111-mile-long, Centennial Trail that traverses the length of the Black Hills.  We also want to bike the entirety of the Mikelson Trail, the 109-mile-long, graded, gravel path that spans the Hills, from north to south.  It follows an old railroad grade, leftover from the Gold Rush days of yesteryear.   It’s taken us more than a decade, but so far we’ve completed over half of the Centennial Trail and almost the same amount for the Mikelson.  

With routes that are quite lengthy, numerous trailheads often split them up into more manageable sections.  Completing one several-mile section every few months is far simpler than attempting an entire 25-mile trail all at once.  

We’ve even split up single sections before.  There is a 14-mile portion of the Mikelson trail that we’ve just never been able to finish all at once.  We HAVE completed it using the “halfway method” mentioned above, starting from each direction, though.  

This technique is also a good way to keep your spirits and enthusiasm up.  It’s much easier to stay motivated if you’re not trying to psych yourself up for a crazy excursion, but instead, a fun, shorter, one-day outing.  

With this post, I want to stress that you don’t have to be a marathon recreator.  It’s perfectly reasonable to be more of a “sprinter”, who feels a five-mile outing is a perfectly acceptable definition of a “full day”.  When you’re out on the trail you aren’t competing with anyone or anything else (with the exception of Mother Nature, of course).  Your only rival is yourself. So, don’t compare yourself to others.  The only thing that matters is that you’re improving your skills, your strength, and your health–both mental and physical–along with it.  

The other caveat is, of course, that you’re having fun!  As long as you’re getting out, connecting with the natural world, working off the steam of any built-up, negative energy, and you’re accomplishing the goals you have set for yourself, that’s the only thing that’s really important.  

You’ll find achieving goals is also quite the confidence booster, as you’re pushing yourself and meeting challenges. (If you are the marathoner-type person who can go out and accomplish 20 miles in one sitting, mad points to you too! 😉)

So, what are you waiting for?  Get out there and accomplish some goals and in the process, boost your confidence by finishing​ what you start!   

Have you conquered lengthy trails in small sections?  Tell me about it in the comments!


Did you enjoy reading this post?  Pin it!

A wooden sign on a wooden signpost along a dirt path in the woods. Pin reads, "Conquer Lengthy Trails in Small Portions"


Like what you read here today?  Please feel free to leave a comment, like or share this post!  Add your email at the bottom of the page, or the sidebar to the right, to be notified when a new post is published.  By signing up for the email list, you will also receive a free copy of the Tranquil Trekker’s Top 10 Tips of Trekking Do’s and Don’ts!

You can also follow the blog on social media by clicking the links below!

Facebook

Twitter

Instagram

Pinterest


Hiking the Robber’s Roost Trail, Custer State Park

In this post, I review two adventures where we learned the value in seeking out the “boring” locales, even on “less-than-ideal” days.


Author’s Note: The Trekkers originally hiked the Robber’s Roost Trail in Custer State Park on a foggy, mild, January day.  Many of the pictures below are from that trip.  We have since returned in warmer weather and found it to be equally enjoyable so I’ve added a few more pictures! 

Is it cold out, or windy, or really hot, or raining…then it’s not a good day to spend outside, right?…or is it?

The Robber’s Roost Trail, in Custer State Park, can be enjoyed in almost ANY weather!

One thing anyone who lives near mountainous terrain can tell you is the weather can change at a moment’s notice–which can be both good and bad–and it can vary greatly between nearby locations.  The Trekkers have experienced this frequently. 

One particular January day our local area was socked in with heavy, freezing fog.  It was a damp, 30ish-degrees so it wasn’t exactly ideal for being out (though the hoarfrost on the trees was beautiful!)  

Previous experience has shown us how variable our local weather can be, dependent on terrain.  Due to this, we knew the weather in the Black Hills could be far different than what we were currently experiencing in town (being married to a meteorologist who can look up conditions in certain areas helps too 😉).  So, we decided to try out the Robber’s Roost Trail in Custer State Park.  We knew, at the worst, we would be able to enjoy a pretty drive and could get some nice hiking in, while at the best the weather could be FAR different as we climbed in elevation.  Boy, was it!

A Foggy Drive through Custer State Park

As we headed for the park, Mr. Trekker made the prediction that we’d emerge from the fog shortly after passing the entrance sign (where the road begins to gain in elevation)…he was right on the money! (I’m gonna channel Johnny Depp from Pirates of the Caribbean and state, “There’ll be no living with him now.” 😝)  

As we headed toward our trailhead, we made several stops for photo opportunities of the gorgeous hoarfrost the freezing fog had left behind.  I can’t quite explain why, but that natural occurrence utterly fascinates me.  The way the frozen crystals cling to the local flora can cause a smooth piece of bark to look almost furry.  It reminds me of the tiny hairs on a spider’s legs.  

Close-up view of bare tree branches that are covered in frosty needles of ice
Isn’t this incredible?

Close-up view of a dirt path that runs through a brown-grass meadow with frost covering the individual grass stems. Pine trees appear through fog in the background.

Close-up view of tiny pine trees in a brown-grass meadow with frost covering the individual grass stems. Pine trees appear through fog in the background.

Hiking the Robber’s Roost Trail

When we arrived at our trailhead, the sun was shining brightly, and continued to do so…for the remainder of the afternoon!  We had many opportunities to view the fog bank below us, in the lower elevations, but it never reached our altitude until the very end of our trek.  By then, we had returned to the car and were wandering about, seeking out prime picture opportunities.  😁

A dirt path runs through a brown-grass meadow with pine tree-covered hillsides in the background. Fog rises over the trees and hills in the far background, all under a clear, blue sky.
The fog is coming!

A brown-grass meadow with pine tree-covered hillsides in the background. Fog rises over the trees and hills in the far background, all under a clear, blue sky.

A single, pine tree sits on a brown-grass hill with smoke rising over the pine trees in the valley behind, all under a clear, blue sky.
It was incredible, watching the fog slowly rise from the lower elevations.

A brown-grass meadow with pine tree-covered hillsides in the background. Fog rises over the trees and hills in the far background, all under a clear, blue sky with a foggy sun shining through.

The trail isn’t anything exciting, it’s just an old fire road that winds through prairie land, around and over hills throughout the park, but we had a great time!  

The scenery used to be more picturesque, but after the large, Legion Lake Fire that swept through this area in December 2017, this portion of the park now consists, mainly, of a burn scar.  For this reason, be aware, that in the warmer months, there is very little shade.  You should be prepared for hot conditions.   

If you’re looking for some additional fun activities to check out in Custer State Park, click here!

Where is the Robber’s Roost Trailhead?

The trailhead is located in the southern portion of Custer State Park, off of Oak Draw Road (just to the east of the Prairie Trail trailhead).  You can reach that road from the southern arm of the Wildlife Loop Road (Route 16A).  

The hike just follows an old, forest road, out-and-back, though it can be combined with other old roads, in the local area.  These would make for a great hike, horseback, or mountain bike ride. (We’re planning to try this route on our bikes soon!) 

A dog looks down a brown-grass hillside over an expanse of other hills in the distance, all covered by trees that appear to have been burnt.
Puppers enjoying the hike!
A dirt lane traverses a brown-grass hillside with a lone, pine tree on it's side and tree-covered hills in the background--some of the trees appear burnt.
You can see the burn scar in the distance

Below is a short video I took, at the end of the hike, of the coyotes’ haunting song that seemed to welcome the fog as it silently slipped back up the mountainside…(turn the sound up for this one!):

Below are a few more pictures of our trek.  Thanks, as usual, to Mr. Trekker, for several of the pictures!

Picture looks black & white. Leafless trees and a milky sun appear through the fog

The sun shines through whispy fog as it rises above hills
To me, this picture feels otherworldly, like smoke rising from a scorched landscape (it is just fog).
A fog bow forms over a fog-covered trees under a clear, blue sky
Fogbow!
2 hiking boots covered in mud on the ground
Did I mention this trail can get a “bit” muddy? 😳😁

In Conclusion

Don’t be afraid to seek out the “boring” or “go-nowhere” treks, they can sometimes offer some surprises of their own.  We enjoyed a great–albeit INCREDIBLY muddy–hike (basically in shirt sleeves)…in mid-January…in SOUTH DAKOTA!  Whereas, if we had stayed at home, we may have felt depressed by the cold, damp, foggy day.  So don’t be afraid to Get Out While the Gettin’s…Bad!

Have you had a positive experience where you ventured outdoors when the weather was less than perfect?  Tell me about it in the comments!


Did you enjoy this post?  Pin it!

A path leads through brown-grass-covered hills and trees that appear burnt. Pin reads, "Hiking Custer State Park's Robber's Roost Trail"


Like what you read here today?  Please feel free to leave a comment, like or share this post!  Add your email at the bottom of the page, or the sidebar to the right, to be notified when a new post is published.  By signing up for the email list, you will also receive a free copy of the Tranquil Trekker’s Top 10 Tips of Trekking Do’s and Don’ts!

You can also follow the blog on social media by clicking the links below!

Facebook

Twitter

Instagram

Pinterest

Hike the Sunday Gulch Trail in Custer State Park

In this post, I review the Sunday Gulch Trail, in Custer State Park, near Sylvan Lake.


As part of the incredible trail system offered by Custer State Park, the Sunday Gulch Trail is a must-hike!  You will find the trailhead located behind the large rocks at the back of Sylvan Lake,  off the Sylvan Lake Shore Trail.  

Note:  this trail is closed in the winter months due to ice buildup from the nearby creek.  

Hiking the Sunday Gulch Trail

This loop trail is around three miles long and can be completed in either direction. 

I suggest taking the right fork at the trailhead.  This way, you’ll complete the most difficult portion of the hike first, and you’ll be doing it heading downhill.  You will still end your trek with an uphill climb, but it will be far less strenuous than the alternate option. 

Traveling this direction, the early portion of the trail is comprised of steps and large boulders that must be navigated—there is a handrail—as you make your way down the ravine.  Once you reach the bottom, the path is relatively easy and flat while you traverse a canyon; until the final climb back to Sylvan Lake at the top.

In the hotter months, be prepared for a hot hike!  Due to the gulch-like nature of the terrain, cool summer breezes often miss this area. Fortunately, the surrounding foliage provides significant shade opportunities (except when the sun is high, in the middle of the day).  

As you continue down the canyon, your trek will eventually begin to wind uphill when you commence the final, LONG ascent back to the lake.  The path is well-trodden and fairly smooth/free of debris, but it’s a long hill back to Sylvan Lake.  You will hear more road noise on this portion of the trail as it parallels Route 87.  

Pine trees with rock formations rising behind them
A view of the surrounding peaks from the top/end of the trail

Things you will see on the Sunday Gulch Trail

The trail is beautiful.  As you descend into the ravine, granite cliffs tower far above you on both sides, while a bubbling brook accompanies you the entire way.  

Once you reach the bottom of the gully, continue following the creek as it winds its way through the canyon.  This area is very peaceful as there is little road noise–the only main route, nearby, is Route 87, and that snakes along the edge of the ridge far above you.    

Rear view of a woman climbing down rocks while holding onto a metal railing
The Tranquil Trekker, navigating the steep, boulder section of the trail, through the ravine

Use caution when the path is wet, due to rain or snowmelt, as the creek often gushes across it when the water level is high.  Even in late spring, be prepared for the possibility of ice where the route traverses the deep ravine, as it doesn’t get sufficient sunlight throughout much of the day.

Traction devices, such as Yaktrax, are highly recommended unless you are hiking this trail at the height of summer. (Click here for more information on these awesome traction devices!)      

This trek can be managed by smaller children and pets, but they may require assistance with the really, rocky portions of the trail. 

As it combines bouldering with a relaxing jaunt through the forest, this fun hike contains a wide selection of scenery and is a must-see for those wanting a bit more adventure.  If you’re looking for a challenging and fun hiking trail on your visit to Custer State Park, check out the Sunday Gulch Trail near Sylvan Lake!  

Have you hiked this awesome trail?  Tell me about your experience in the comments!


Did you enjoy this post?  Pin it!

Rear view of a woman climbing down rocks while holding onto a metal railing. Pin reads, "Hike the Sunday Gulch Trail"


Like what you read here today?  Please feel free to leave a comment, like or share this post!  Add your email at the bottom of the page, or the sidebar to the right, to be notified when a new post is published.  By signing up for the email list, you will also receive a free copy of the Tranquil Trekker’s Top 10 Tips of Trekking Do’s and Don’ts!

You can also follow the blog on social media by clicking the links below!

Facebook

Twitter

Instagram

Pinterest


†As an Amazon Associate I earn from qualifying purchases


Hike the Norbeck Trail in Custer State Park

I review the Norbeck Trail, a low-use trail in the higher elevations of the Black Hills, near Custer State Park.


The Norbeck Trail is a beautiful, lesser-traveled hiking route situated within the Black Elk Wilderness.  This is found within the boundaries of Custer State Park in the Black Hills of South Dakota. 

How do you get to the Norbeck Trail in Custer State Park?

There are actually two trailheads to access the Norbeck Trail:

If you want a shorter hike and want to hit the more difficult, steeper sections sooner (while you have more energy) the Upper Norbeck trailhead comes first. It is located about .3 miles east of Sylvan Lake and about .1 miles east of the trailhead for the Cathedral Spires (all on the Needles Highway, Route 87.)

It’s kind of hard to find the trailhead because you can’t see it from the road and there isn’t any sign. Basically, once you pass the trailhead for the Cathedral Spires, start watching for a paved lane going off to the left. That’s the trailhead. (Sorry, that’s about the best description I can give. 😝)

To reach the main Norbeck trailhead, take Route 87 to Forest Road 345 (Camp Remington Road).  Then take Iron Creek Horse Camp Road (which will be on your left).  Watch for signs for the Iron Creek Horse Camp and the Iron Creek Centennial Trailhead as they’re both, also, found on this road.  You will actually park at the horse camp, or just outside of it if the gates are closed (when we were there in mid-April the campground was still closed for the winter.)

Note: the Needles Highway is closed to vehicle traffic during the winter months. You can hike, snowshoe or ski it though (which can be a lot of fun!) 

What you will see on the Norbeck Trail, in the Black Hills

The trail is comprised of picturesque, rolling terrain.  It’s well-marked and wide enough for two people to walk side-by-side in some places.  There are several water crossings that are small enough that they’re easy to cross but big enough to offer relief and respite on a hot day. 

The ecology found along the length of the trail varies greatly from moist, almost temperate rainforest near the base, to dry, alpine forest near the top. 

As you trek through these various ecosystems take note of the abundance of spruce trees in certain areas–usually on the northern slopes–that denote a wetter climate (you usually only see this variety in wetter locations in the Hills.)  

What is the difficulty level of the Norbeck Trail?

The route is steep in parts, but the elevation changes are fairly moderate until you near the terminus of the trail where it joins with the Little Devils Tower trail.  These last 2.5 miles of the trail gain 1000 feet in elevation! (To compare, we gained the same elevation amount on the Misty Moon trail in the Bighorn mountains of Wyoming over the course of five miles!) 

This more difficult area is beautiful, though, as it snakes through a canyon complete with rocky, craggy overhangs and caves.  You’ll see the backside of the Cathedral Spires towering over you to your left, and if you turn around you will be treated to beautiful views of the Southern Hills and plains to the south.

A word of advice: never let your focus on completing a trail keep you from looking around–and behind you!  You never know what incredible views you may be missing if you’re solely focusing on the trail in front of you.

Pine trees and tree-covered mountains. Spindly rock on top of a mountain are in the far background
The rear view of the Cathedral Spires.

This trail doesn’t really “go” anywhere, per se, it’s more of a connector to other notable trails.   It can be combined with different routes to form various loops depending on how long you wish to spend in the Wilderness Area.  From the trailhead to the junction with the Little Devil’s Tower Trail, the route is a little over five miles (one way)–and as mentioned above it gets steep–so plan for a full day’s hike when considering this option. 

We really enjoyed the hike and the ever-changing scenery was beautiful.  There were some gorgeous vantage points and numerous opportunities for wildlife sightings.  This trail is less well-known and, therefore, more secluded. 

A portion of the trek does run near Route 87, for a time, so the summer months may be busier.  Certain areas of the trail also traverse old burn scars so, if traveling in the summer, be prepared for lack of shade and a hot hike in some parts.

Person stands in an open space amongst deadfall of trees. A few scraggly pine trees remain standing. Rock mountains are in the far background
You can see the sparseness of the shade in some areas.

As with many other areas in the Black Hills, be watchful for deadfall as well as dead trees that remain, precipitously, standing (and their hanging, broken branches).  These are remnants of the recent pine beetle infestation, and they can fall at any time, even on not-so-windy days.    

A few scraggly pine trees standing amonst deadfall. Rock mountains are in the far background
Damage from the recent pine beetle infestation

If you’re looking for a fairly easy day hike, with nice views and few people, consider the Norbeck Trail!  

Have you ever hiked this lighter-use trail?  If so, tell me about your experience in the comments!


Did you enjoy this post?  Pin it!

Picture of a rocky mountain sparsely covered by trees and a blue sky overhead. Pin reads, "Hike the Norbeck Trail in Custer State Park."


Like what you read here today?  Please feel free to leave a comment, like or share this post!  Add your email at the bottom of the page, or the sidebar to the right, to be notified when a new post is published.  By signing up for the email list, you will also receive a free copy of the Tranquil Trekker’s Top 10 Tips of Trekking Do’s and Don’ts!

You can also follow the blog on social media by clicking the links below!

Facebook

Twitter

Instagram

Pinterest

Rimrock Trail Black Hills

In this post, I review Rimrock Trail, that traverses the canyon walls, floor and crest of Spearfish Canyon.


Located along the crest and walls of Spearfish Canyon, in the northern Black Hills of South Dakota, is Rimrock Trail–Trail #79. (This route also now offers access to the recently organized Tinton Trail that traverses this area, as well.)  

Where is Rimrock Trail?

You can access the route via several different trailheads.  The easiest is to use Forest Road 222 from the tiny hamlet of Savoy, at the junction of Spearfish and Little Spearfish Canyons.  

From the Spearfish Canyon Byway turn at the Spearfish Canyon Lodge.  Once you drive past the final pullout for Roughlock Falls, start looking for parking areas–there are several. (If you reach the T-intersection with Tinton Road you’ve gone too far.) 

The parking areas are near the Rod & Gun and Timon Campgrounds, on the right-hand side of the road.  Be watchful as they are VERY small–they only fit about two vehicles each.  Also, some of the trailhead signs are recessed into the woods a bit, so they’re easy to miss.  

Rear view of a woman walking on a trail through a grove of yellow aspen trees and green grass.
The Tranquil Trekker traverses an “Aspen Tunnel”!

There is easy, trail access from the Rod & Gun and Timon Campgrounds, as well, though there are technically no “official” trailheads here.  If you want to avoid the crowds near Savoy, you can also take Tinton Road north from US 85 as it heads west out of Lead (towards Wyoming) and turn right onto Roughlock Falls Road, heading towards the falls (in this case the trailheads will be on your left before you reach the falls).  

There is another access point to this route from a spur trail that begins at the Old Baldy trailhead and parking area, which is found further along Tinton Road.  From here you will actually approach the canyon from the top.  This portion of the trail is relatively flat.

What is the Rimrock Trail like? 

The trail is comprised of two loops, the Upper Loop is 4.7 miles long and the Lower Loop is  3.2 miles.  We enjoyed both, and doing so means you’ll experience around a 700-foot total elevation change (the trail is fairly flat, the entire elevation change is mostly contained within an area of 1/2 mile or so, twice, throughout the hike–once descending and once ascending the canyon wall).  

This area is open for hiking, snowshoeing, horseback riding, and mountain biking.  The trails can be enjoyed year-round with proper equipment, though be aware, Route 222 is closed in the winter to all vehicles other than snowmobiles.

Tinton Road is not usually maintained in this area during the winter either, so, its accessibility varies depending on current conditions.  In addition to the weather, these include the vehicle you’re driving, the recovery gear you’ve got at your disposal, and your experience level with 4×4 driving.  We’ve traversed it successfully, but we’ve also gotten stuck, to the point where we would have had to be rescued had we not had proper recovery gear with us.   

What you will see on the Rimrock Trail

The trail offers GORGEOUS aspen groves that are especially lovely in Fall (take note, this area is one of the higher elevations in the Hills and trees usually change earlier here.)  The trek also features canyons and open meadows that are perfect for a stop for lunch. 

This area used to be fairly well-shaded.  Unfortunately, it has been hit by multiple tornadoes in recent years so now there are several bare spots where the trees once stood. 😕

We started from the eastern, Lower Loop, trailhead (the first one you come to when traveling from Savoy.)  Beginning the hike from here, the climb isn’t as steep, whereas if you start from the western trailhead the trek gets VERY steep almost immediately.  Due to the grade of that climb, that area would be very difficult and potentially risky if it was muddy.  

A dirt path winds through yellow aspen trees and green grass with pine trees in the background, all under a blue sky.

From where we began, it was amazing how quickly the ecosystems changed from a cool, damp, almost rainforest-type environment to the dryer, warmer, ponderosa pine forest and meadows common to the rest of western South Dakota.  The trail also offers expansive views of the canyon and surrounding countryside once you reach the crest. 

Going this direction, the final stretch of the route is easy and almost flat (which is nice when your energy is running low) as it traverses the floor of the canyon.  The babbling Little Spearfish Creek accompanies you the entire way.  Feel free to stop for a spell and soak your tired feet in the cool water, or watch minnows dart in and out of the sun-dappled shallows. 

You’ll pass a filming site from the movie Dances with Wolves (from the final scene in the film).  The origin of the 1997 White House Christmas Tree and the remains of an abandoned ranger station/homestead can be seen in this area, as well.

A grove of yellow, aspen trees with green grass and pine trees in the background all under a blue sky dotted with white, fluffy clouds.

This really is a great trail!  It’s one of the better options to experience the various ecosystems western South Dakota has to offer and it’s also very pretty.  The canyon portions remind me of those I’ve mentioned previously on the Deerfield Trail.  

In the fall, you can enjoy some of the best leaf viewing the Black Hills has to offer without having to negotiate all the traffic and visitors to the main portion of Spearfish Canyon.  During the autumn months, the yellow of the aspen contrasted with the dark ever-green of the pine trees; the brown bark of fallen logs; the incredible South Dakota blue sky, and the white puffy clouds (with red creekside plants speckled throughout the canyon areas) truly creates an iconic scene.  

I would rate the entirety of the trail as moderate (though several of the flatter portions are actually easy).  The climb up and down the canyon wall is relatively short but it’s steep enough for a strenuous rating, especially in less-than-superb conditions.  Because the trail can be divided into shorter sections, it is appropriate for smaller children, though they may need some assistance negotiating the steeper portions.  

A creek runs through yellow, green and red, fall foilage with pine trees in the backgound.
The view as you’re descending to the creek (creekside areas seem to be about the only place to reliably see red color in the Hills in the fall)

If you’re seeking a less well-known hike in the Hills, check out Rimrock Trail!

Have you ever hiked in this area?  What did you think?  Tell me about your experience in the comments!


Did you enjoy reading this post?  Pin it!

A creek runs through yellow, green and red, fall foilage with pine trees in the backgound. Pin reads, "Black Hills Rimrock Trail"


Like what you read here today?  Please feel free to leave a comment, like or share this post!  Add your email at the bottom of the page, or the sidebar to the right, to be notified when a new post is published.  By signing up for the email list, you will also receive a free copy of the Tranquil Trekker’s Top 10 Tips of Trekking Do’s and Don’ts!

You can also follow the blog on social media by clicking the links below!

Facebook

Twitter

Instagram

Pinterest