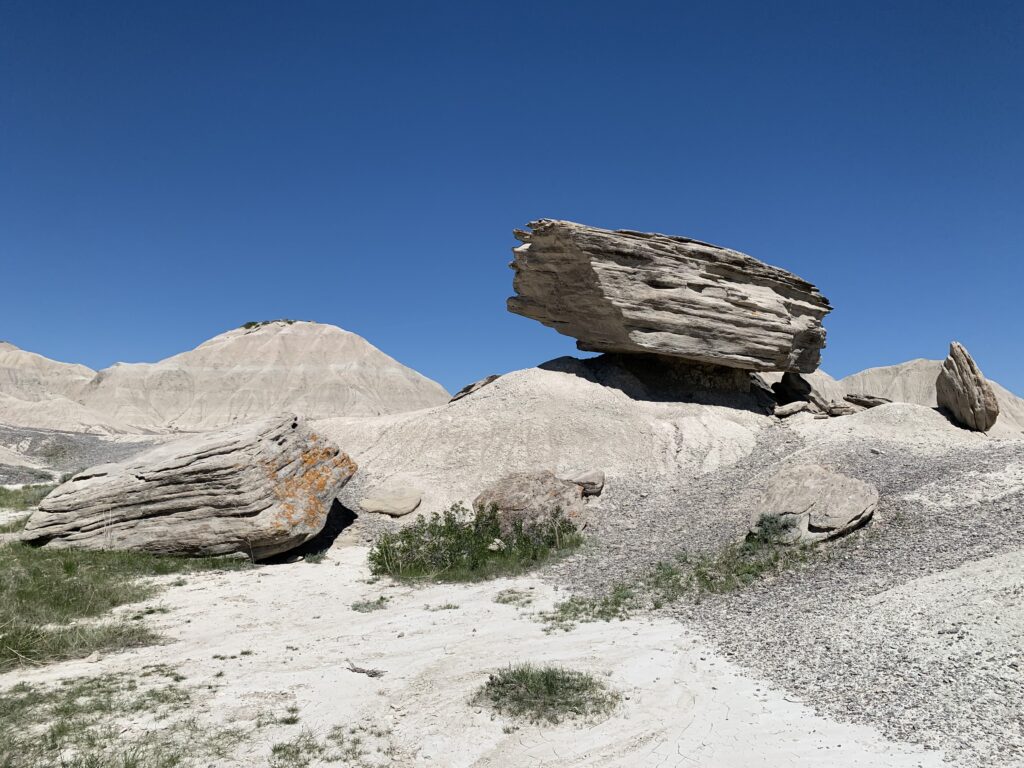
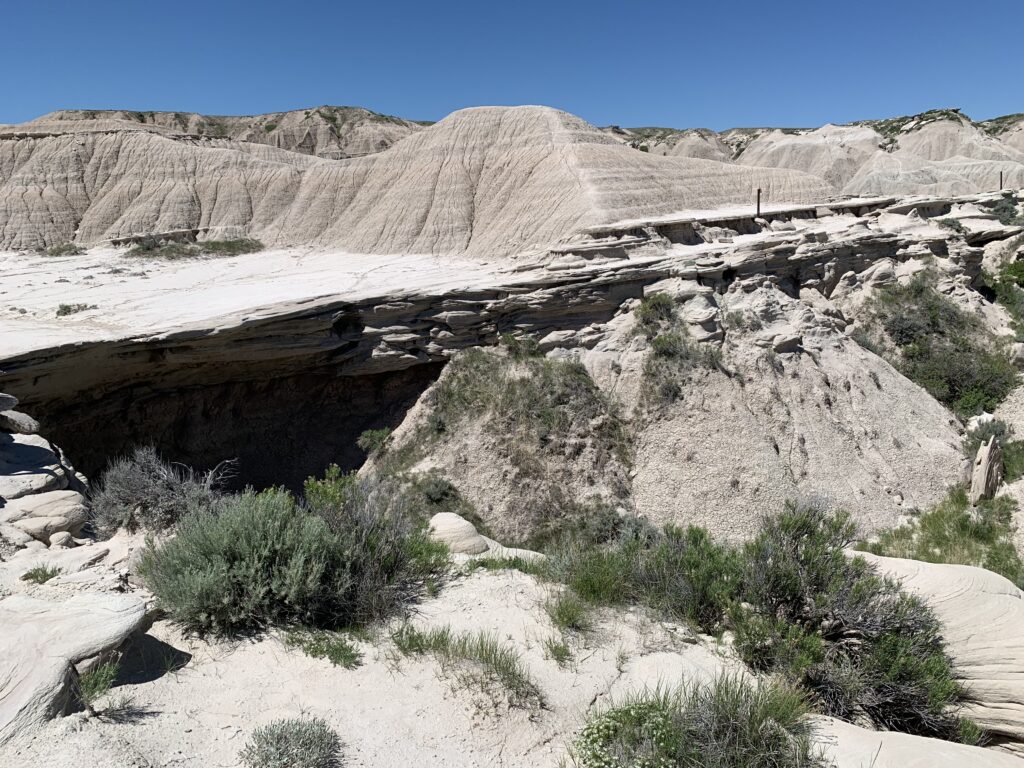
A deep gorge, volcanoes and large spiders…oh my!
Southeastern Colorado is a bit of an undiscovered gem! It doesn’t provide the fancy, ski resorts that people think of for the state so it’s kind of overlooked. It does still have much to offer though with beautiful mountains, lovely weather, and the best part for many of us…fewer crowds! Also, some of the attractions are lower-cost as they aren’t as well known!
Cañon City Colorado and the Royal Gorge
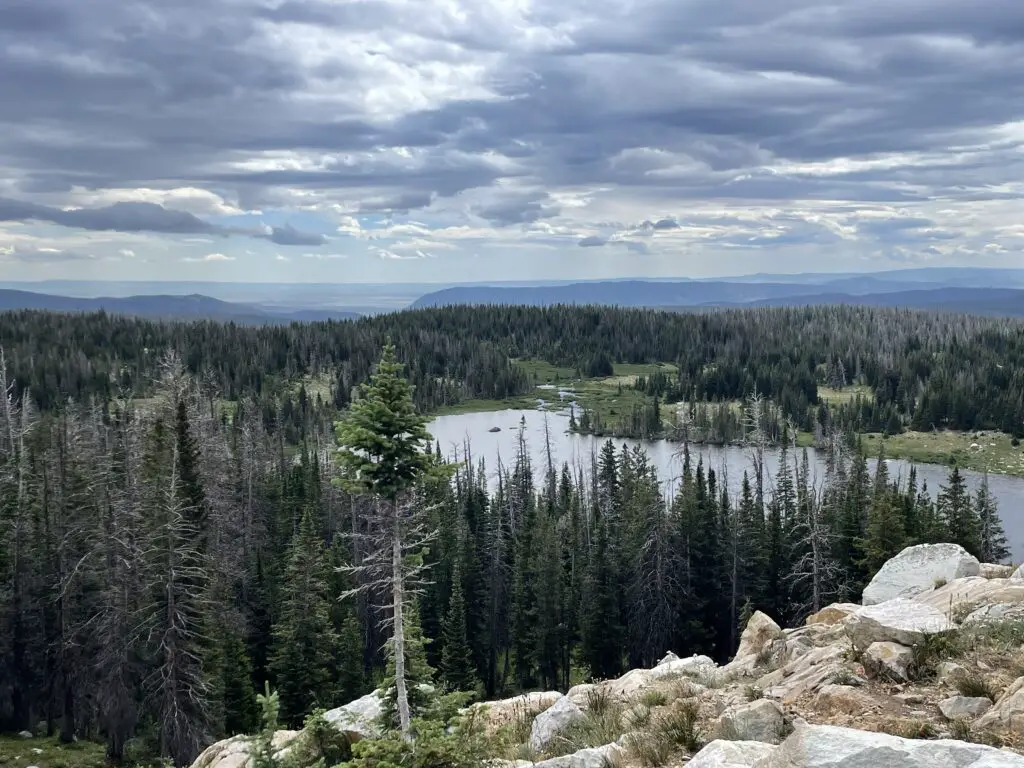
Cañon City is located in south-central Colorado about 40 miles west of I-25 and the larger town of Pueblo. This small town features a fun, downtown area that reminded us of Grand Junction. It offers lots of outdoor opportunities including hiking and rafting (when weather permits). It is also home to Colorado’s iconic Skyline Drive as well as a cool, scenic railroad and the incredible Royal Gorge!
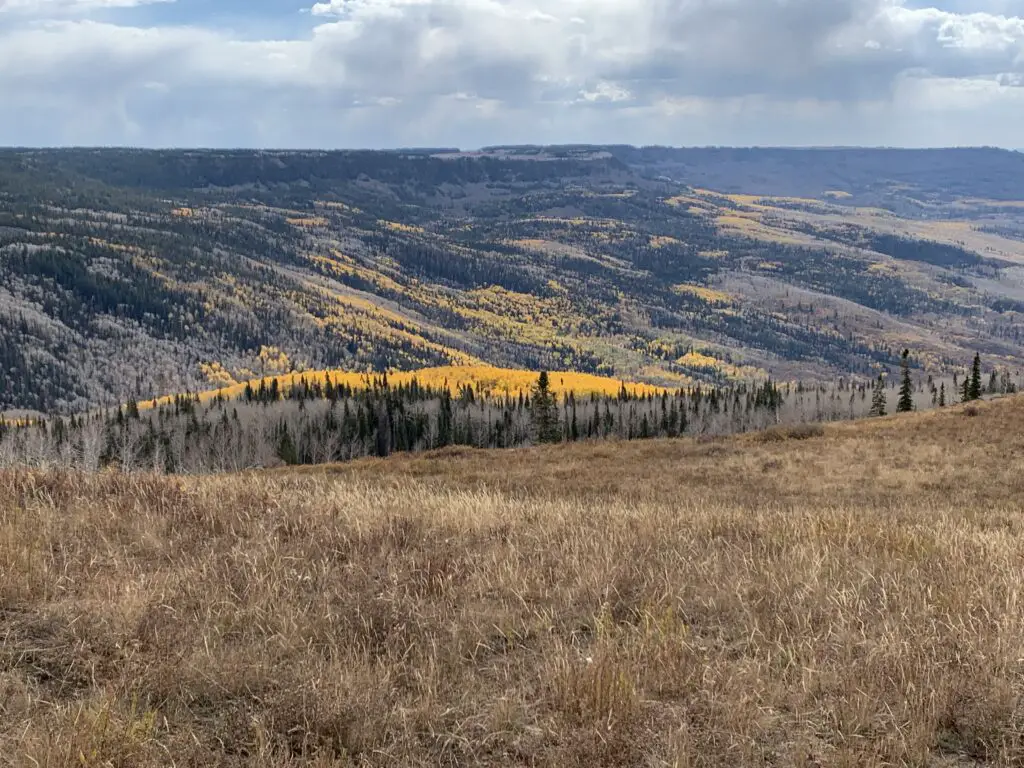
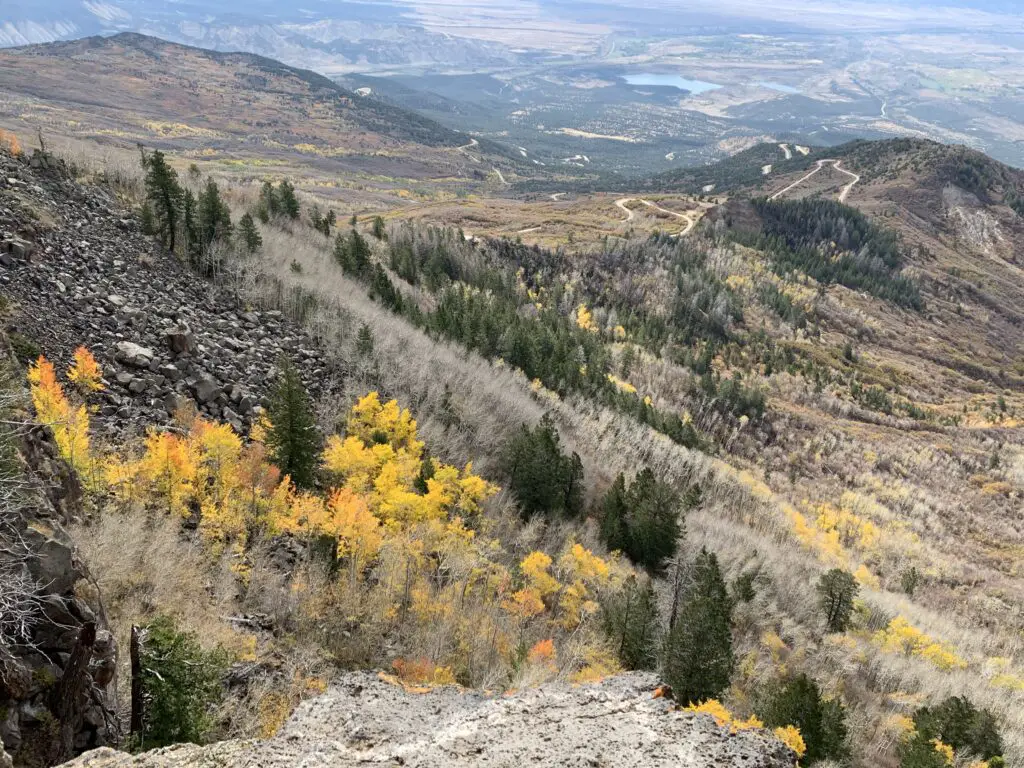
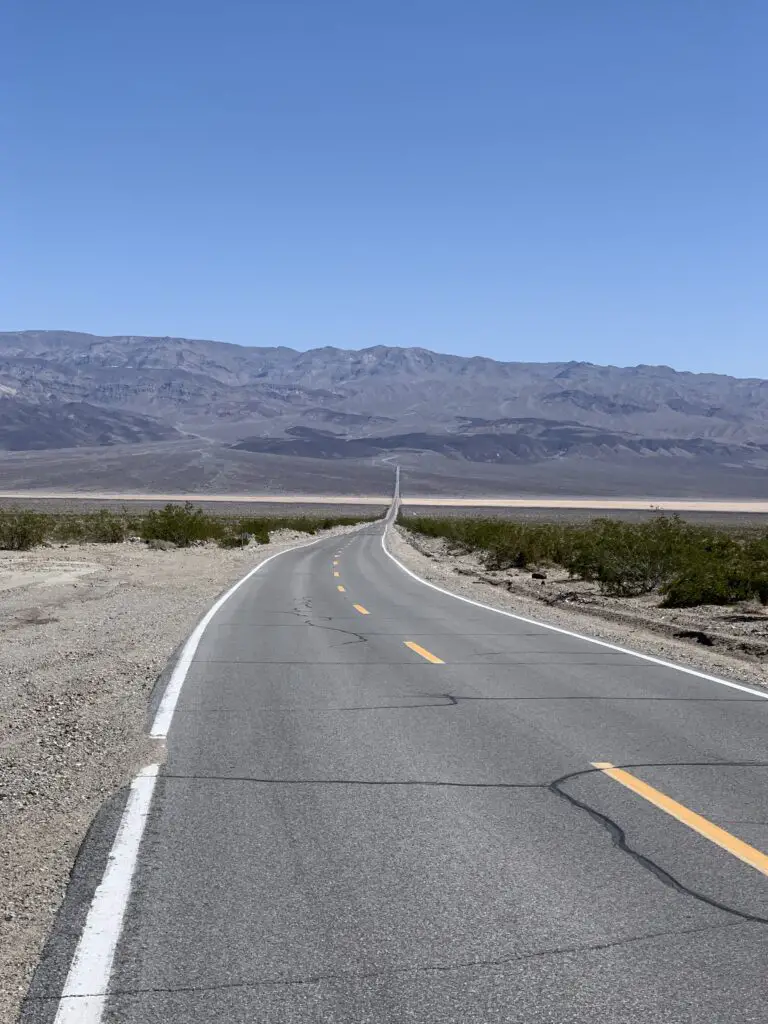
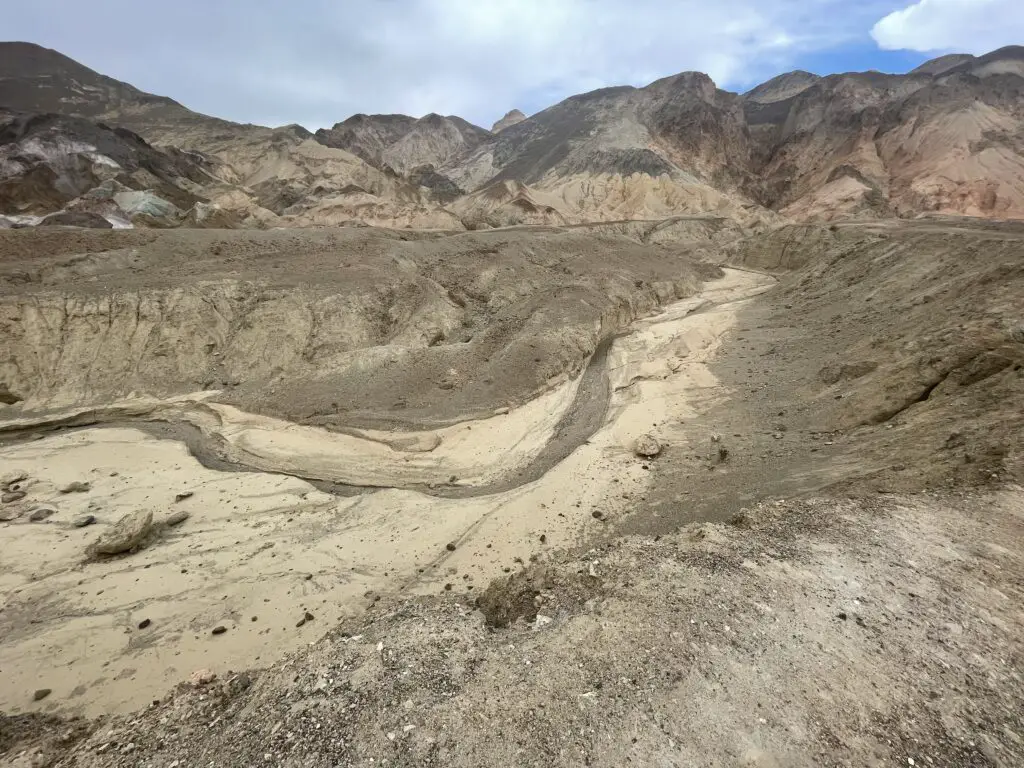
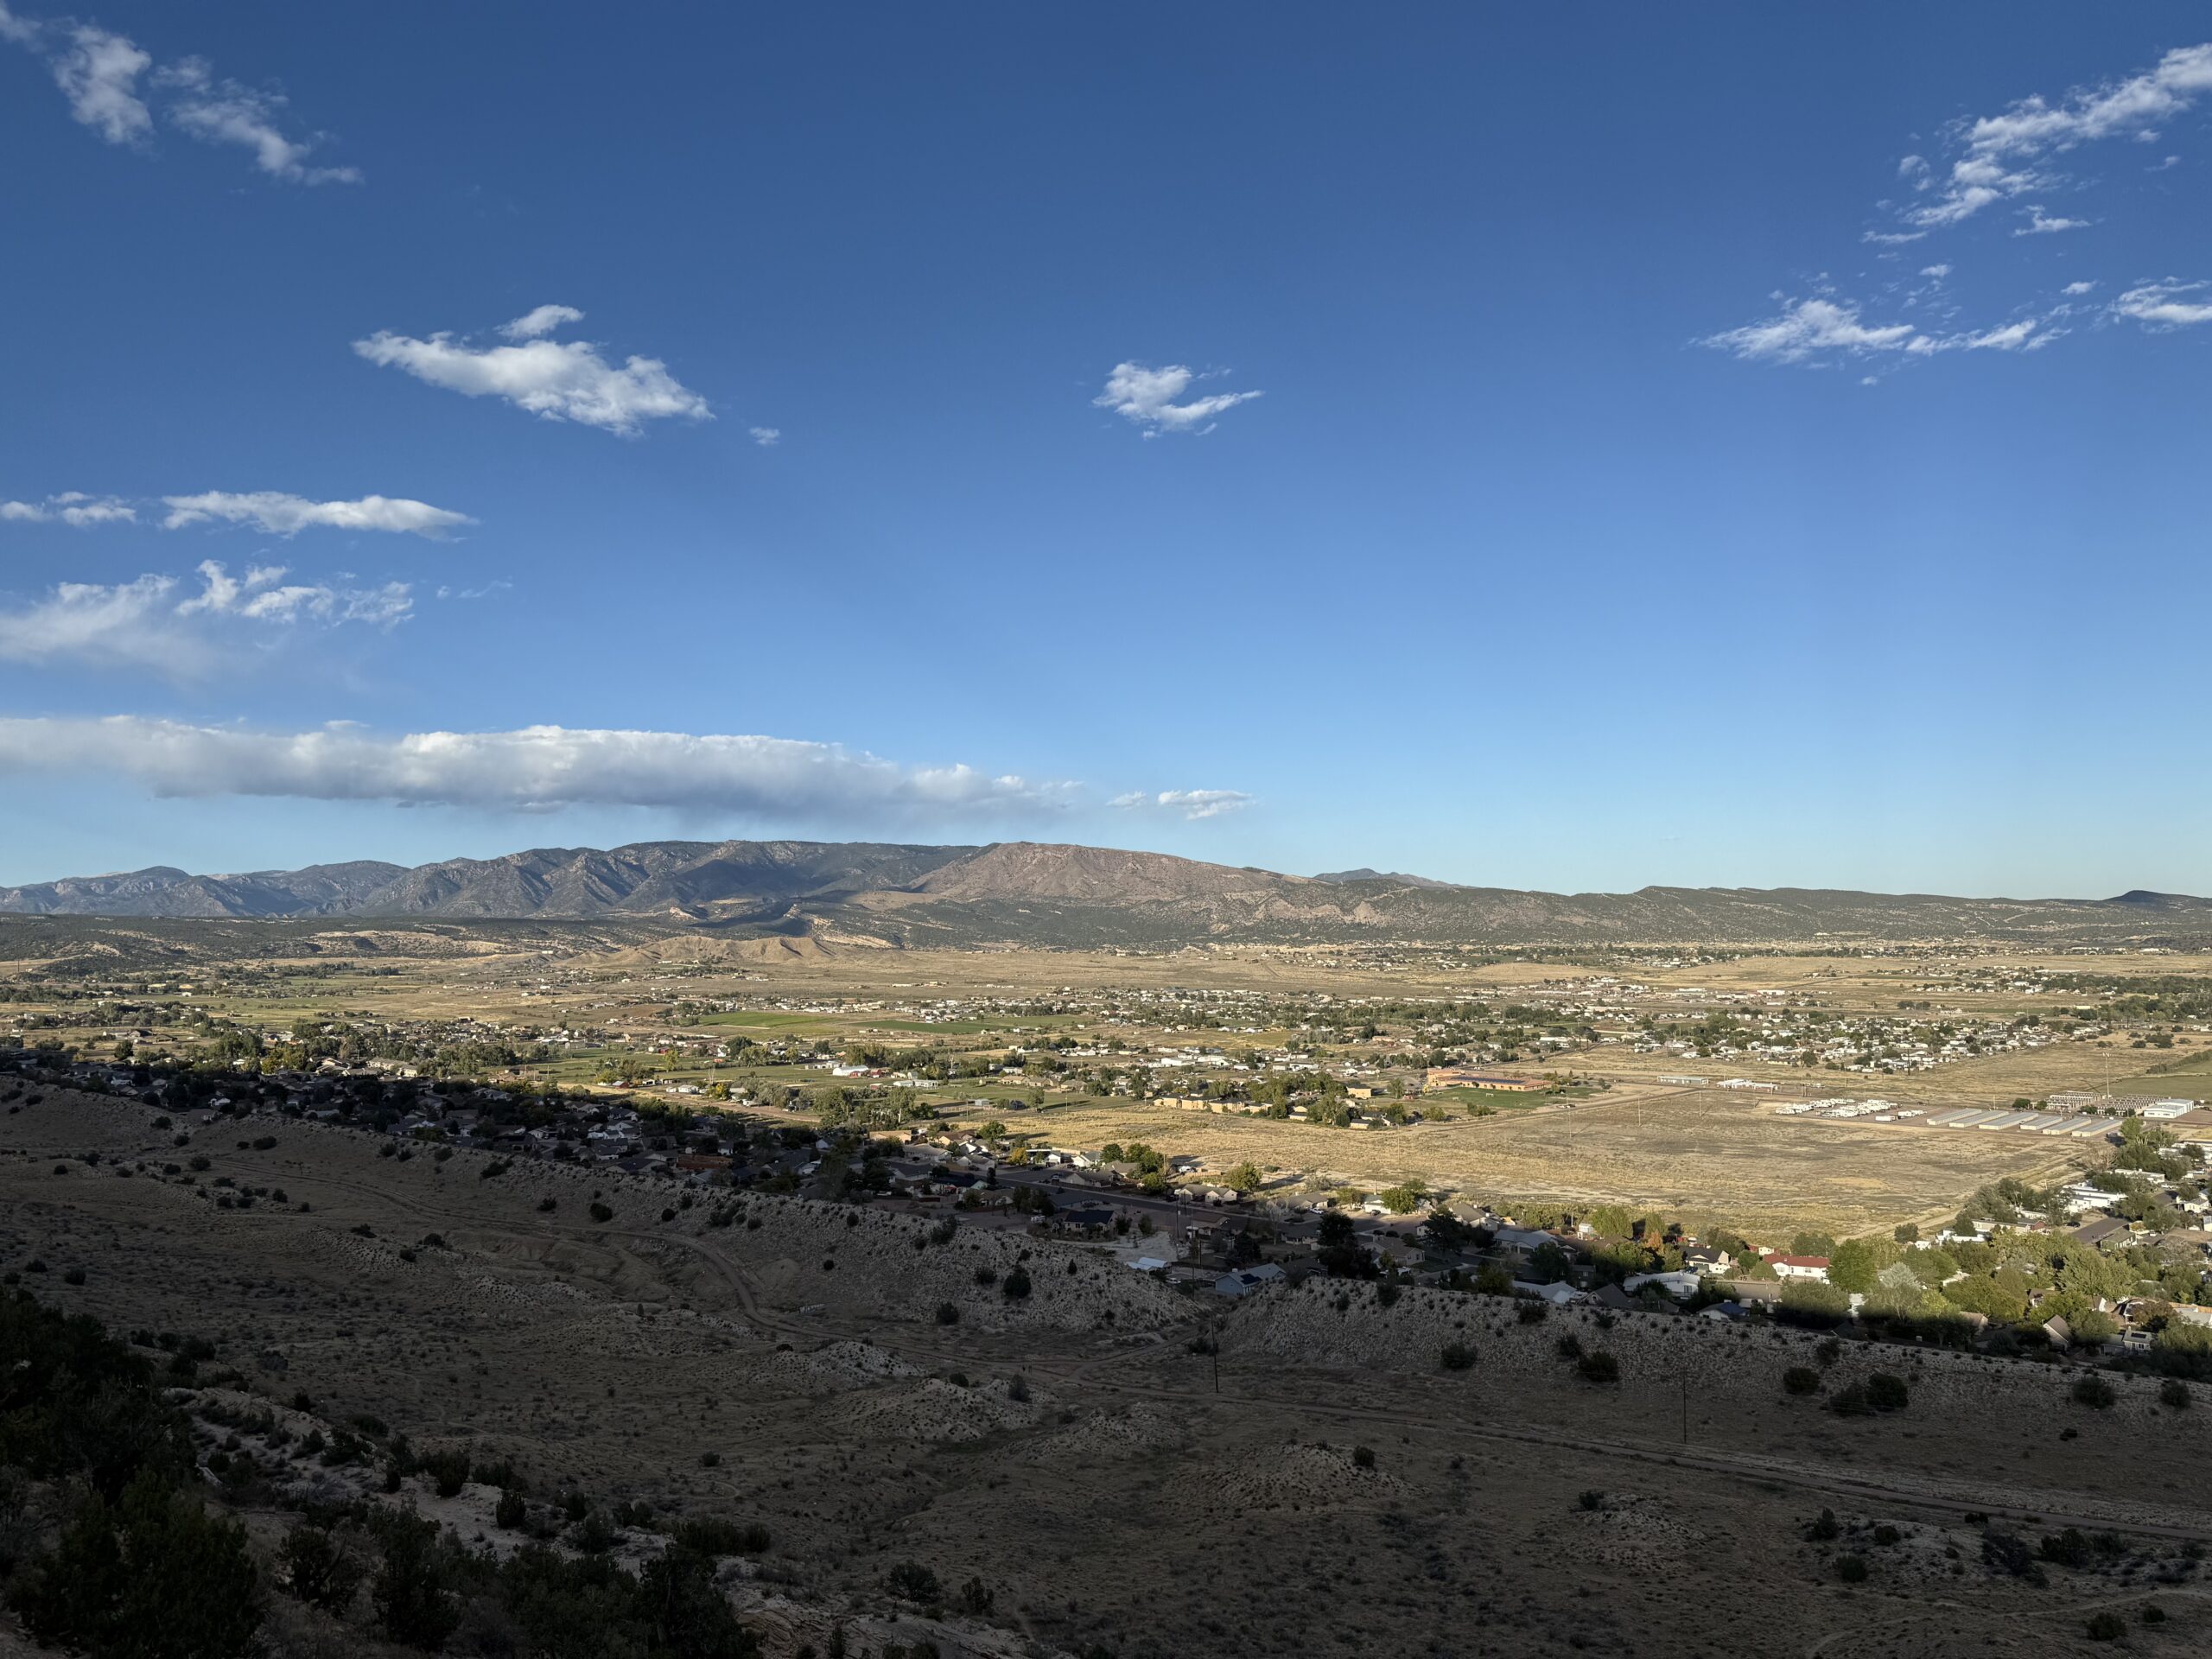
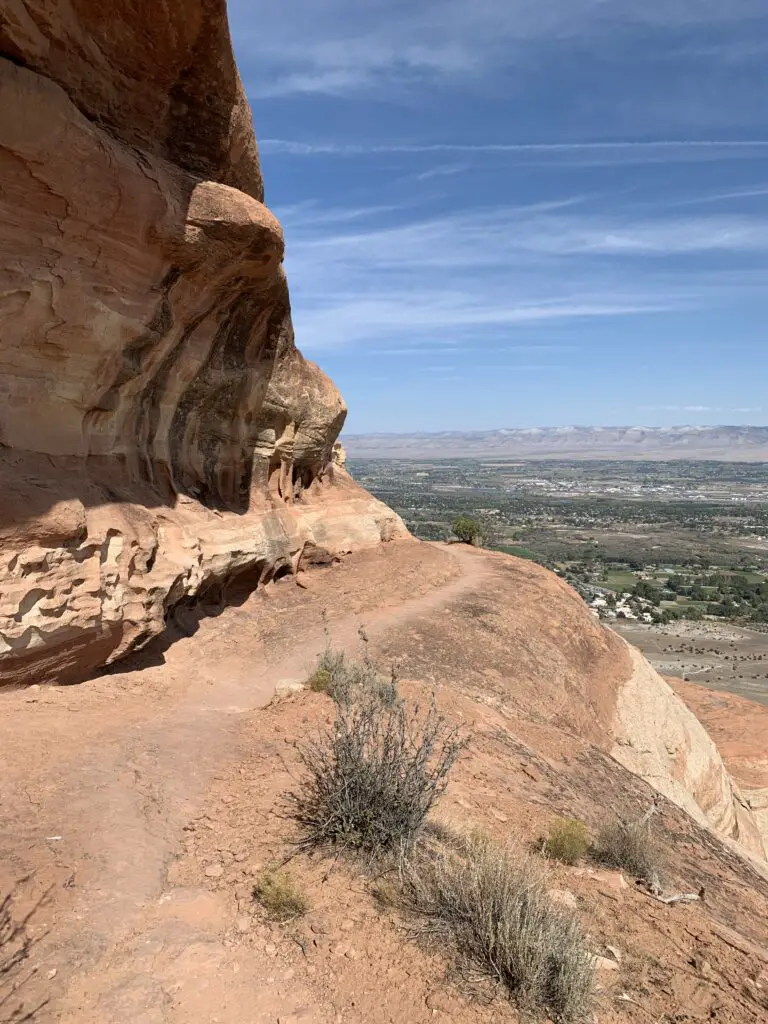
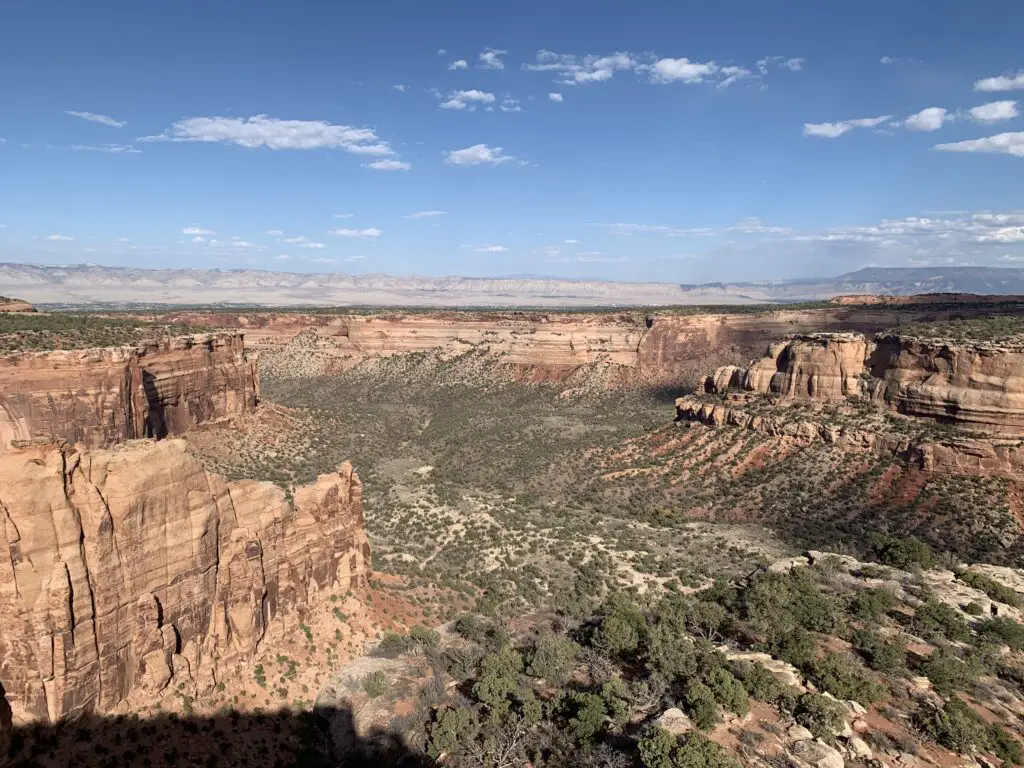
Skyline Drive
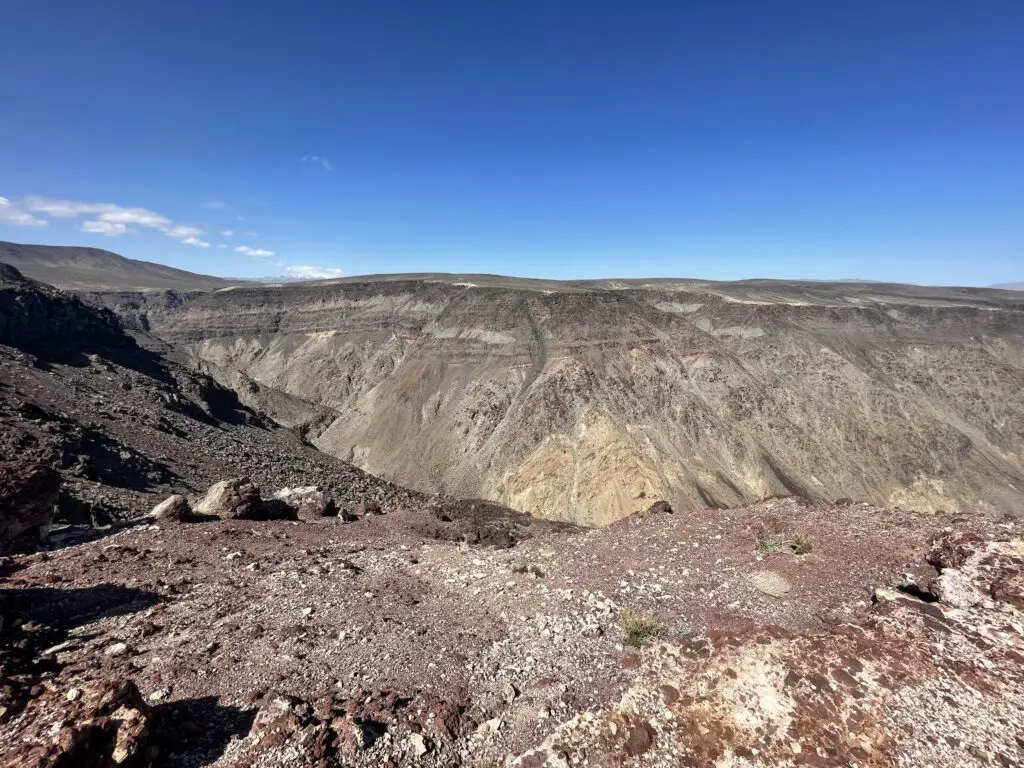
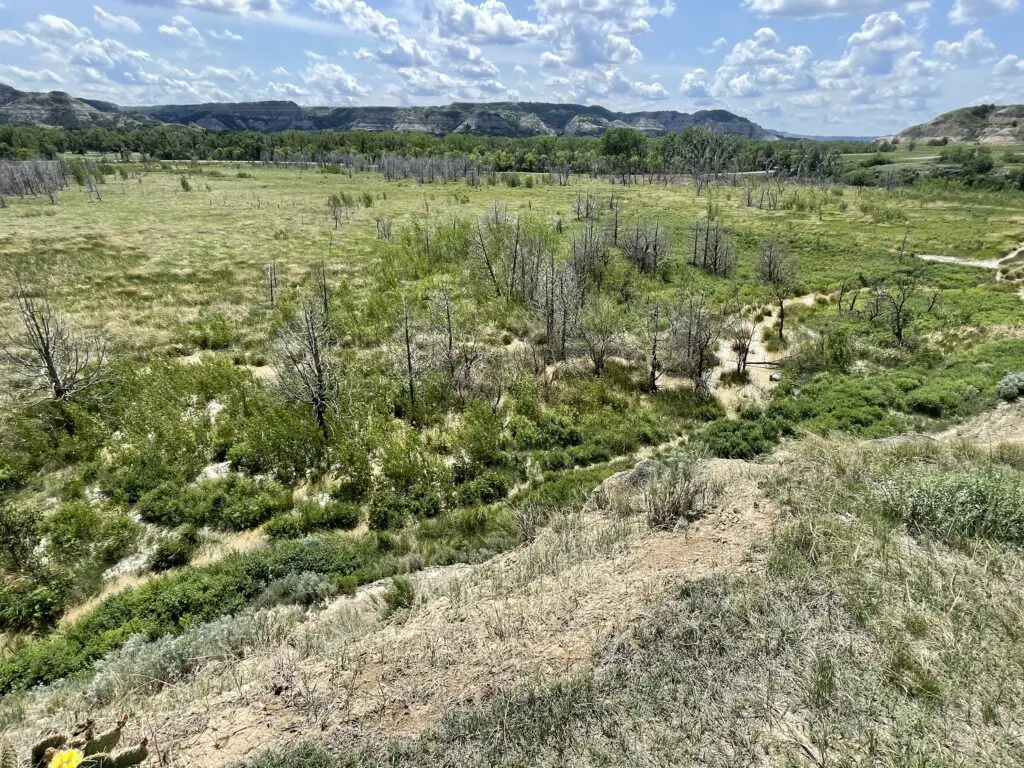
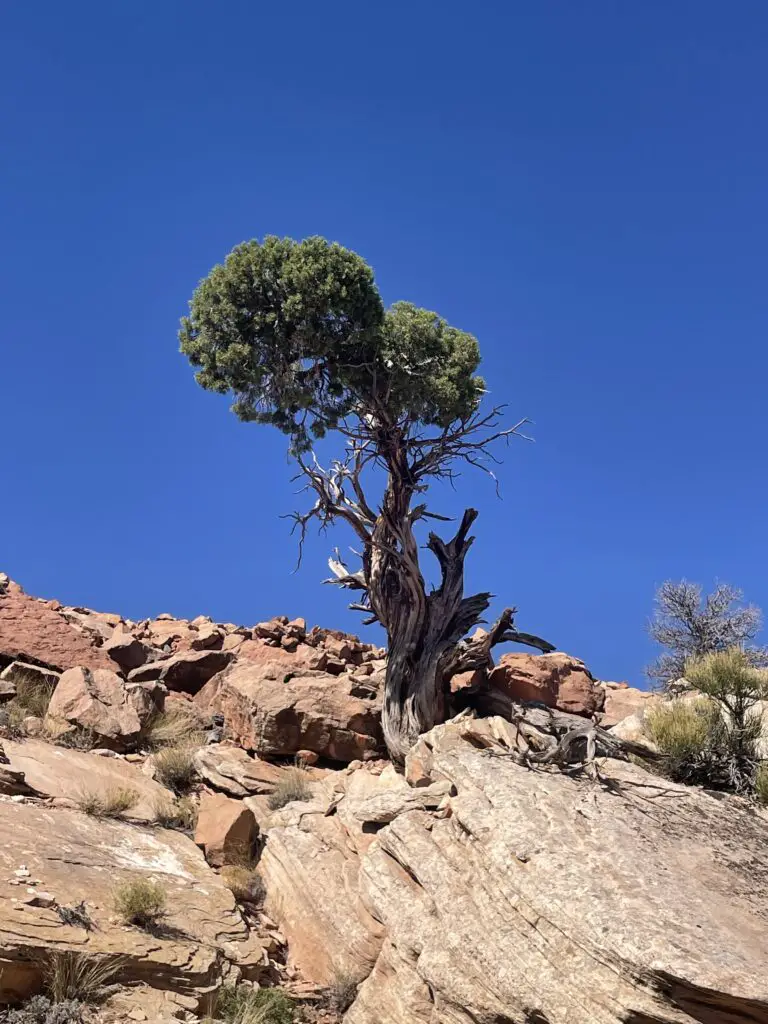
Skyline Drive is a one-way, single-lane route that runs for about three miles, parallel to US 50, on the western edge of Cañon City. The drive traverses the spine of some nearby hills and towers about 800 feet above the nearby town. There are also some fossilized, dinosaur footprints found near the road!
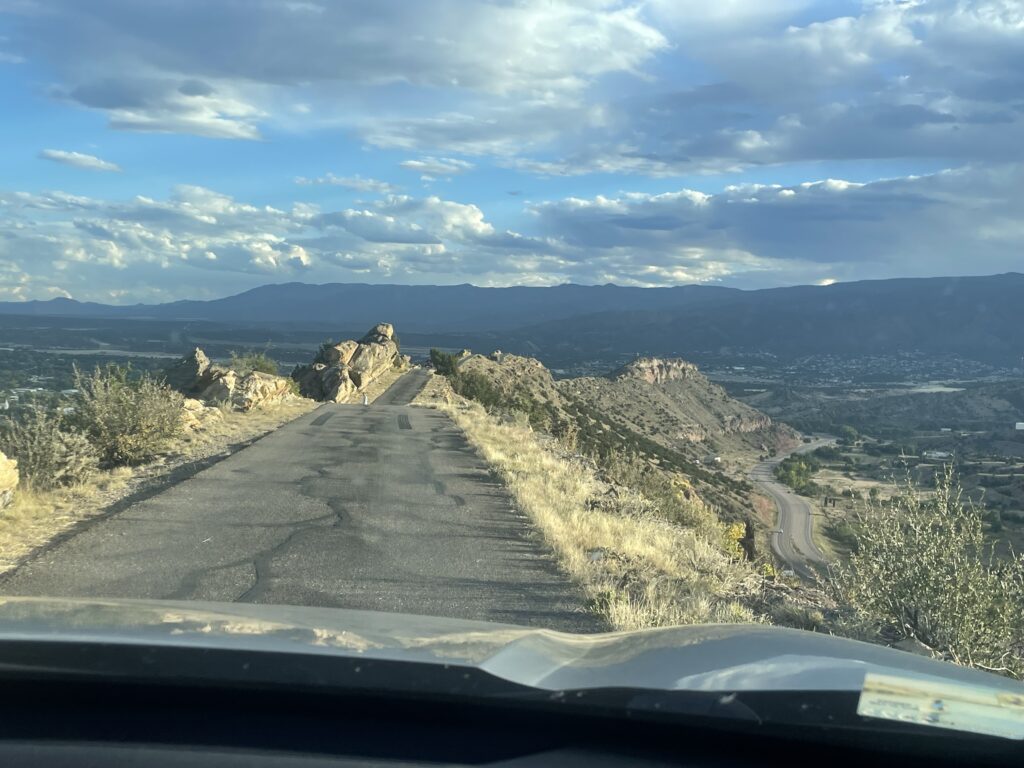
Skyline Drive: Would you believe this is considered one of the scarier drives in Colorado?! Hehe, I could call with a few shelf roads we’ve grown familiar with over the years!
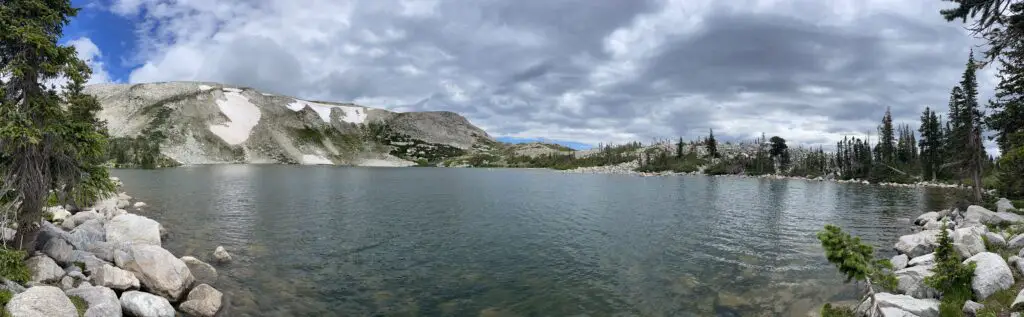
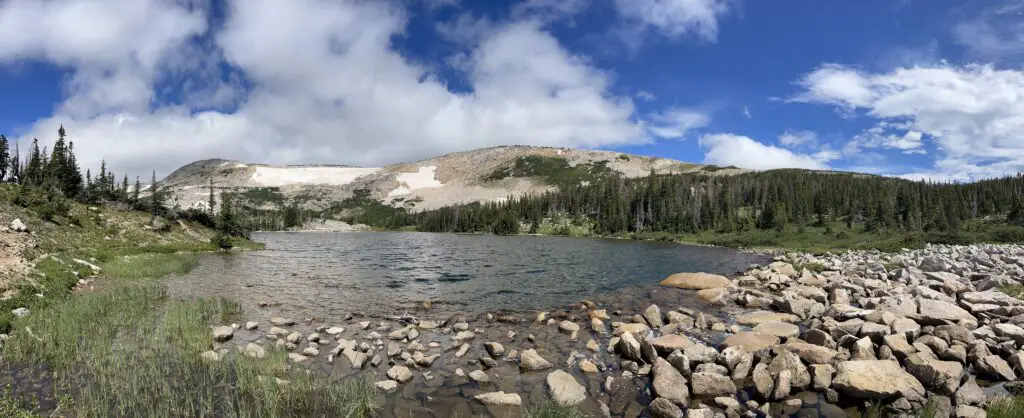
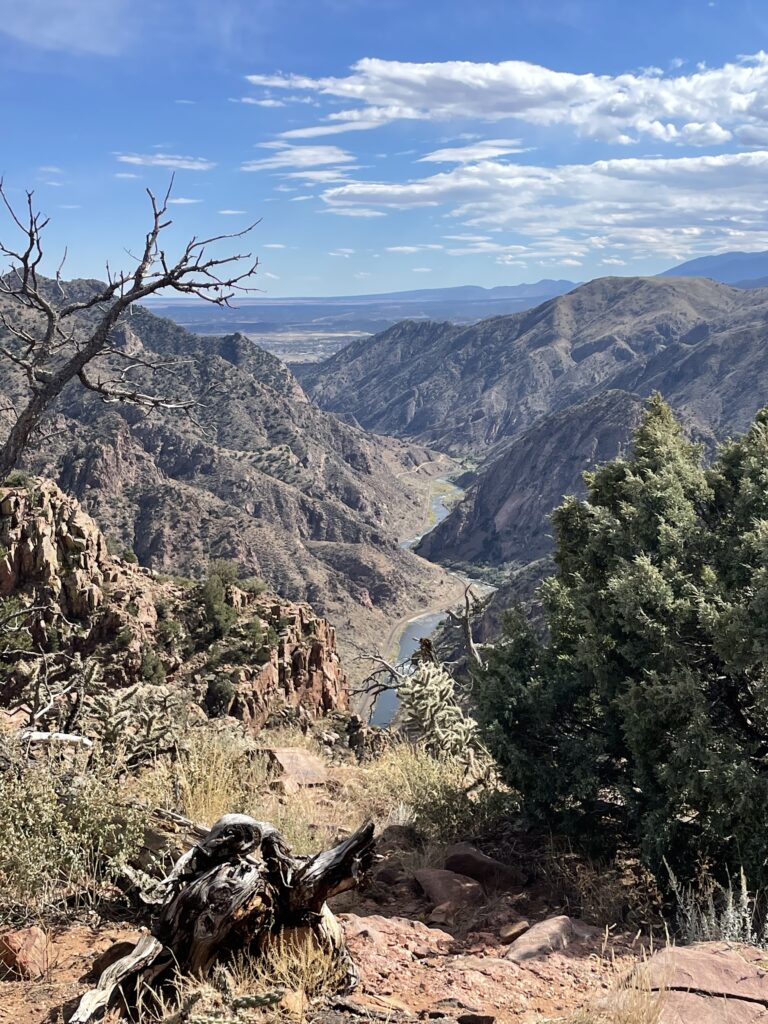
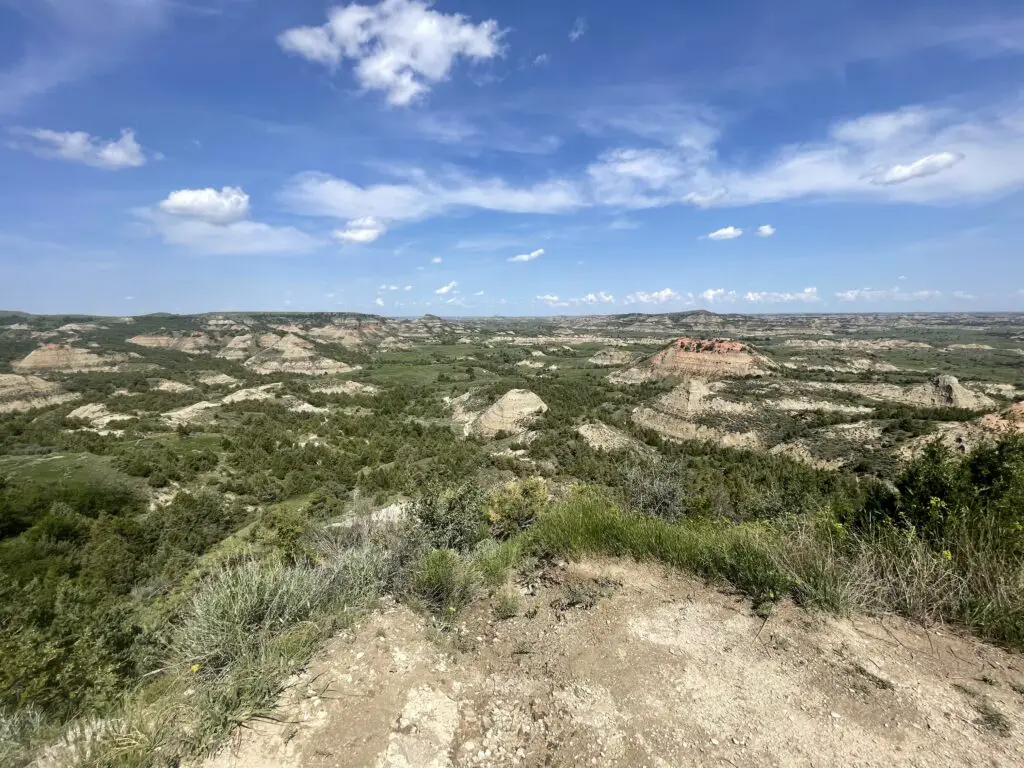
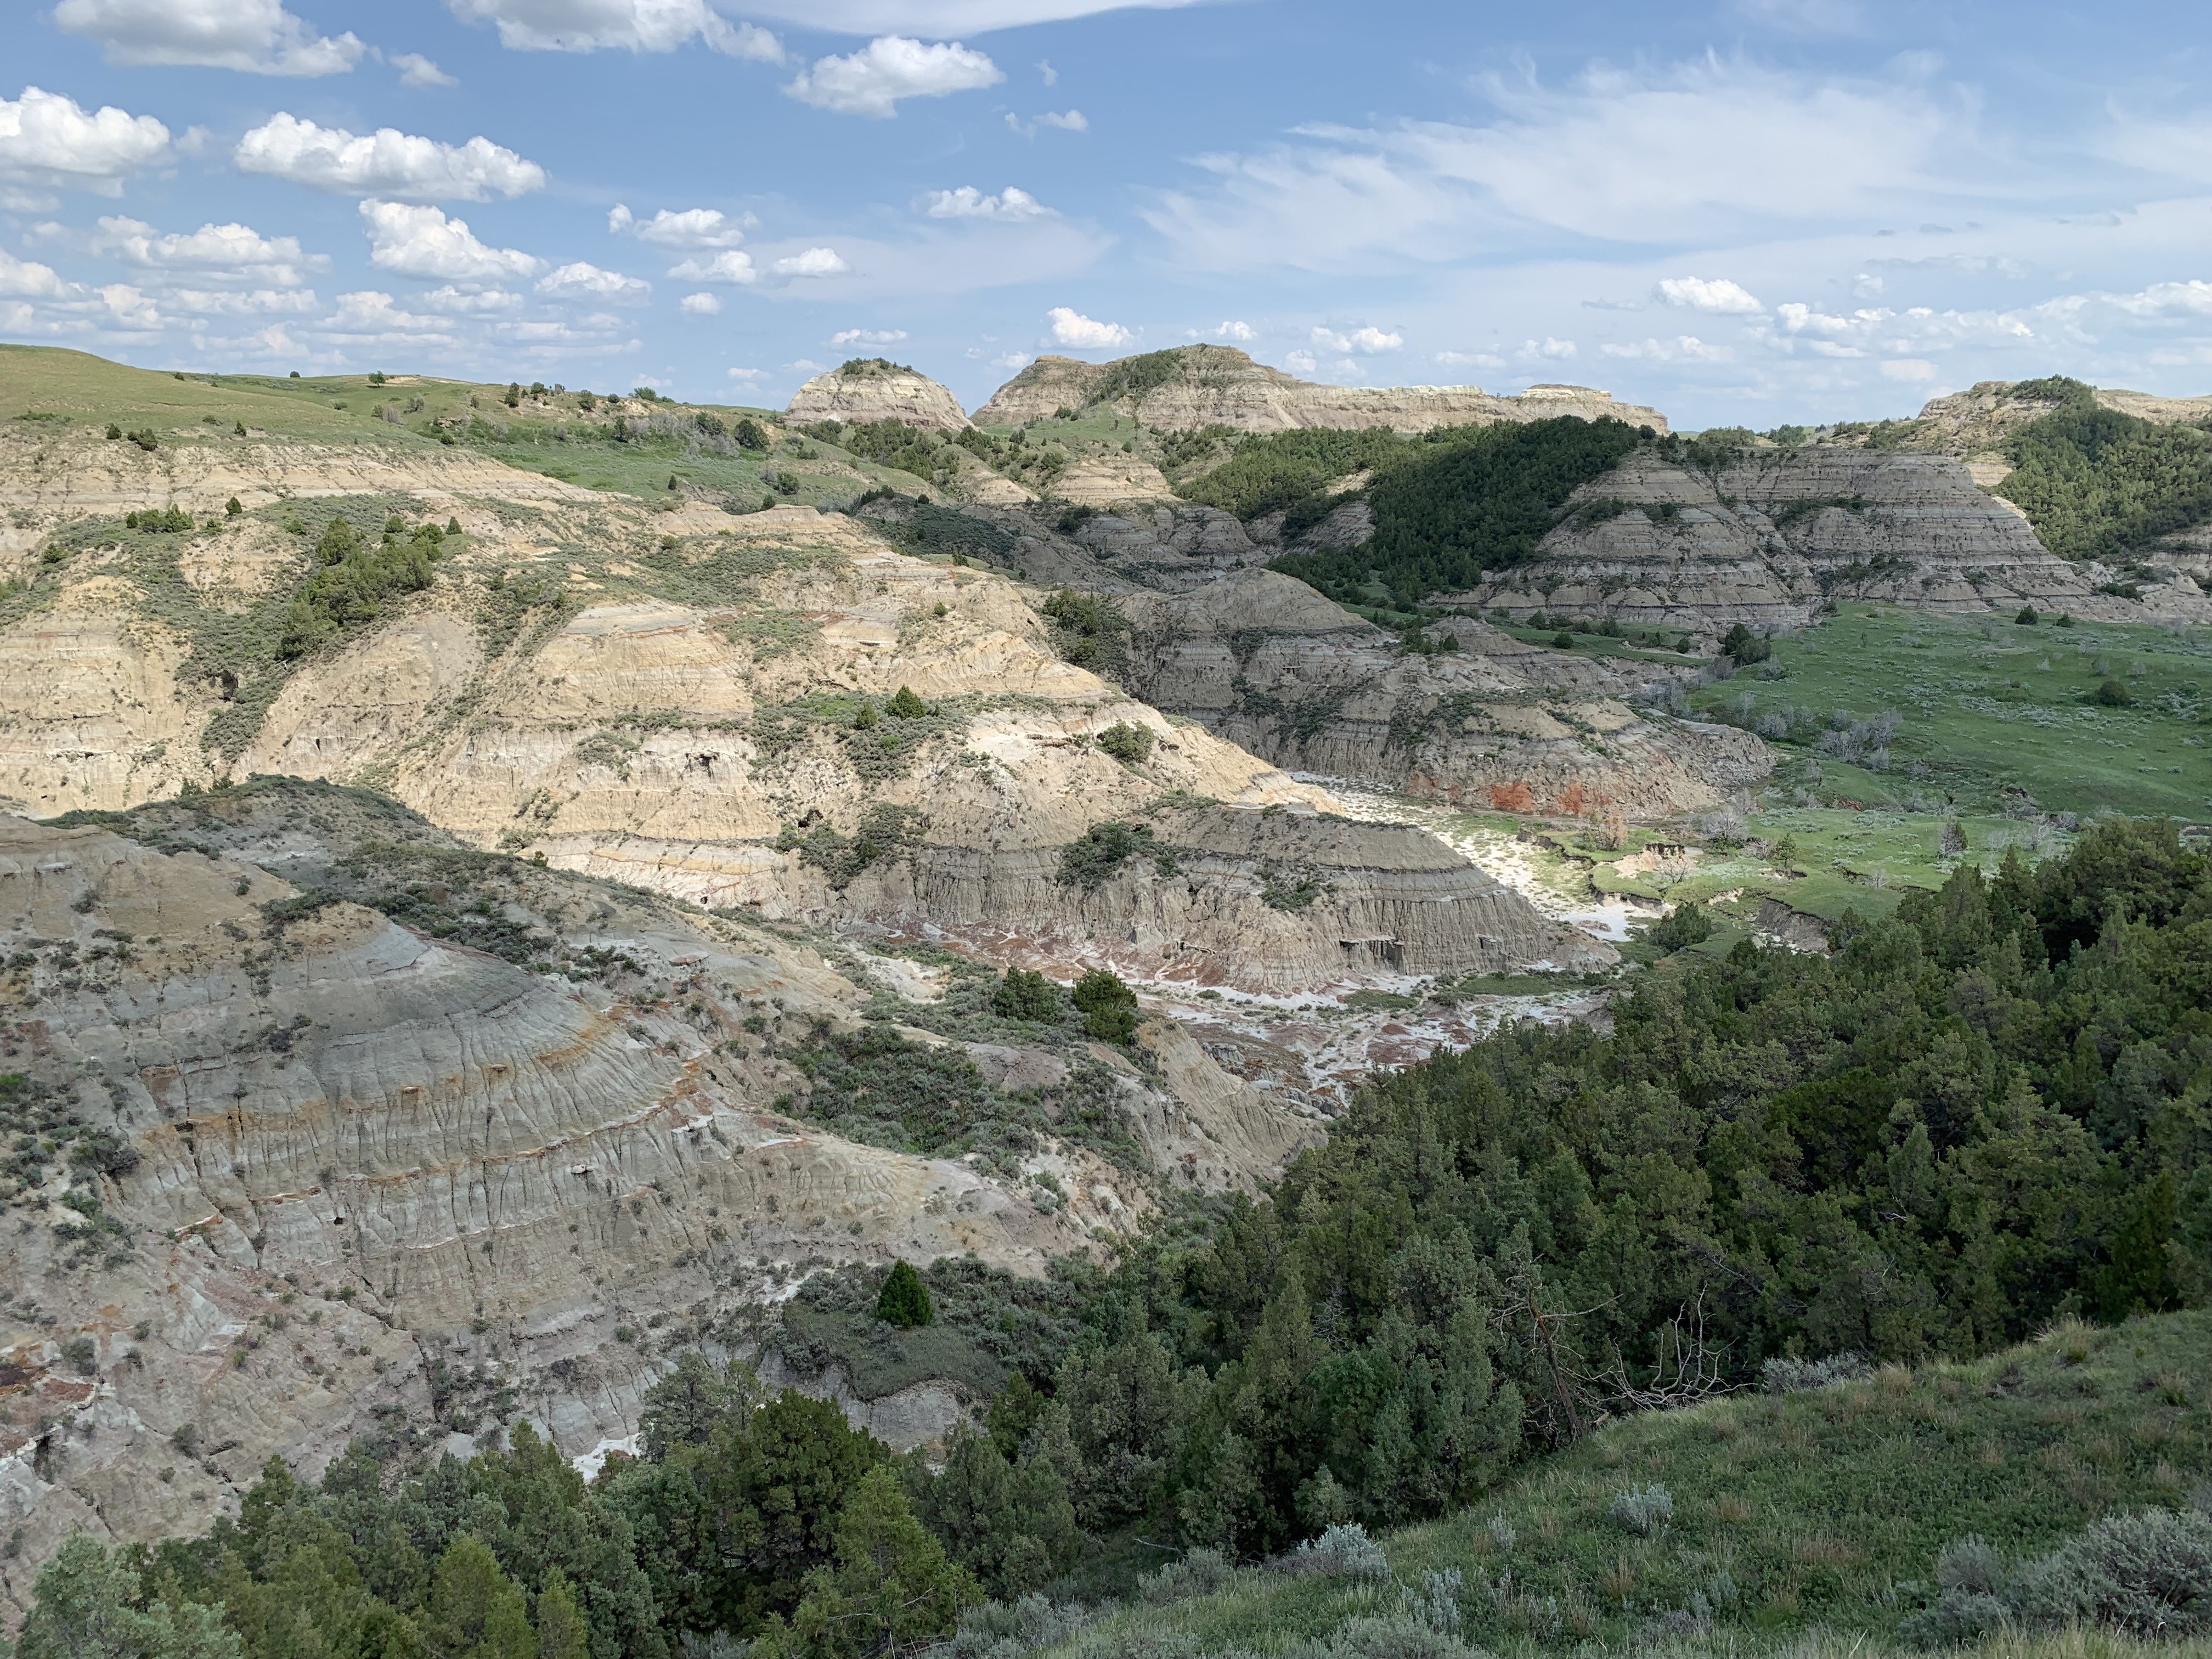
The next two pictures are views of Cañon City from Skyline Drive:

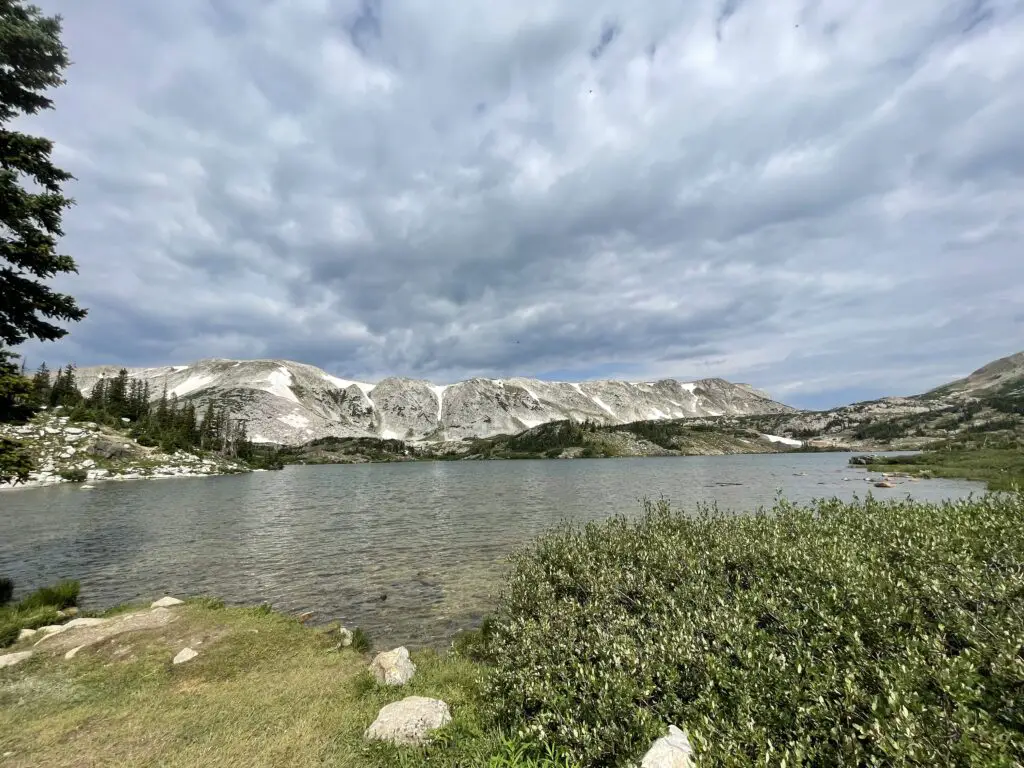
Royal Gorge
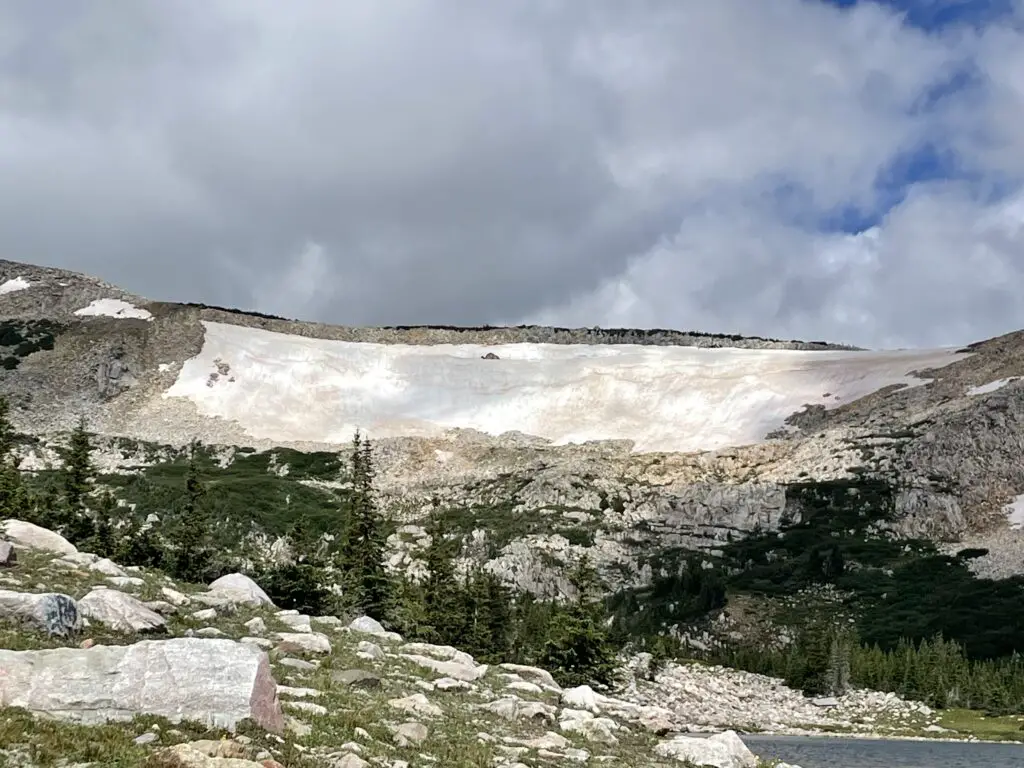
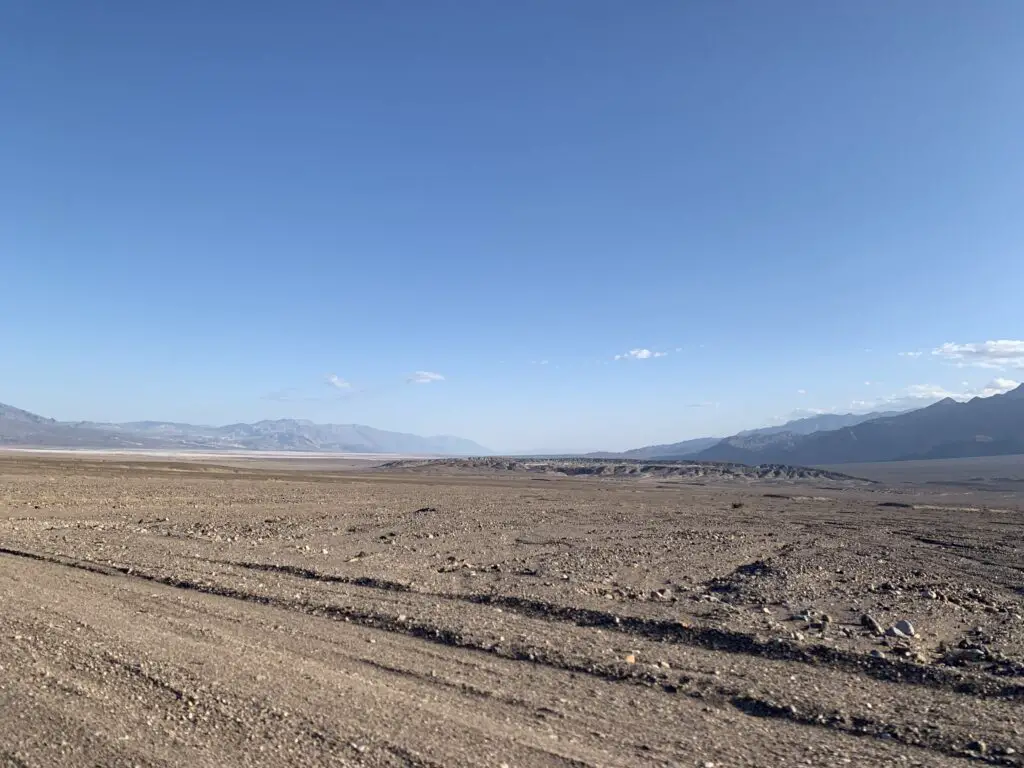
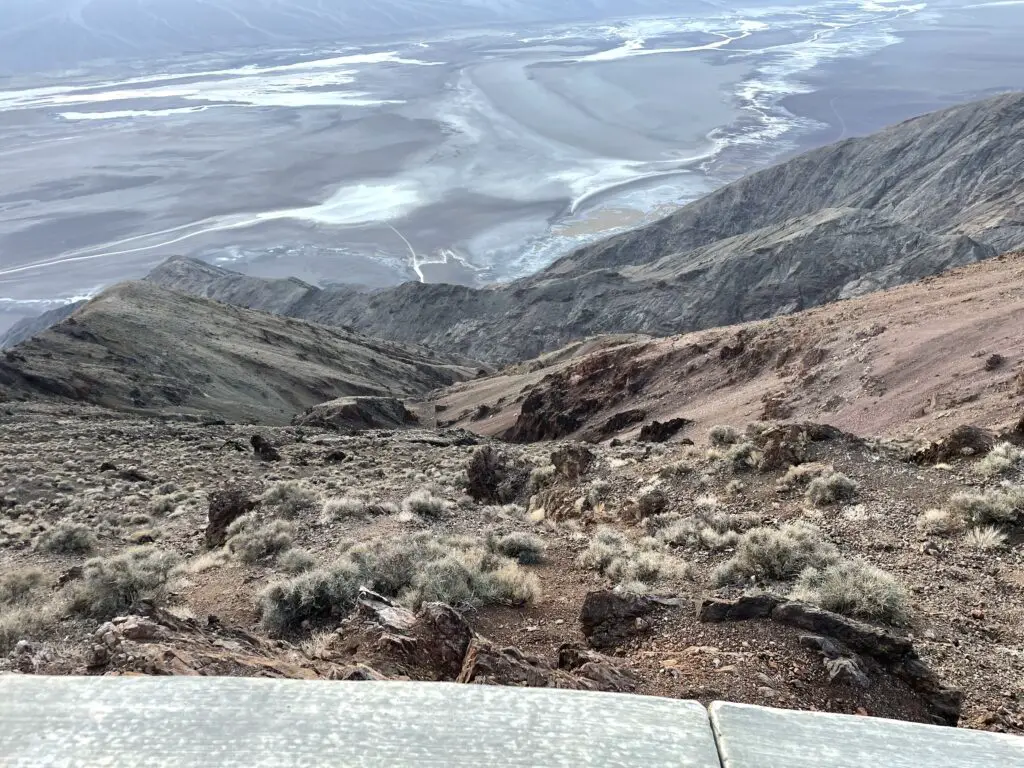
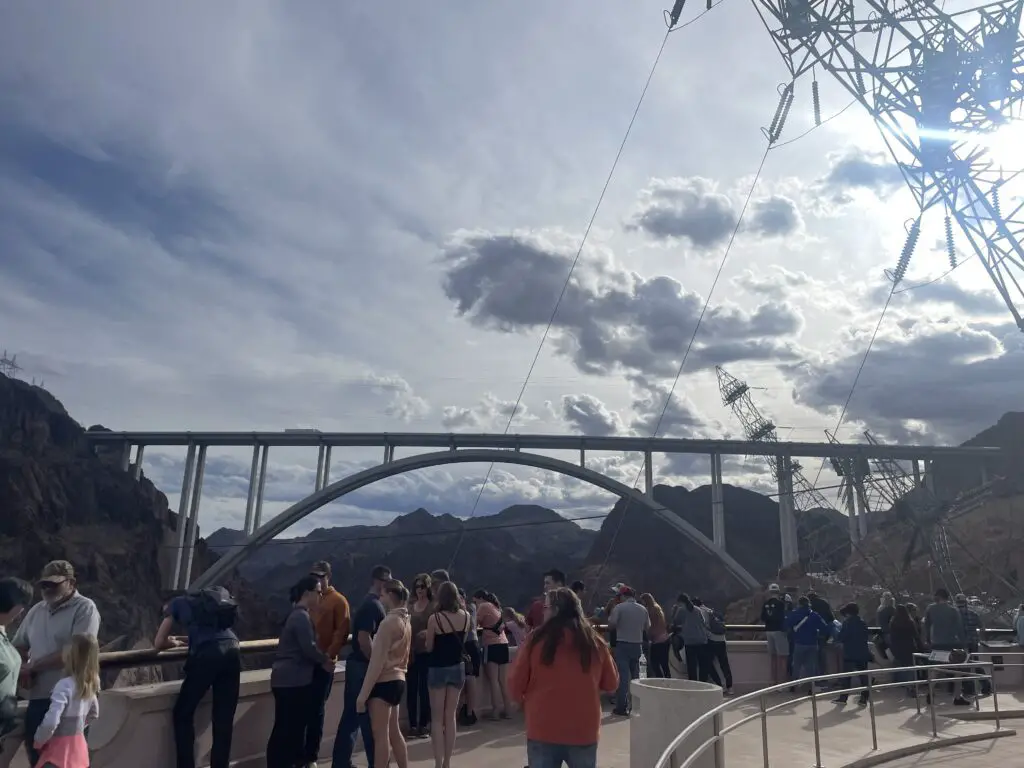
I have mentioned my immense fear of heights in the past. That was challenged on this trip! We visited the Royal Gorge which is also on the west side of Cañon City–this one has been on my bucket list for several years!
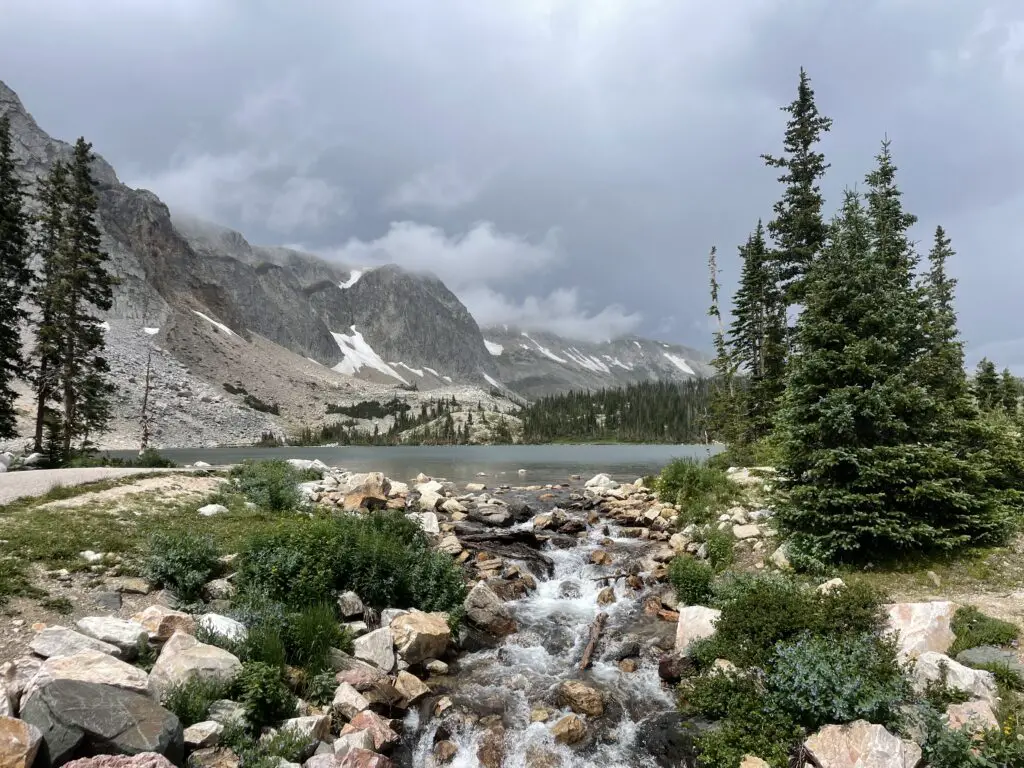
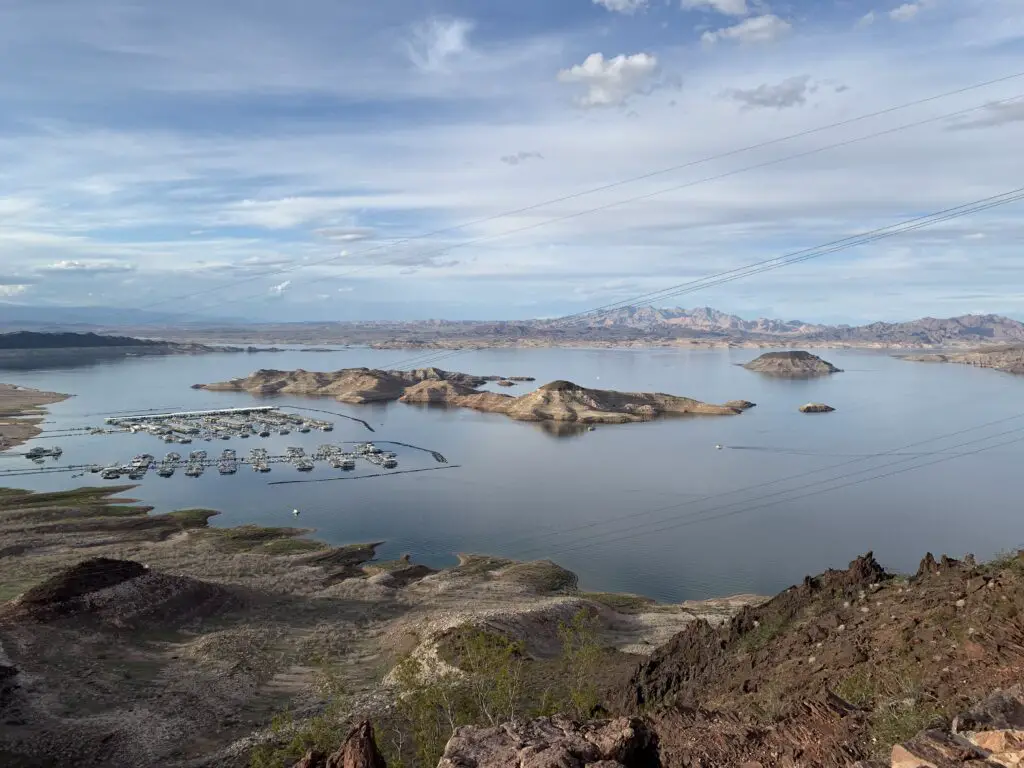
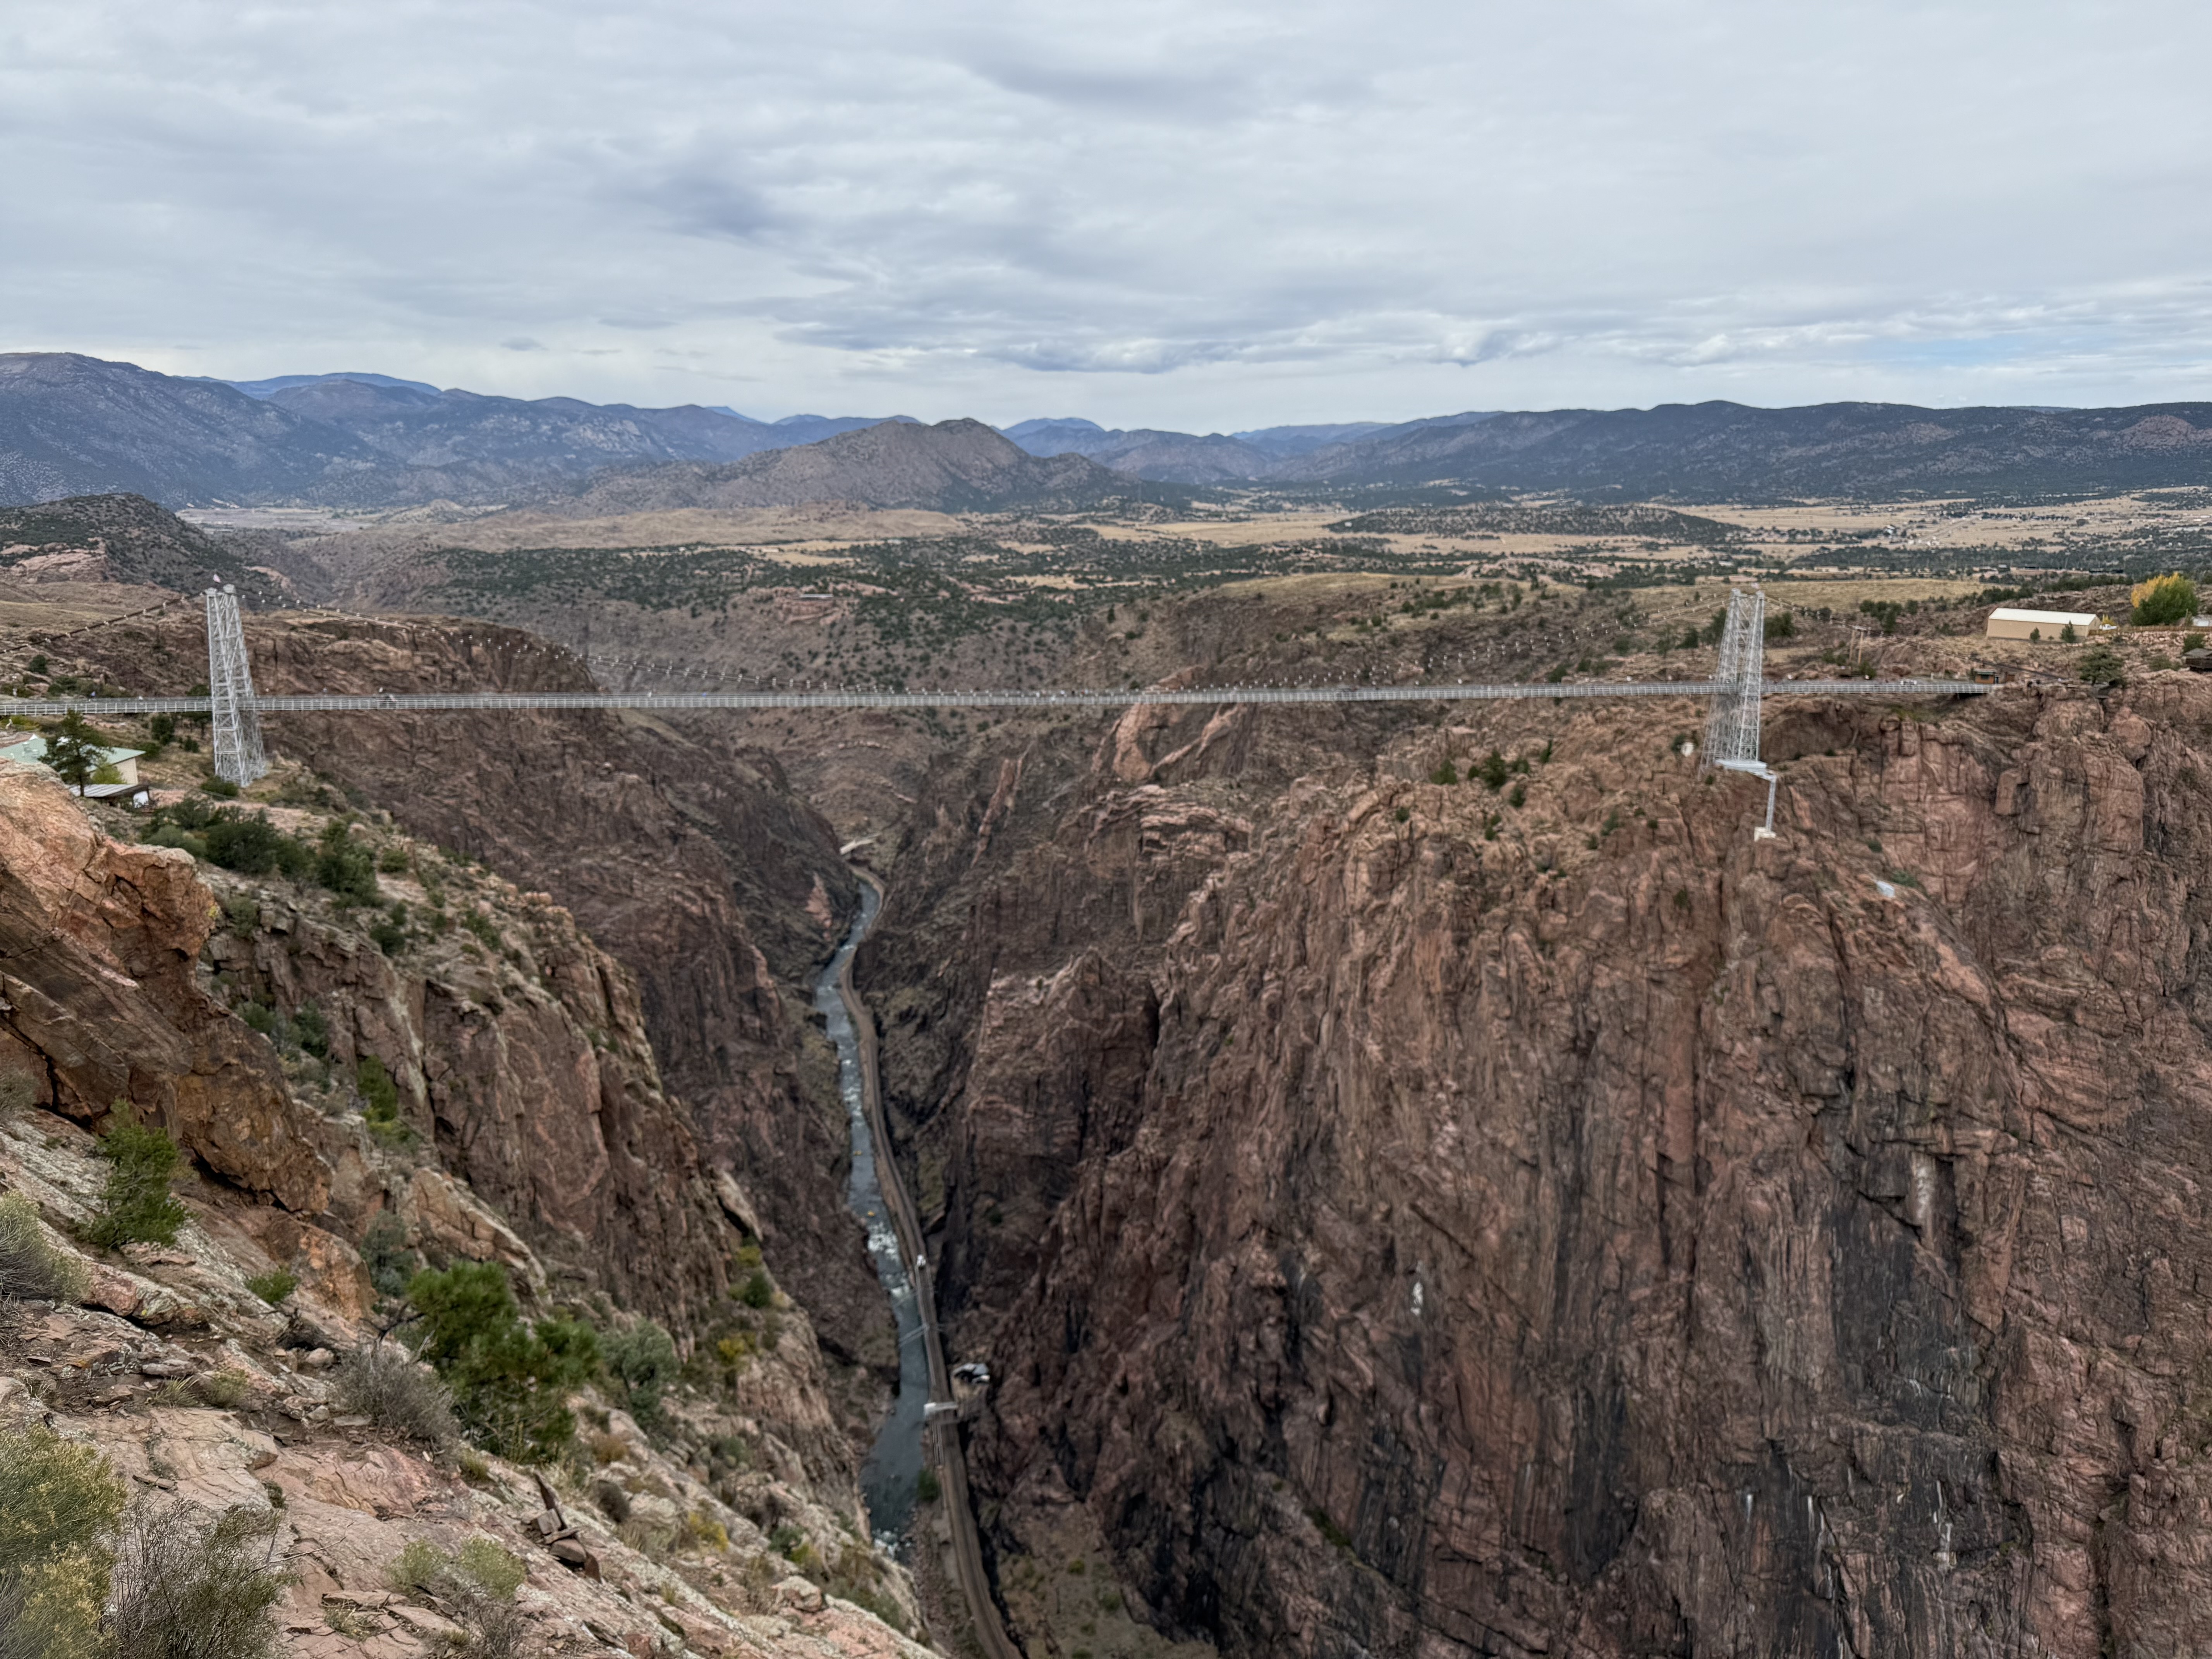
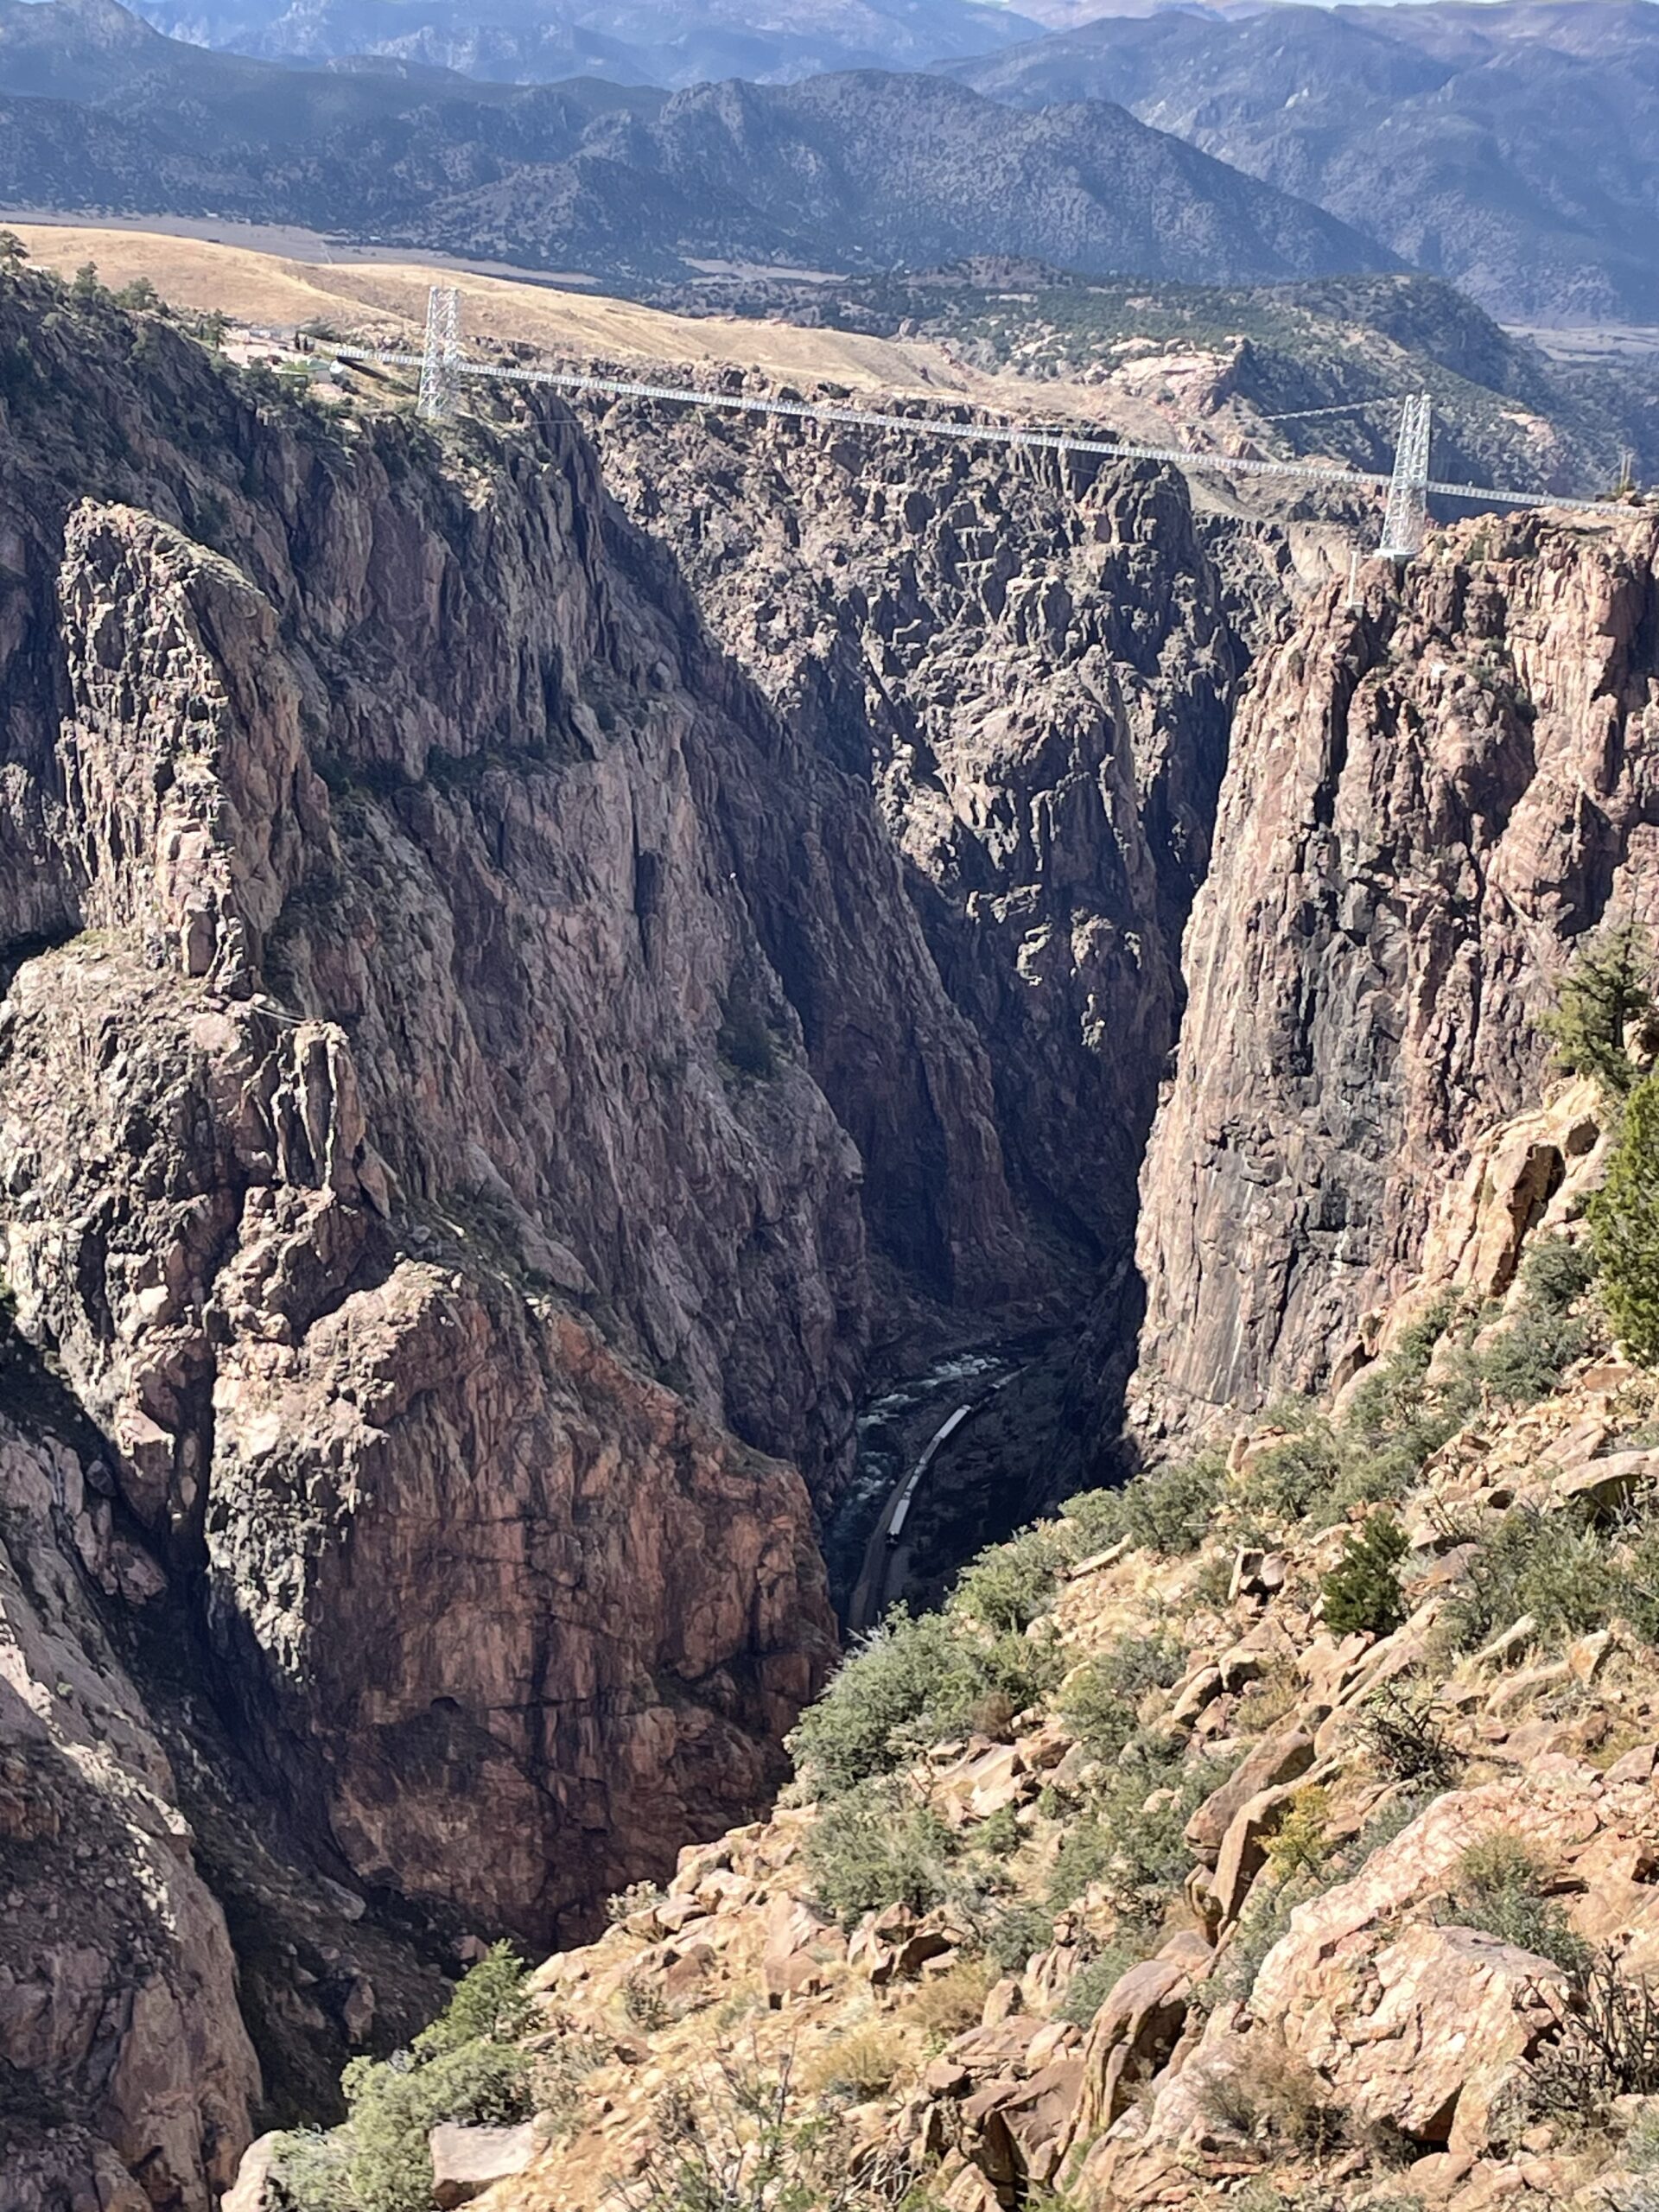
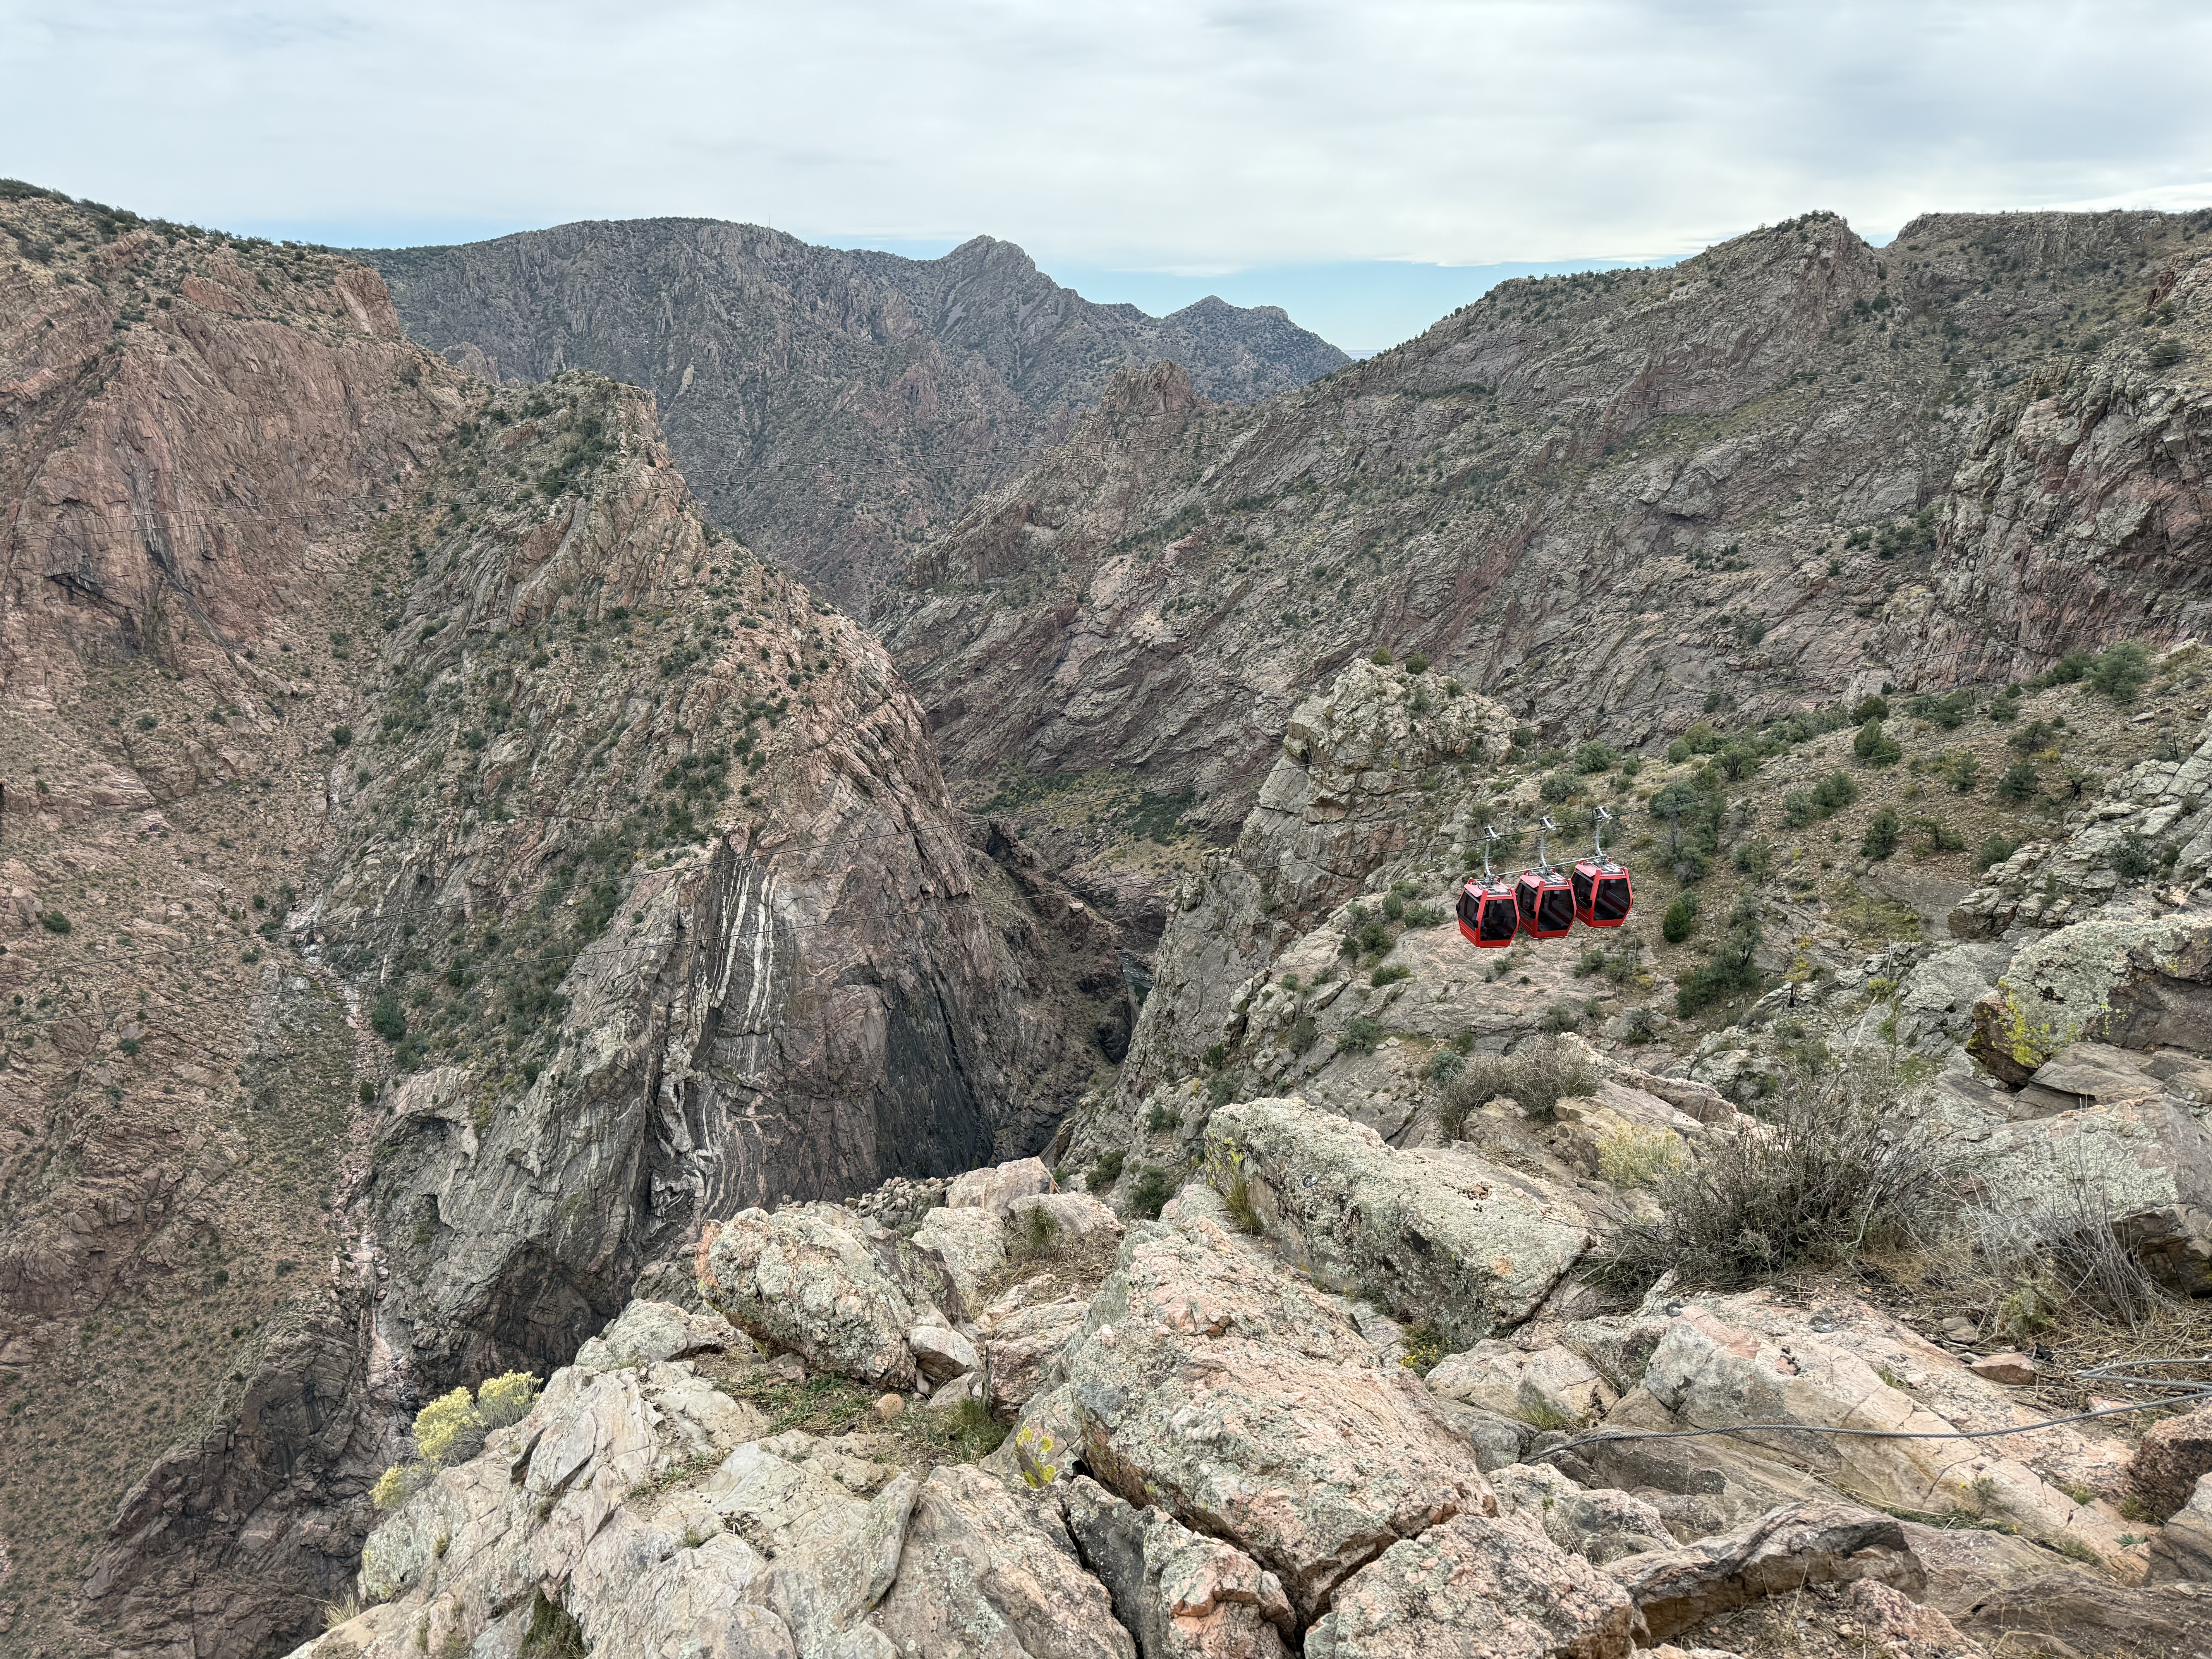
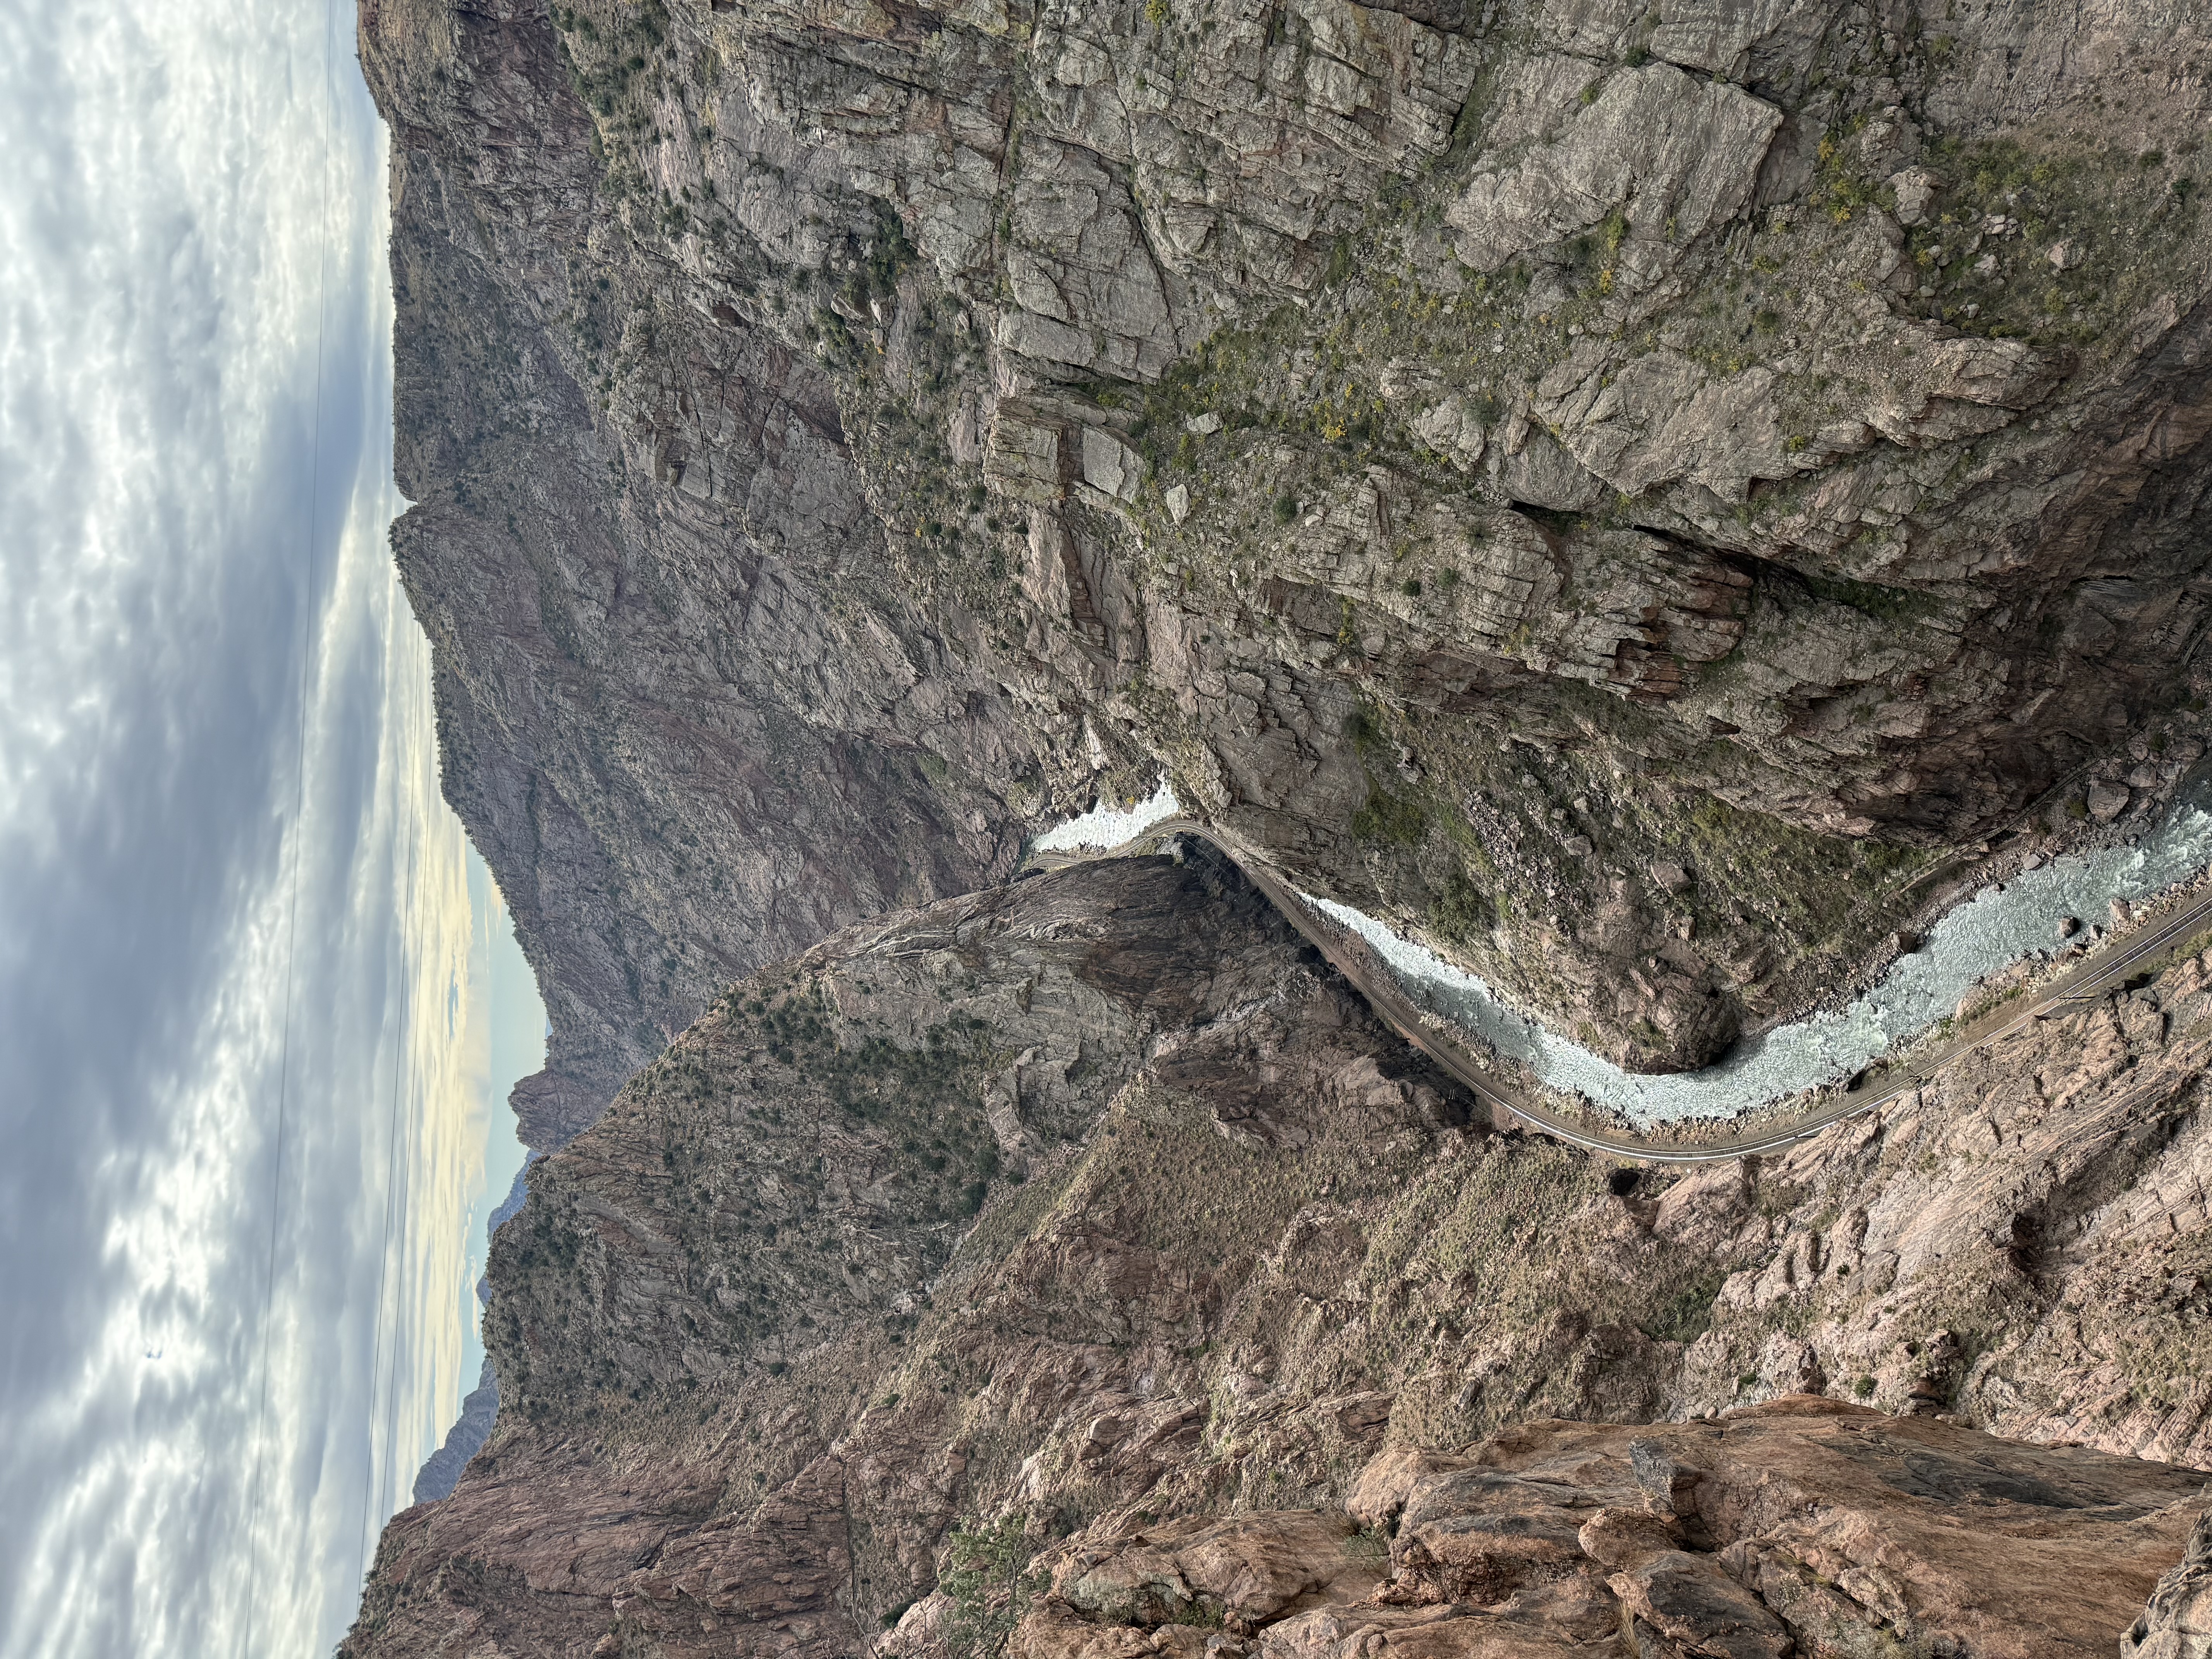
The Royal Gorge is a gorge–as the name implies–that is more than 1200 feet deep! Here the Arkansas River cuts a deep canyon through the local bedrock. The site is open all year (weather-permitting) and offers a number of attractions including: walking the bridge across the Gorge (which is ironically also about 1200 feet long); both a zip line and gondola ride across the Gorge; yummy–albeit expensive–food choices; playground-type areas for kids and some theaters that offer various informational shows on the history of the Gorge. There is also a via ferrata!–my fear if heights said ABSOLUTELY NOT to this option! Most of the activity options are included in the general, ticket price with the exception of the zipline and via ferrata (and the food, of course!) There is also a scenic train ride that starts in town and travels through the bottom of the gorge (for an additional cost of course)–some of the cars even have glass ceilings!
The Royal Gorge is a great attraction for adults and it is absolutely family-friendly, so bring the kids too!
The bridge that spans the Gorge:
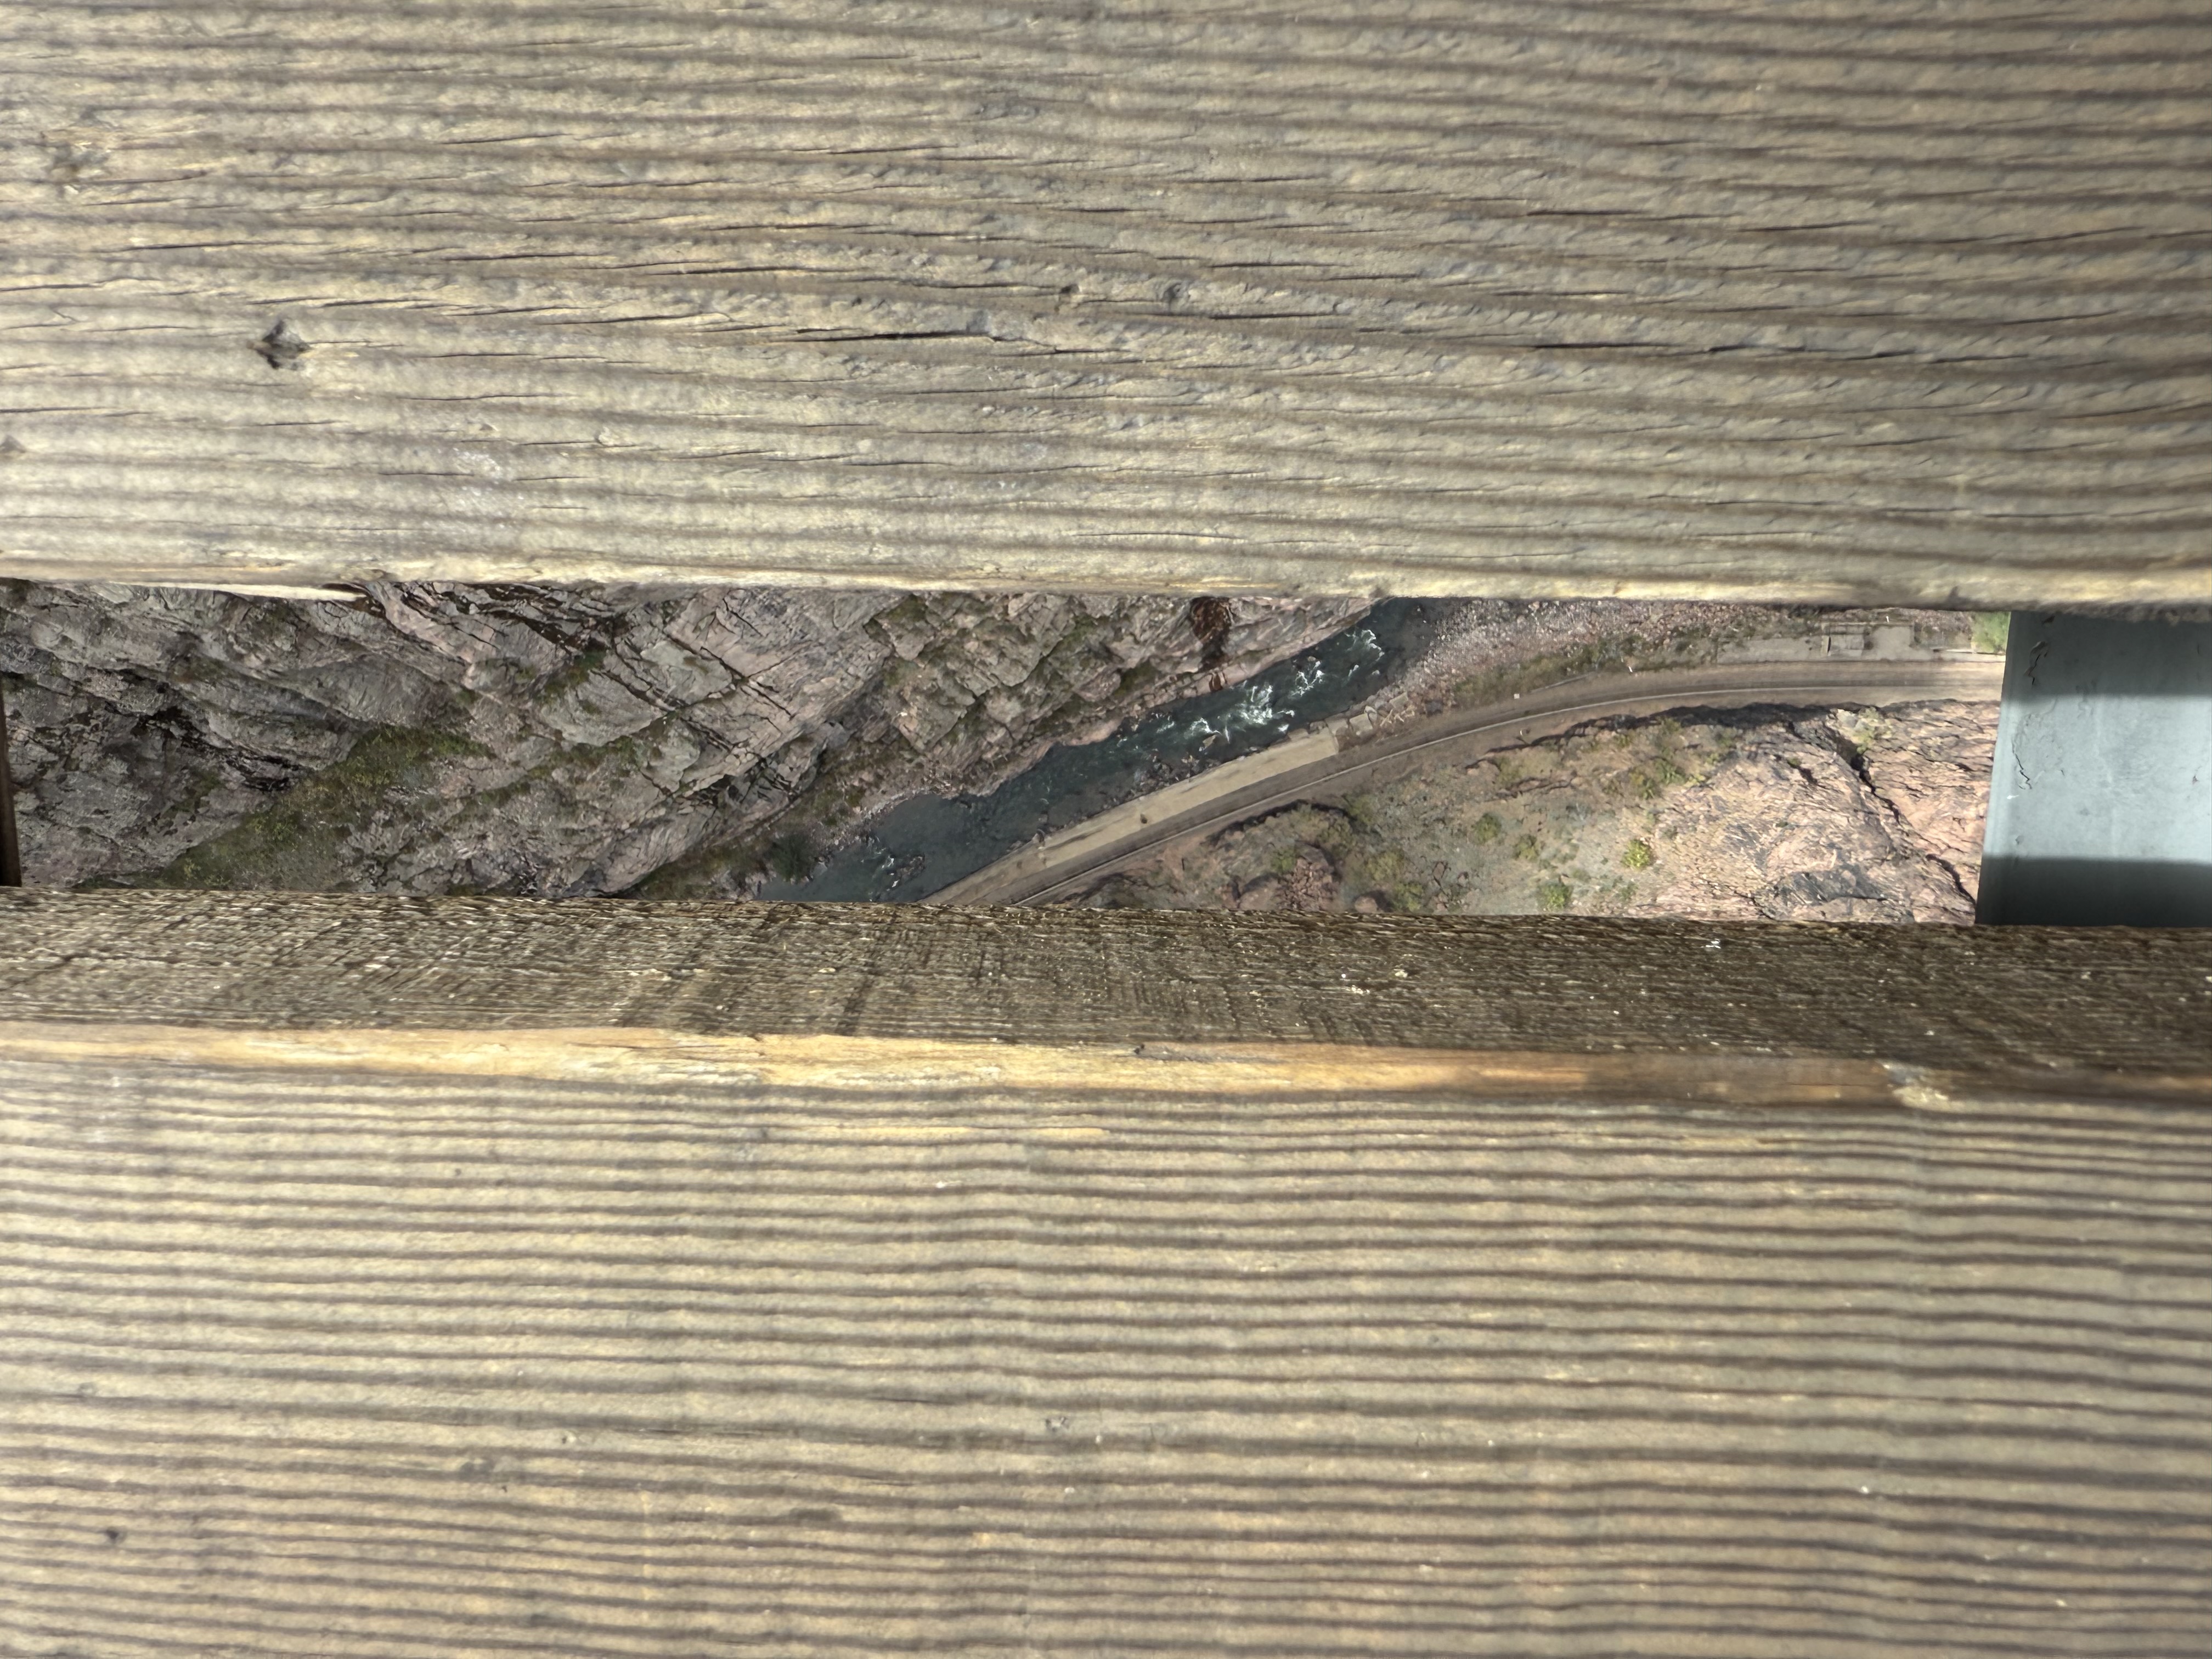
There are no vehicles allowed on the bridge (with the exception of employees of the site). The crossing was a little rough for me! The bridge moves in the wind (as it’s designed to do) and is especially nerve wracking when golf carts used by the employees are driving across it!
The pic below is through the wooden slats from the middle of the bridge, looking at the river 1200 feet below!
We also enjoyed the gondola (or tram) ride on our return trip across the gorge. It was also a bit frightening as the cars swing back and forth some in the wind (again, as they are designed to do) while you dangle above the yawning chasm of the gorge! I’m really glad we both walked the bridge and took the gondola-tram as both options offered amazing views and opportunities to see the gorge differently!
The gondola-tram across the Gorge:
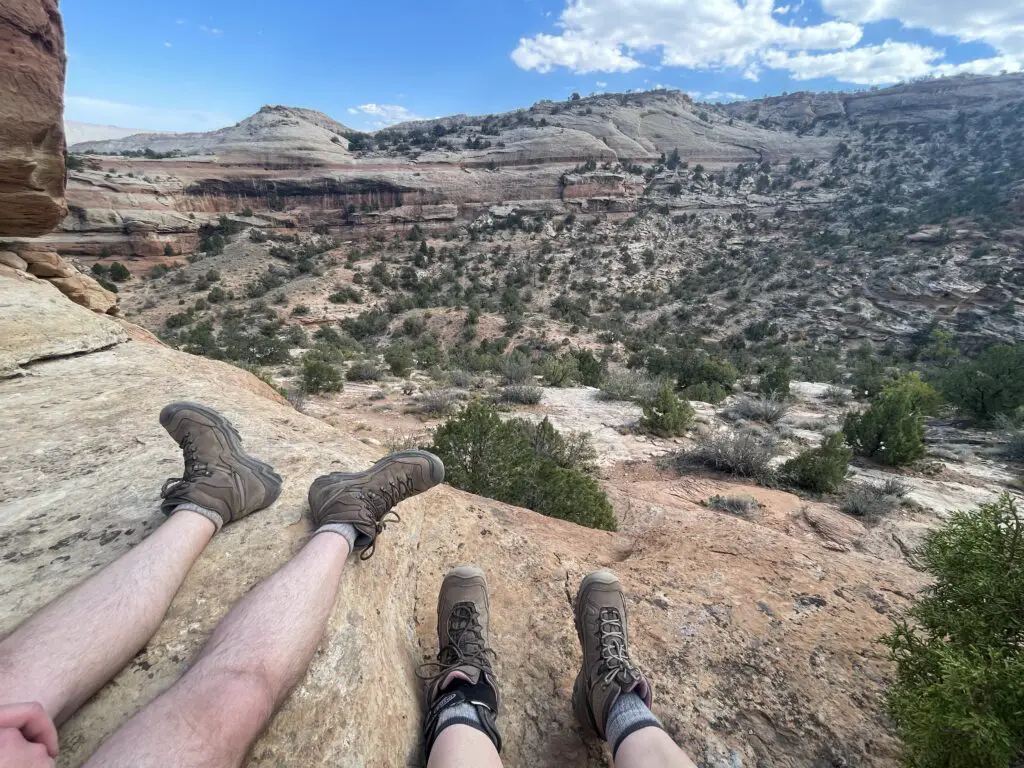
There are also some hiking trails in the park that we enjoyed. Just realize these don’t offer much shade and this area can get pretty hot in the summer months (it was in the 80s when we were there in October!)
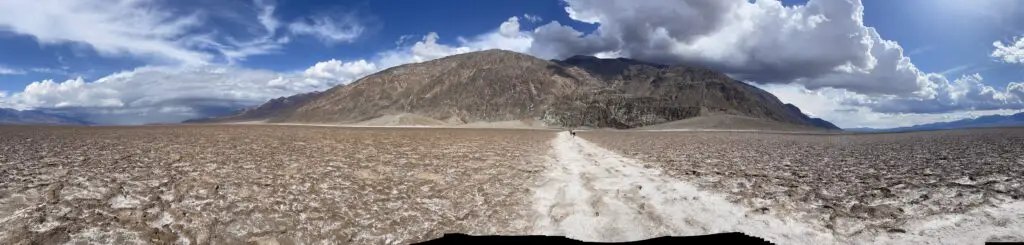
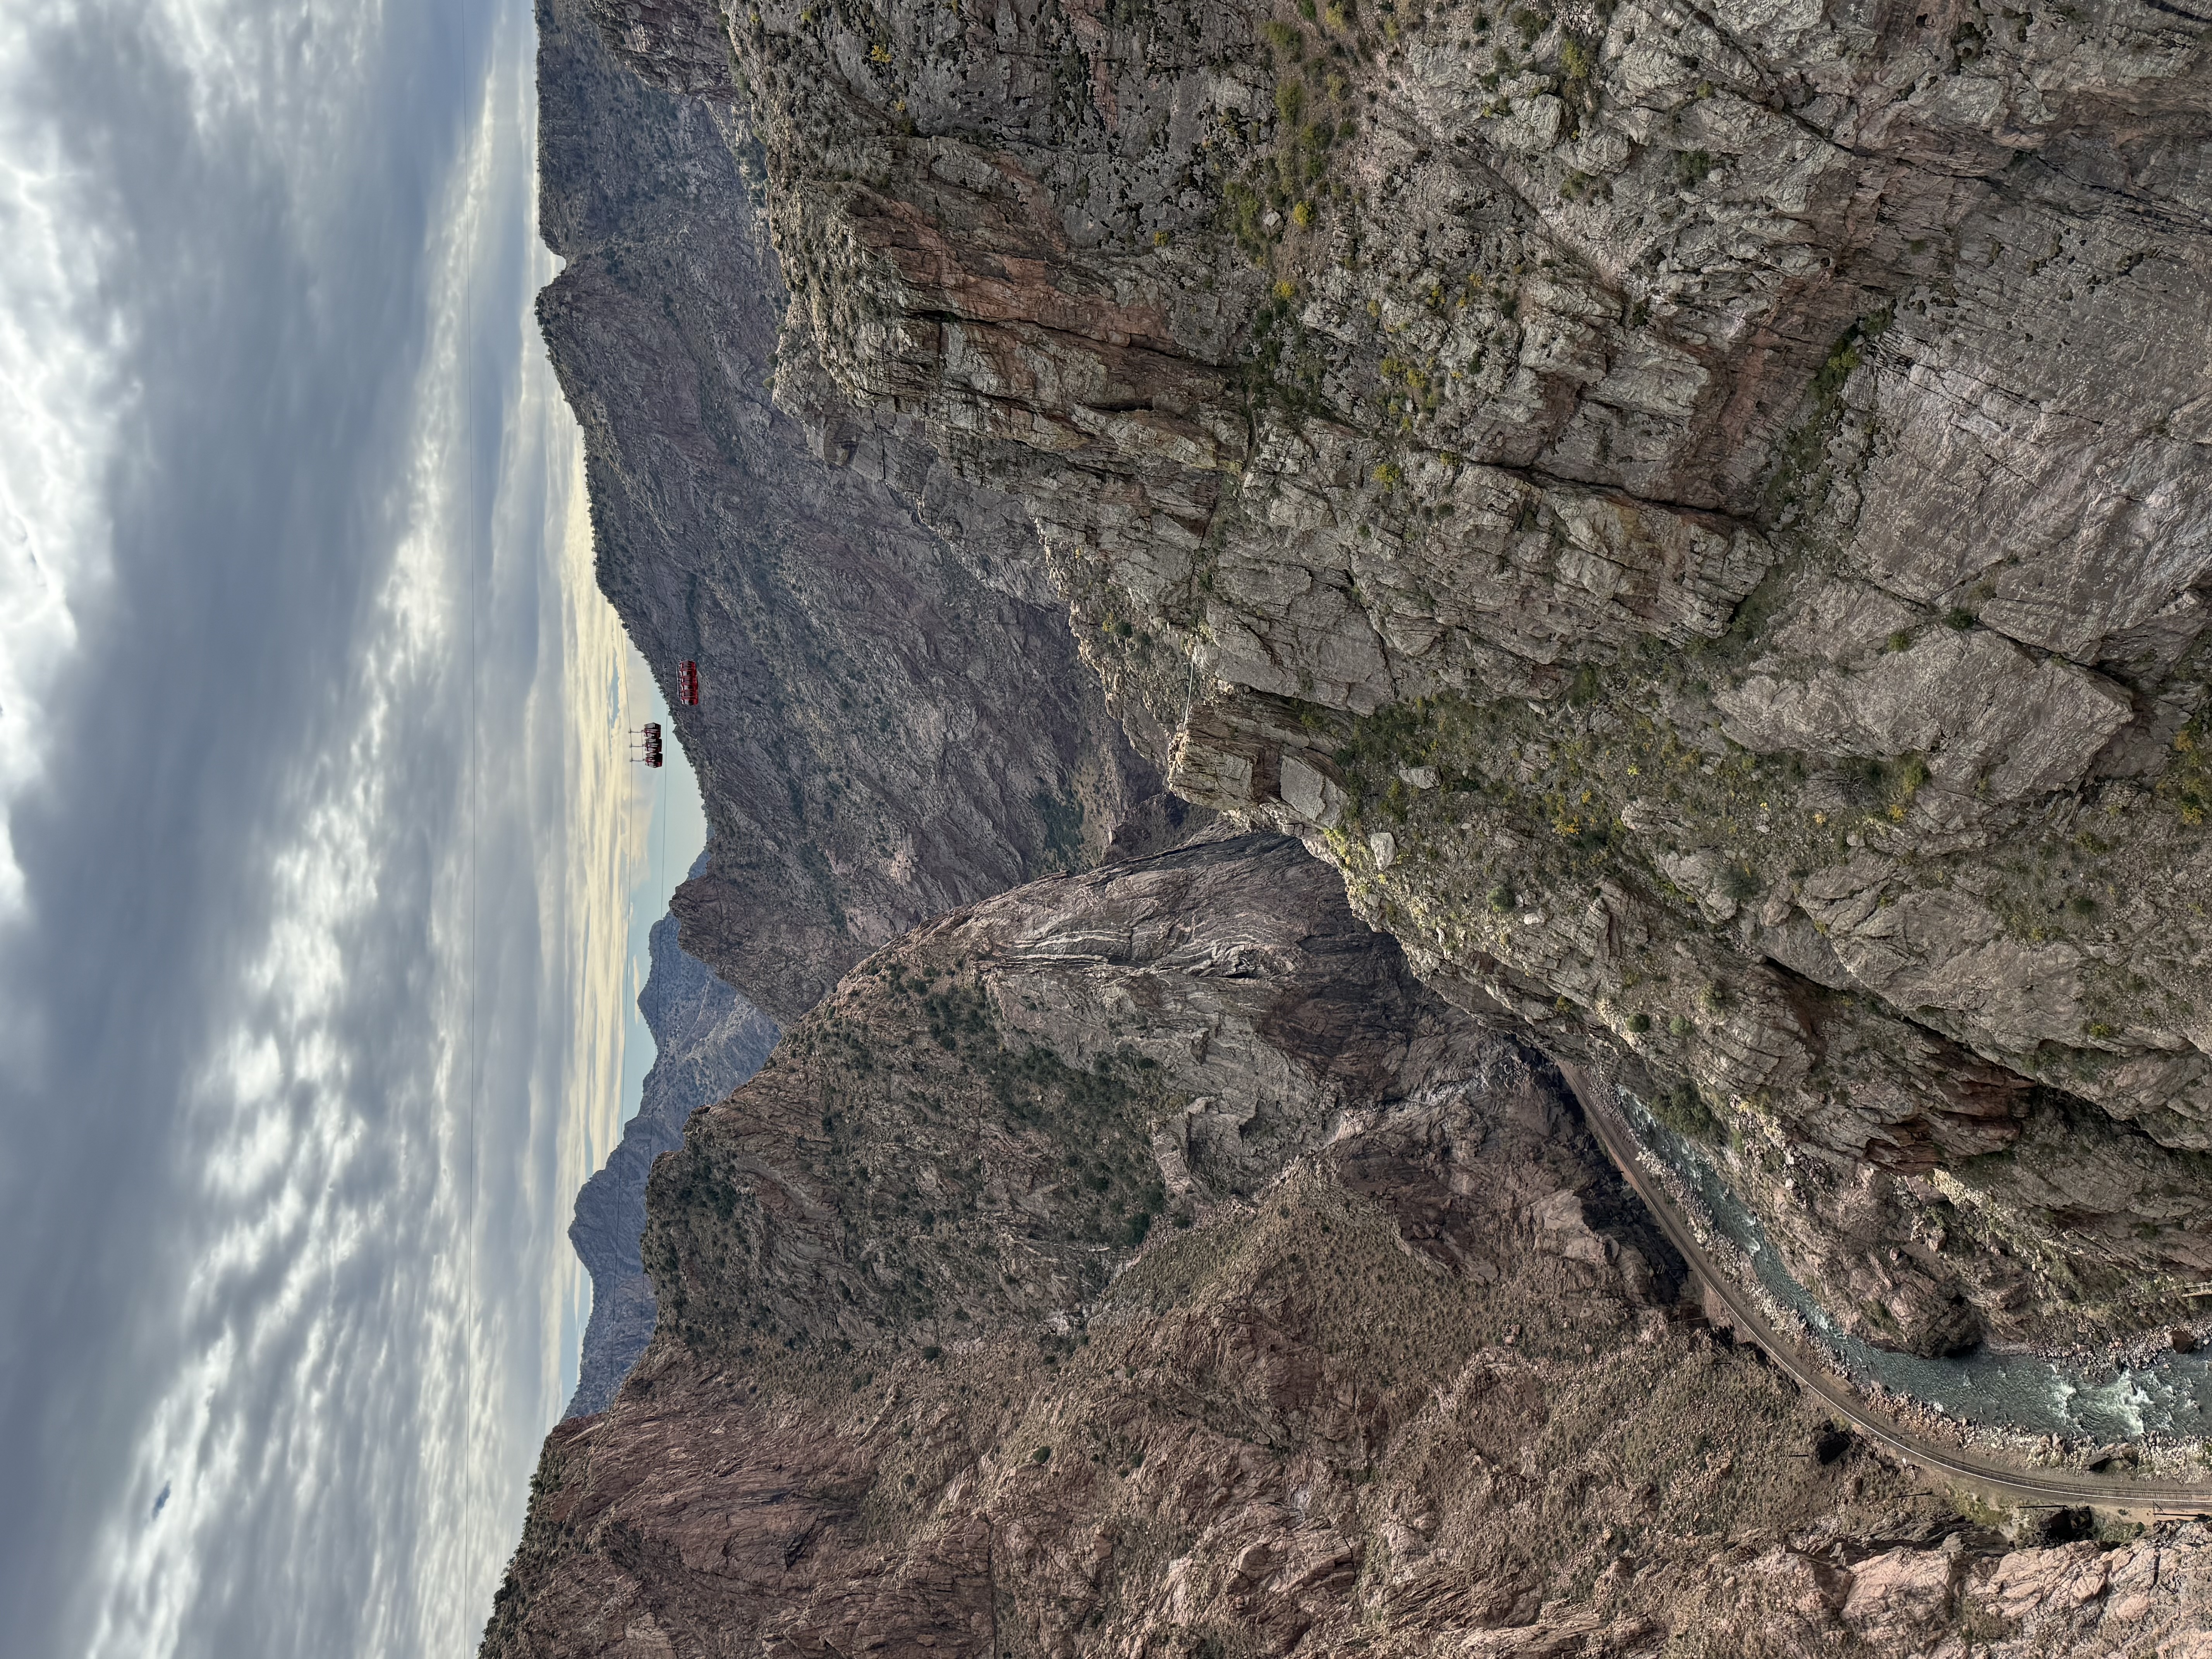
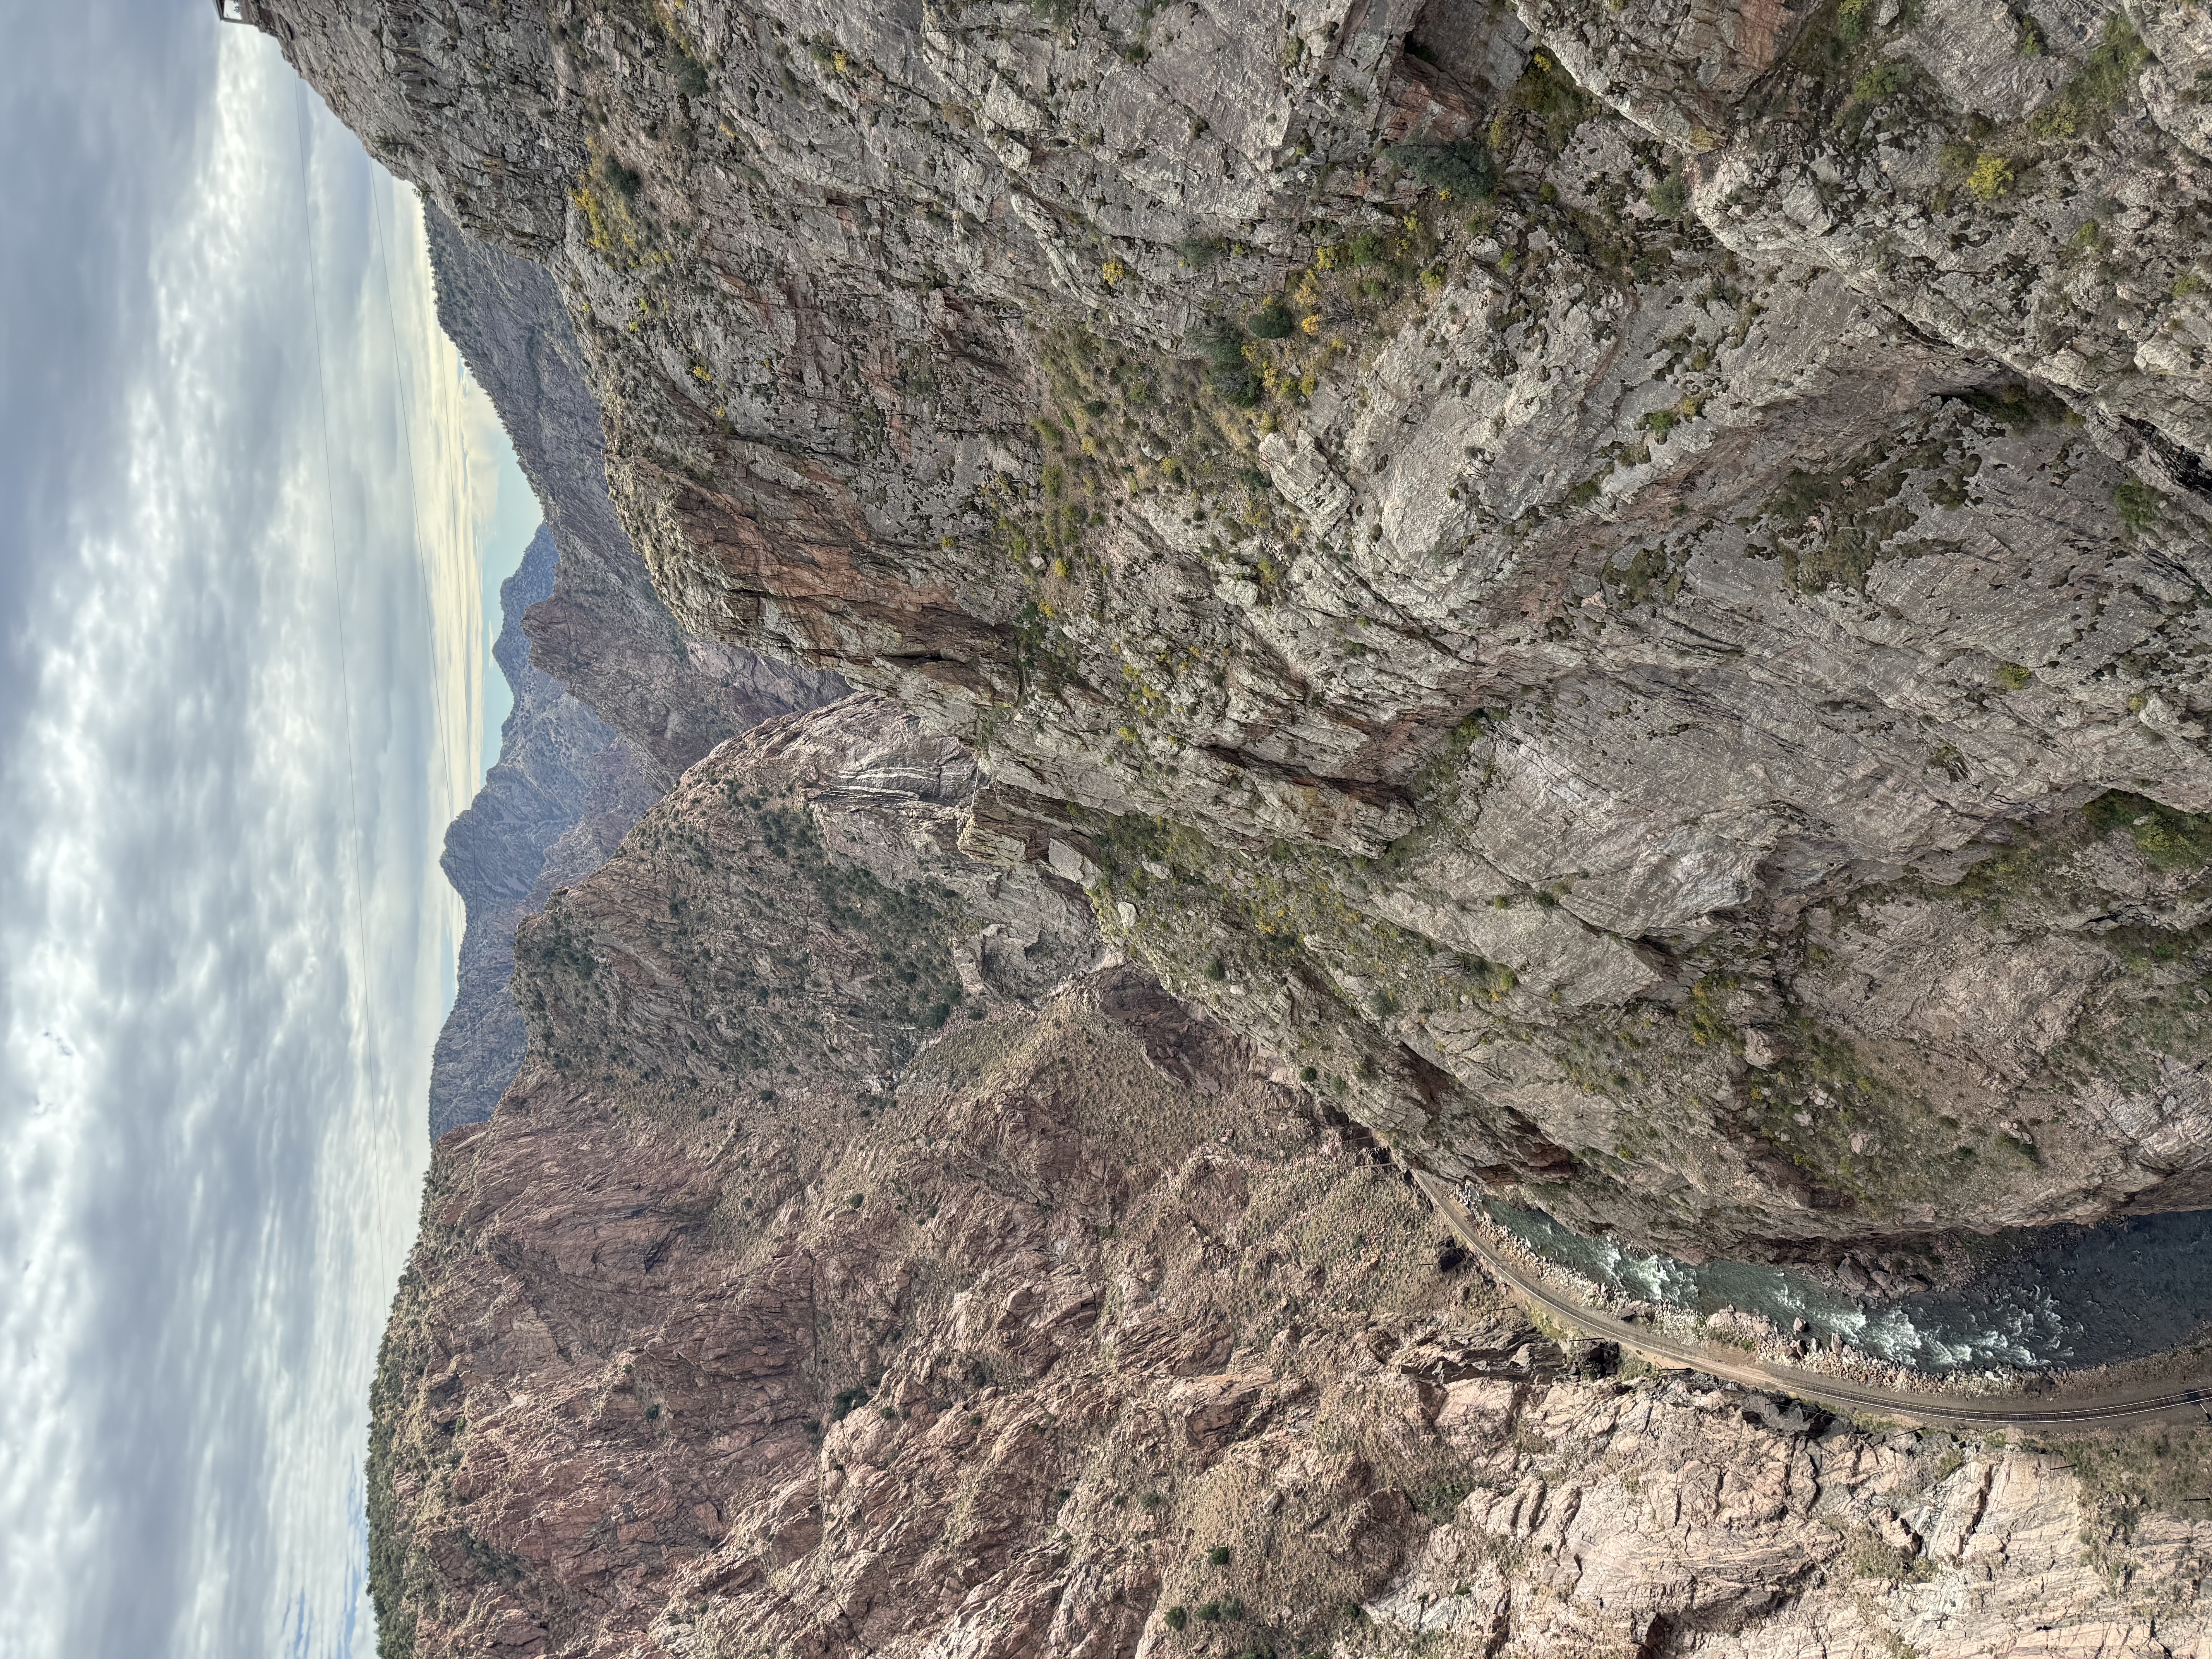
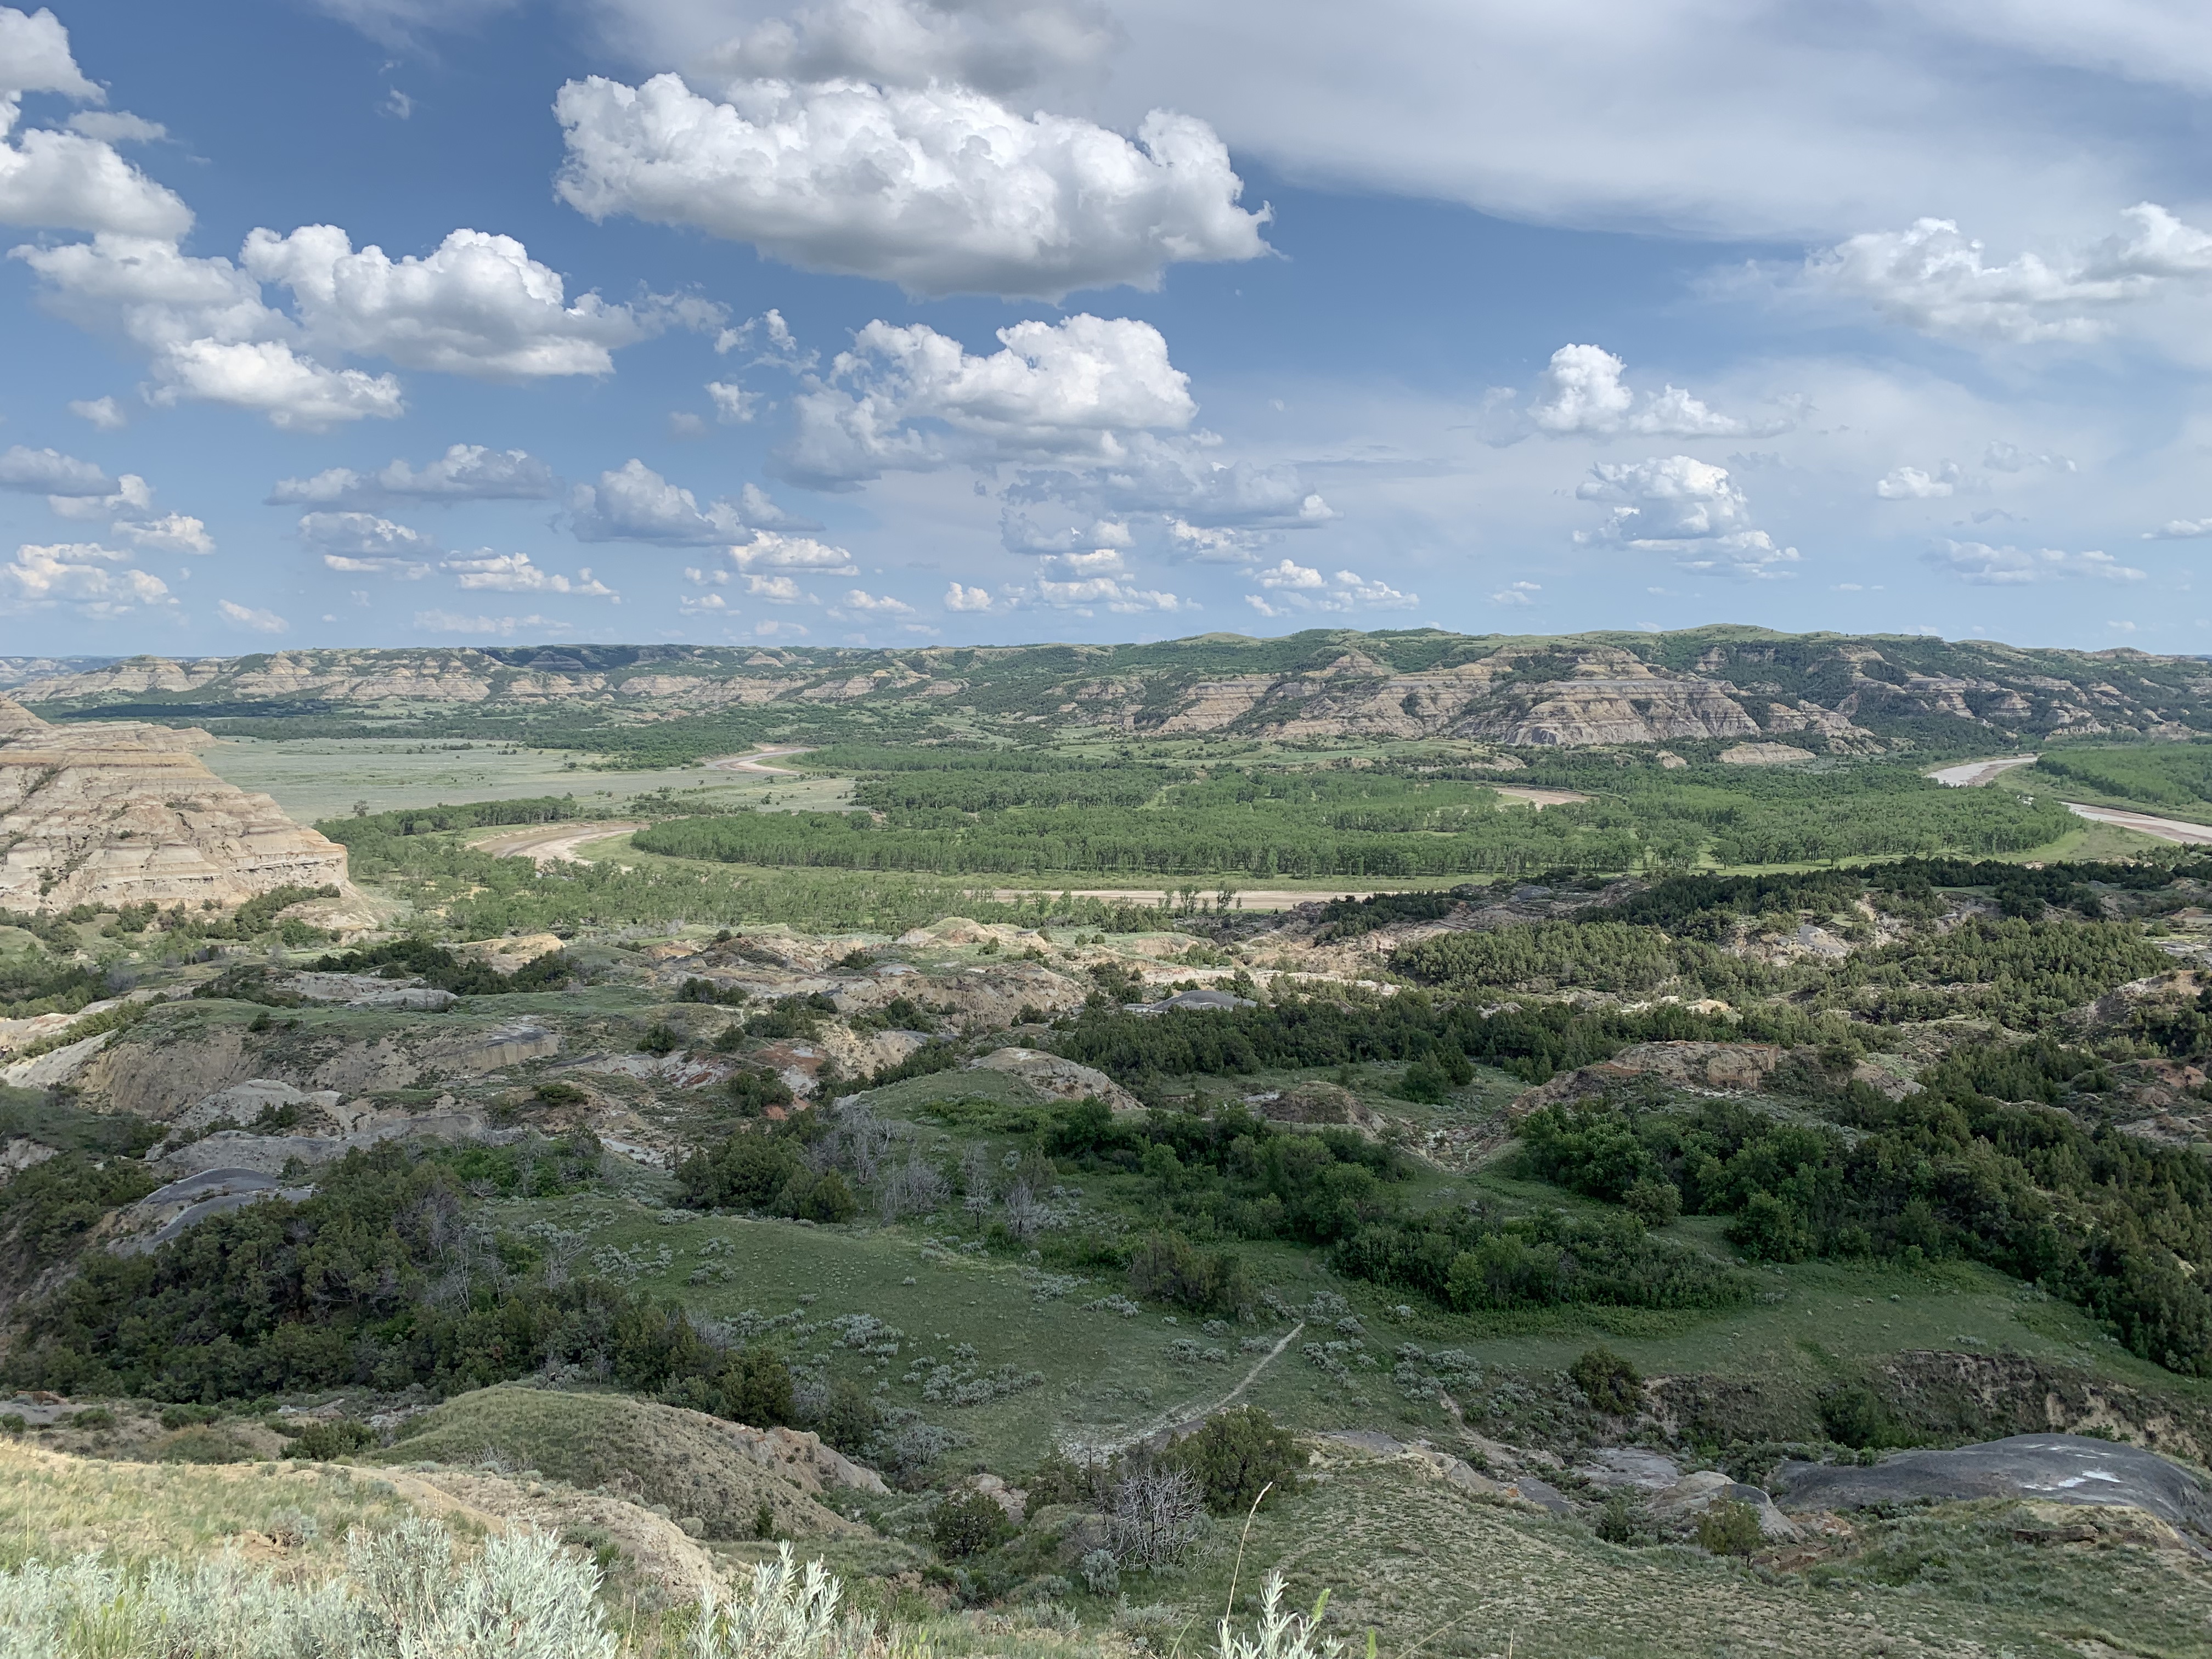
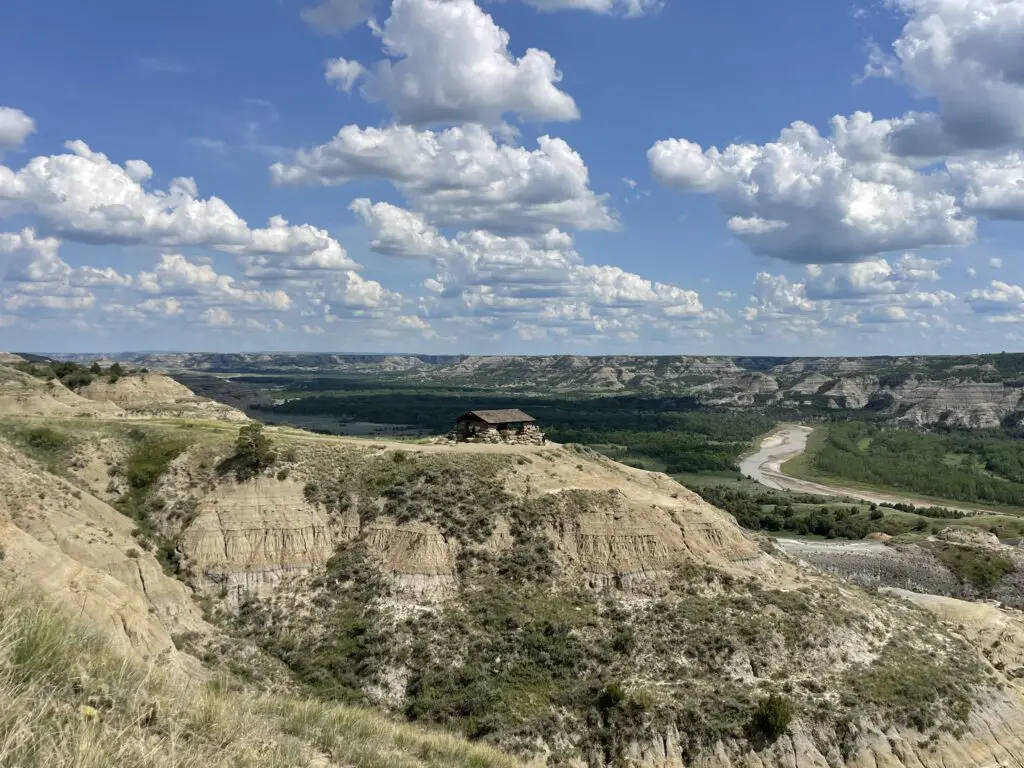
The Royal Gorge–facing east!
Below is a pic of the tracks for the incline tram that was the original way for tourists to access the gorge–this is no longer in use:

Royal Gorge facing west!
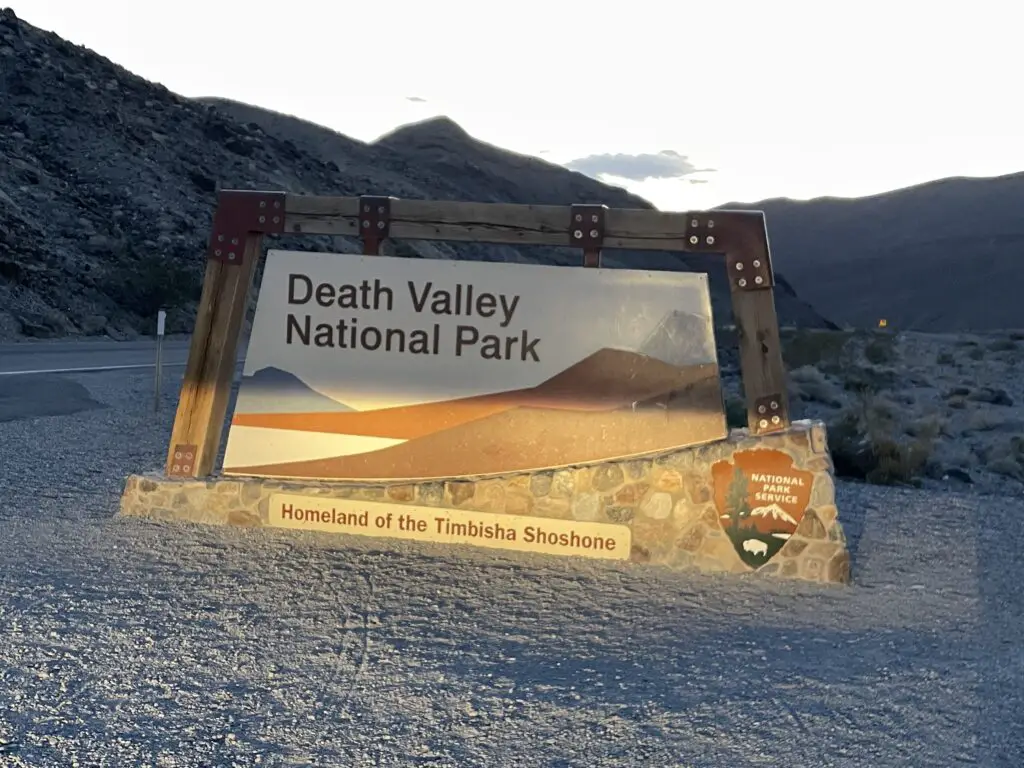
Capulin Volcano National Monument in New Mexico
**Author’s note: Just a word of warning, as this is a National Monument, no dogs are allowed on any trails (exceptions for Service Animals). They are only permitted in the campgrounds and parking lots.**
Ok, Capulin Volcano is actually in far, northern New Mexico but it’s REALLY close to Colorado and can easily be implemented into a southeast Colorado road trip! 😁
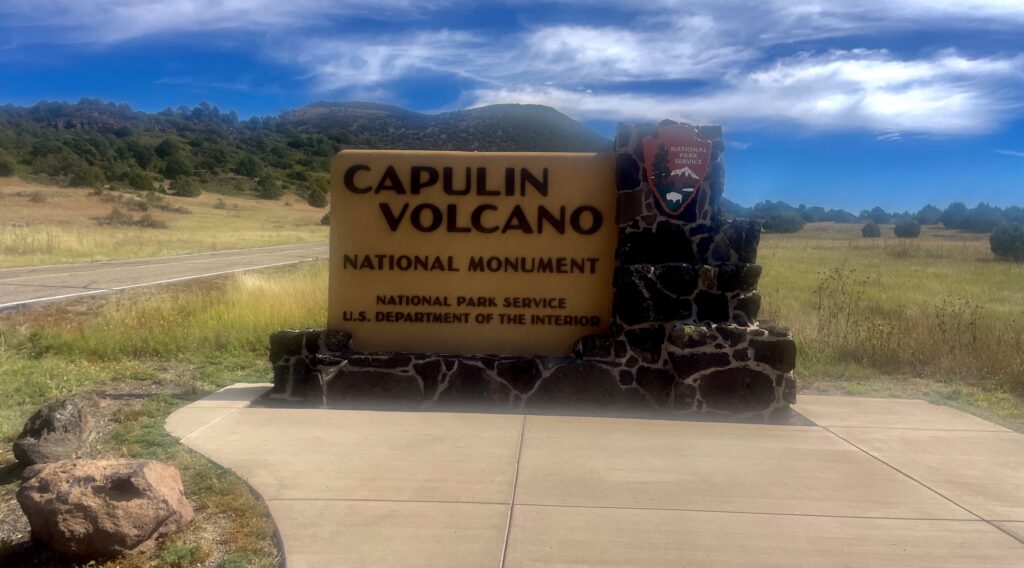
Capulin Volcano is found in the far, northeastern corner of New Mexico about three miles north of the tiny town of Capulin. It’s also about 25 miles east of I-25 and Raton, New Mexico and about 60 miles southeast of Trinidad, Colorado.
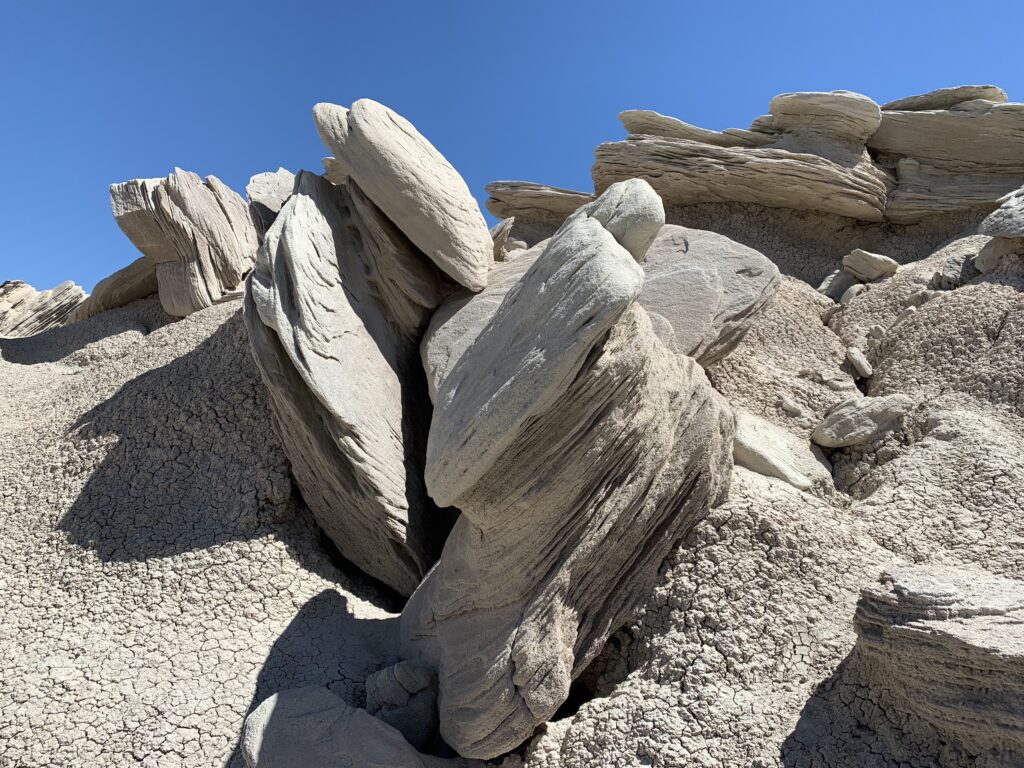
The volcano is pretty cool! It is technically extinct–though from my extremely limited understanding of volcanology, an “extinct” volcano simply means it hasn’t erupted in a REALLY long time…but that in no way ensures another eruption isn’t possible (case in point)!
We have not had good luck with this attraction! In 2017 we tried to visit it on a road trip. By the time we arrived the gate to drive the road was already closed for the day. We could have walked up but I was still recovering from a NASTY stomach flu so there was no way that was going to happen.
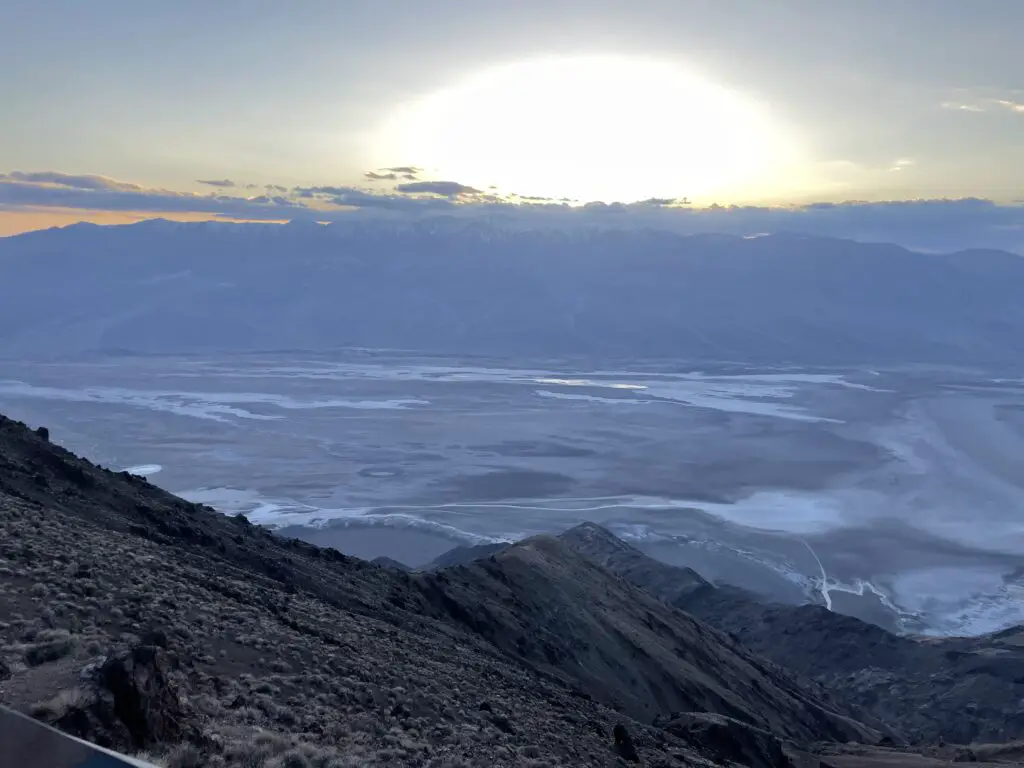
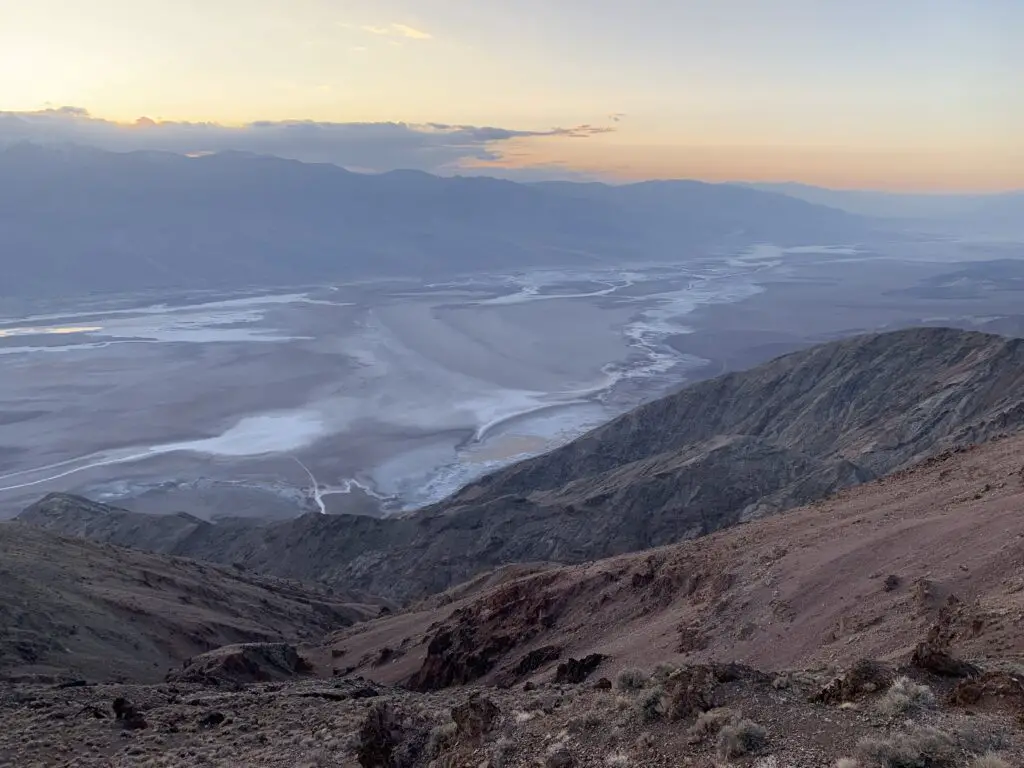
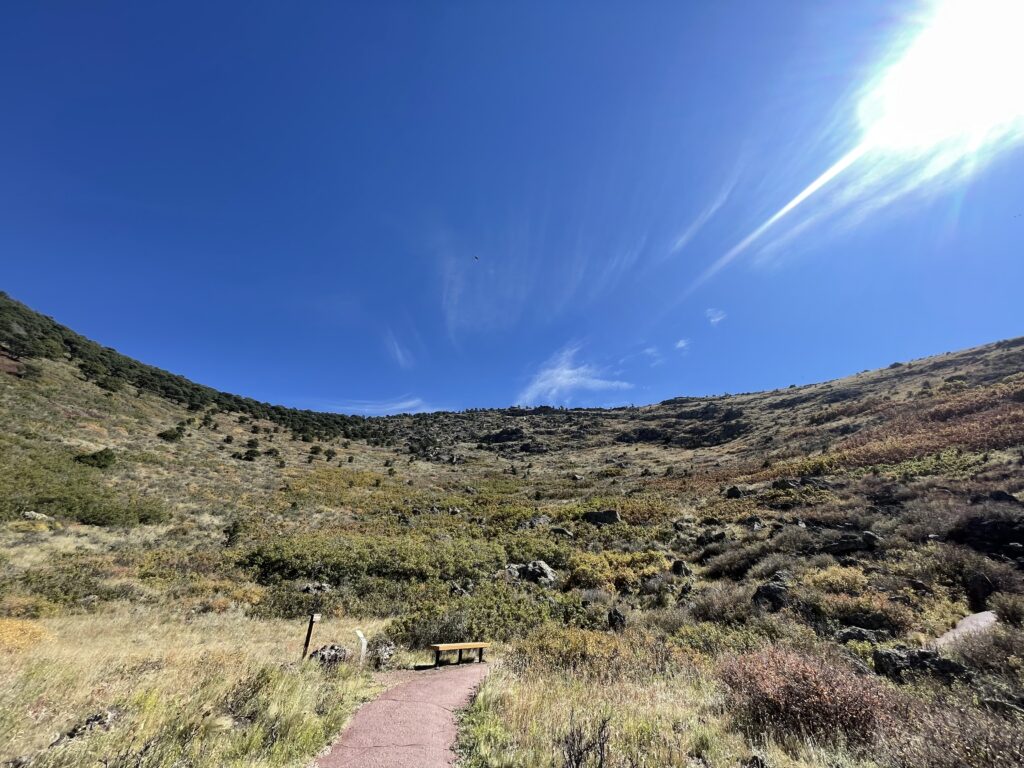
When we visited in 2025 it was in the middle of a lengthy, Federal government shutdown so the gate was again closed. I was pretty frustrated as this had been on my list for SO LONG and it was a beautiful day! Fortunately there was a friendly ranger volunteering at the closed visitor center. (He was offering safe views from his telescope of solar flares that were occurring on the sun. That was pretty cool to see!) He also assured us we were still welcome to walk the four miles up and down the closed road to the top of the volcano.
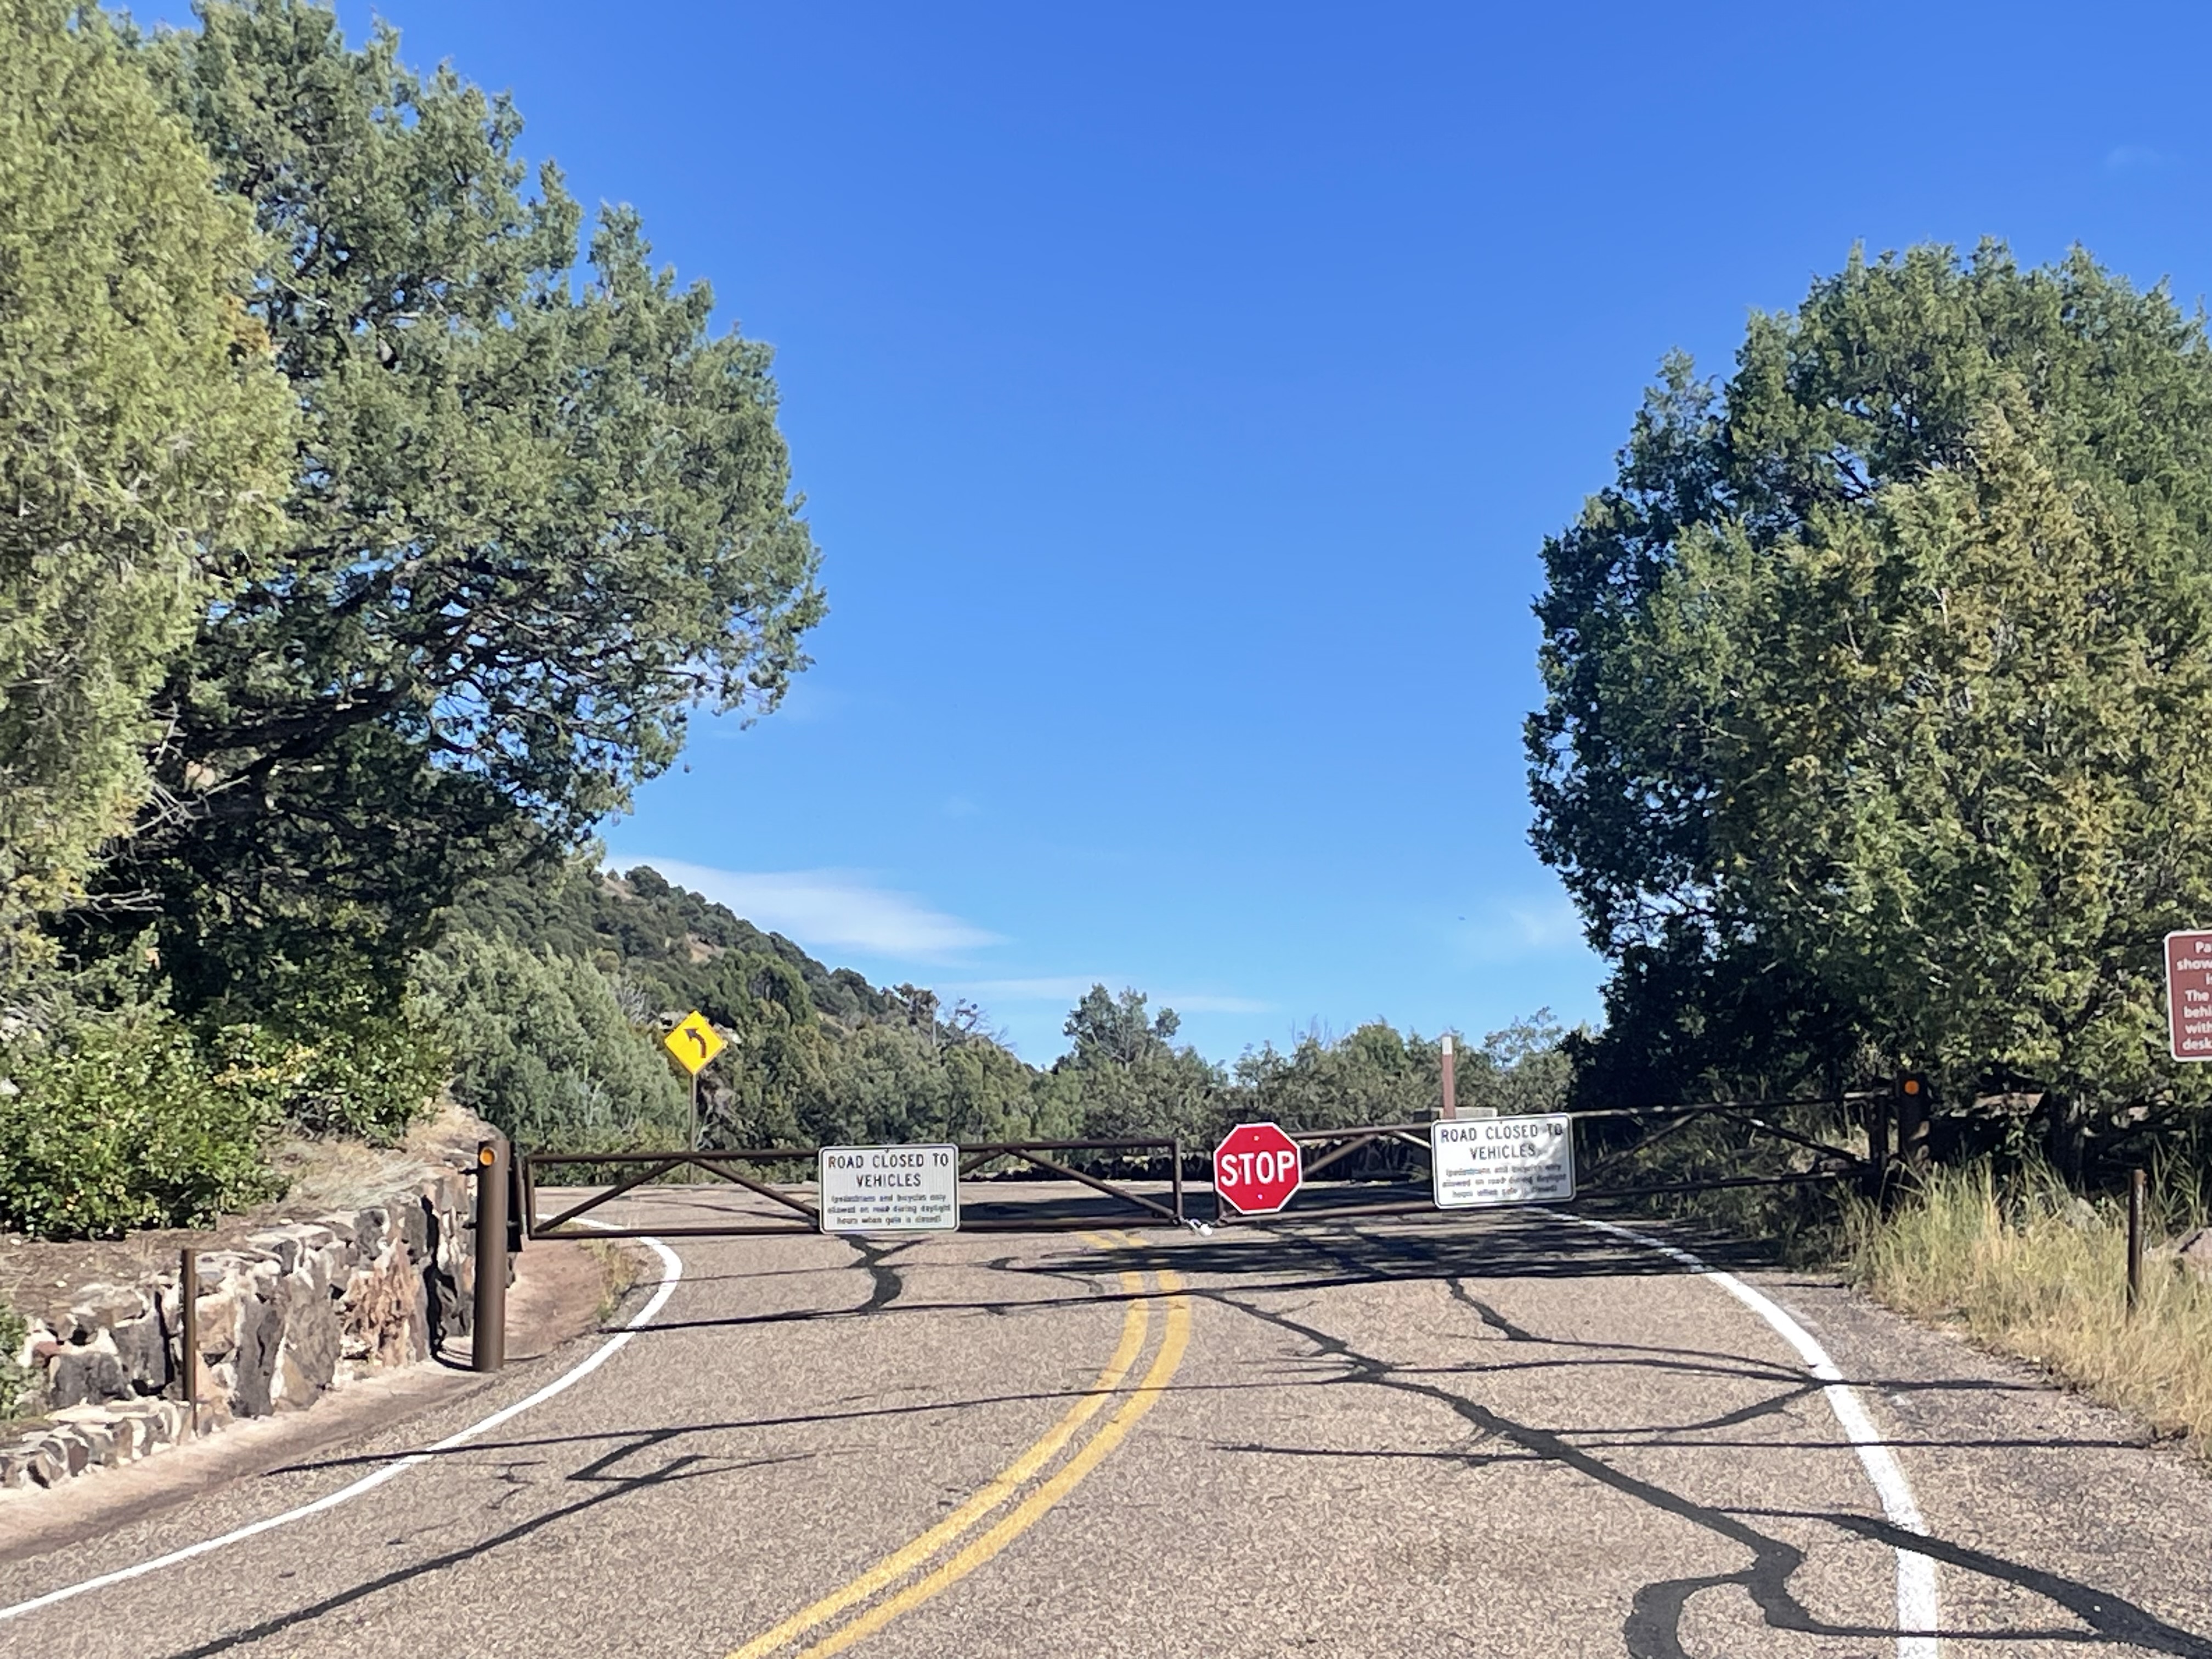
At the time I was about 8-months out, still recovering from my NASTY, broken ankle (though by then my PT was telling me, “use your ankle!”) So…we did! I was NOT missing this volcano again if I had anything to say about it and the experience was actually pretty cool. We literally had the entire mountain to ourselves! The hike up and down was on a paved road so it wasn’t too bad! (Though there is NO SHADE in northern New Mexico so it could be pretty hot depending on the weather. When we were there in mid-October it was a LOVELY 75-ish degree day with a breeze at 7000 feet elevation!)
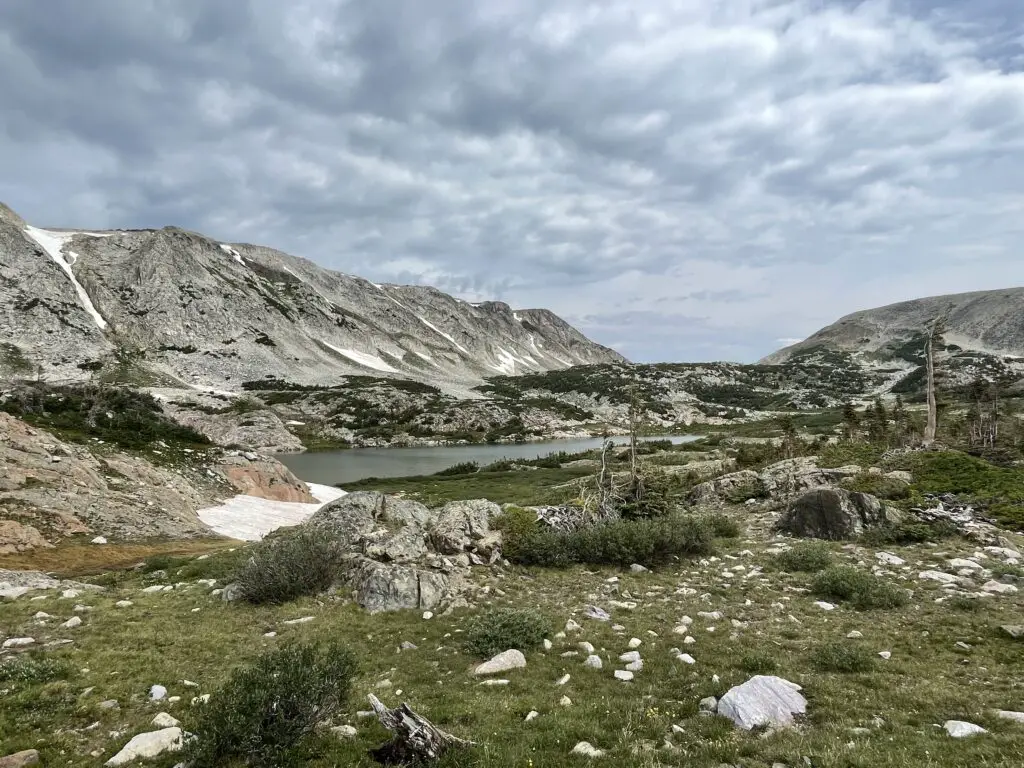
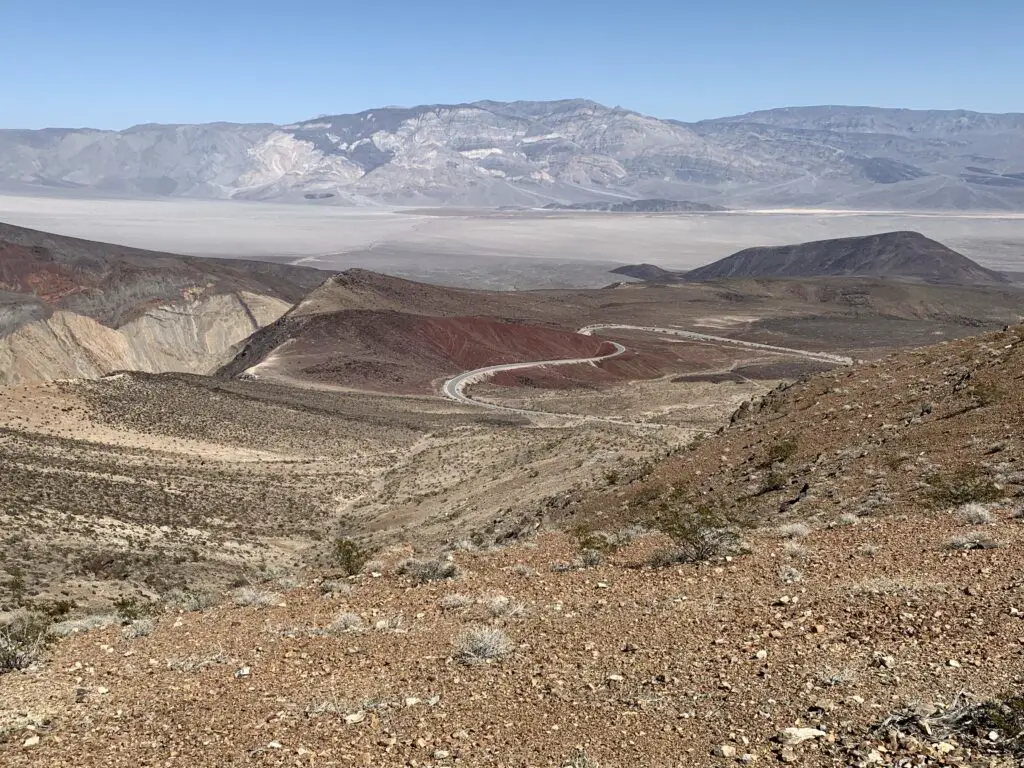
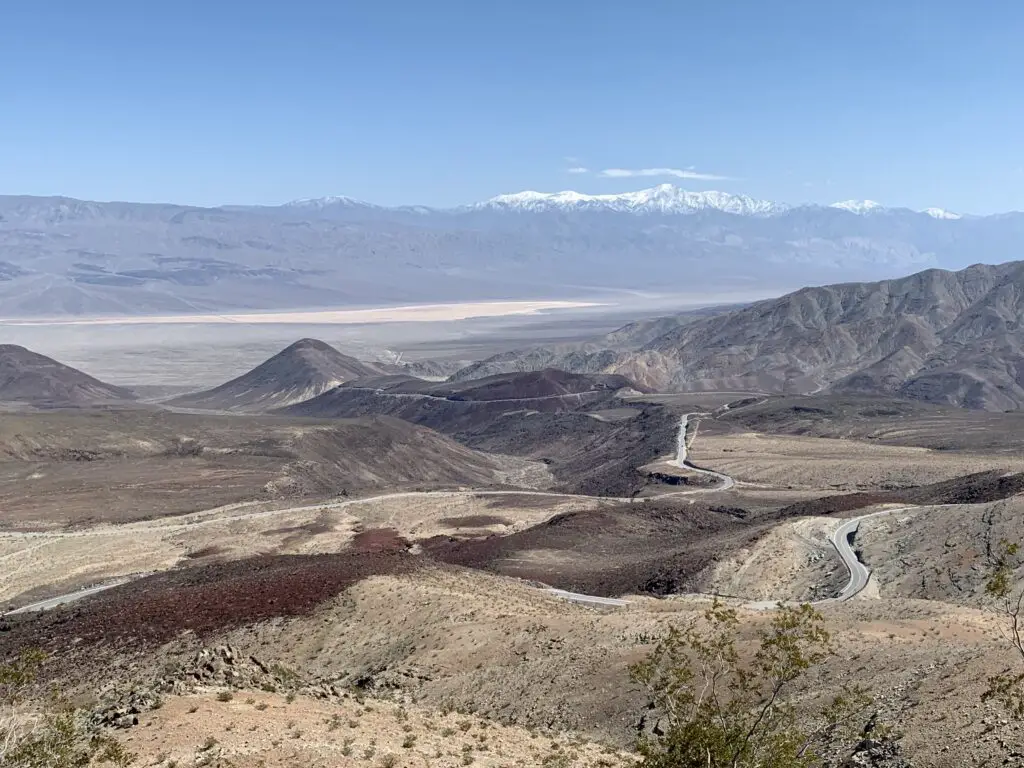
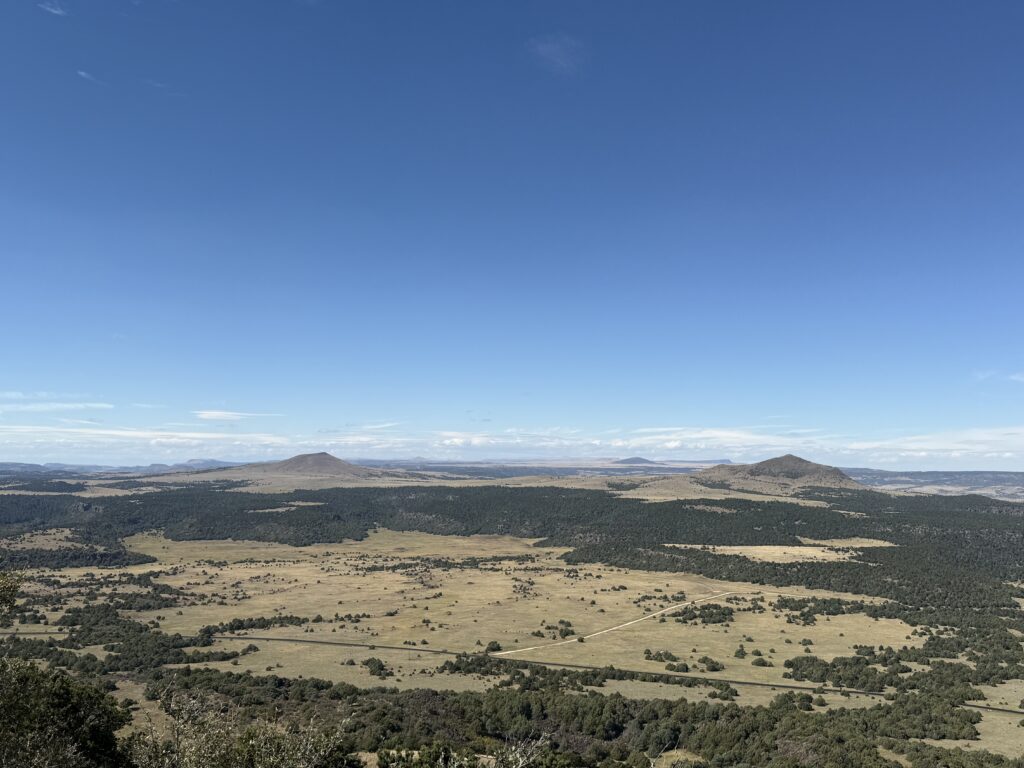
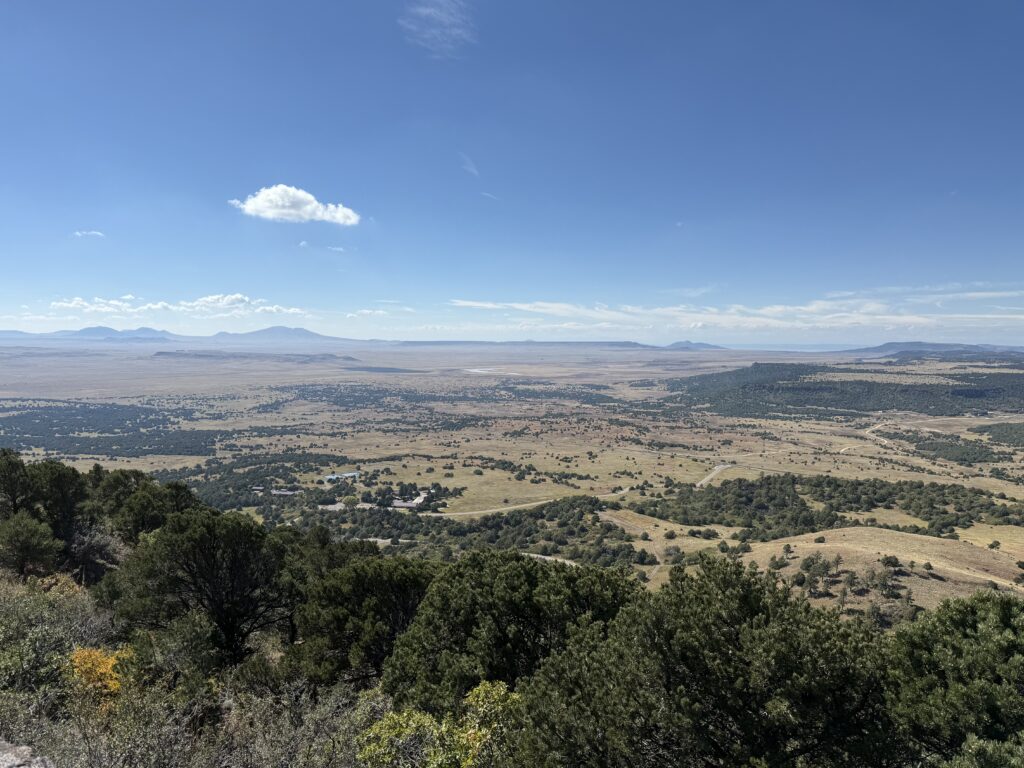
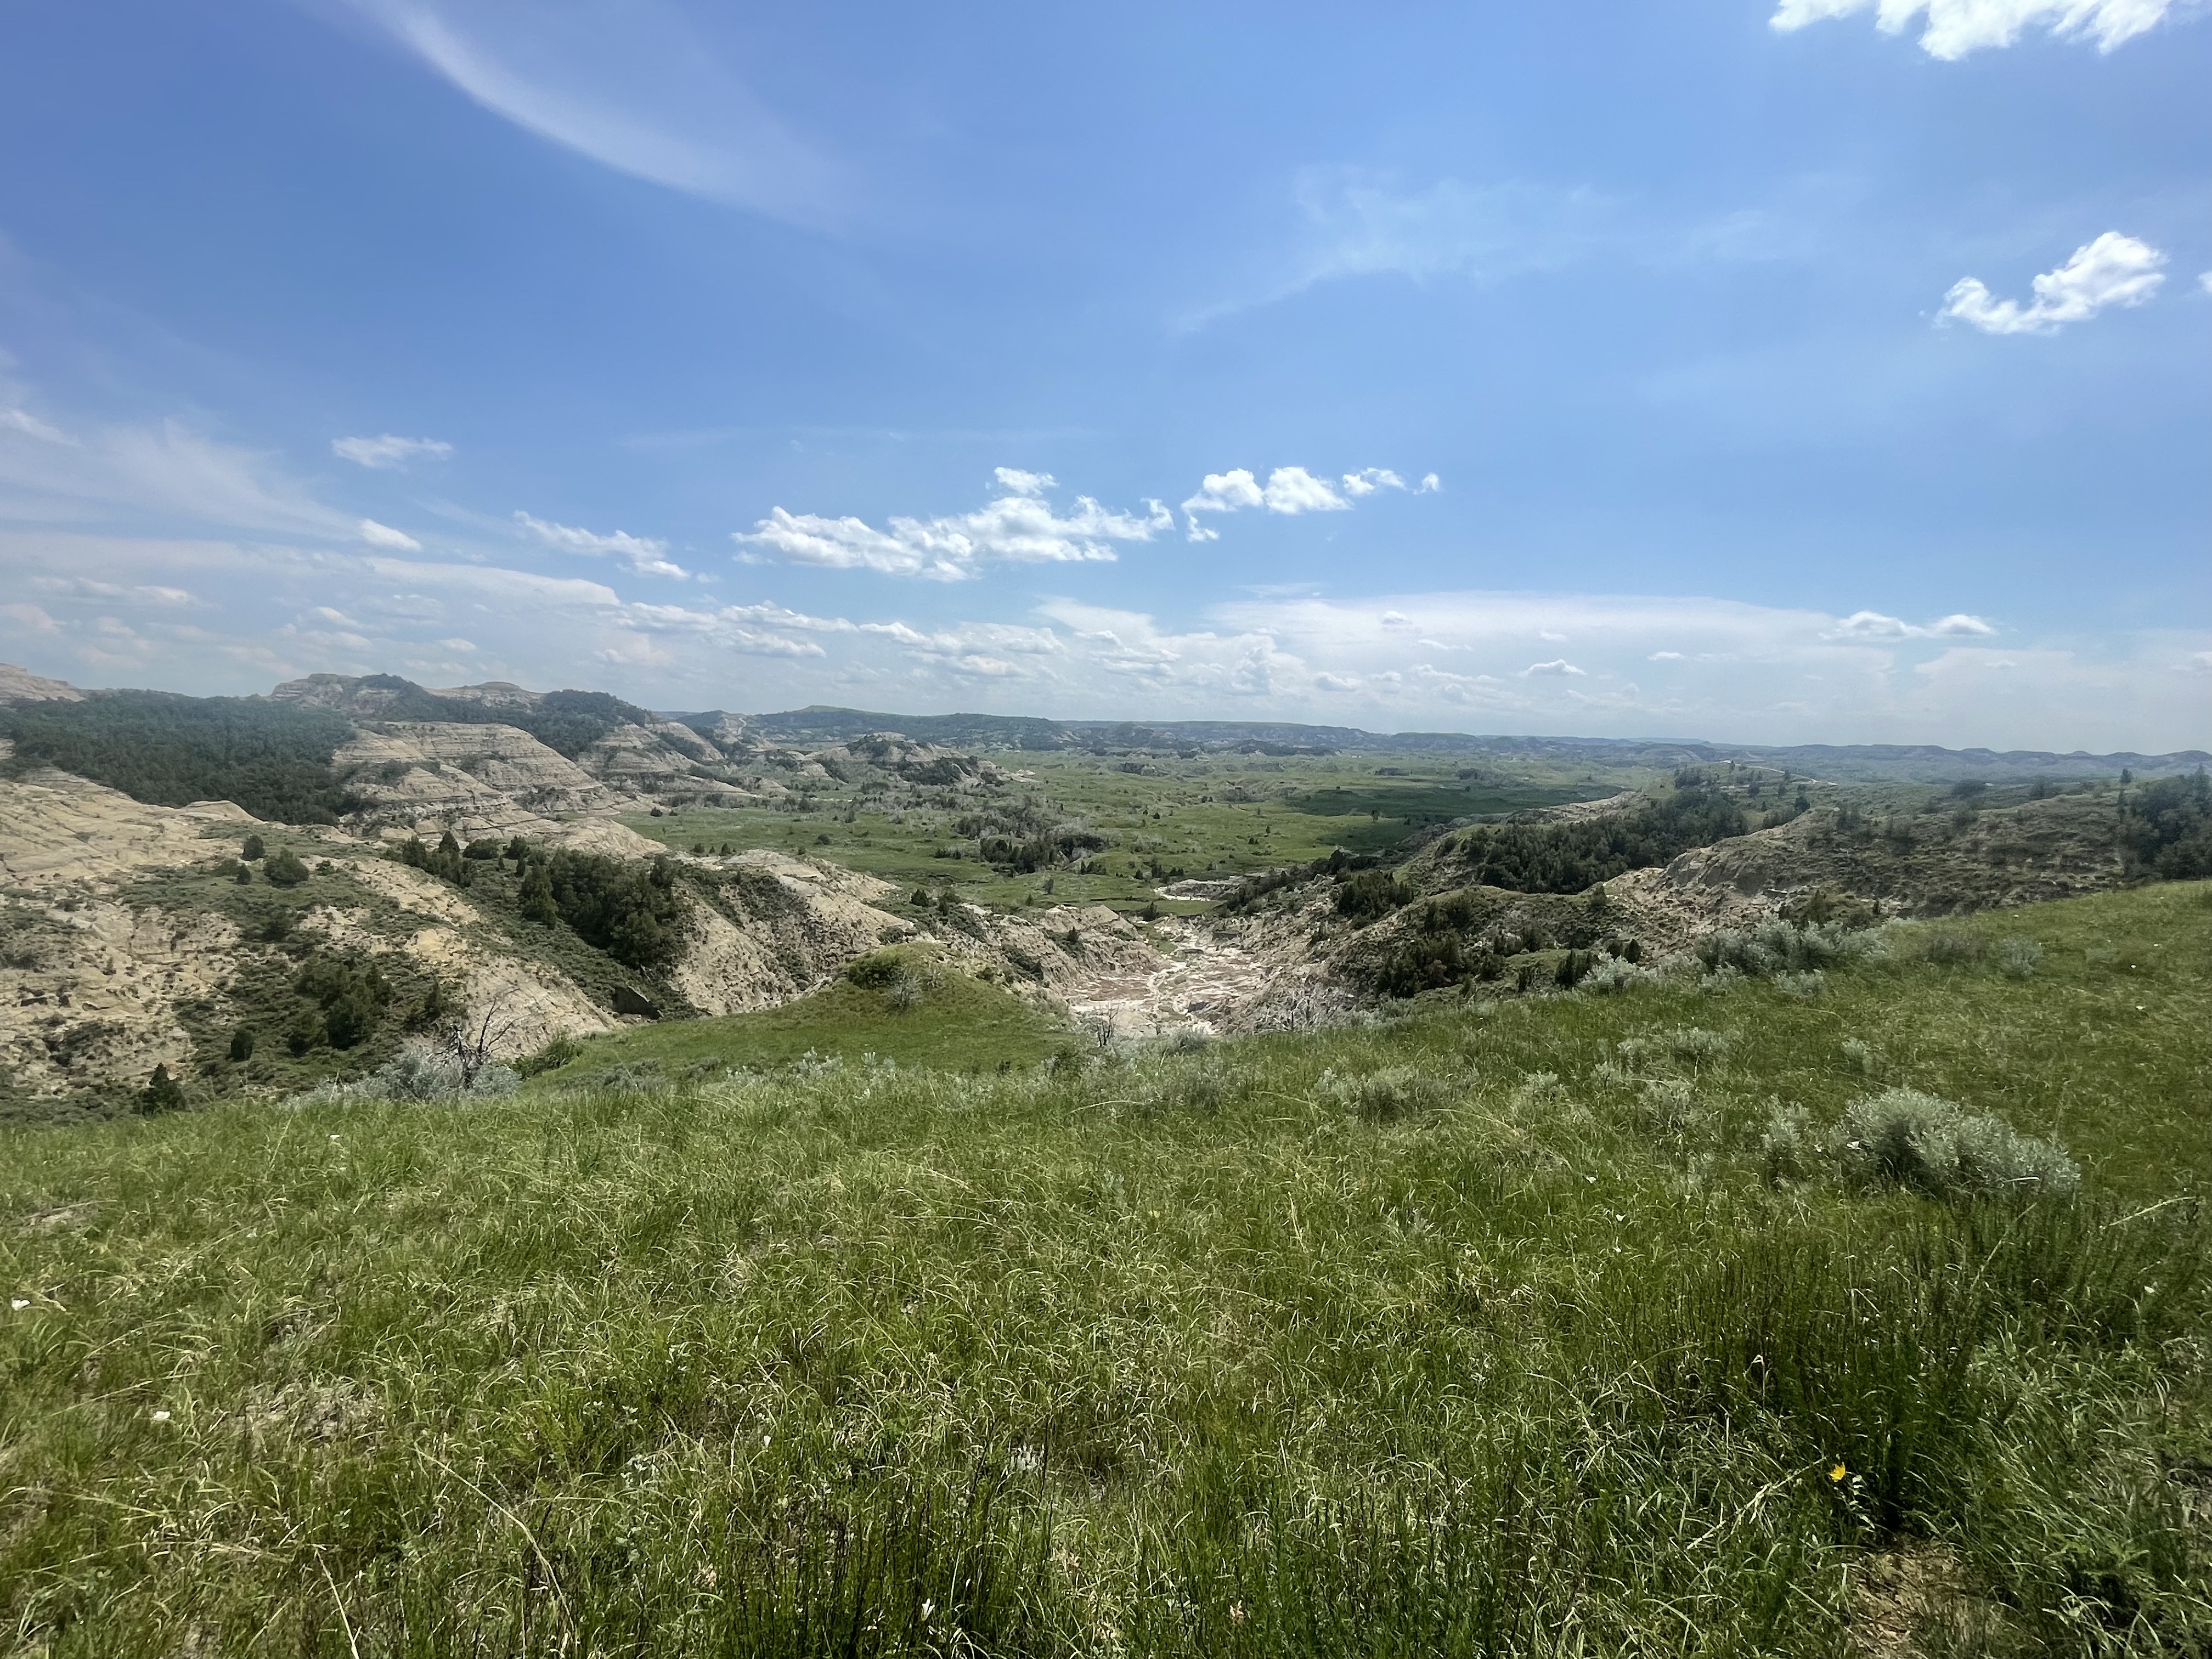
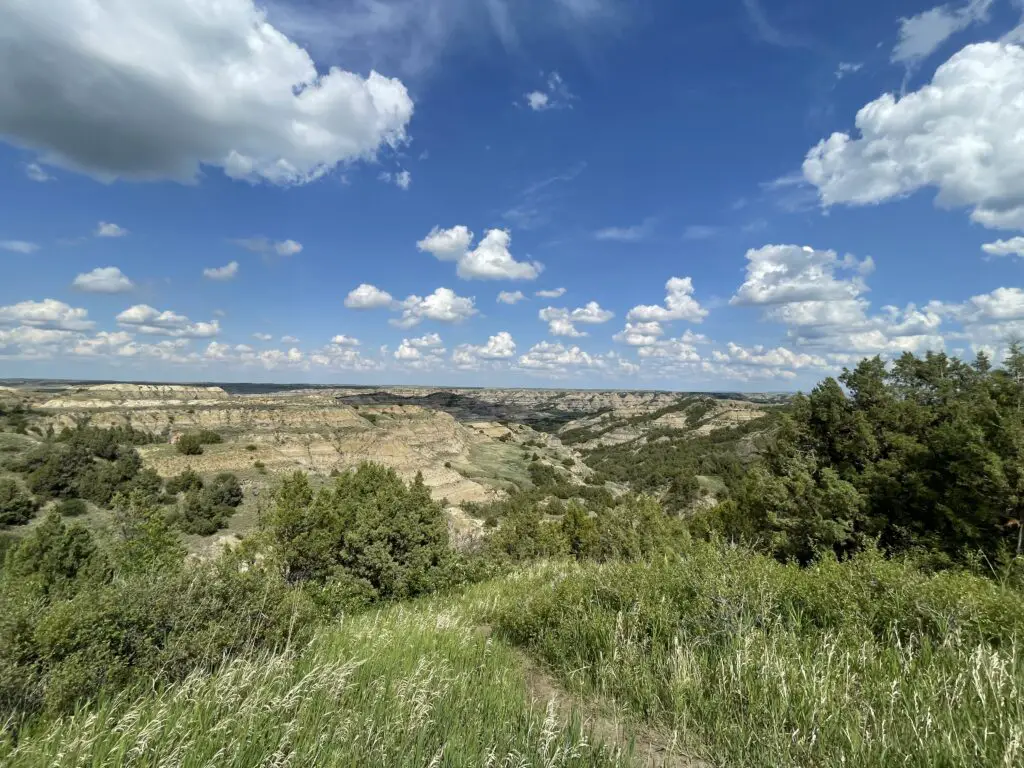
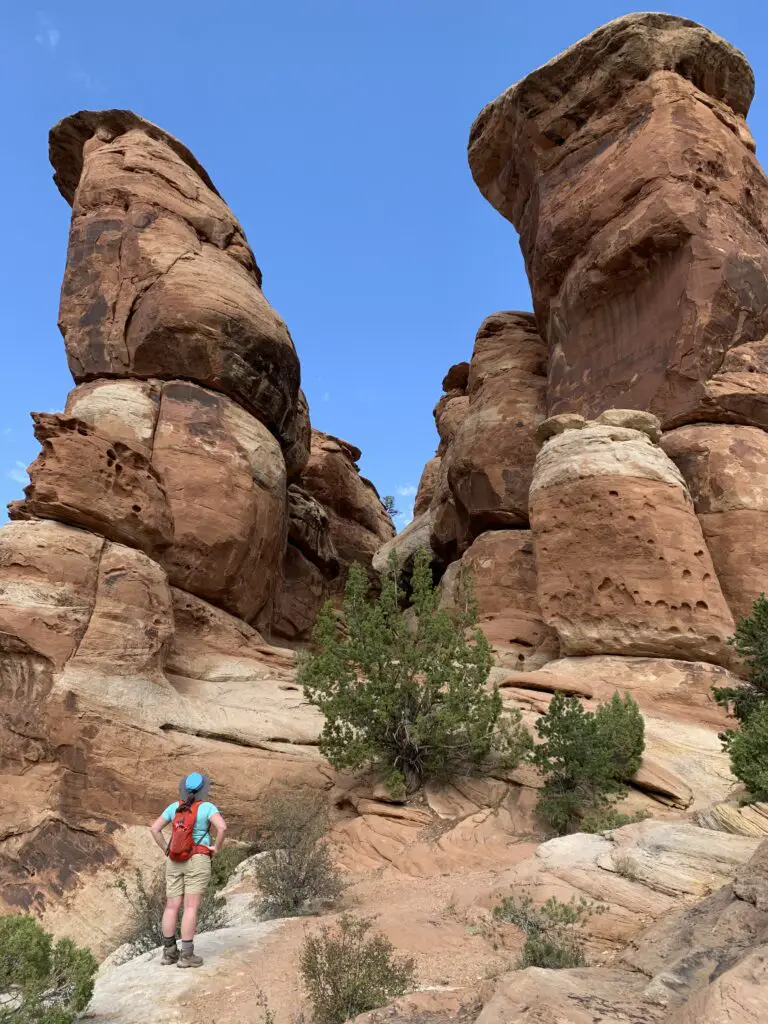
View from our hike up Capulin Volcano–I feel the need to remind my readers again of my utter fear of heights! 😂

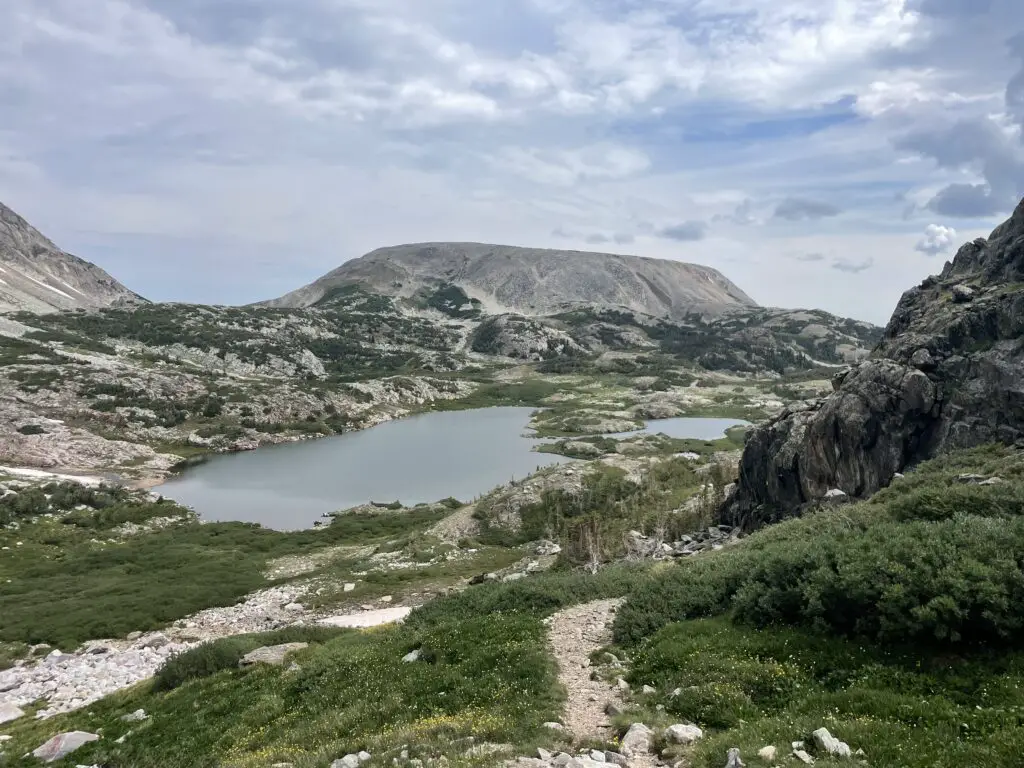
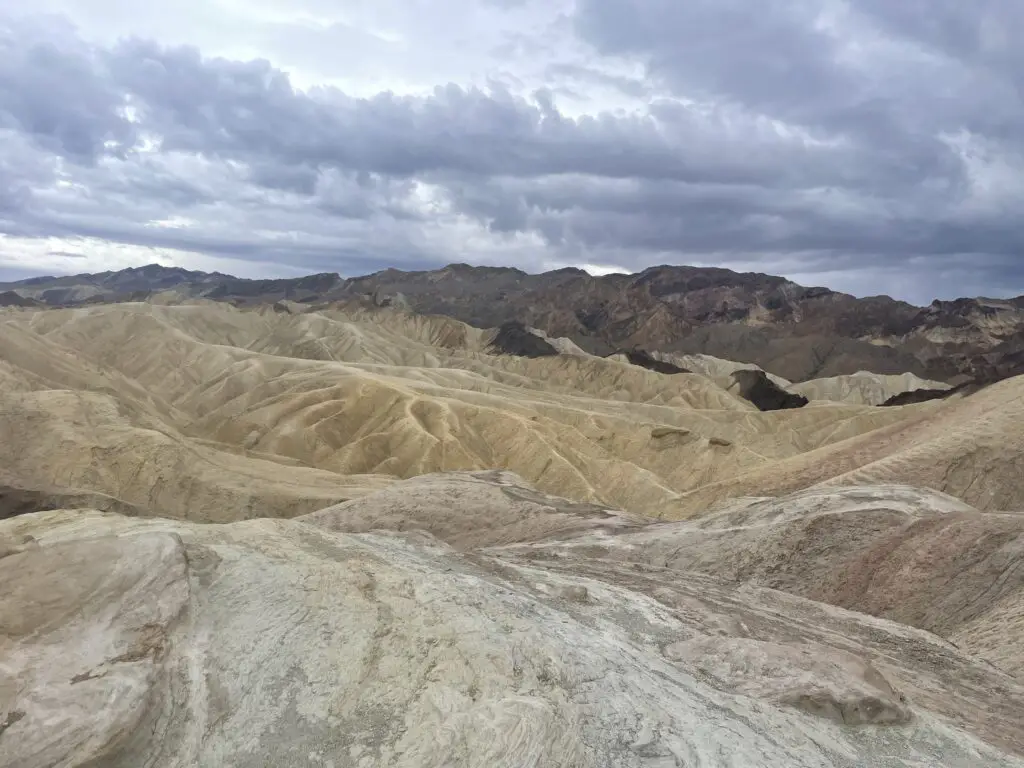
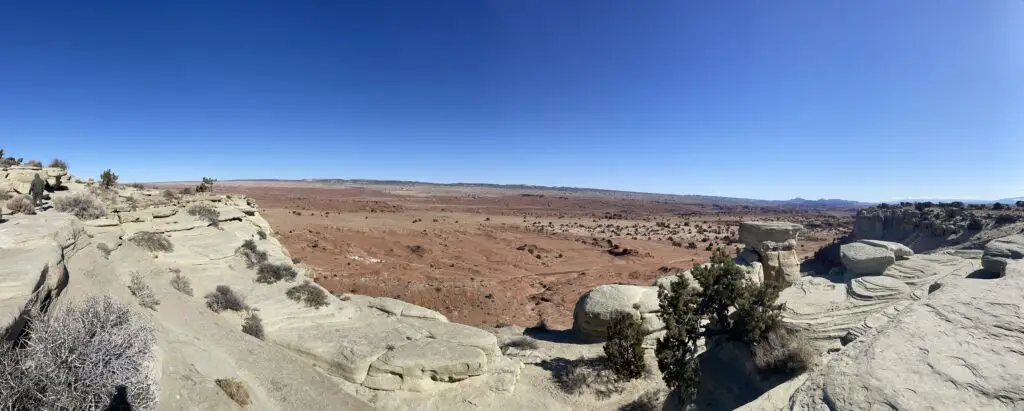
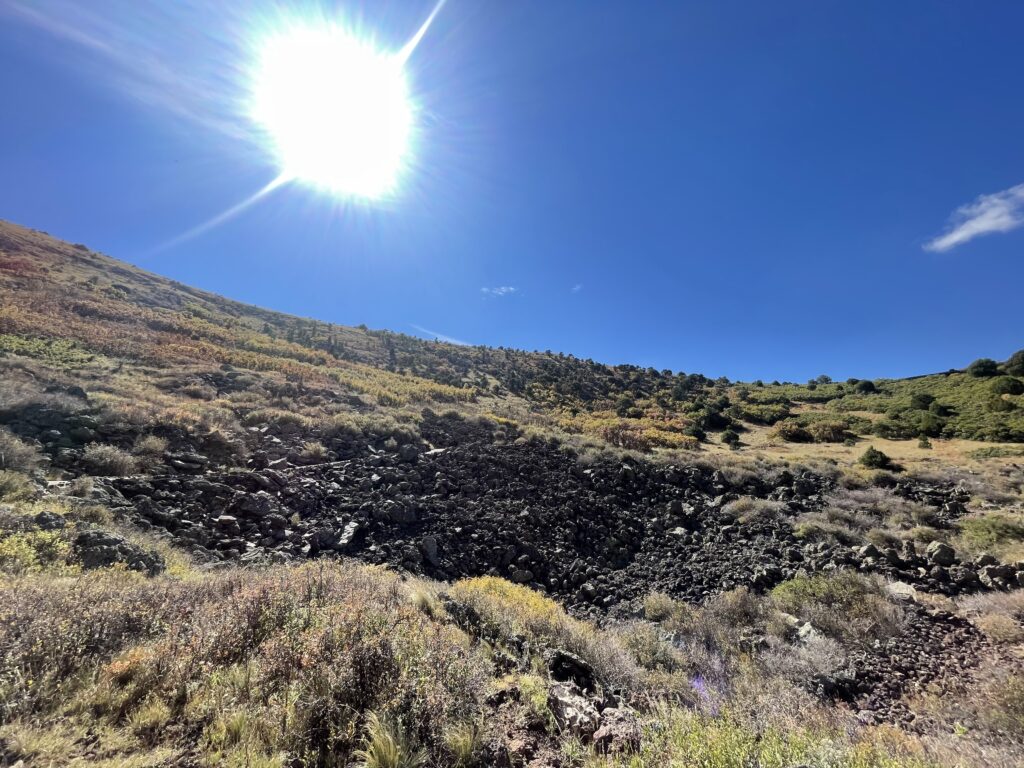
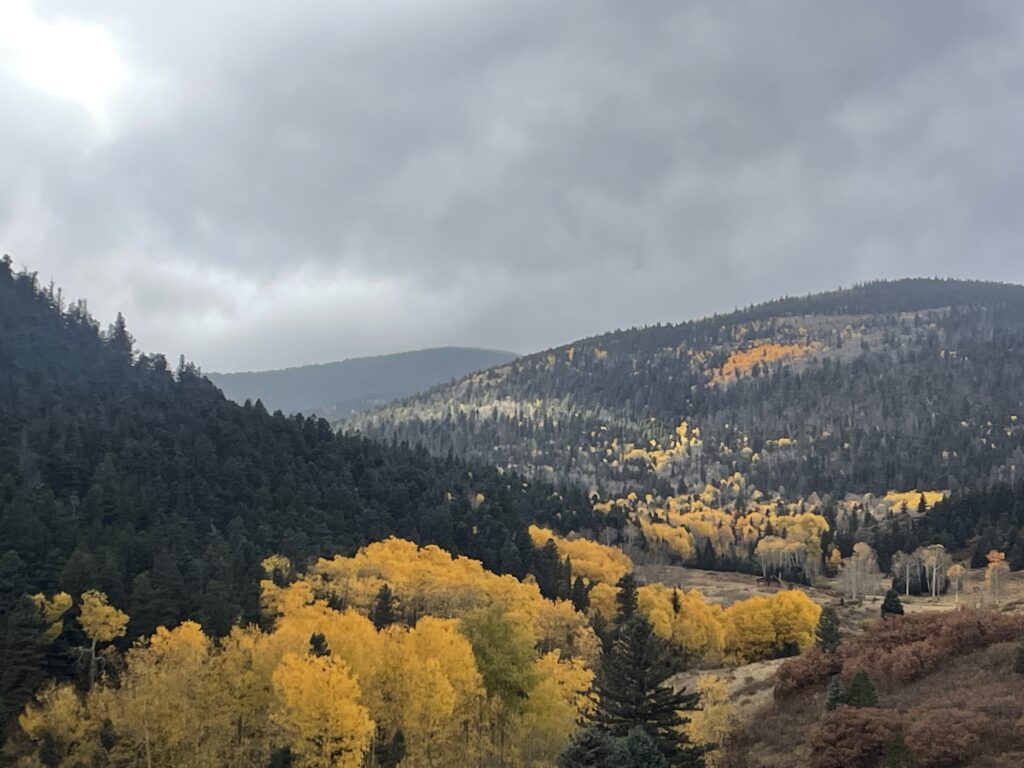
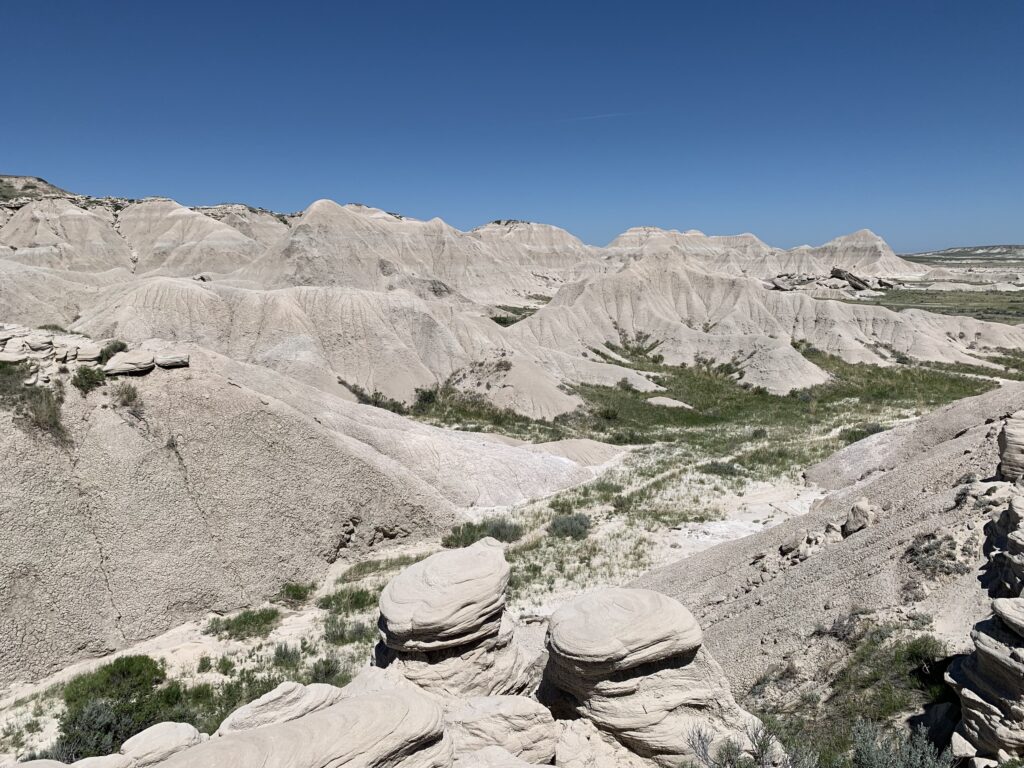
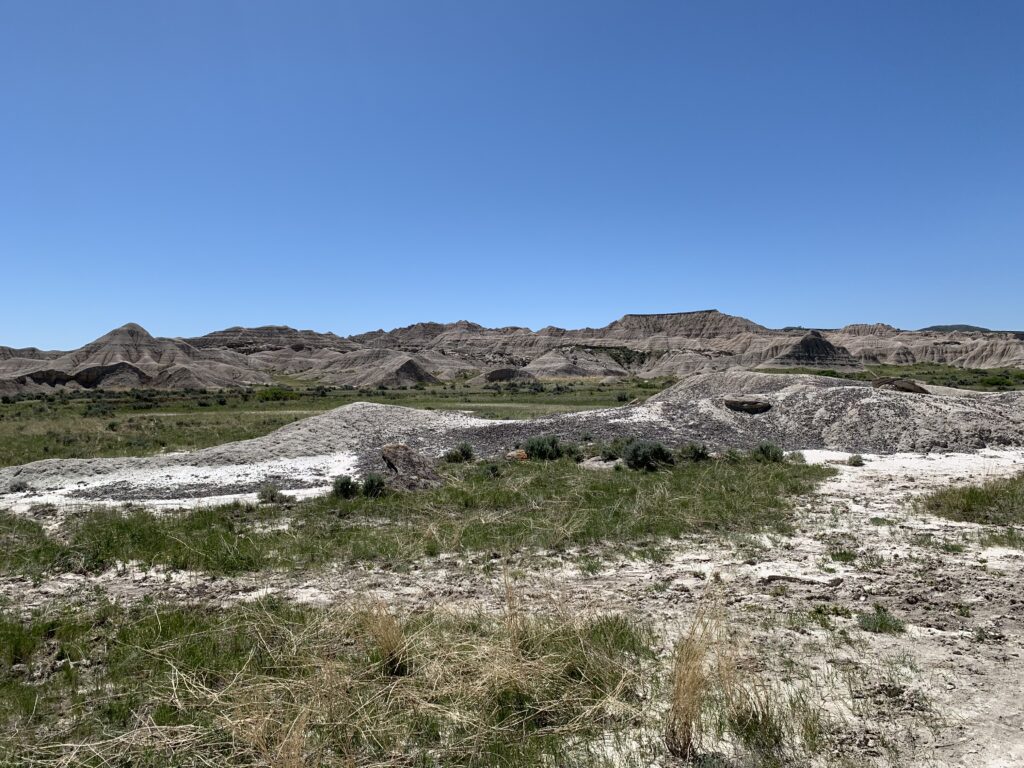
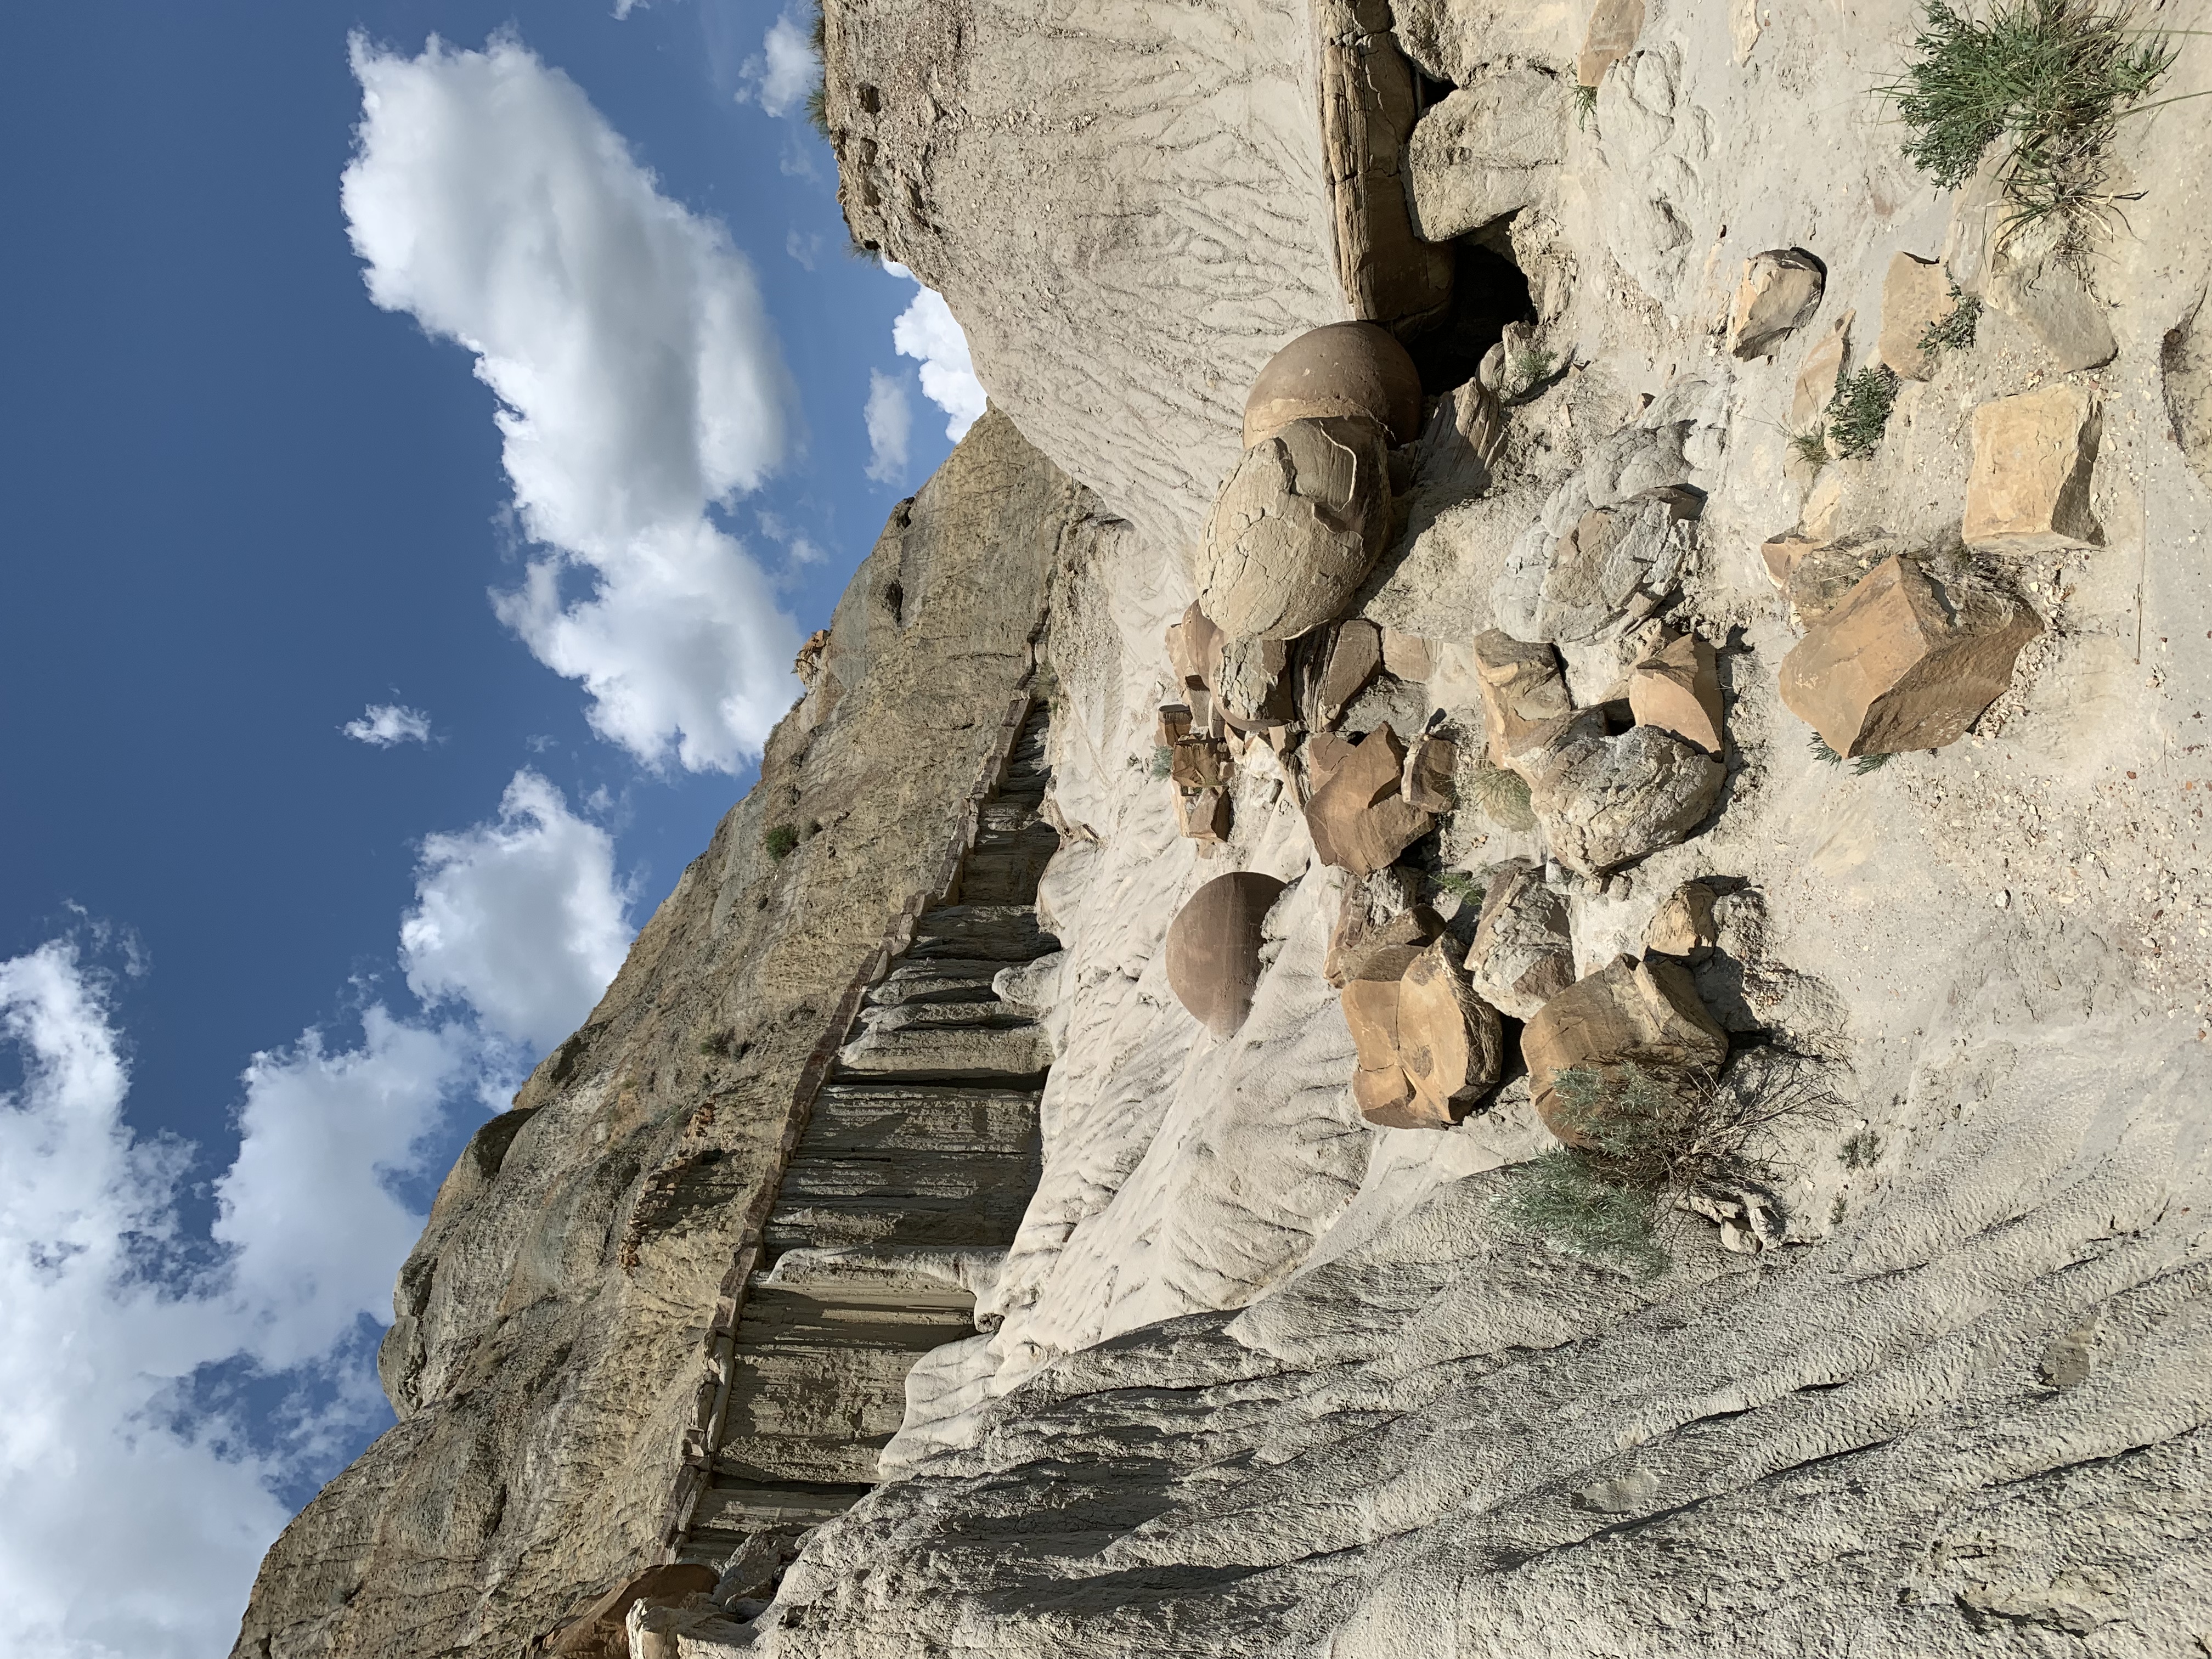
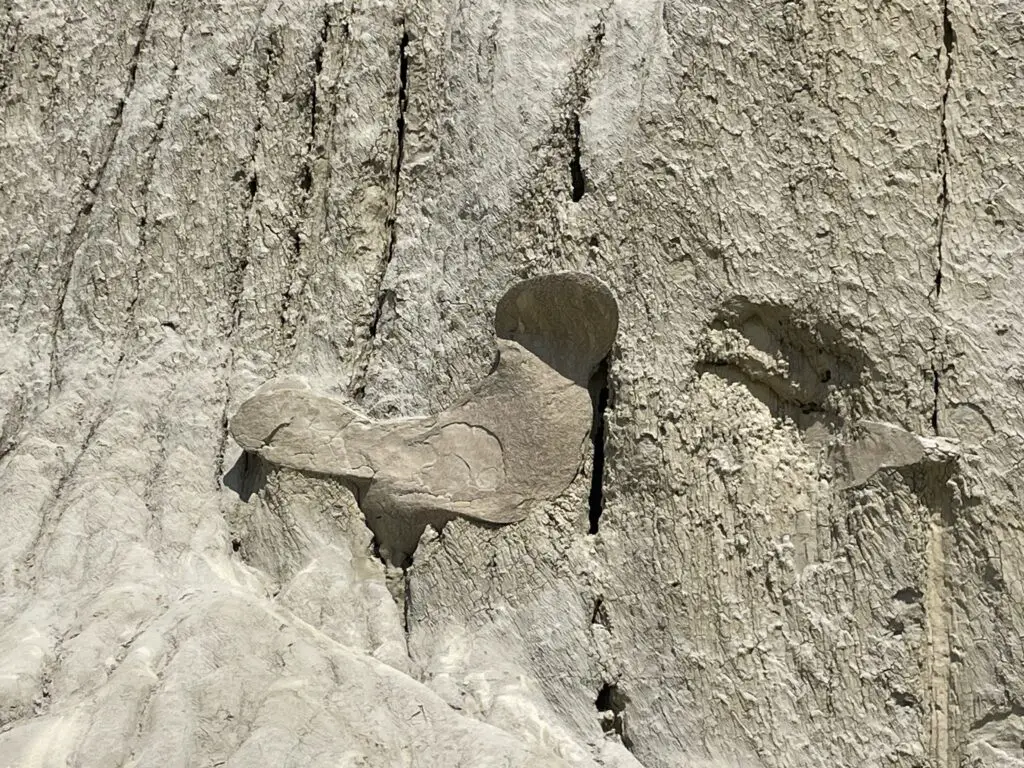
When you reach the top of the volcano there is a small parking lot (apparently sometimes the road is actually open to cars!–Mr. Trekker actually visited here in college and they WERE able to drive the road.) There are also some hiking trails that traverse the rim of the volcano crater and one that takes you down into its center. Of course we did this one–it was a little unnerving!
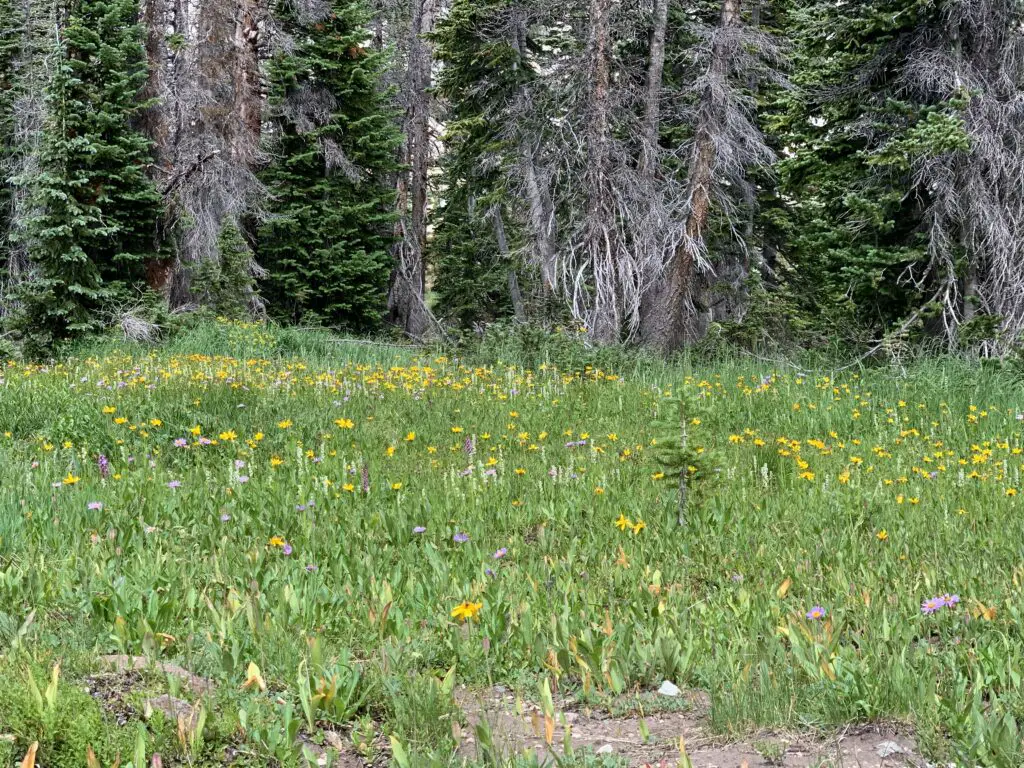
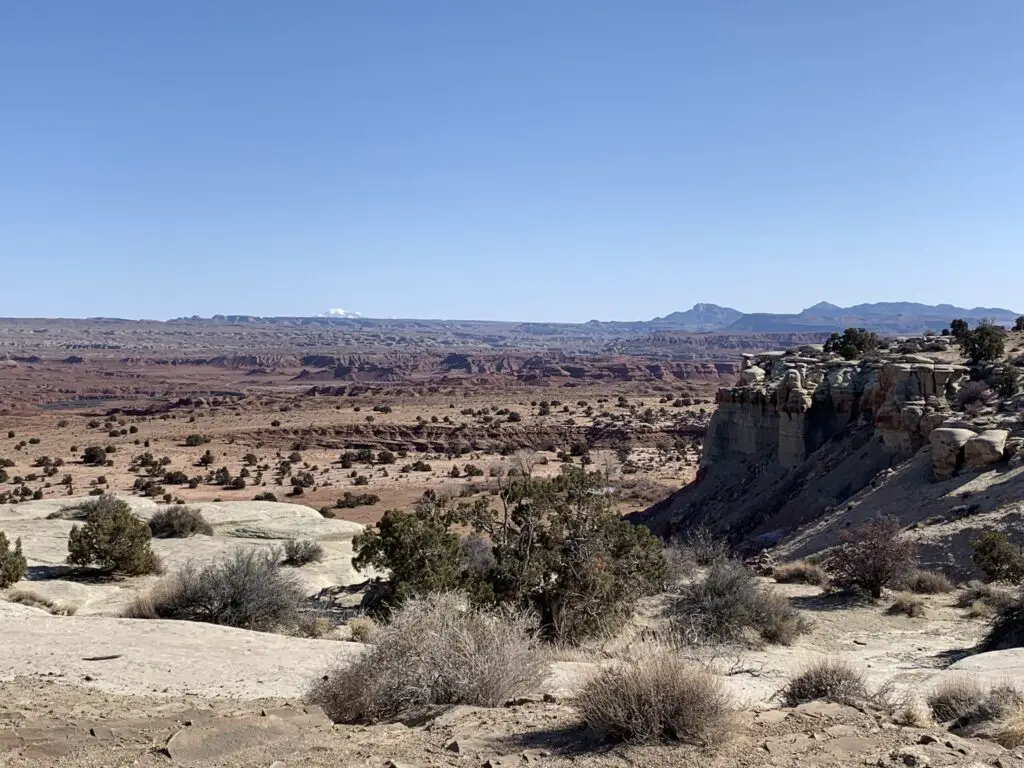
Views from inside the hardened crater inside the volcano:
![]()
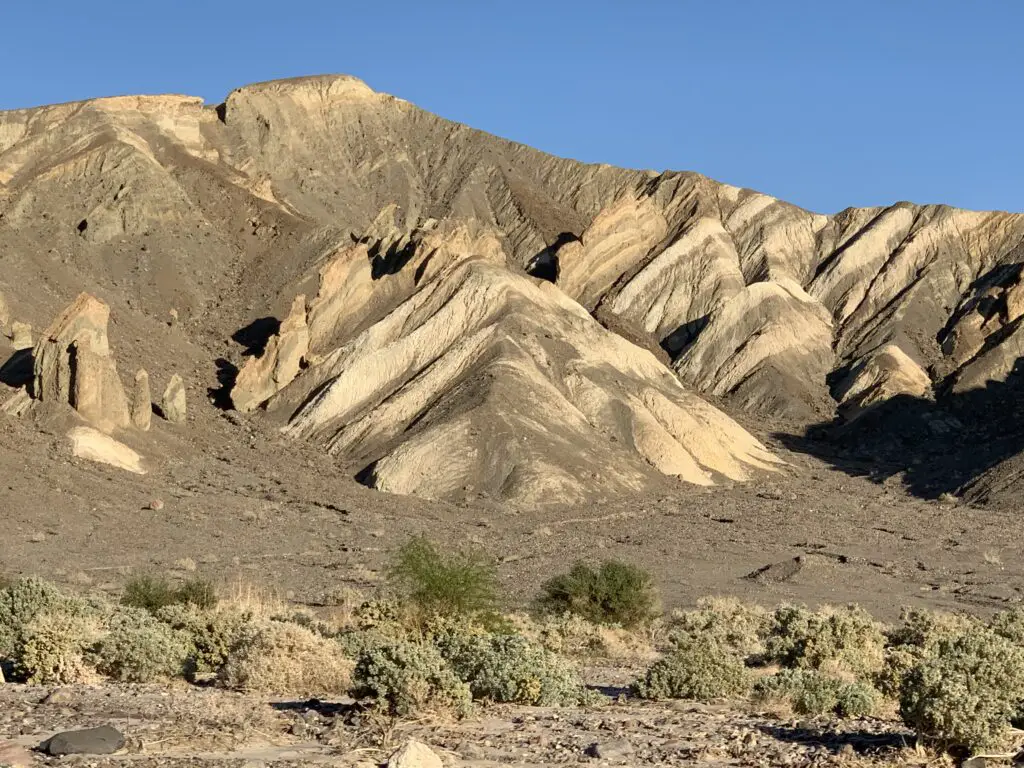
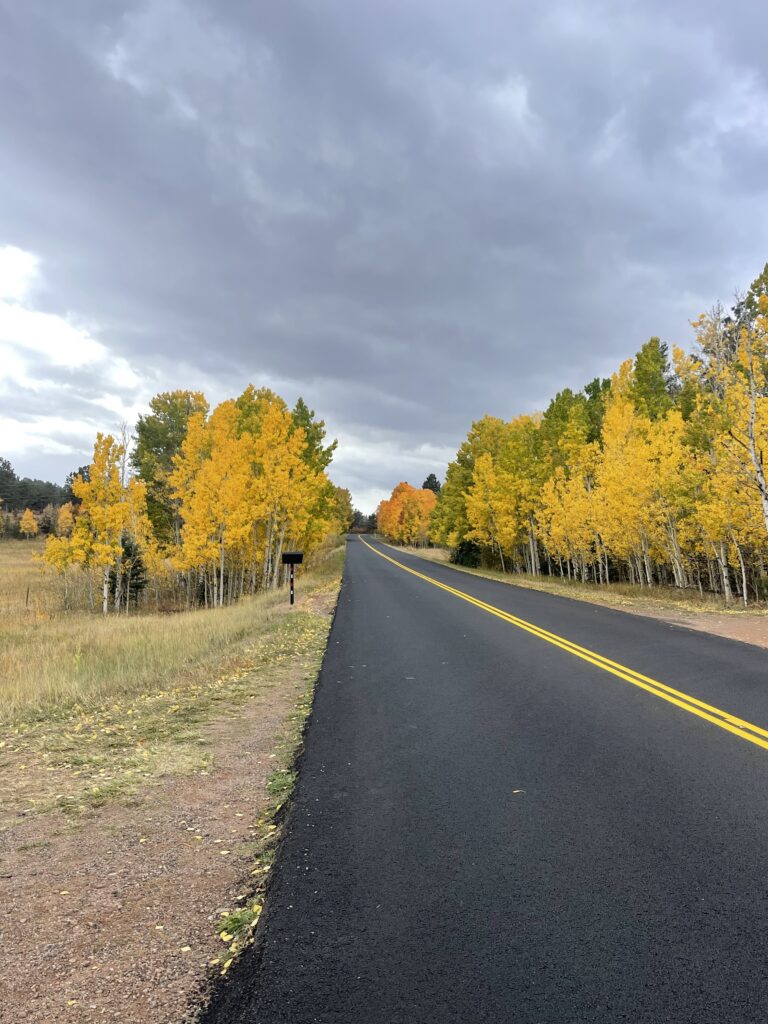
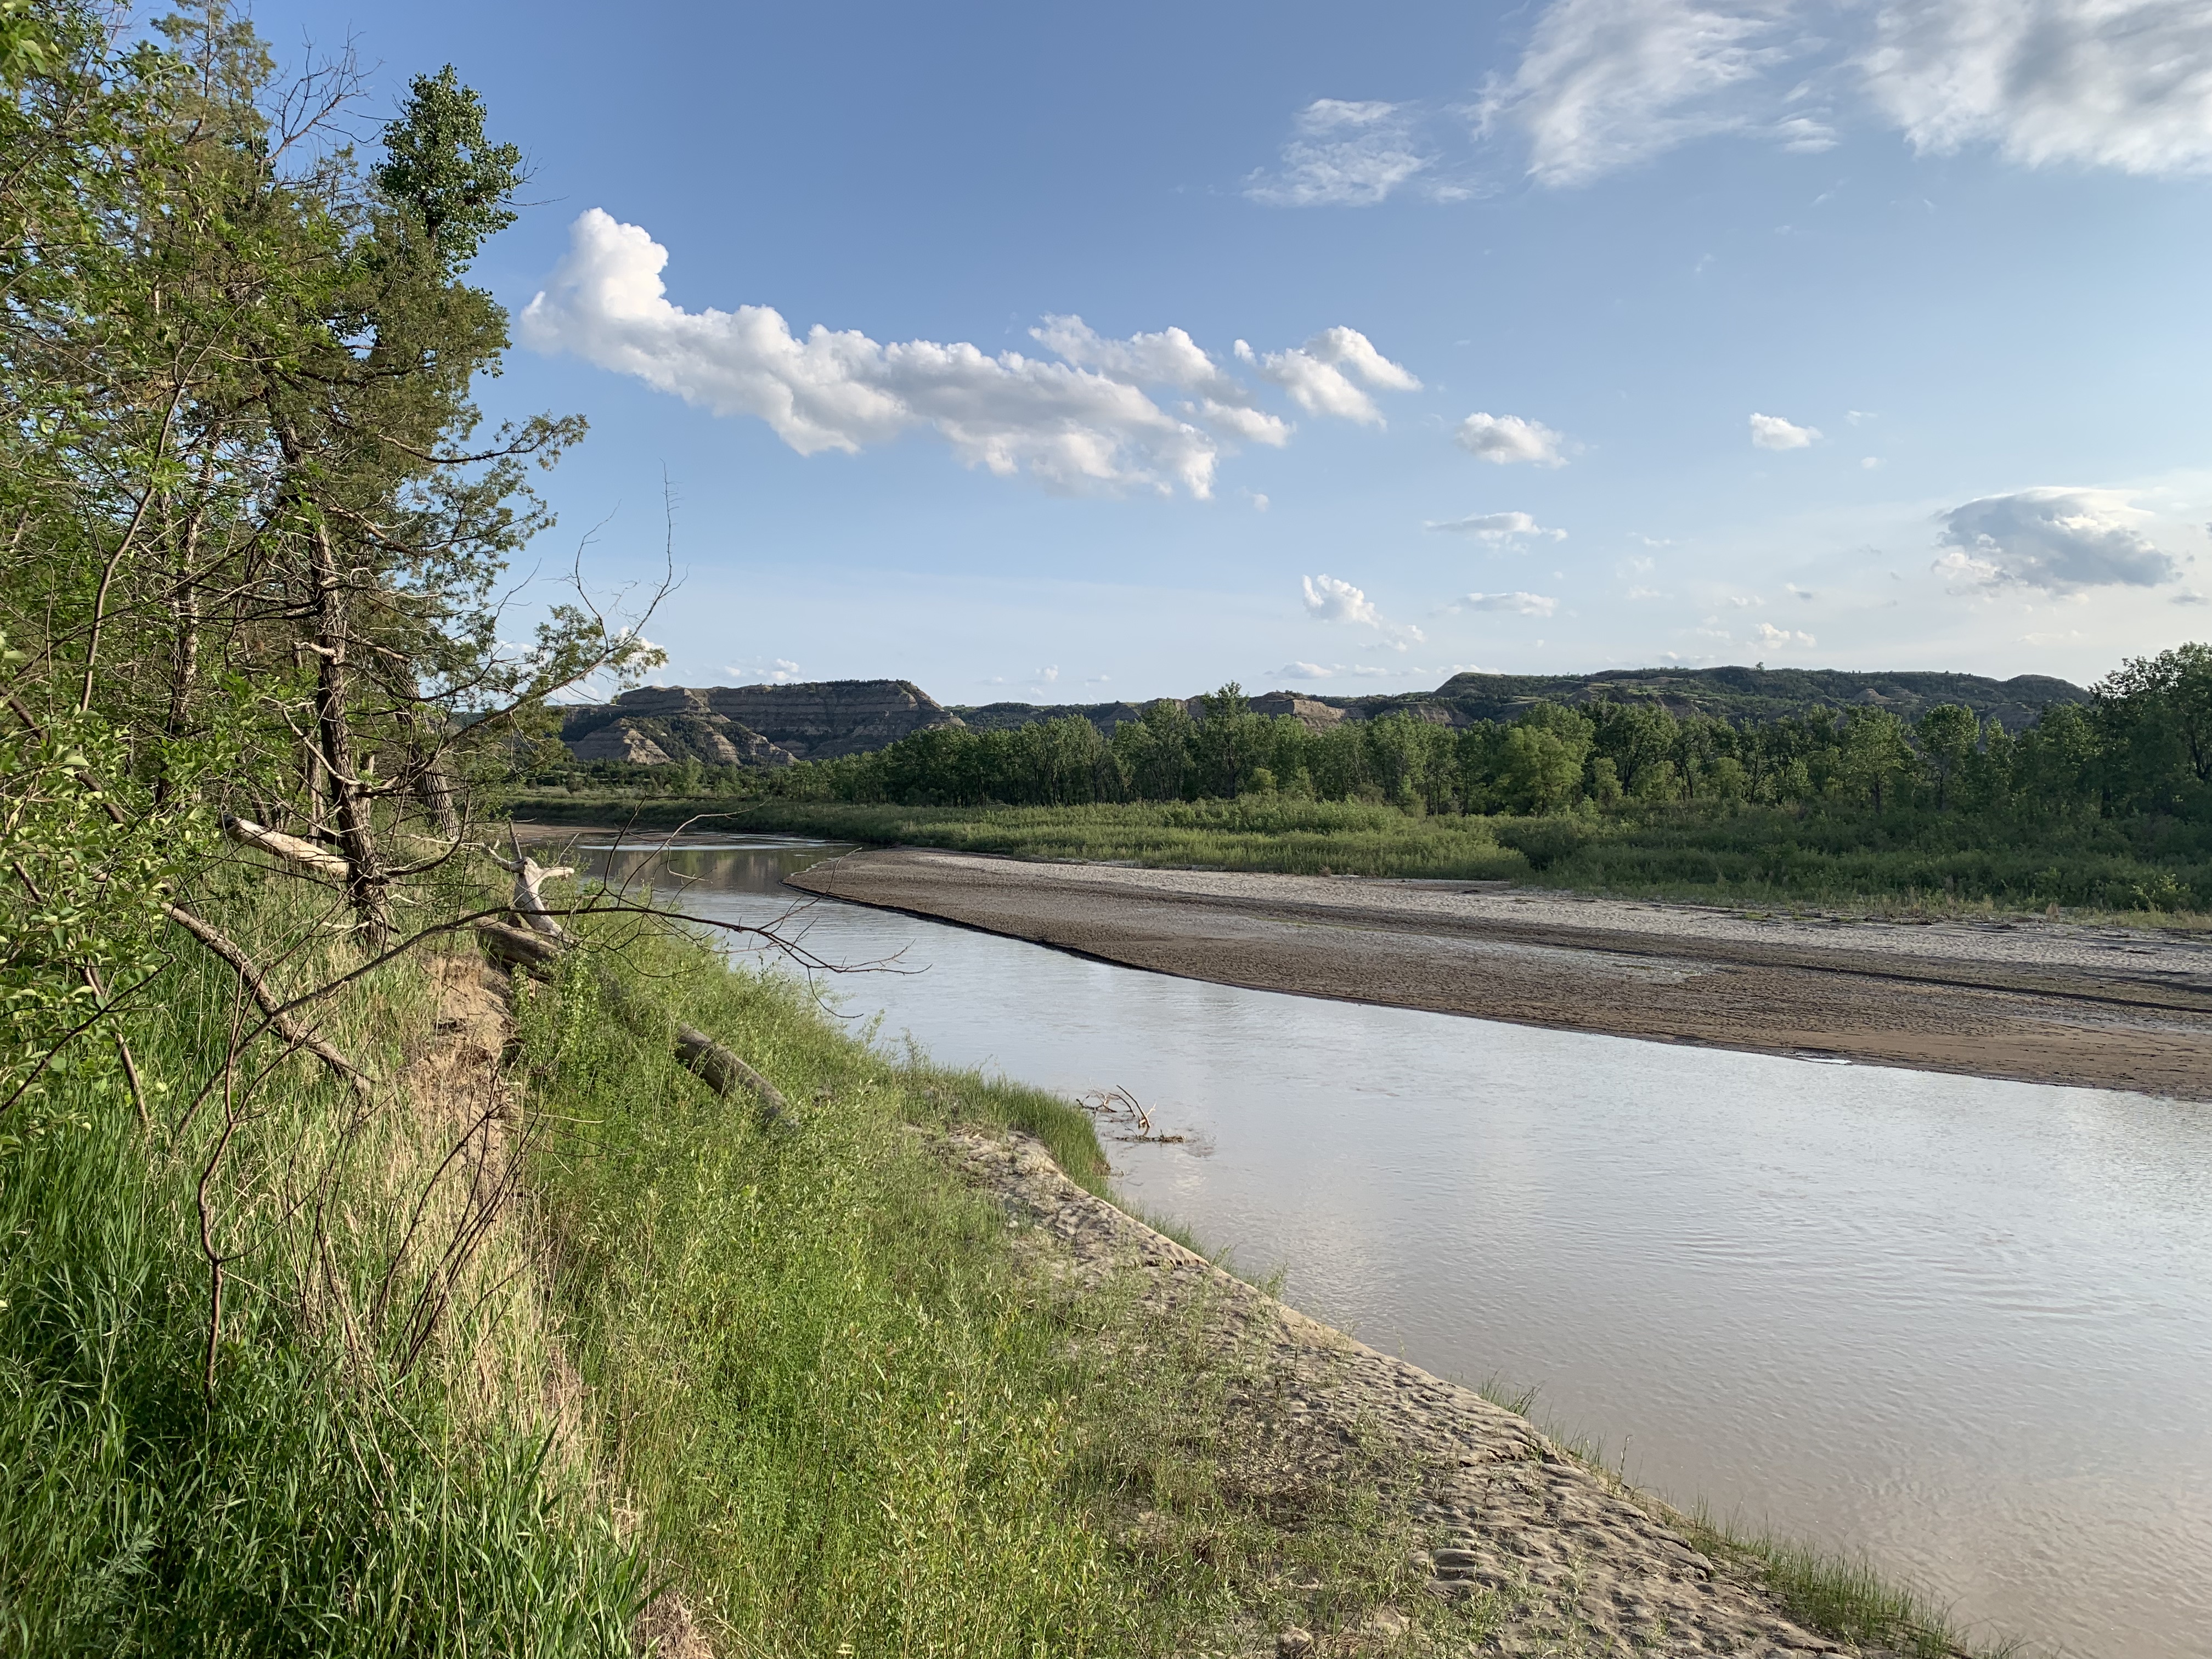
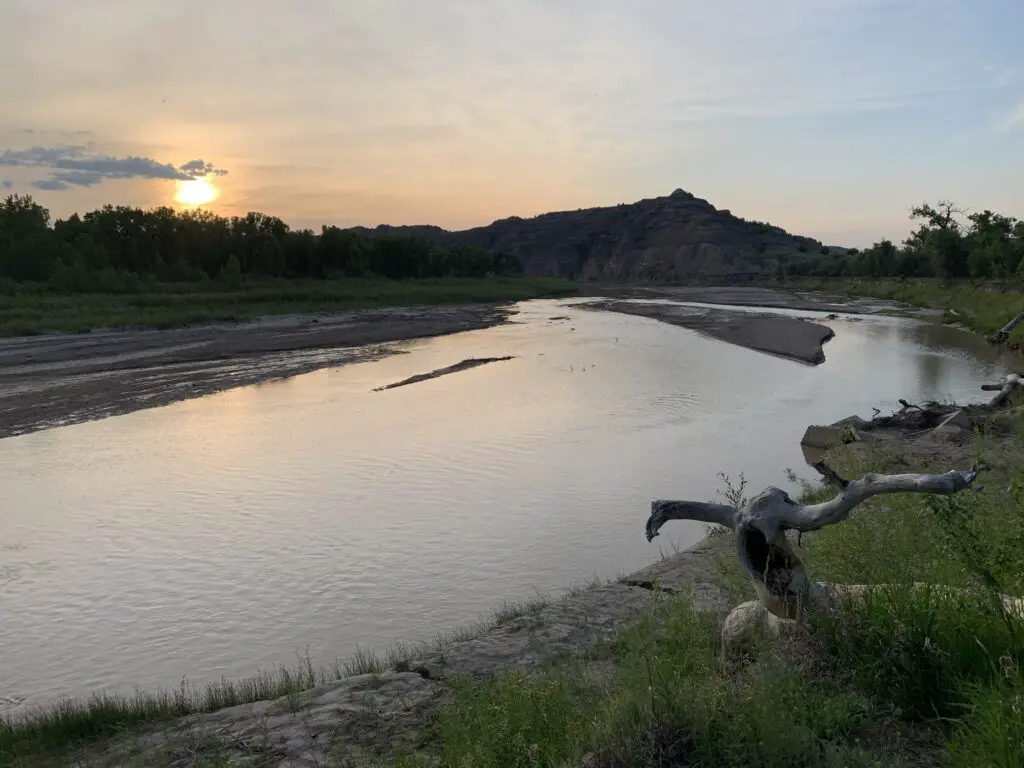
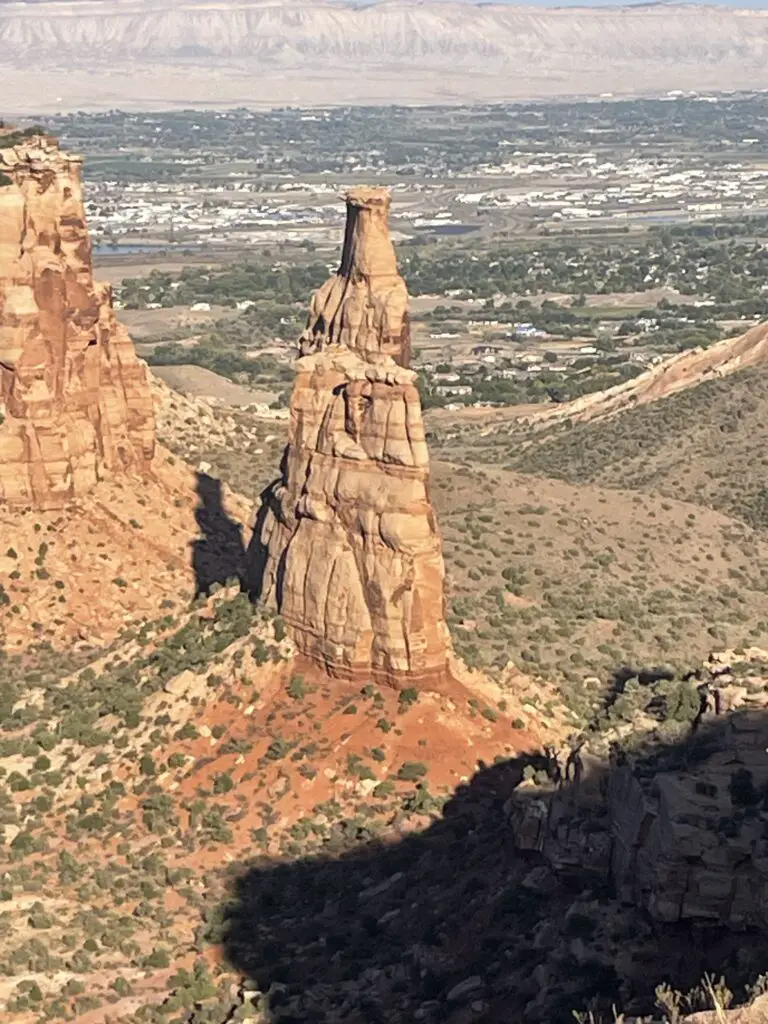
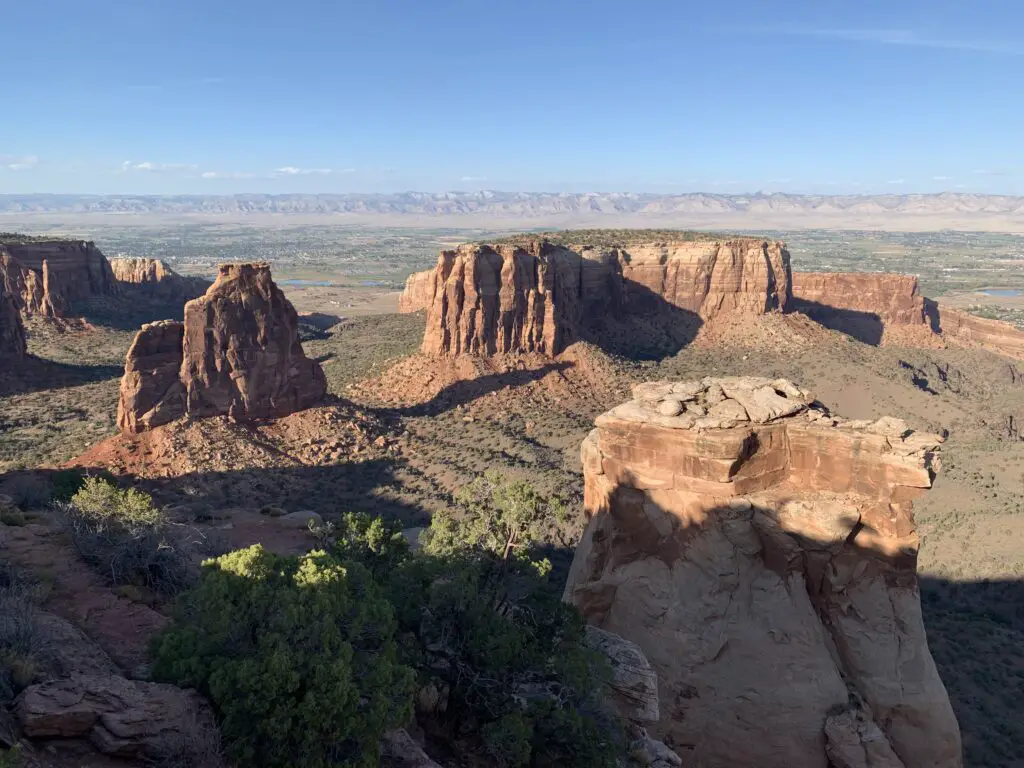
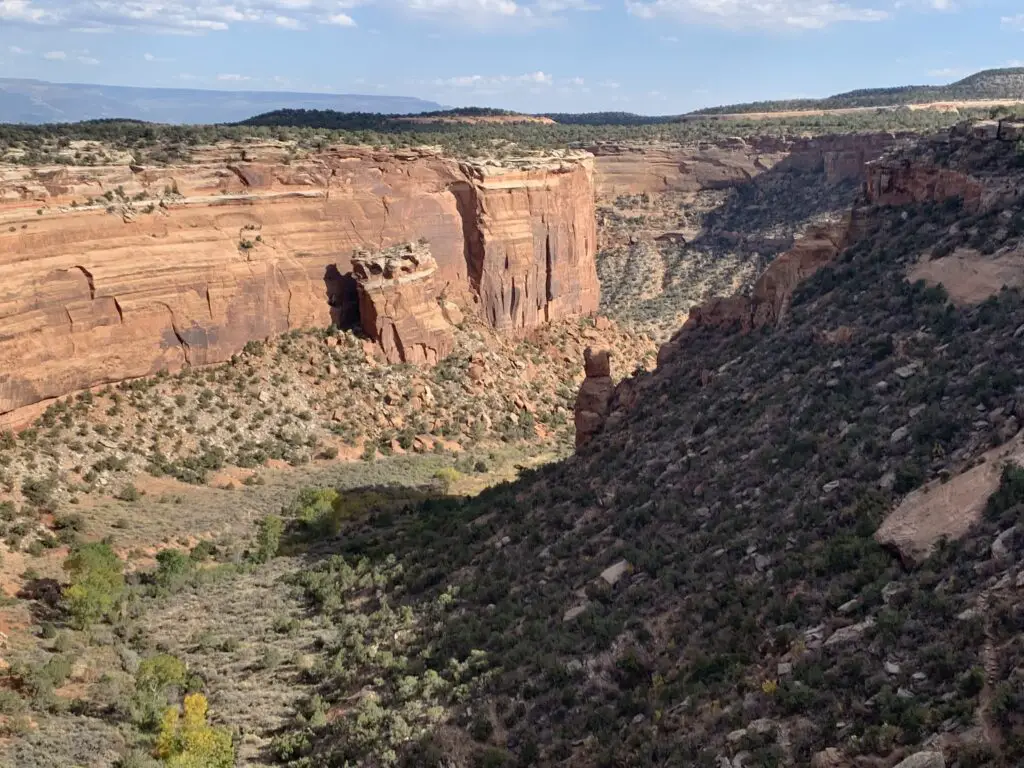
Highway of Legends
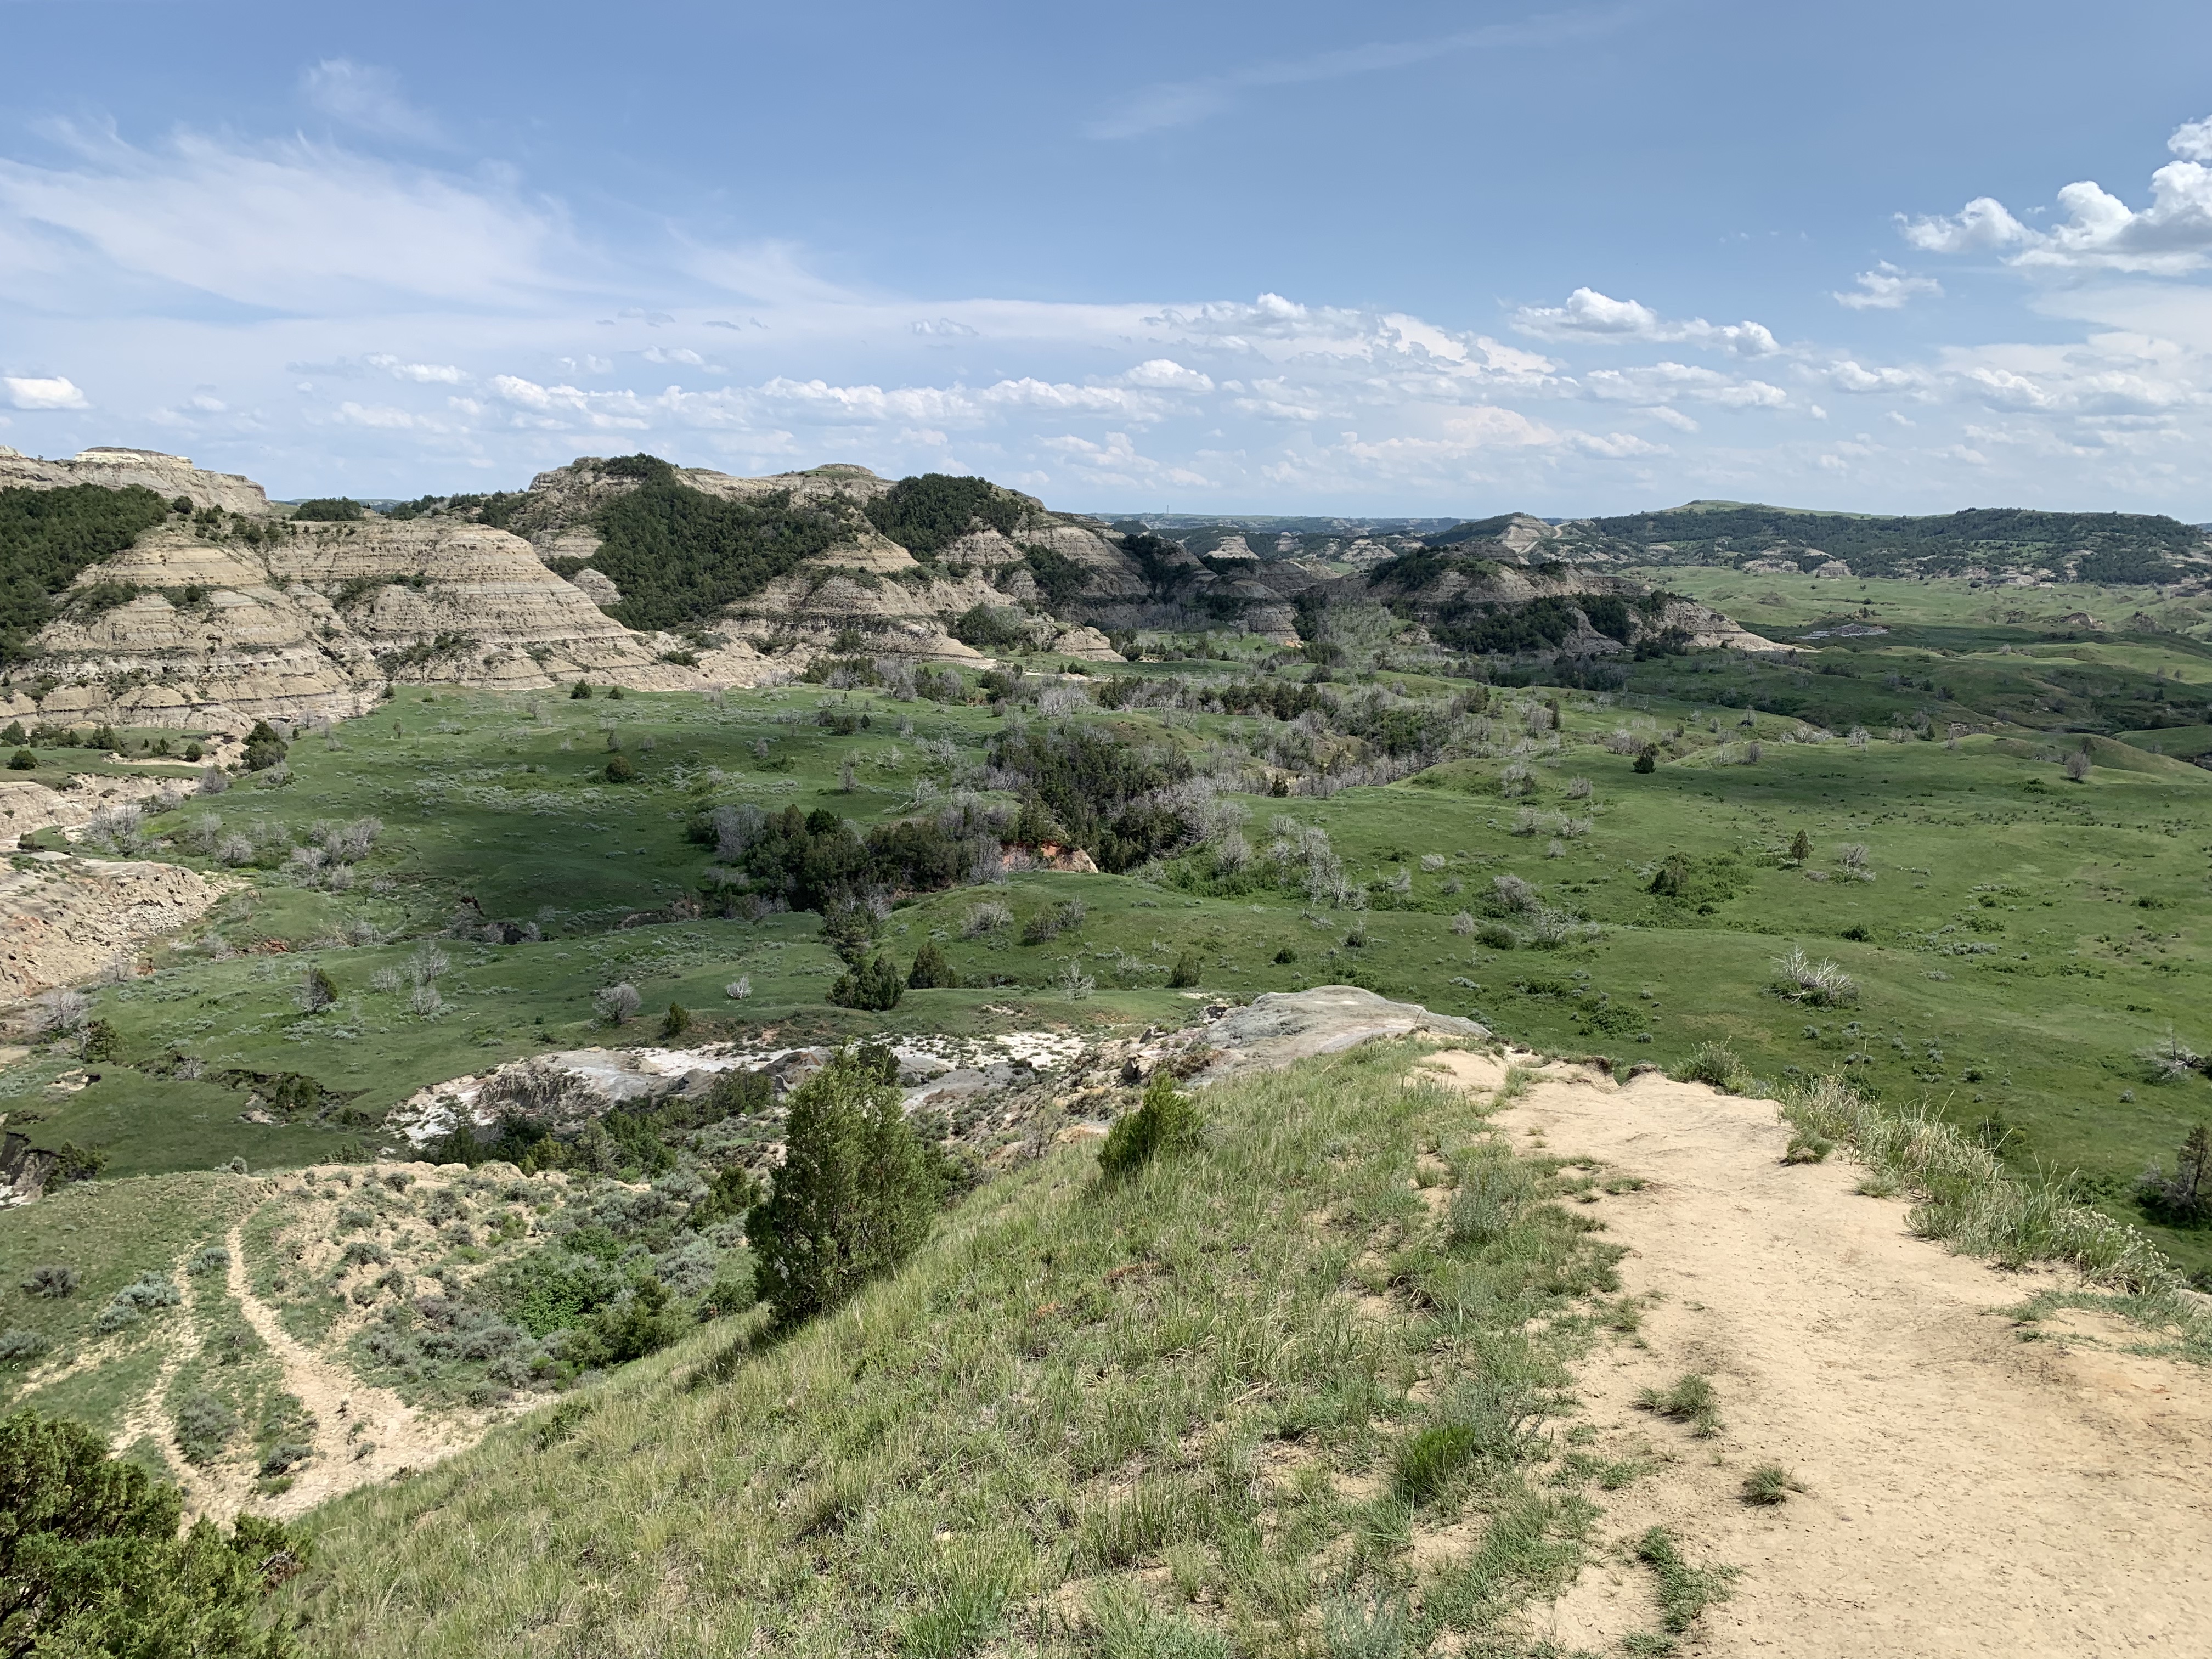
The Trekkers love their scenic drives and we found another one on this trip! We drove the easier (read “paved”) portions of the Highway of Legends. If I had known about this and researched it more we could have done the whole highway as the rougher (read “dirt”) portion of it ran very near our Air B&B–but as I mentioned earlier this part of Colorado is often overlooked and I had never heard of the highway until we arrived to the region.
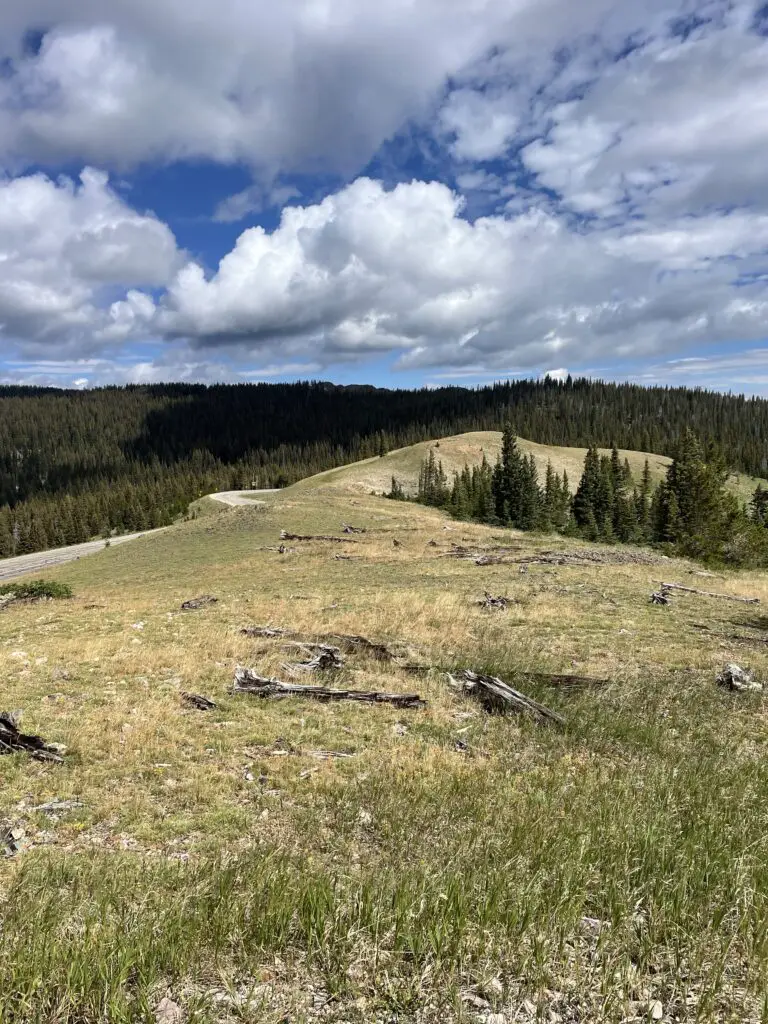
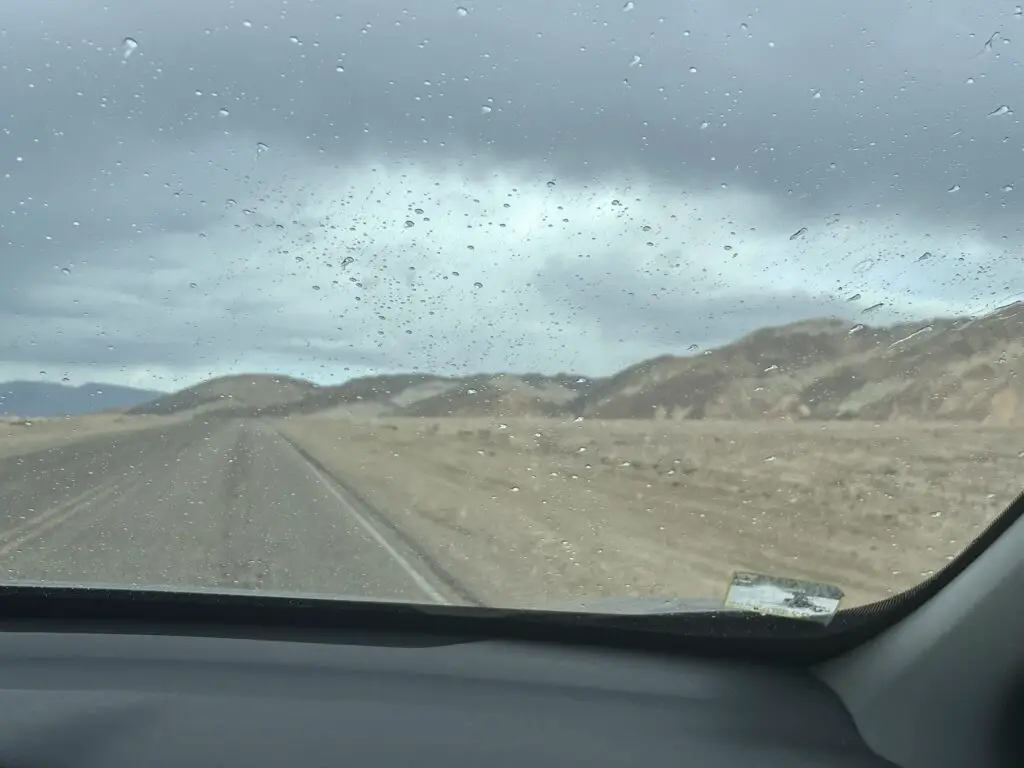
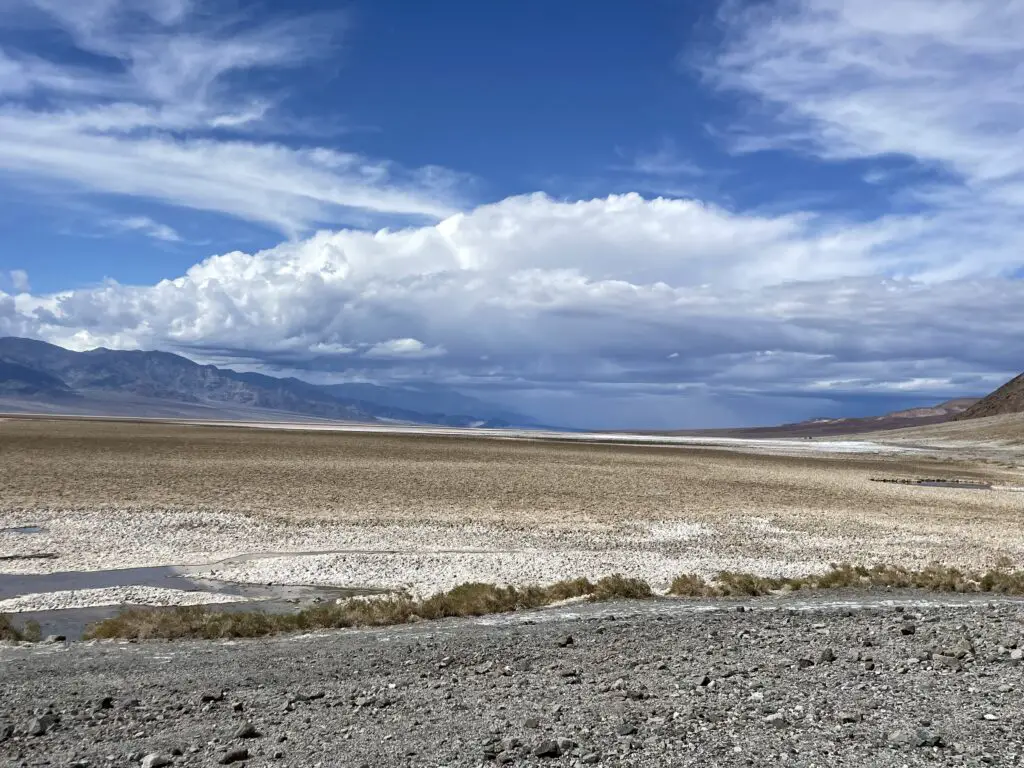
The Highway of Legends Scenic Byway is a dirt road that basically cuts through the middle of this wilderness area. It runs largely east and west and roughly connects the tiny villages of Aguilar and Cuchara and traverses Cordova Pass–this portion of the route is largely closed in the winter and should be approached with more caution if you drive a lower-clearance sedan or any time the weather is wet/snowy as conditions may be far worse than on other, more-traveled roads.
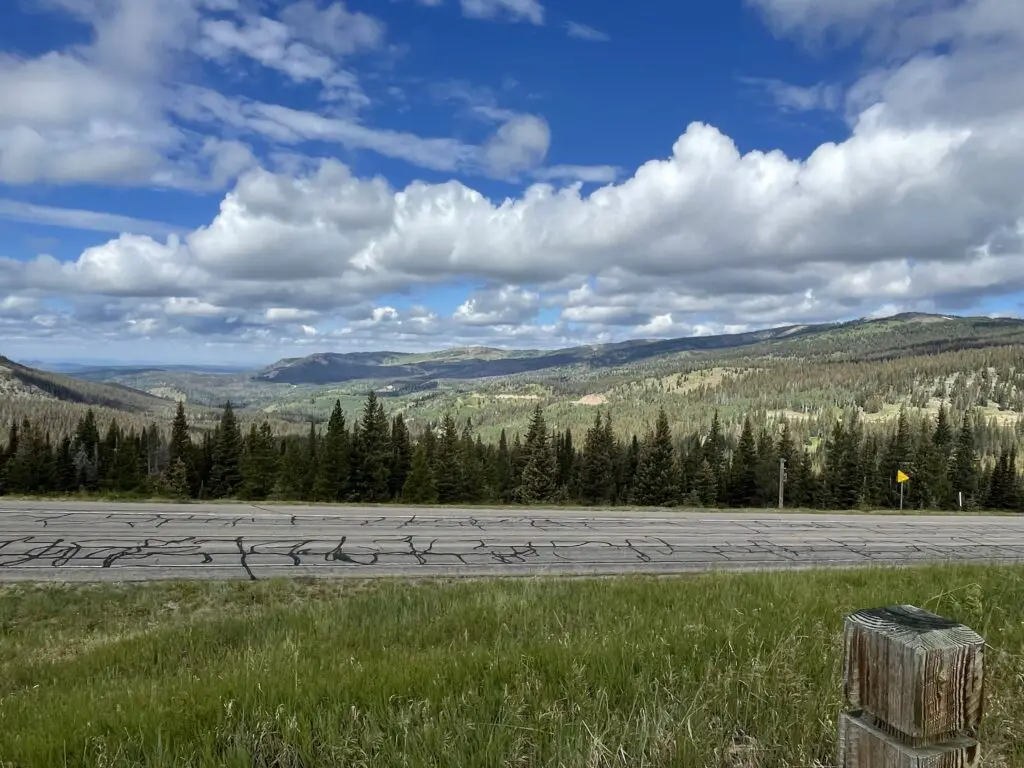
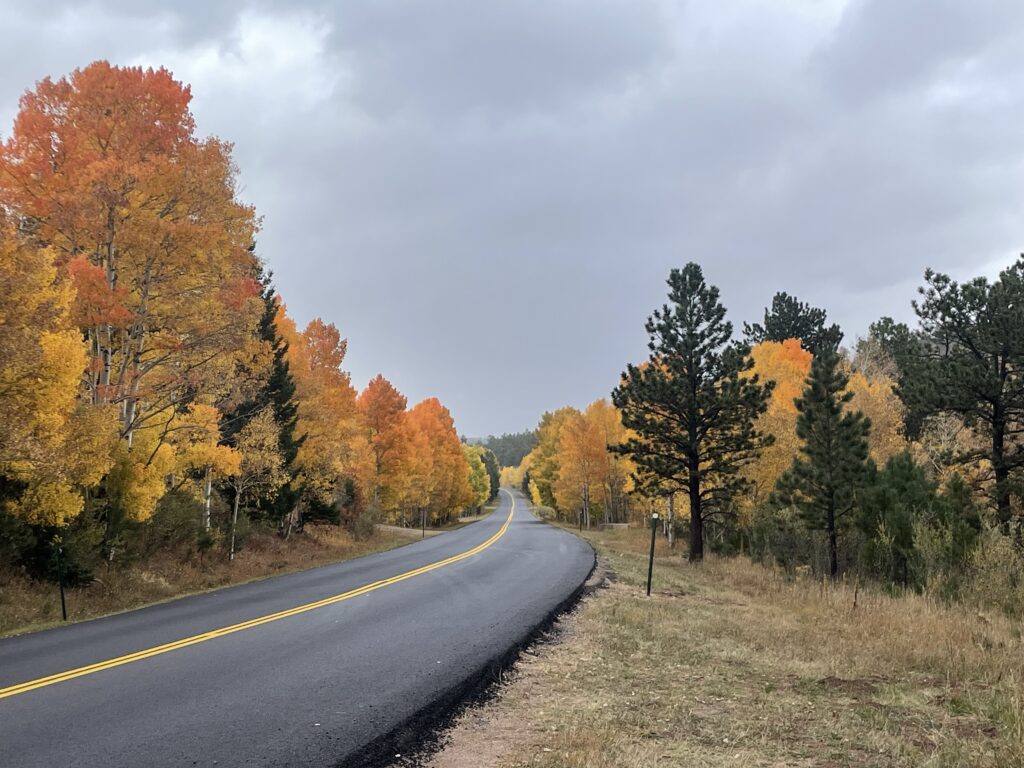
The Highway of Legends is largely a scenic loop that runs along Highway 12 and eventually connects with US 160 near La Veta. It meanders through the beautiful, Spanish Peaks mountains of southeast Colorado and many small and historical towns like Cokedale, Valdez, Stonewall Gap, Monument Park and Cuchara. It ultimately connects the towns of Trinidad and Walsenburg. (If you want to take the REALLY easy way between these two larger towns–read the “BORING!” way–you can just take I-25. 😝)
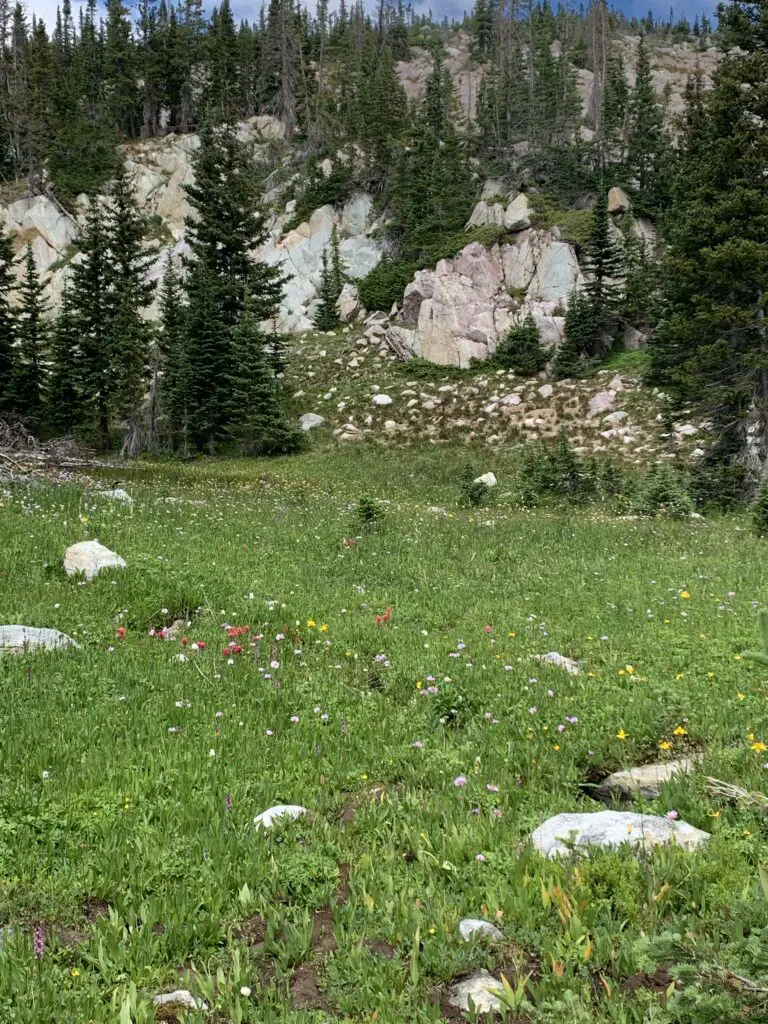
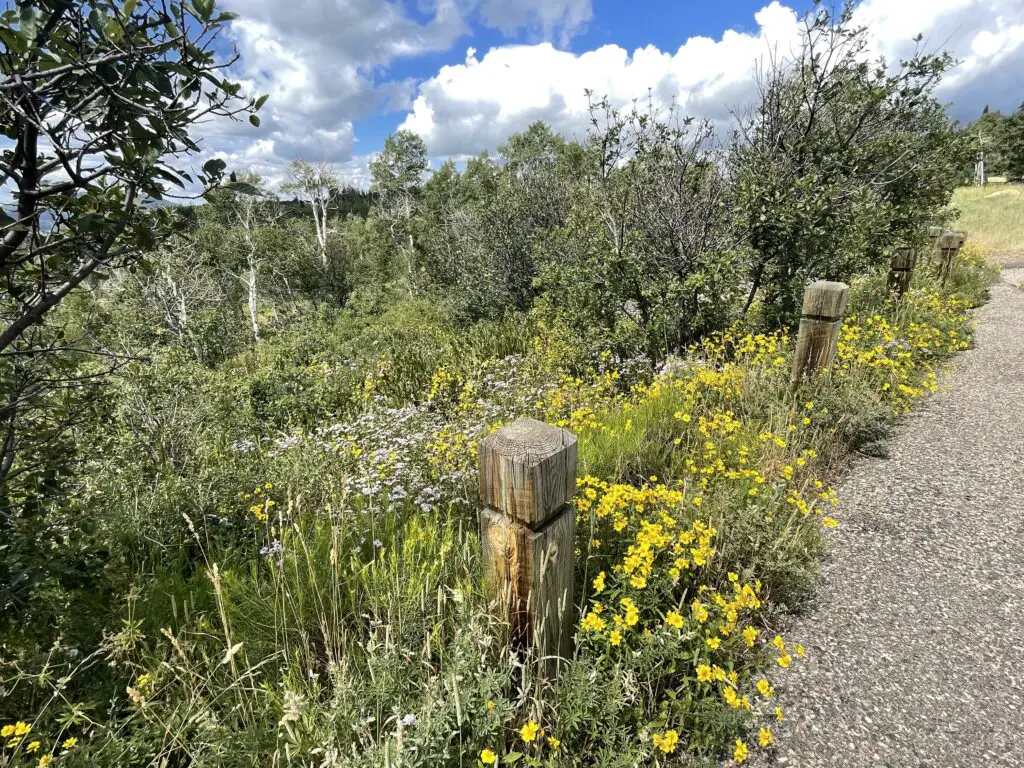
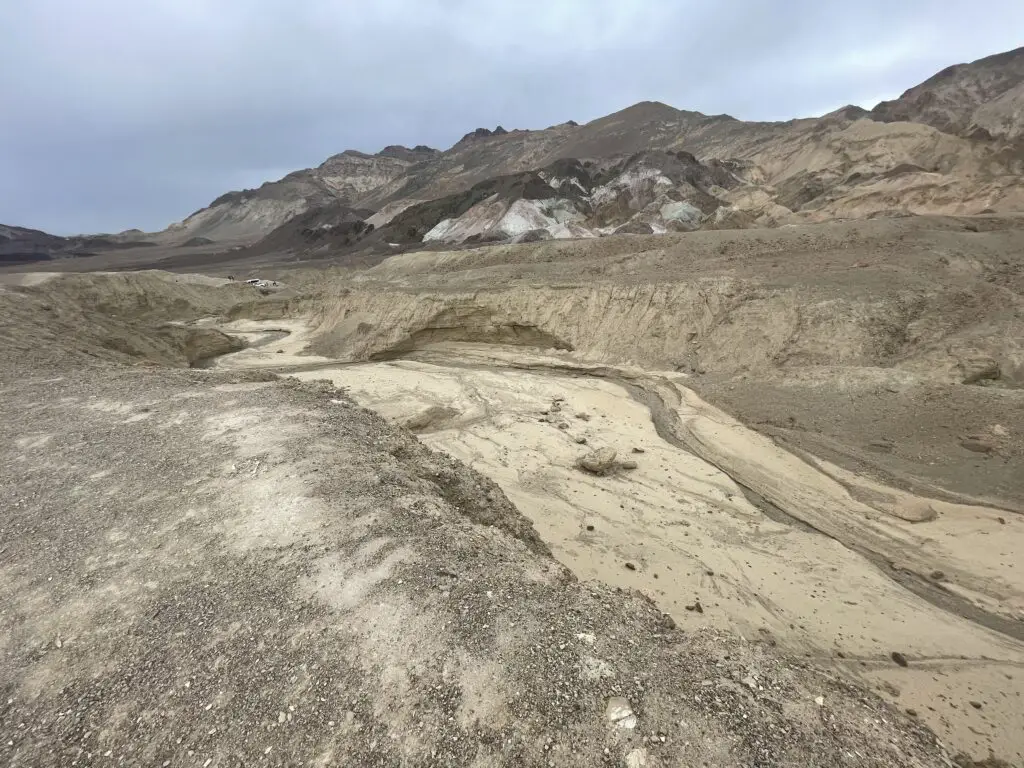
Sites along the highway included some artifacts of the old, coke ovens used in the processing of coal out by Cokedale. This was a lovely drive through the mountains and it gave us ideas of potential, quieter places to camp in the future!
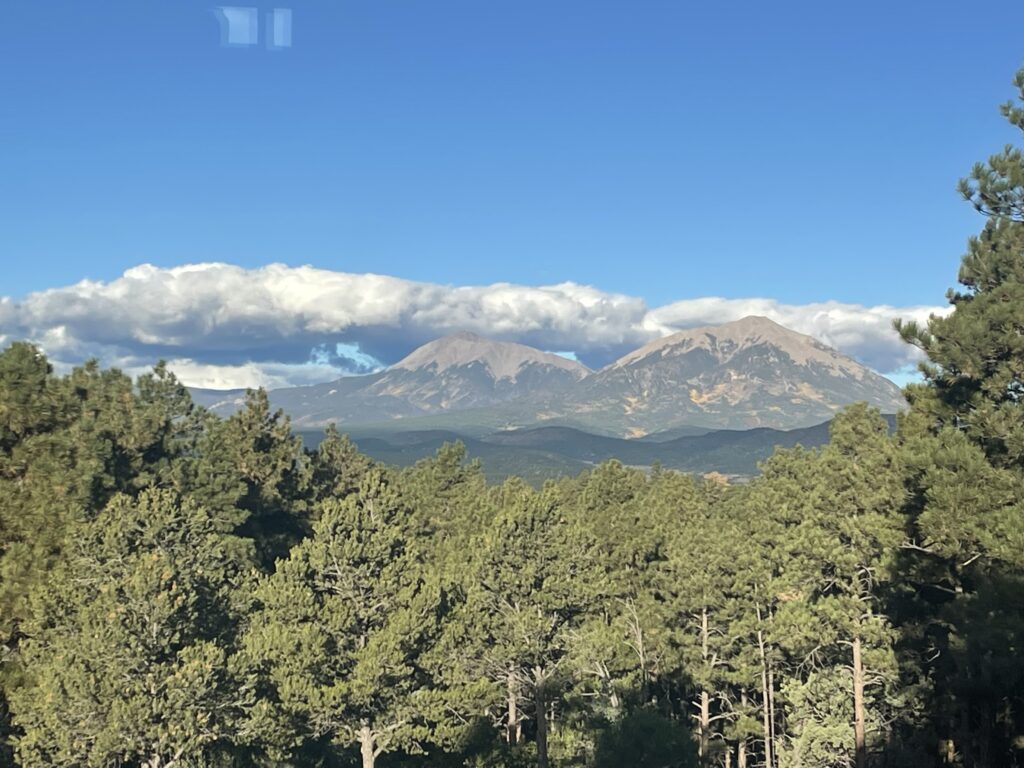
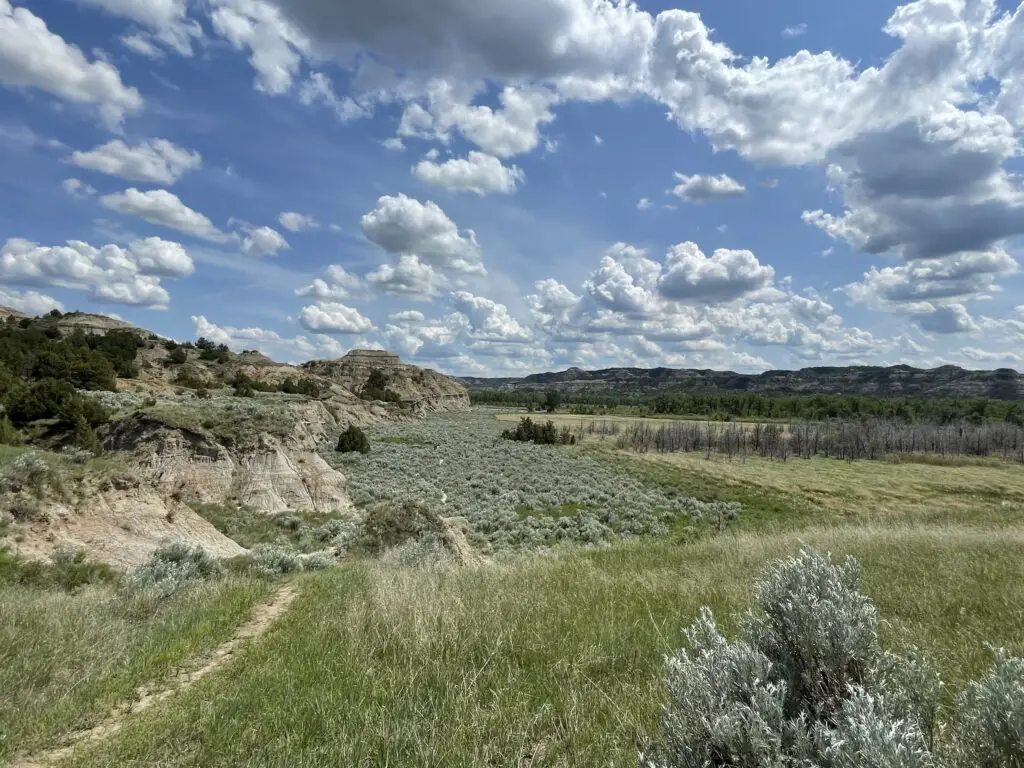
THE Spanish Peaks that the range was named after!
We happened to drive the Highway of Legends on a cloudy, rainy day in October…it was BEAU-tiful and perfect for Fall colors!
![]()
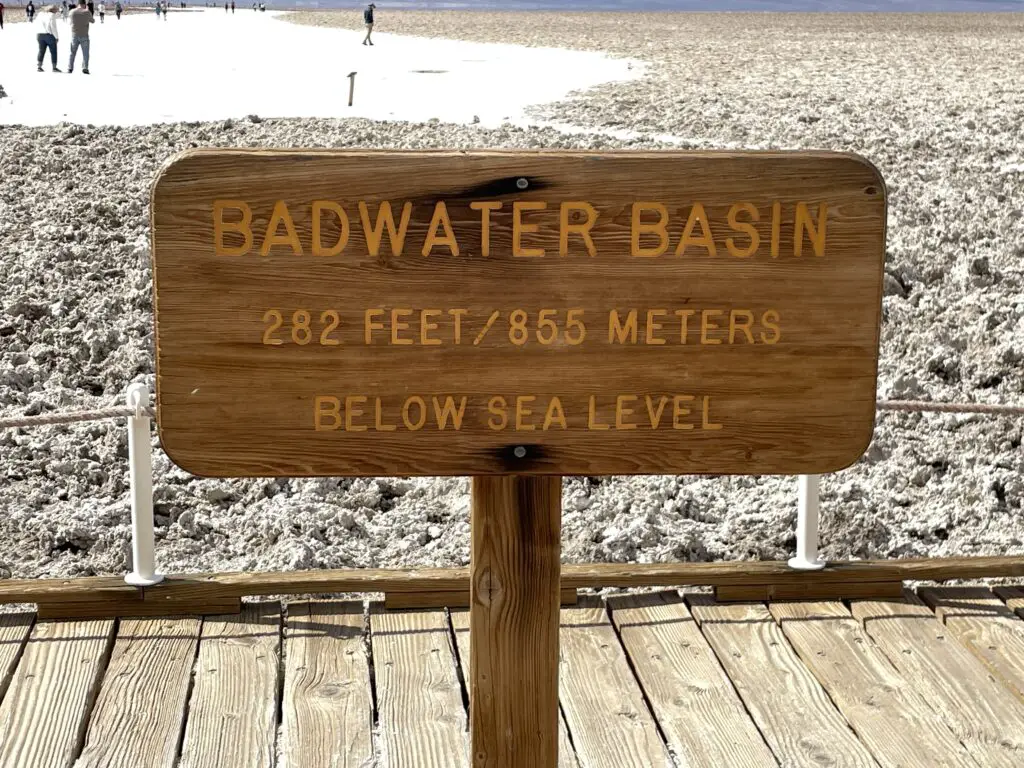
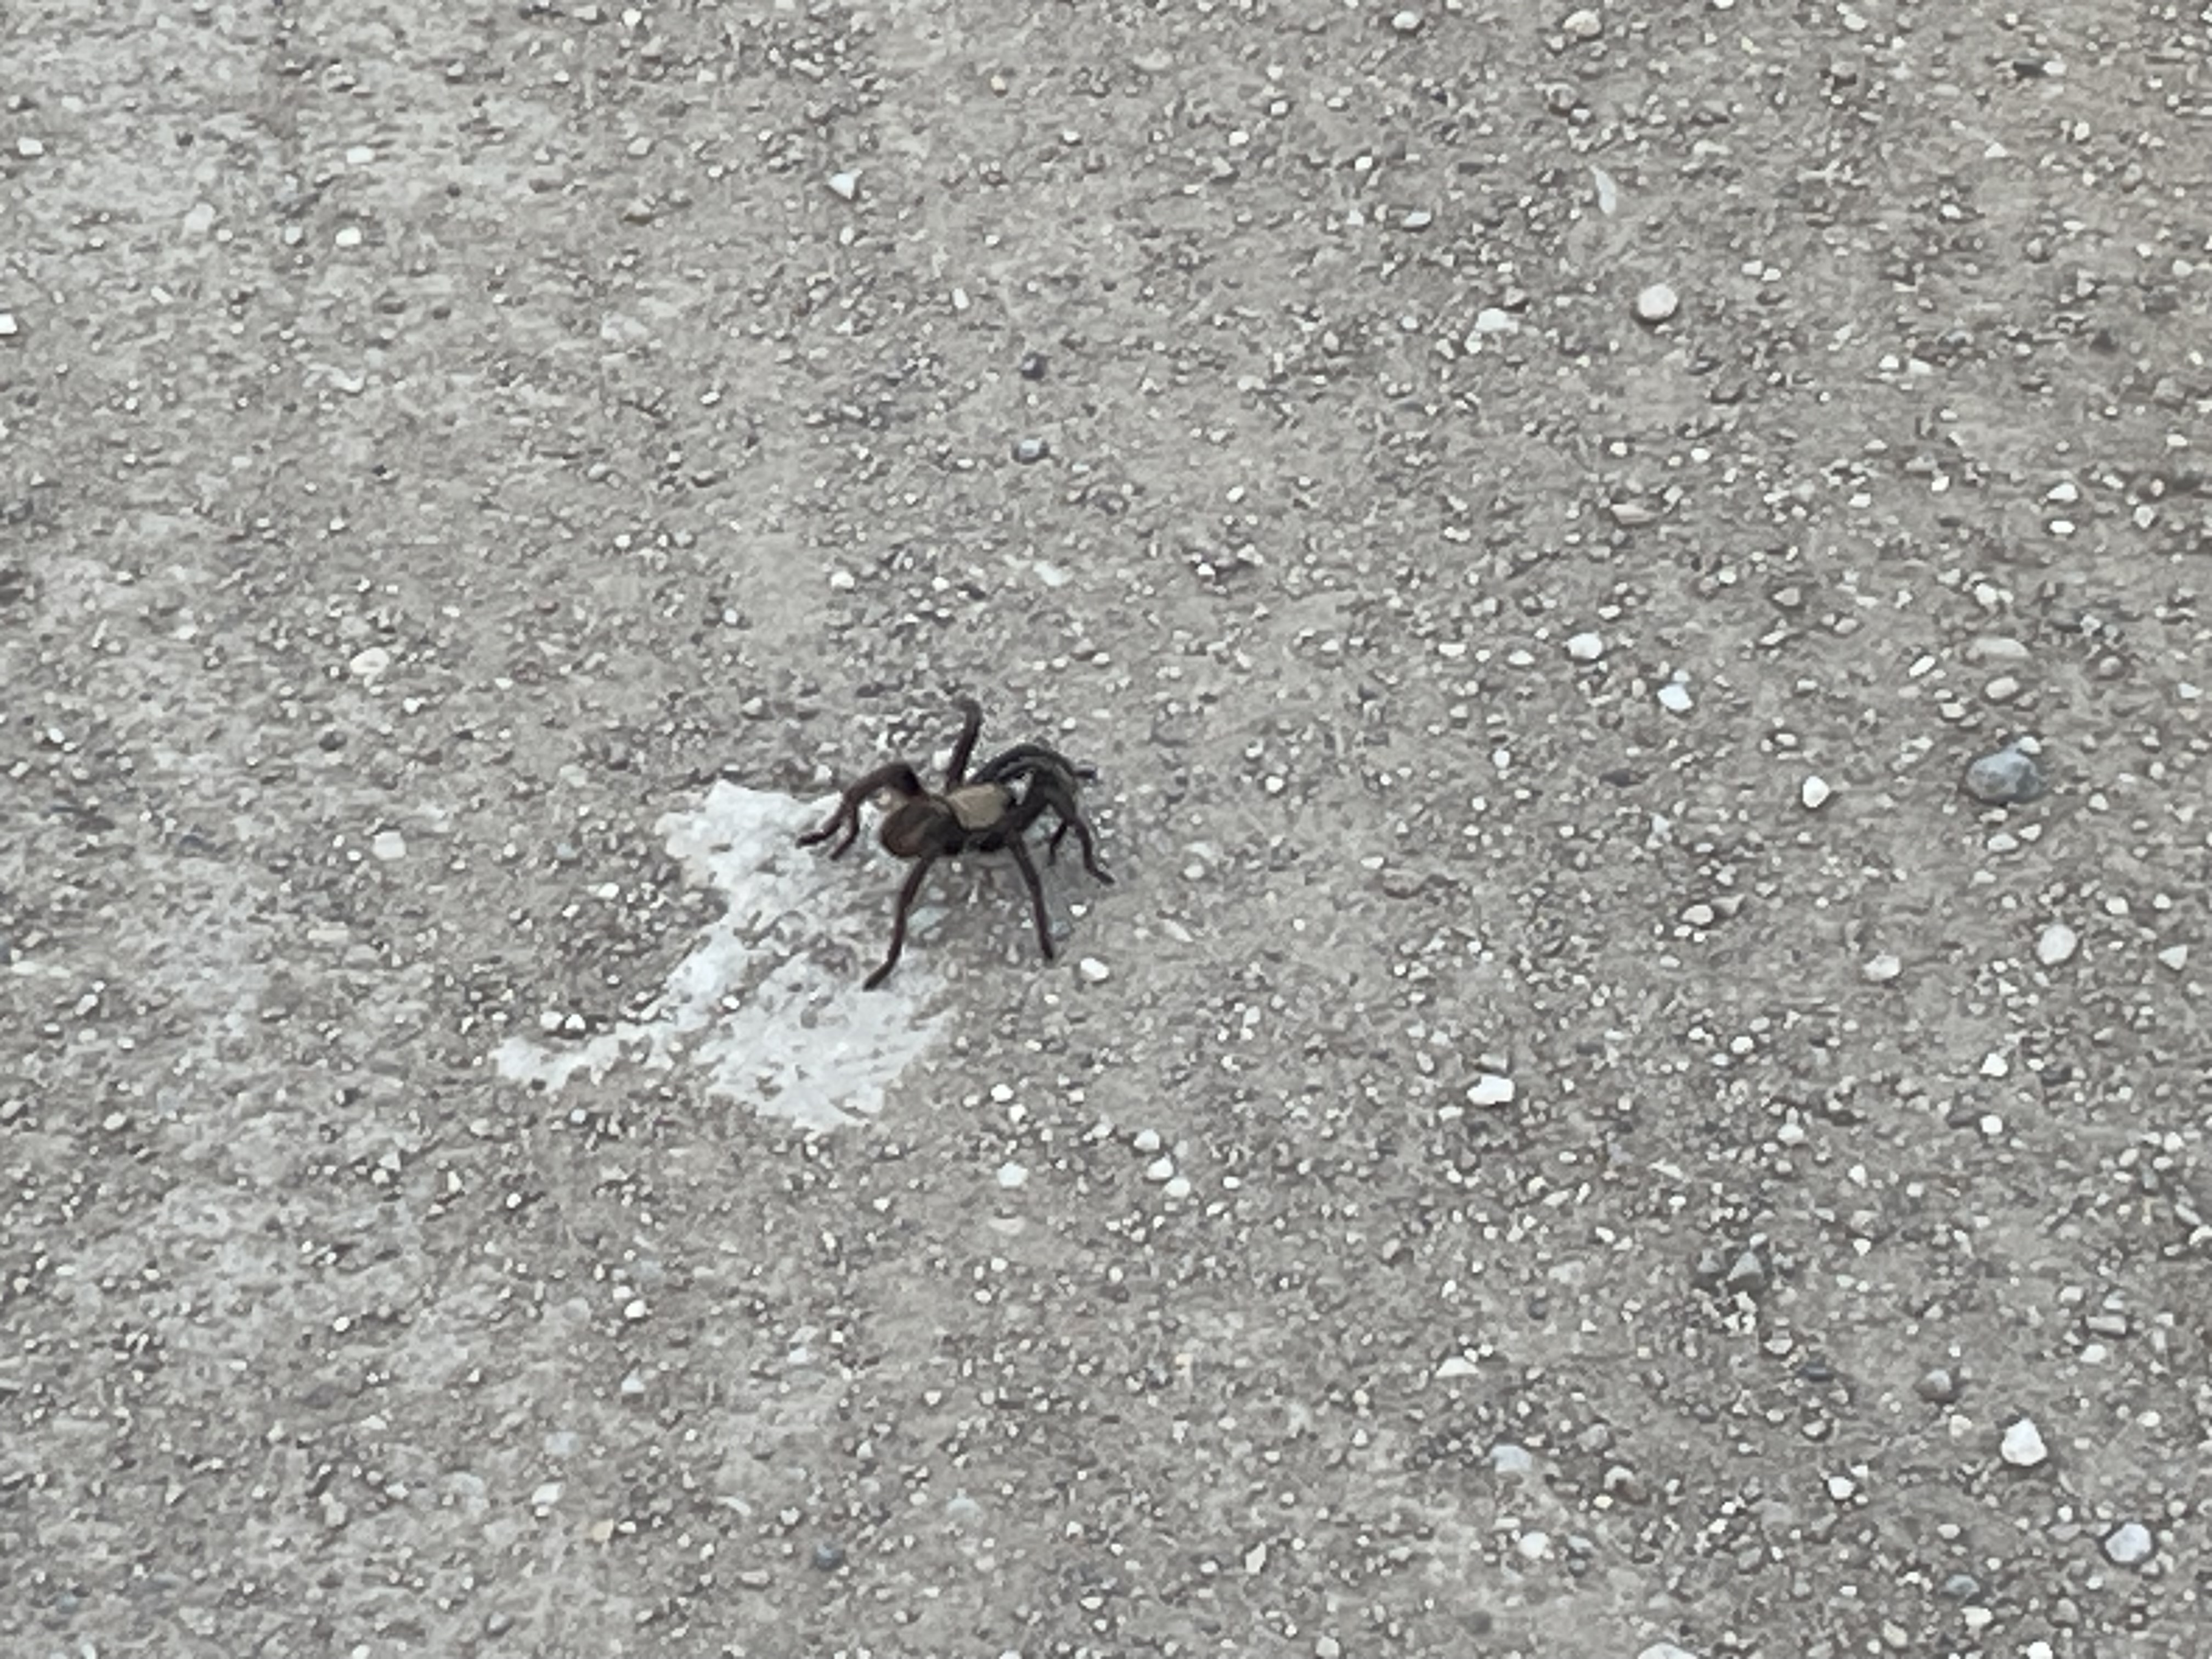
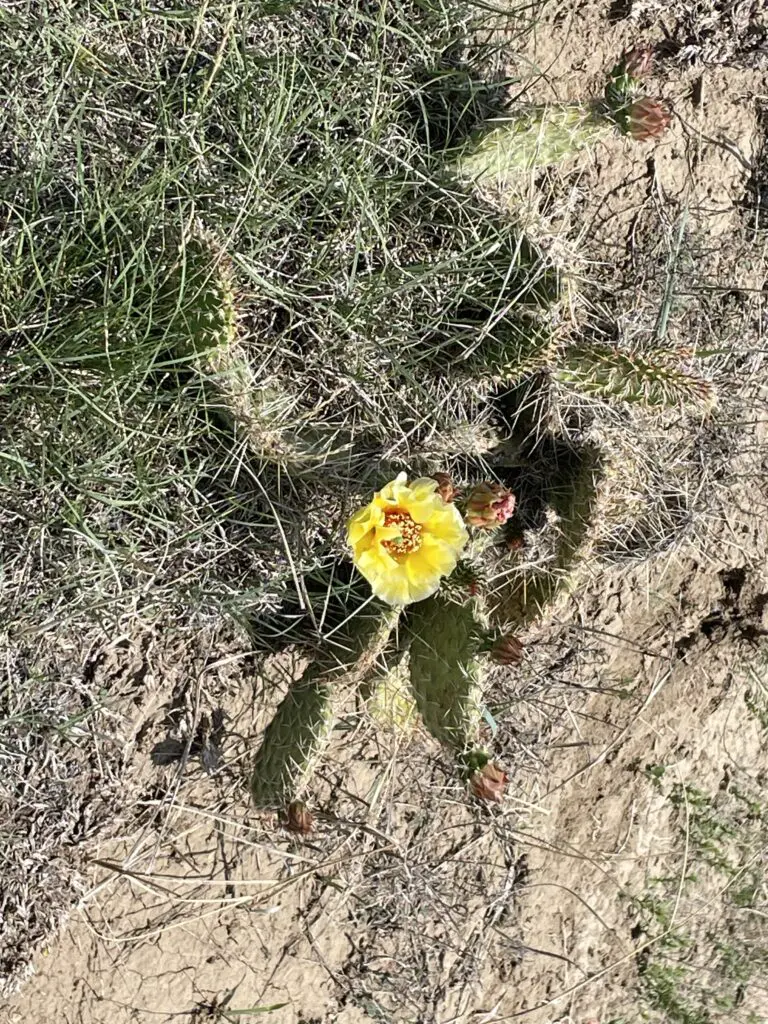
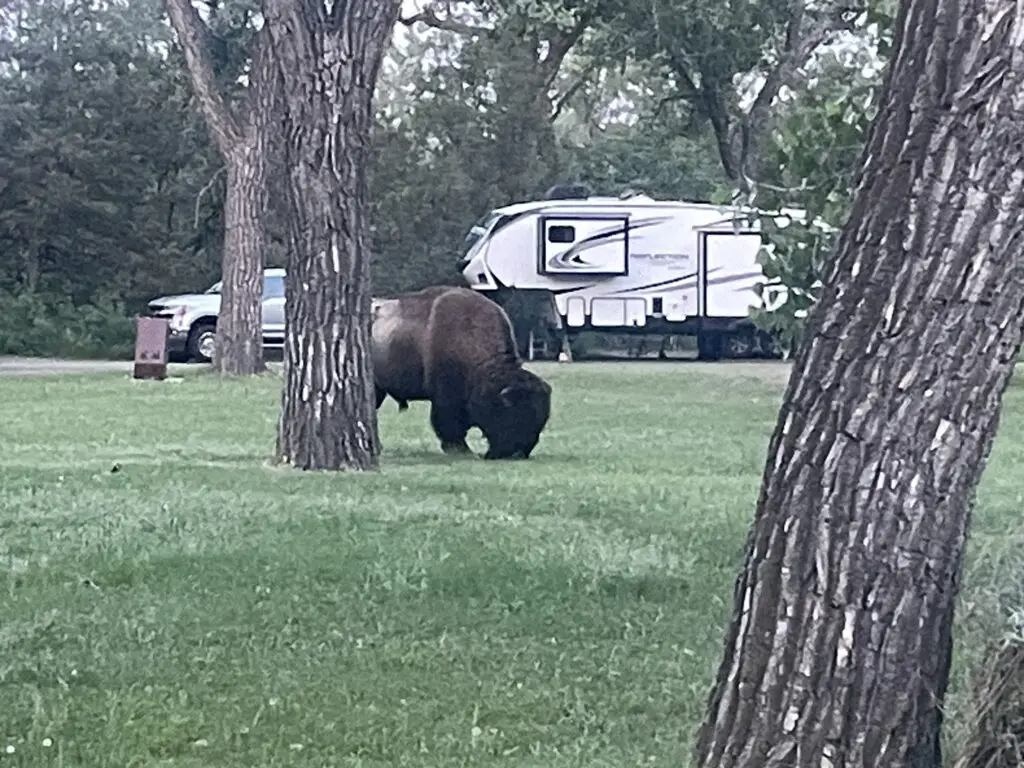
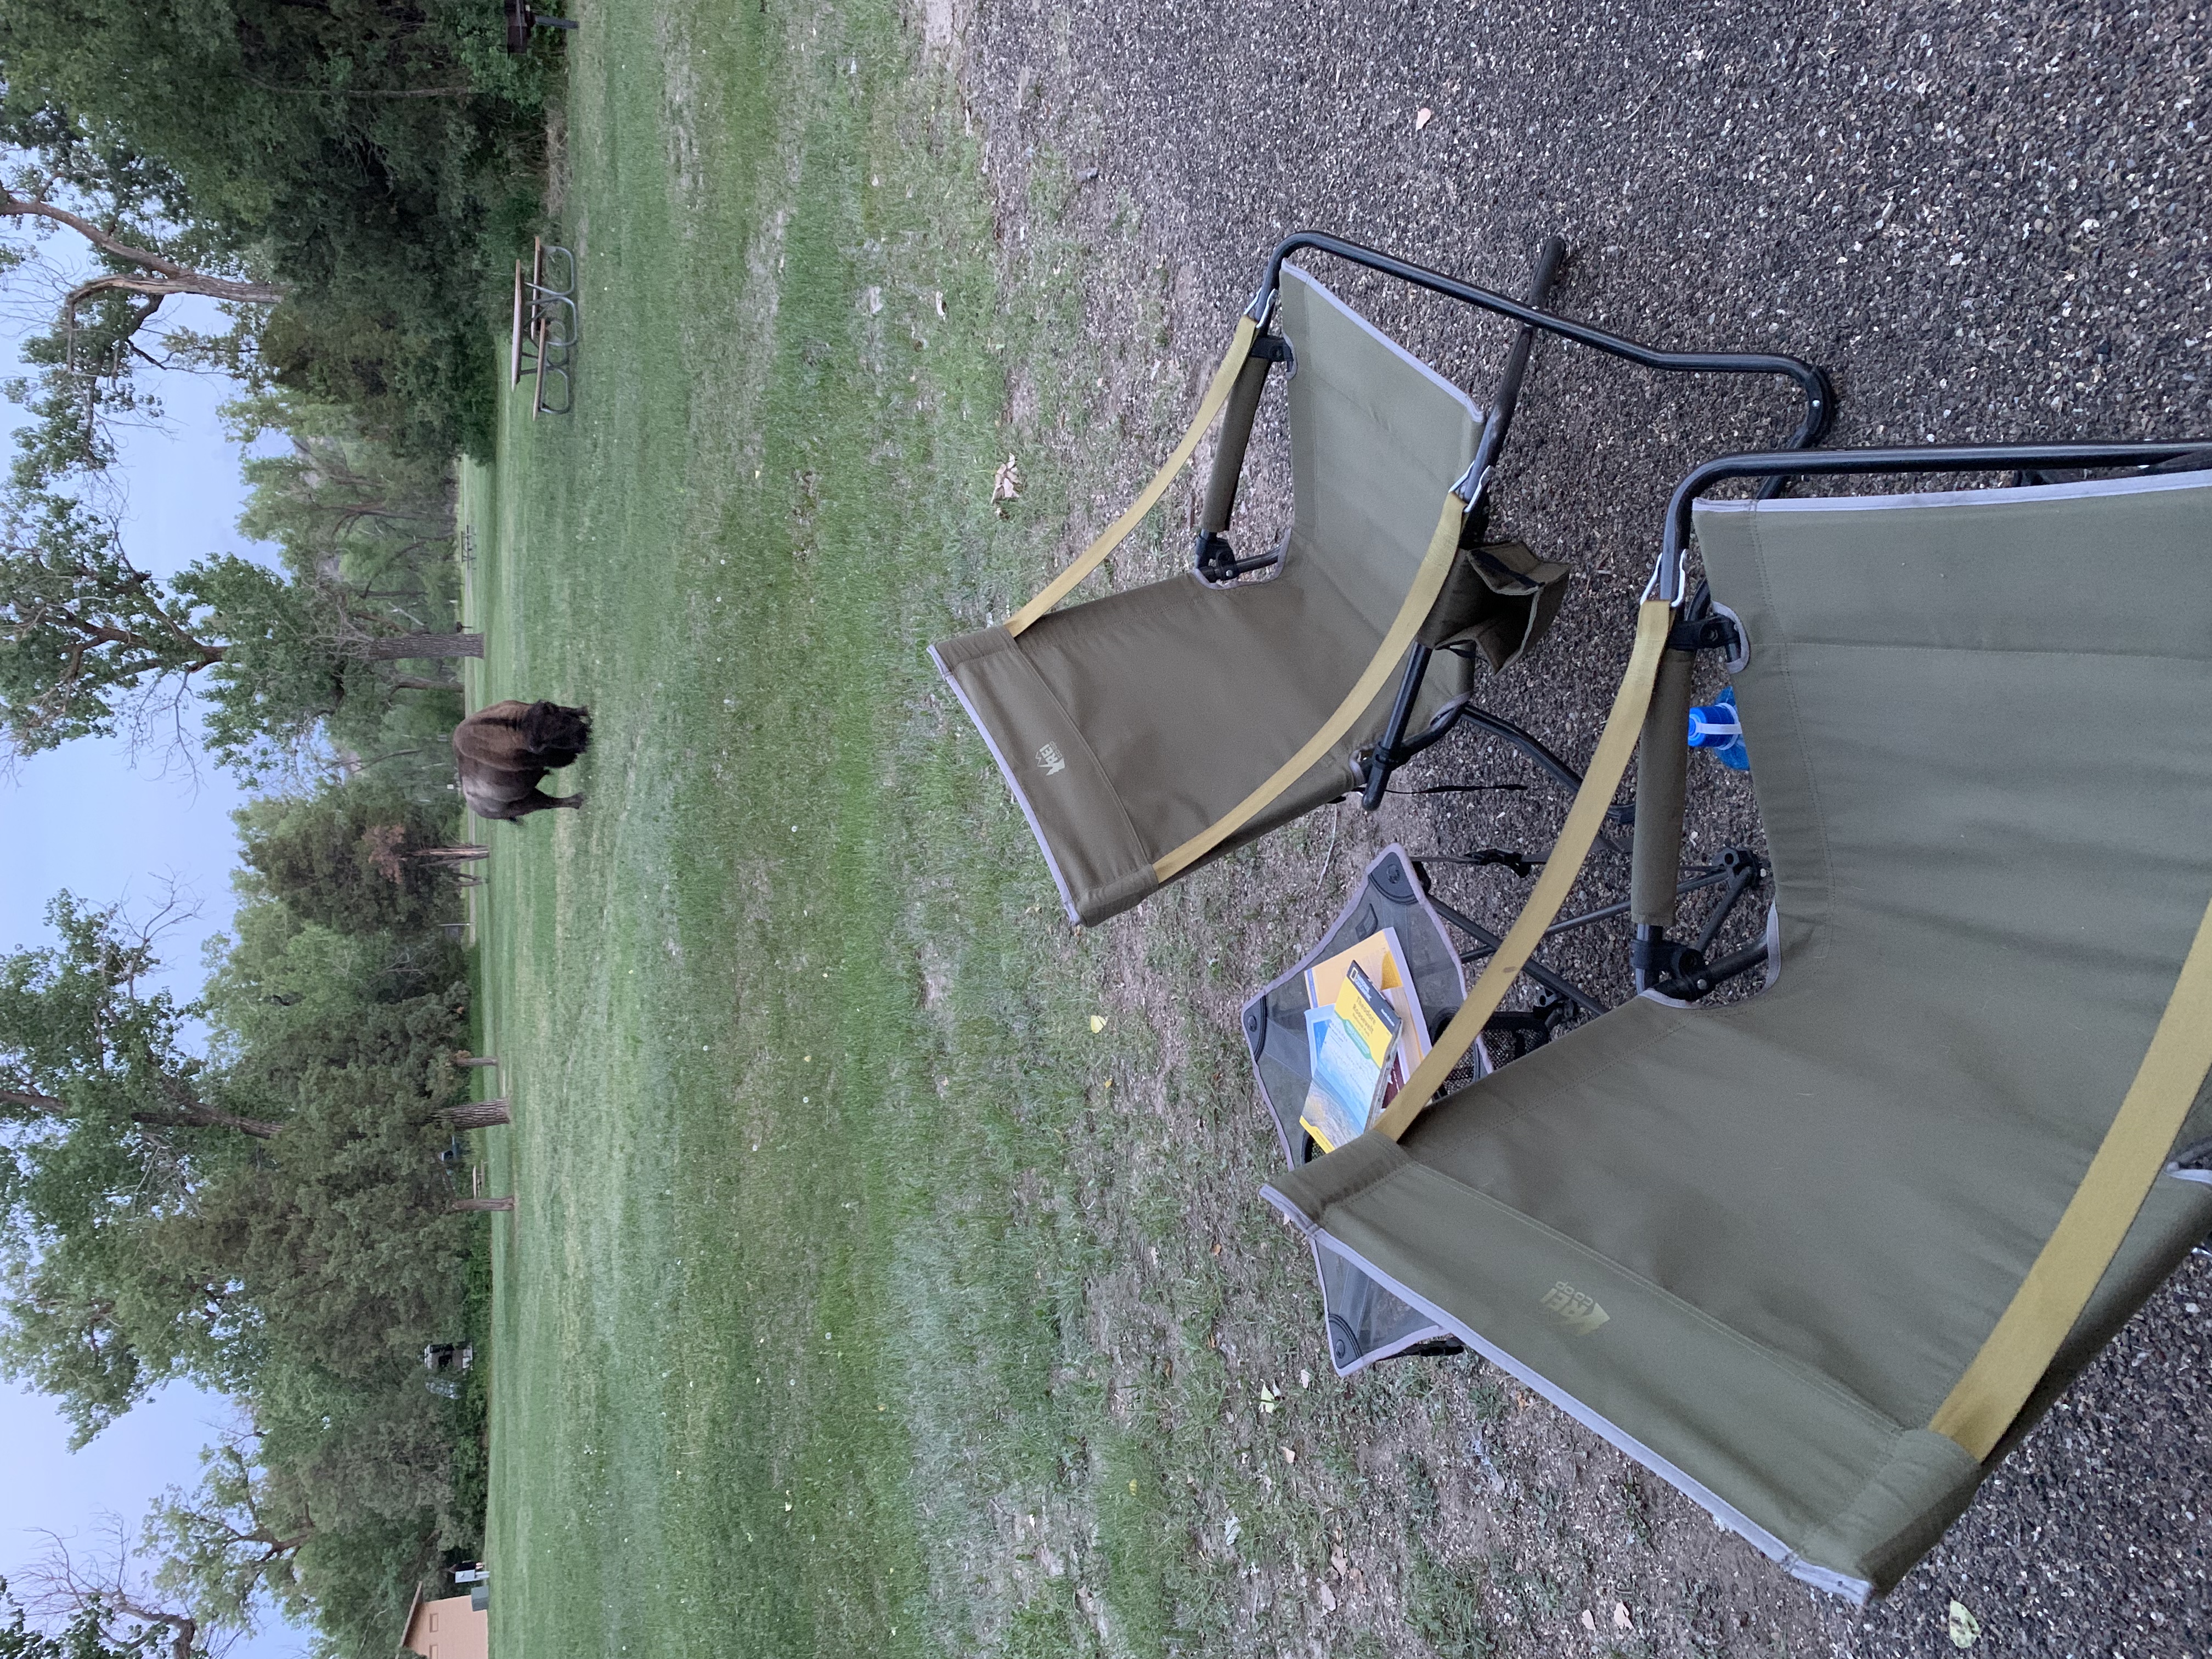
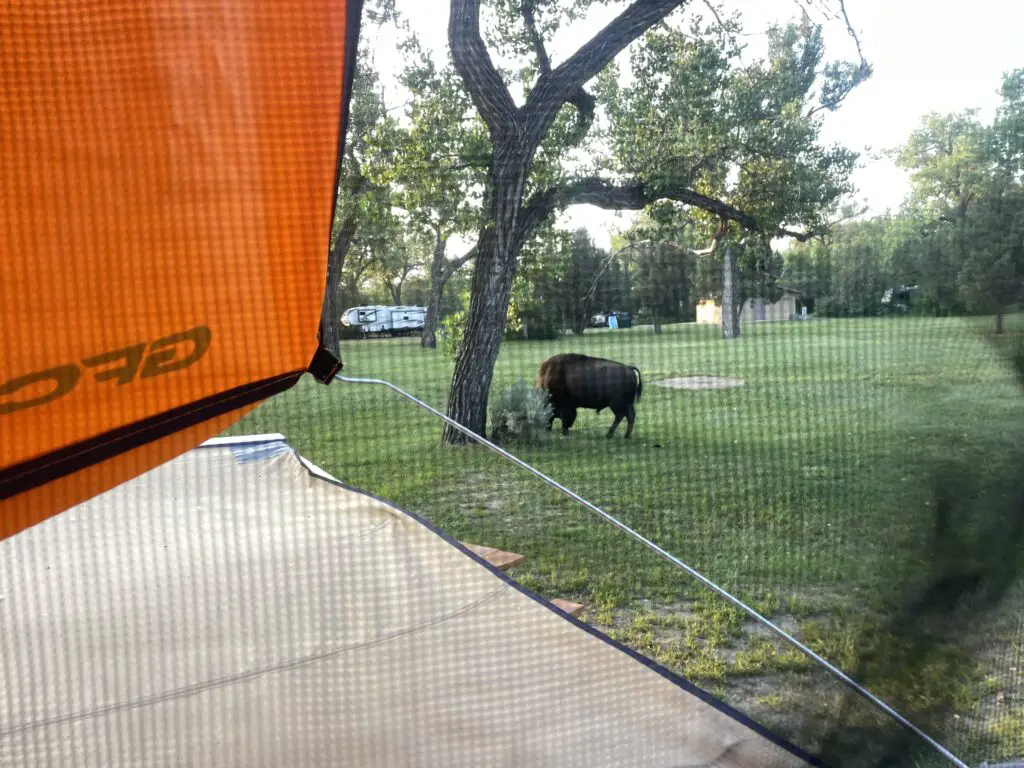
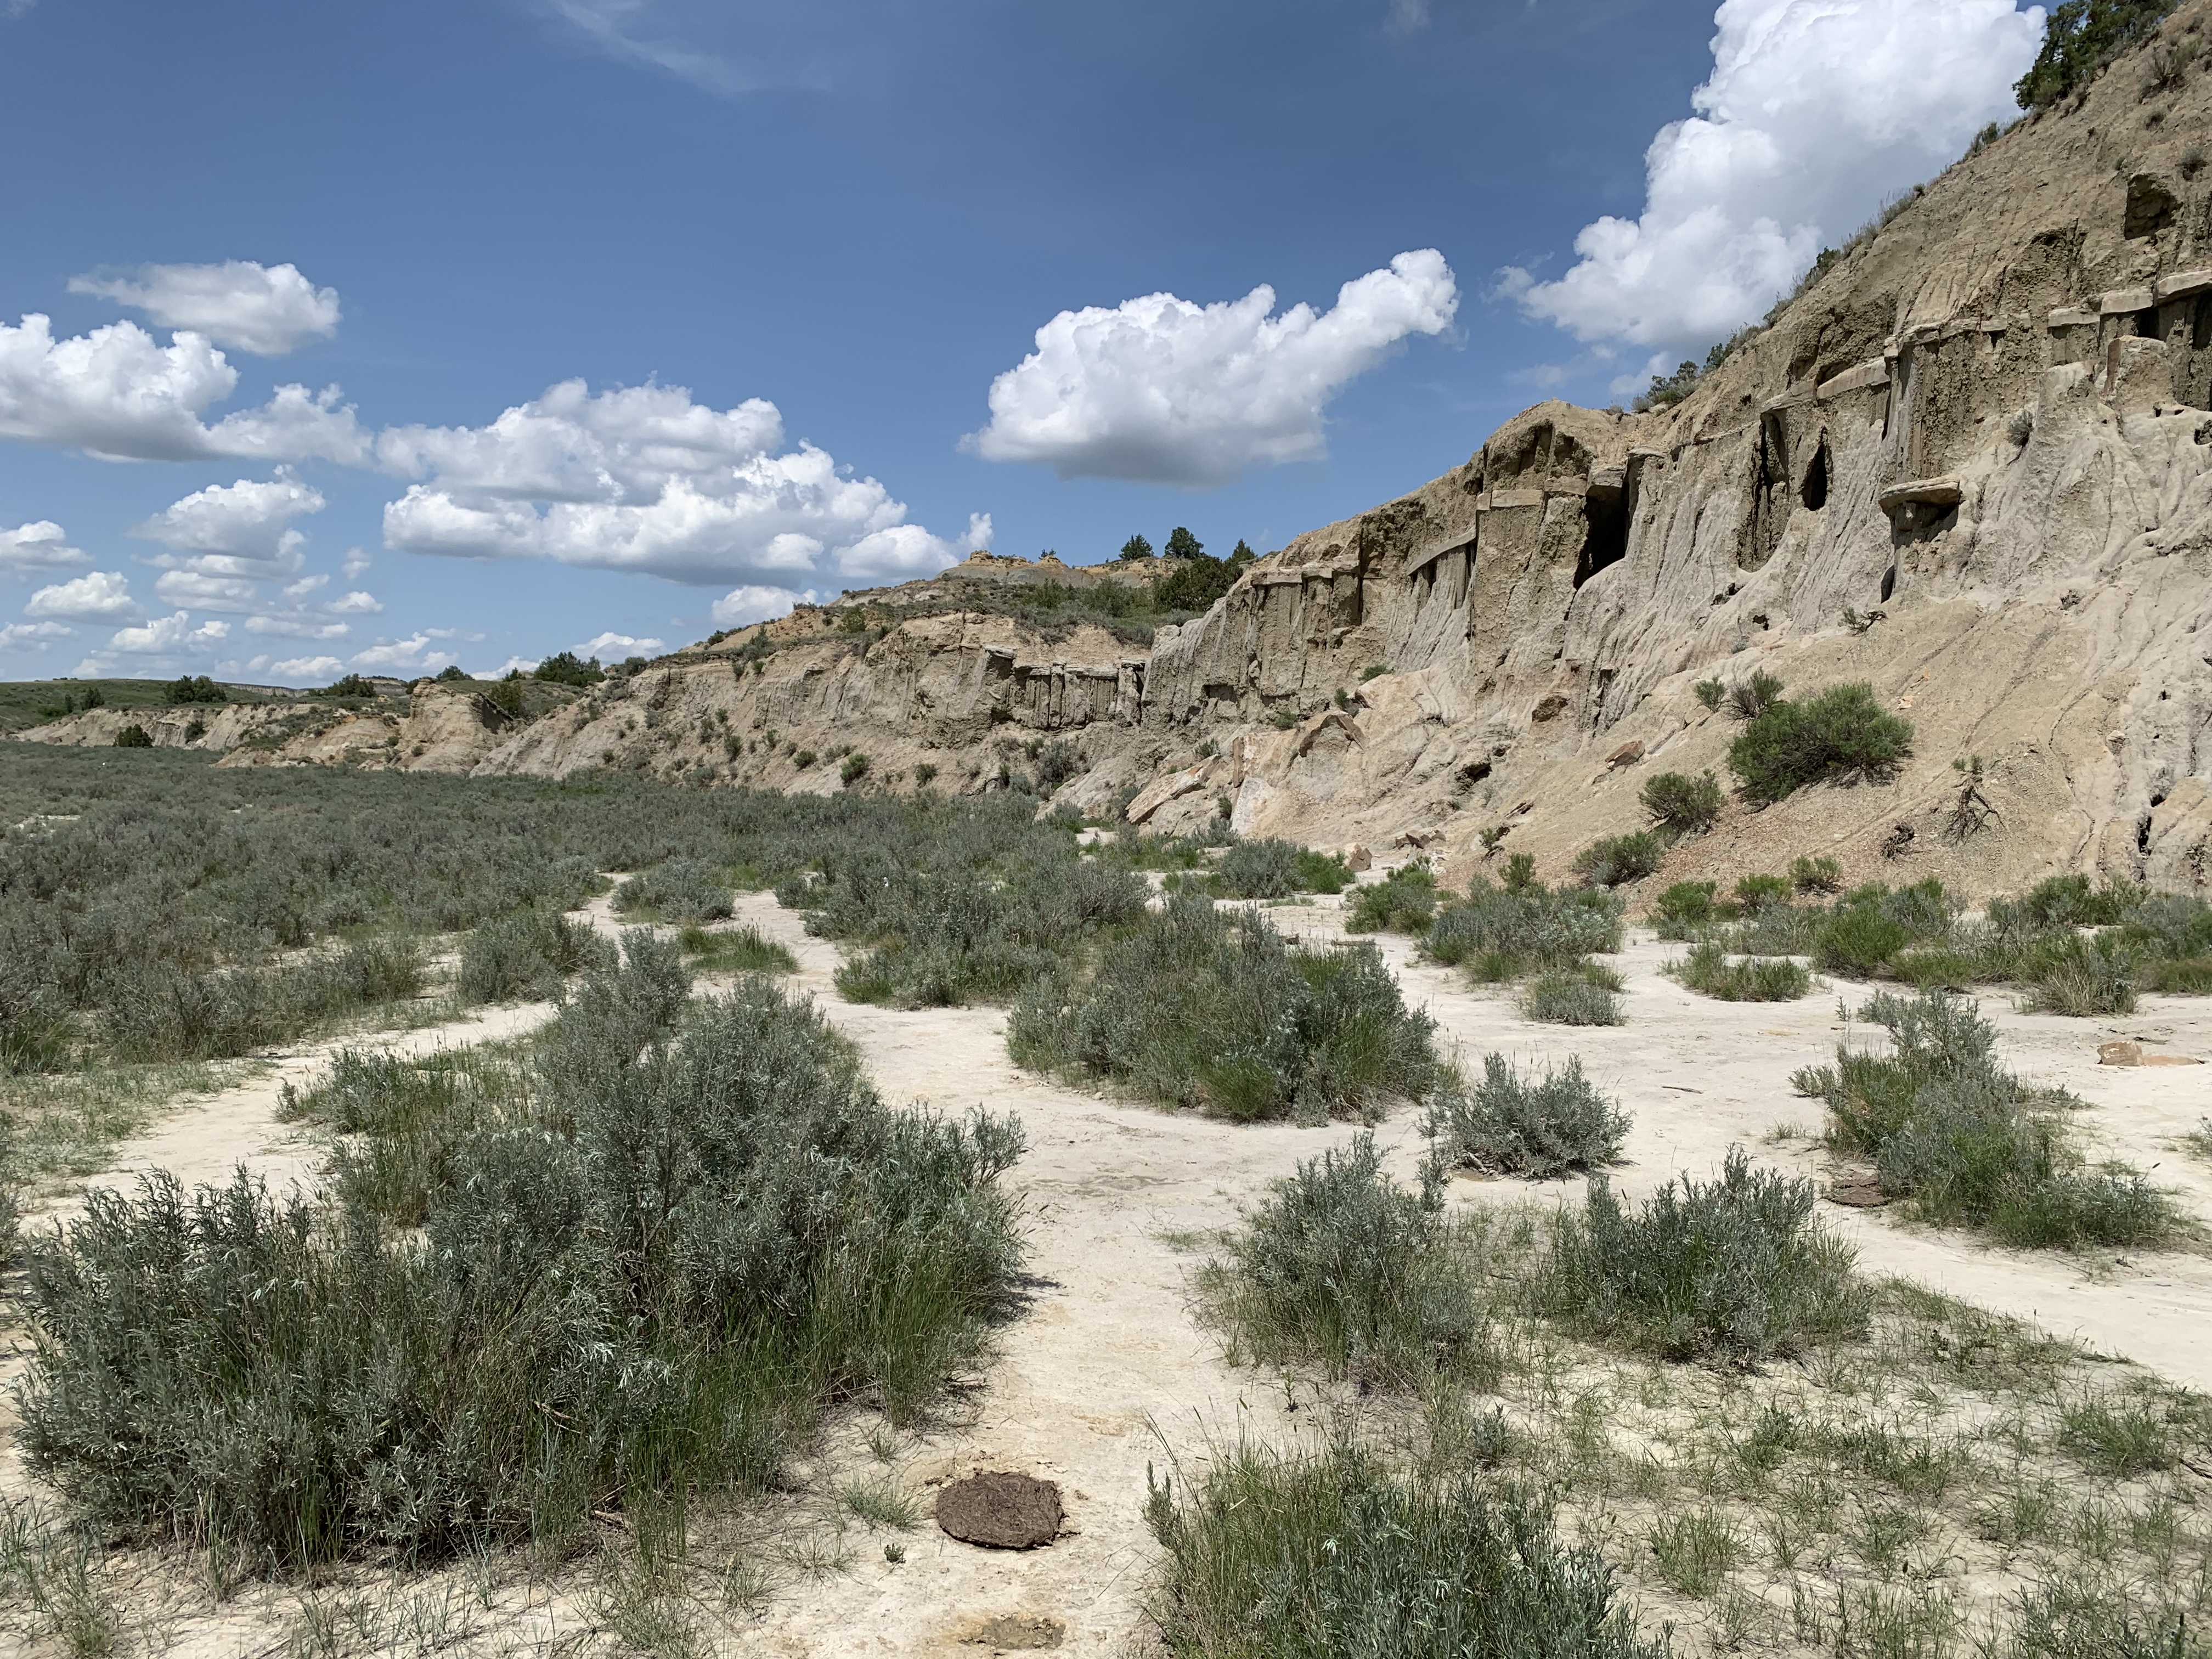
Tarantula Migration in the grassland of southeast Colorado!
Authors note: I feel the need to remind my dear readers of my utter fear of arachnids! 😂
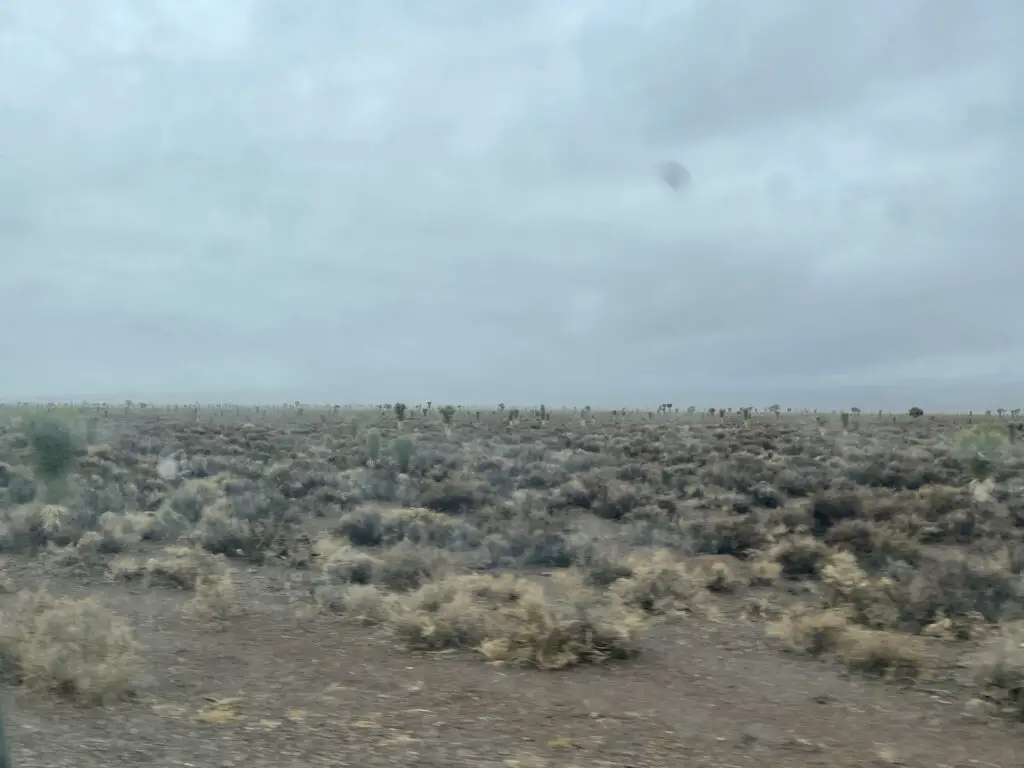
La Junta, Colorado is a small town located about 60 miles east of I-25 and Pueblo near the Comanche National Grassland area. A unique occurrence happens here every fall. From September through early November thousands of large spiders trek around the dry grassland in search of love! (As someone with a severe case of arachnophobia, even I say, “aww!”)
This is a website put out by the town of La Junta–they even tell you prime places to go to see the spiders!
Basically, the male spiders hang out in their burrows mostly sleeping and eating for 5 – 10 years. Then, one fall, they get an urge and go searching for lucky lady spiders–who pretty much just hang out around their burrows for their MUCH longer lives (the females can live up to 25 – 30 years!)
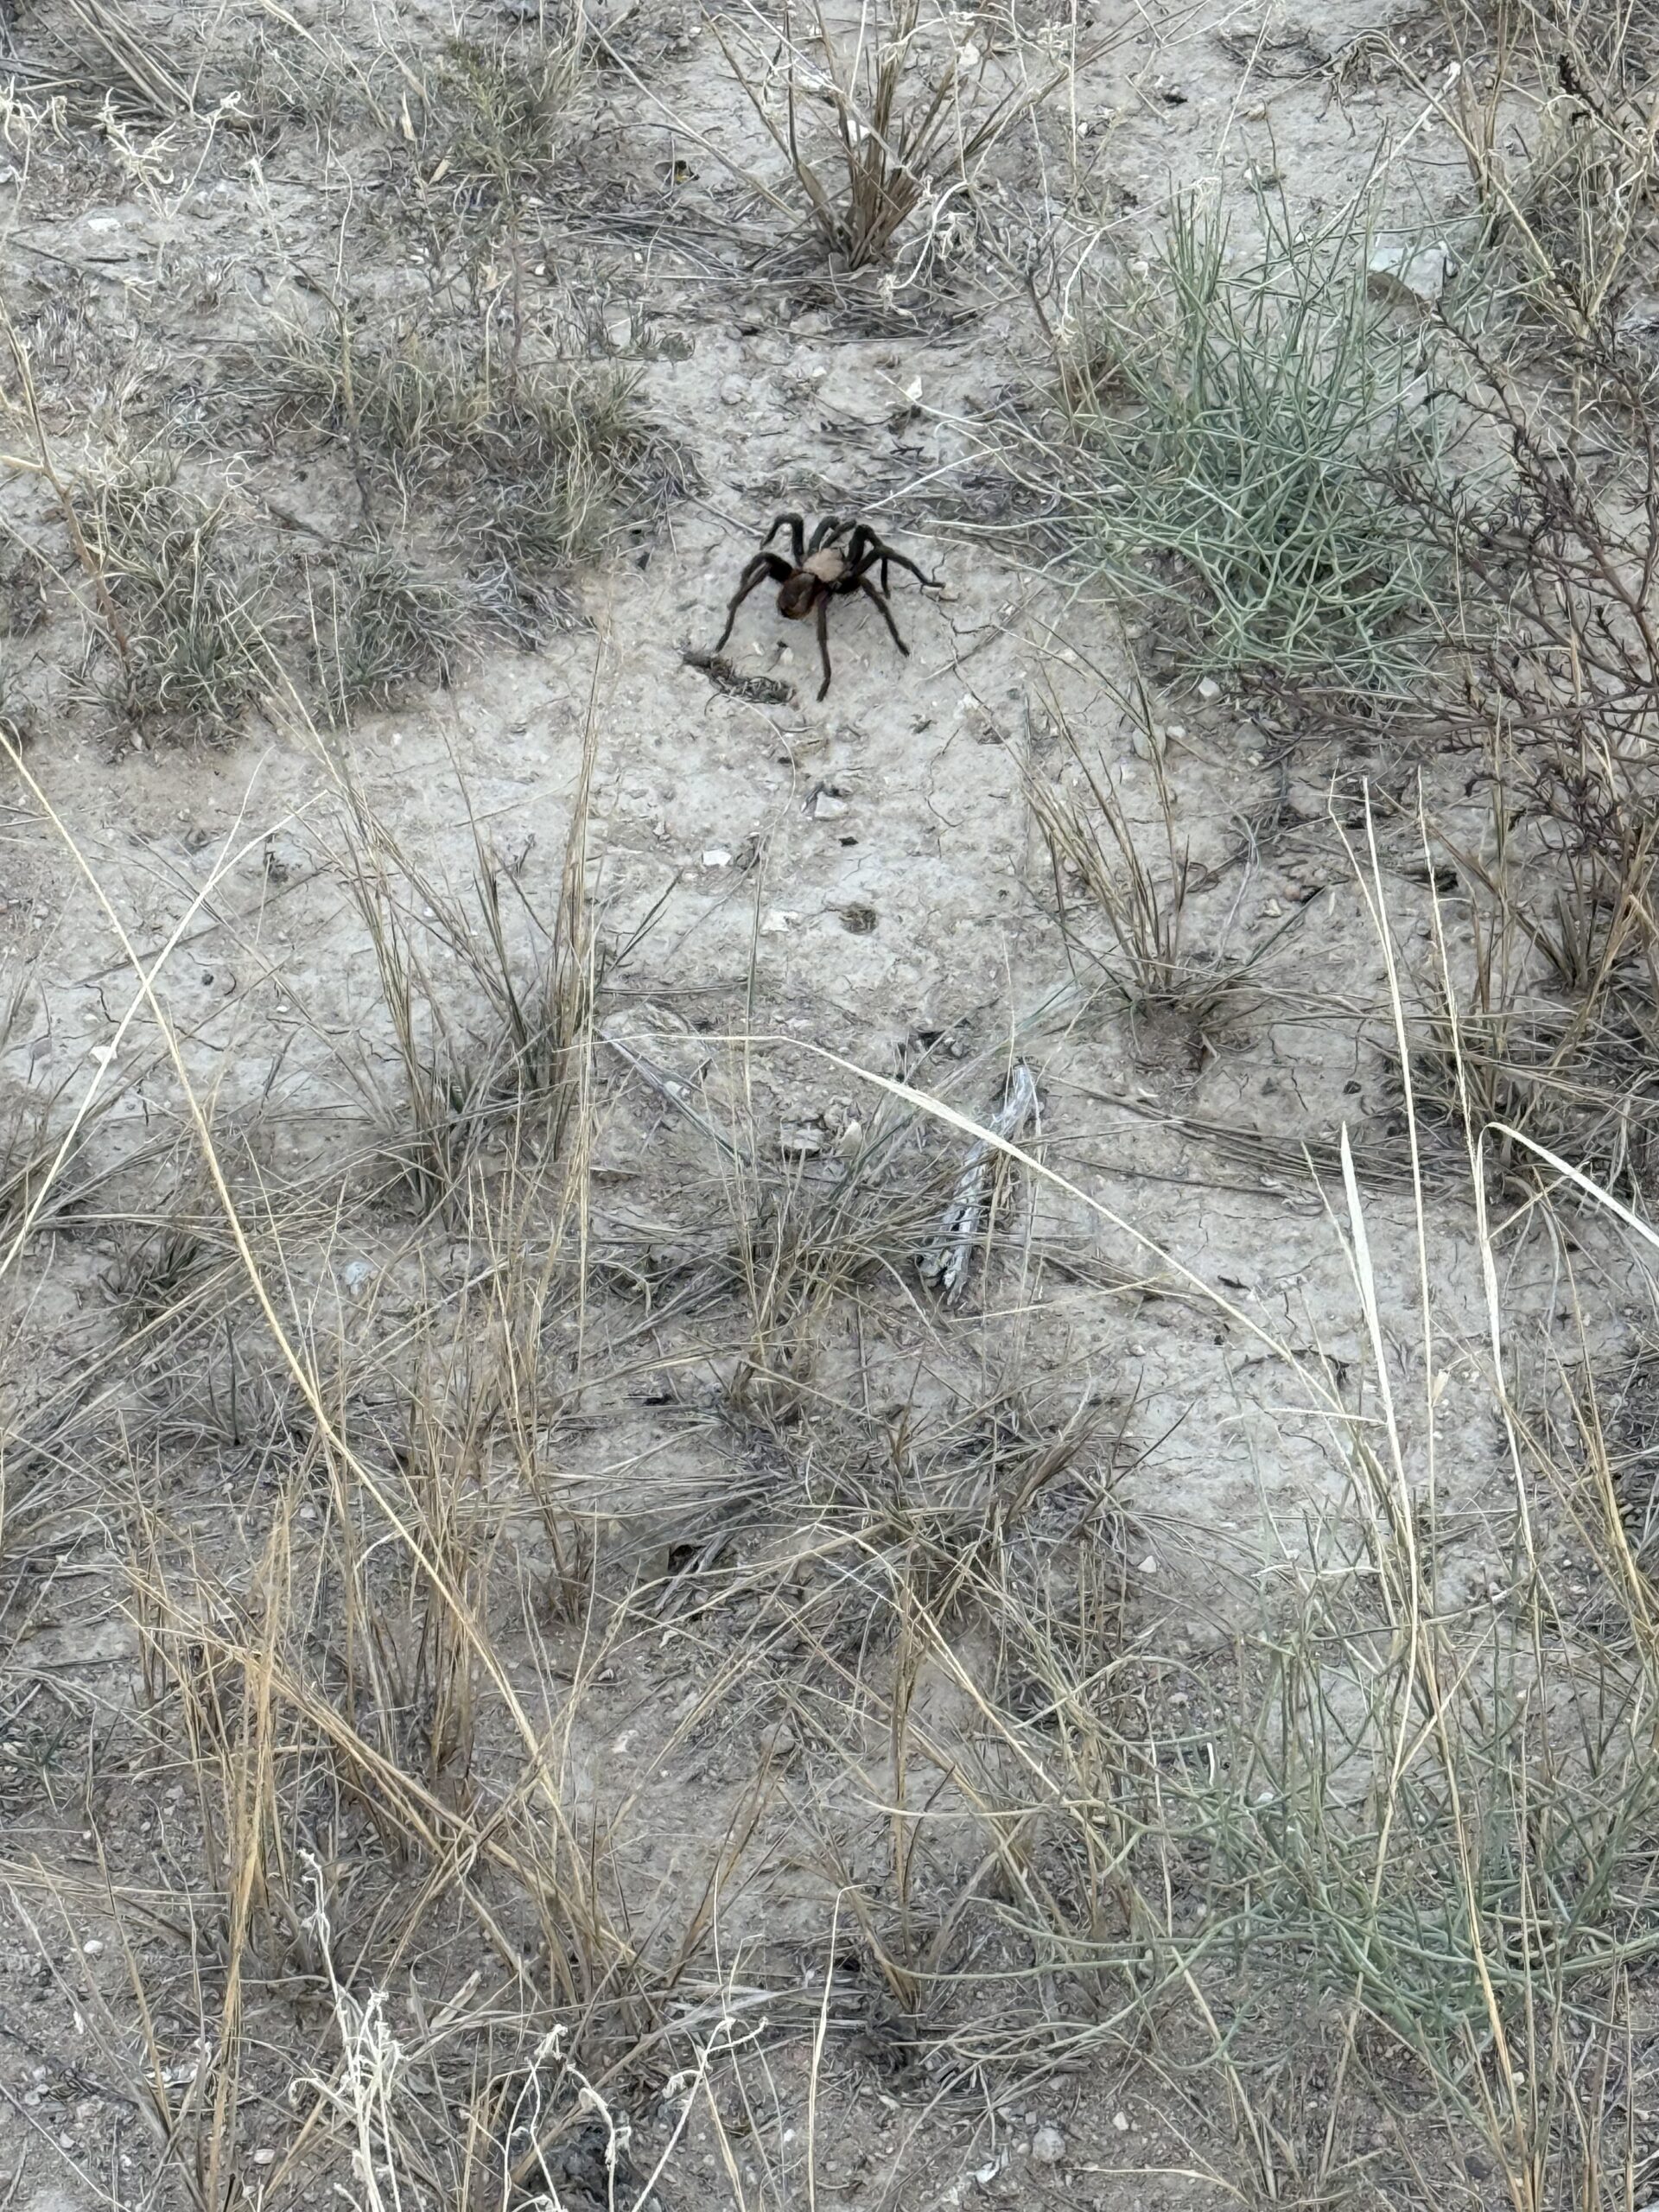
There are a bunch of places to view the spiders but honestly, just drive the dirt roads around the Vogel Canyon area around sunset. (This is located in the Comanche National Grassland off Route 109 south of La Junta, Colorado.) The spiders use those roads as a highway!
Drive slowly and cautiously so you don’t hit them…and you can’t miss them! They are about the size of a human hand–legs included. I HATE spiders but these guys are SO CUTE as they kind of dance across the dirt! (Click here for a quick spider video!)

Give these old guys their space though! The spiders aren’t venomous (though individual people could be allergic to their bite. Apparently they can also jump up to like two feet if they feel threatened…😮 and they can shoot the hairs off their back a ways which can imbed in your skin and get really itchy.)
Also, the spiders are pretty fragile so if you try to pick them up and accidentally drop them they can be injured–overall, just give these poor, old men a break. Most of them have completed their final molt and they’ve got one purpose left in life before they either become prey for a passing bird/snake, die of starvation or, as is common in spider world…they become dinner for their hungry mate!–there are worse ways to go out I suppose though, then enjoying a little romance. 😉
To Conclude
Southeastern Colorado isn’t nearly as well-known or popular as the majority of the rest of the state but that doesn’t mean it isn’t worth a visit. It is kind of a hidden gem that still offers some incredible beauty as well as a quieter, more secluded experience than much of the rest of the Rocky Mountain State.
So if you’re looking for a different, family (and wallet)-friendly travel option in Colorado, check it out!
Like what you read here today? Please feel free to leave a comment, like, or share this post! Add your email at the bottom of the page, or the sidebar to the right, to be notified when a new post is published.


 The road Broadway runs through several of the towns in Grand Valley and connects the two ends of Rimrock Drive between Fruita and Grand Junction. This road, along with the Rimrock route, make for a great loop drive!