Conquer Lengthy Trails in Small Portions

In this post, I discuss how to build your self-confidence by “connecting the dots” and finishing portions of trails you haven’t conquered in the past.


Today I’m going to discuss the incredible feeling of accomplishment that comes from completing a lengthy trail in small, manageable portions, regardless of how many tries, trips, or years it takes to achieve that goal. 😁  Below I outline several different trails we’ve done sections of in the past and have finally “connected-the-dots” on.

Willow Creek/Rushmore Trail (Trail #5)
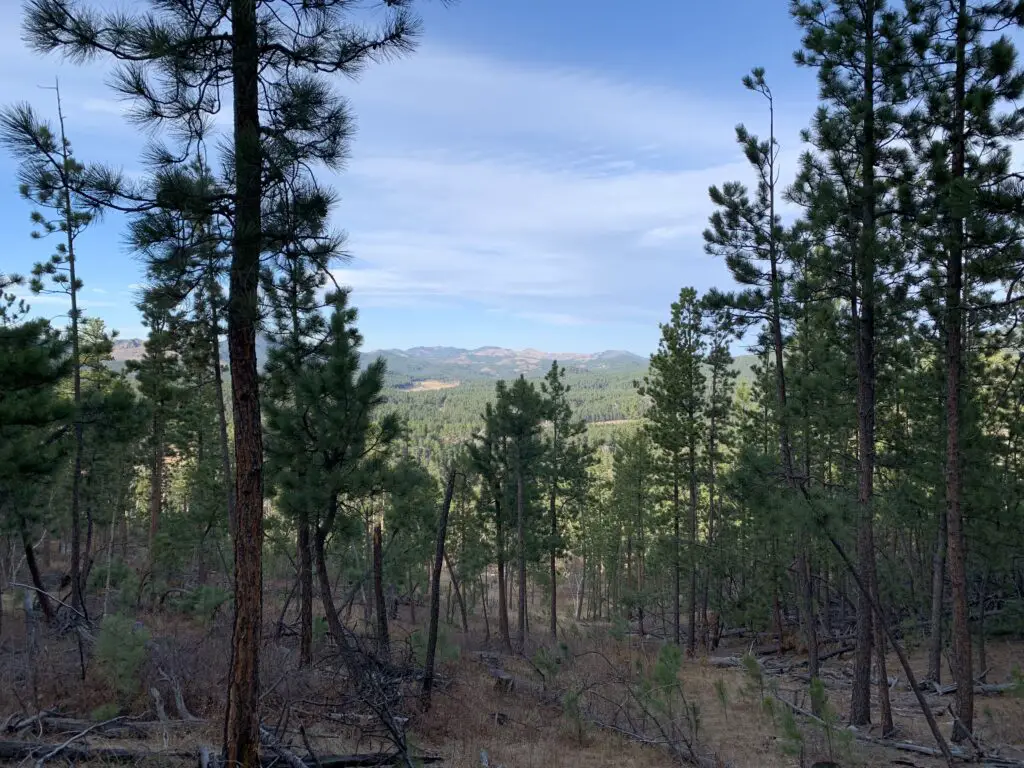
View through the woods of pine trees and tree-covered mountains in the background

 We completed the Willow Creek/Rushmore trail (Trail #5,) all the way to where it meets up with the Harney Trail {Trail #9, the hard way up Black Elk (formerly Harney) Peak}.  

This is really just a connector trail and not that big of a deal (though it’s a nice trek with lovely views).  It’s just such an accomplishment when you complete these various routes.  

The Willow Creek/Rushmore Trail was one I’ve been wanting to do for years.  Every time we’ve hiked the difficult Harney Trail (Trail #9), we’ve always used the Willow Creek turn-off as a bit of a landmark to watch for.  So, to finally connect the two was such a delight! 

This accomplishment was especially exhilarating as it was already getting snowy up that way and some of the knee-deep snow was a challenge to hike through–we hadn’t taken snowshoes that day as the lower elevations didn’t have any snow and we didn’t know how much we’d be encountering.

Eagle Cliff Trails in the Black Hills

After numerous tries throughout multiple seasons, we finally completed several sections of various trails in the Eagle Cliff area. 

We’ve enjoyed parts of these trails in previous years–sometimes skiing, sometimes snowshoeing, sometimes mountain biking–but we’ve never fully connected them all.  In the past, we failed to complete the entire loop as we’ve always turned around due to being tired, being cold, or losing the trail.**

This time, however, we started with the Hamburger Snowshoe Route (who comes up with these names?! 😝); took that to Lily Park Trailhead; then continued on to the Holey Rock Trail.  We then looped back to the Bratwurst Ski Trail and brought that all the way back to our starting point–not to worry, we stayed off the ski trails. 😇 (Another group had, kindly, already blazed a snowshoe trail alongside the main road that we were able to follow. 😁)

**As much as we love the Eagle Cliff area, we’ve frequently lost our trail up there.  This has occurred both in the summer and the winter months and has actually been worse in the summer (the tall grasses don’t do much to suggest a trail.  At least in the winter, there are, oftentimes, other tracks to follow!)  Fortunately, we’ve never gotten lost to the point of being in trouble, we were always able to retrace our steps and find our way back.  Sometimes too, we’ve been able to spot the valley we were seeking from a ways off and reach it via off-trail routes.  

I do believe some of this was due to poor signage, the old maps were difficult to read and often sun-faded, or they were an inaccurate match with the current trails that year.  The new ones seem far more clear.  The trail blazes on the trees also seem to be closer together and better-marked now.  It could also be that we’re finally getting comfortable with the area as we’ve completed so many of the trails.  

Related posts:  Cross-Country Skiing at Big Hill, Spearfish, SDWinter Activities at Eagle Cliff

To Conclude

The point to discussing all this is that, if there is a difficult or lengthy trail (or set of trails) you’re interested in, but they seem too challenging or long for you to accomplish in one sitting, complete them in sections!  It still counts as mastering the entire monster, even if you don’t do it all in one try!
Start from one end and try to make it halfway.  Then, on another occasion, start from the other end and make it halfway again.  You just finished the entire thing, even if you only ever did half a section at a time!  

I have a few other, personal examples of this in relation to local trails.  The Trekkers are aiming to hike the entire, 111-mile-long, Centennial Trail that traverses the length of the Black Hills.  We also want to bike the entirety of the Mikelson Trail, the 109-mile-long, graded, gravel path that spans the Hills, from north to south.  It follows an old railroad grade, leftover from the Gold Rush days of yesteryear.   It’s taken us more than a decade, but so far we’ve completed over half of the Centennial Trail and almost the same amount for the Mikelson.  

With routes that are quite lengthy, numerous trailheads often split them up into more manageable sections.  Completing one several-mile section every few months is far simpler than attempting an entire 25-mile trail all at once.  

We’ve even split up single sections before.  There is a 14-mile portion of the Mikelson trail that we’ve just never been able to finish all at once.  We HAVE completed it using the “halfway method” mentioned above, starting from each direction, though.  

This technique is also a good way to keep your spirits and enthusiasm up.  It’s much easier to stay motivated if you’re not trying to psych yourself up for a crazy excursion, but instead, a fun, shorter, one-day outing.  

With this post, I want to stress that you don’t have to be a marathon recreator.  It’s perfectly reasonable to be more of a “sprinter”, who feels a five-mile outing is a perfectly acceptable definition of a “full day”.  When you’re out on the trail you aren’t competing with anyone or anything else (with the exception of Mother Nature, of course).  Your only rival is yourself. So, don’t compare yourself to others.  The only thing that matters is that you’re improving your skills, your strength, and your health–both mental and physical–along with it.  

The other caveat is, of course, that you’re having fun!  As long as you’re getting out, connecting with the natural world, working off the steam of any built-up, negative energy, and you’re accomplishing the goals you have set for yourself, that’s the only thing that’s really important.  

You’ll find achieving goals is also quite the confidence booster, as you’re pushing yourself and meeting challenges. (If you are the marathoner-type person who can go out and accomplish 20 miles in one sitting, mad points to you too! 😉)

So, what are you waiting for?  Get out there and accomplish some goals and in the process, boost your confidence by finishing​ what you start!   

Have you conquered lengthy trails in small sections?  Tell me about it in the comments!


Did you enjoy reading this post?  Pin it!
A wooden sign on a wooden signpost along a dirt path in the woods. Pin reads, "Conquer Lengthy Trails in Small Portions"


Like what you read here today?  Please feel free to leave a comment, like or share this post!  Add your email at the bottom of the page, or the sidebar to the right, to be notified when a new post is published.  By signing up for the email list, you will also receive a free copy of the Tranquil Trekker’s Top 10 Tips of Trekking Do’s and Don’ts!

You can also follow the blog on social media by clicking the links below!
Facebook

Twitter

Instagram

Pinterest


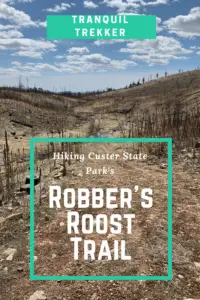
Hiking the Robber’s Roost Trail, Custer State Park

In this post, I review two adventures where we learned the value in seeking out the “boring” locales, even on “less-than-ideal” days.


Author’s Note: The Trekkers originally hiked the Robber’s Roost Trail in Custer State Park on a foggy, mild, January day.  Many of the pictures below are from that trip.  We have since returned in warmer weather and found it to be equally enjoyable so I’ve added a few more pictures! 

Is it cold out, or windy, or really hot, or raining…then it’s not a good day to spend outside, right?…or is it?

The Robber’s Roost Trail, in Custer State Park, can be enjoyed in almost ANY weather!

One thing anyone who lives near mountainous terrain can tell you is the weather can change at a moment’s notice–which can be both good and bad–and it can vary greatly between nearby locations.  The Trekkers have experienced this frequently. 

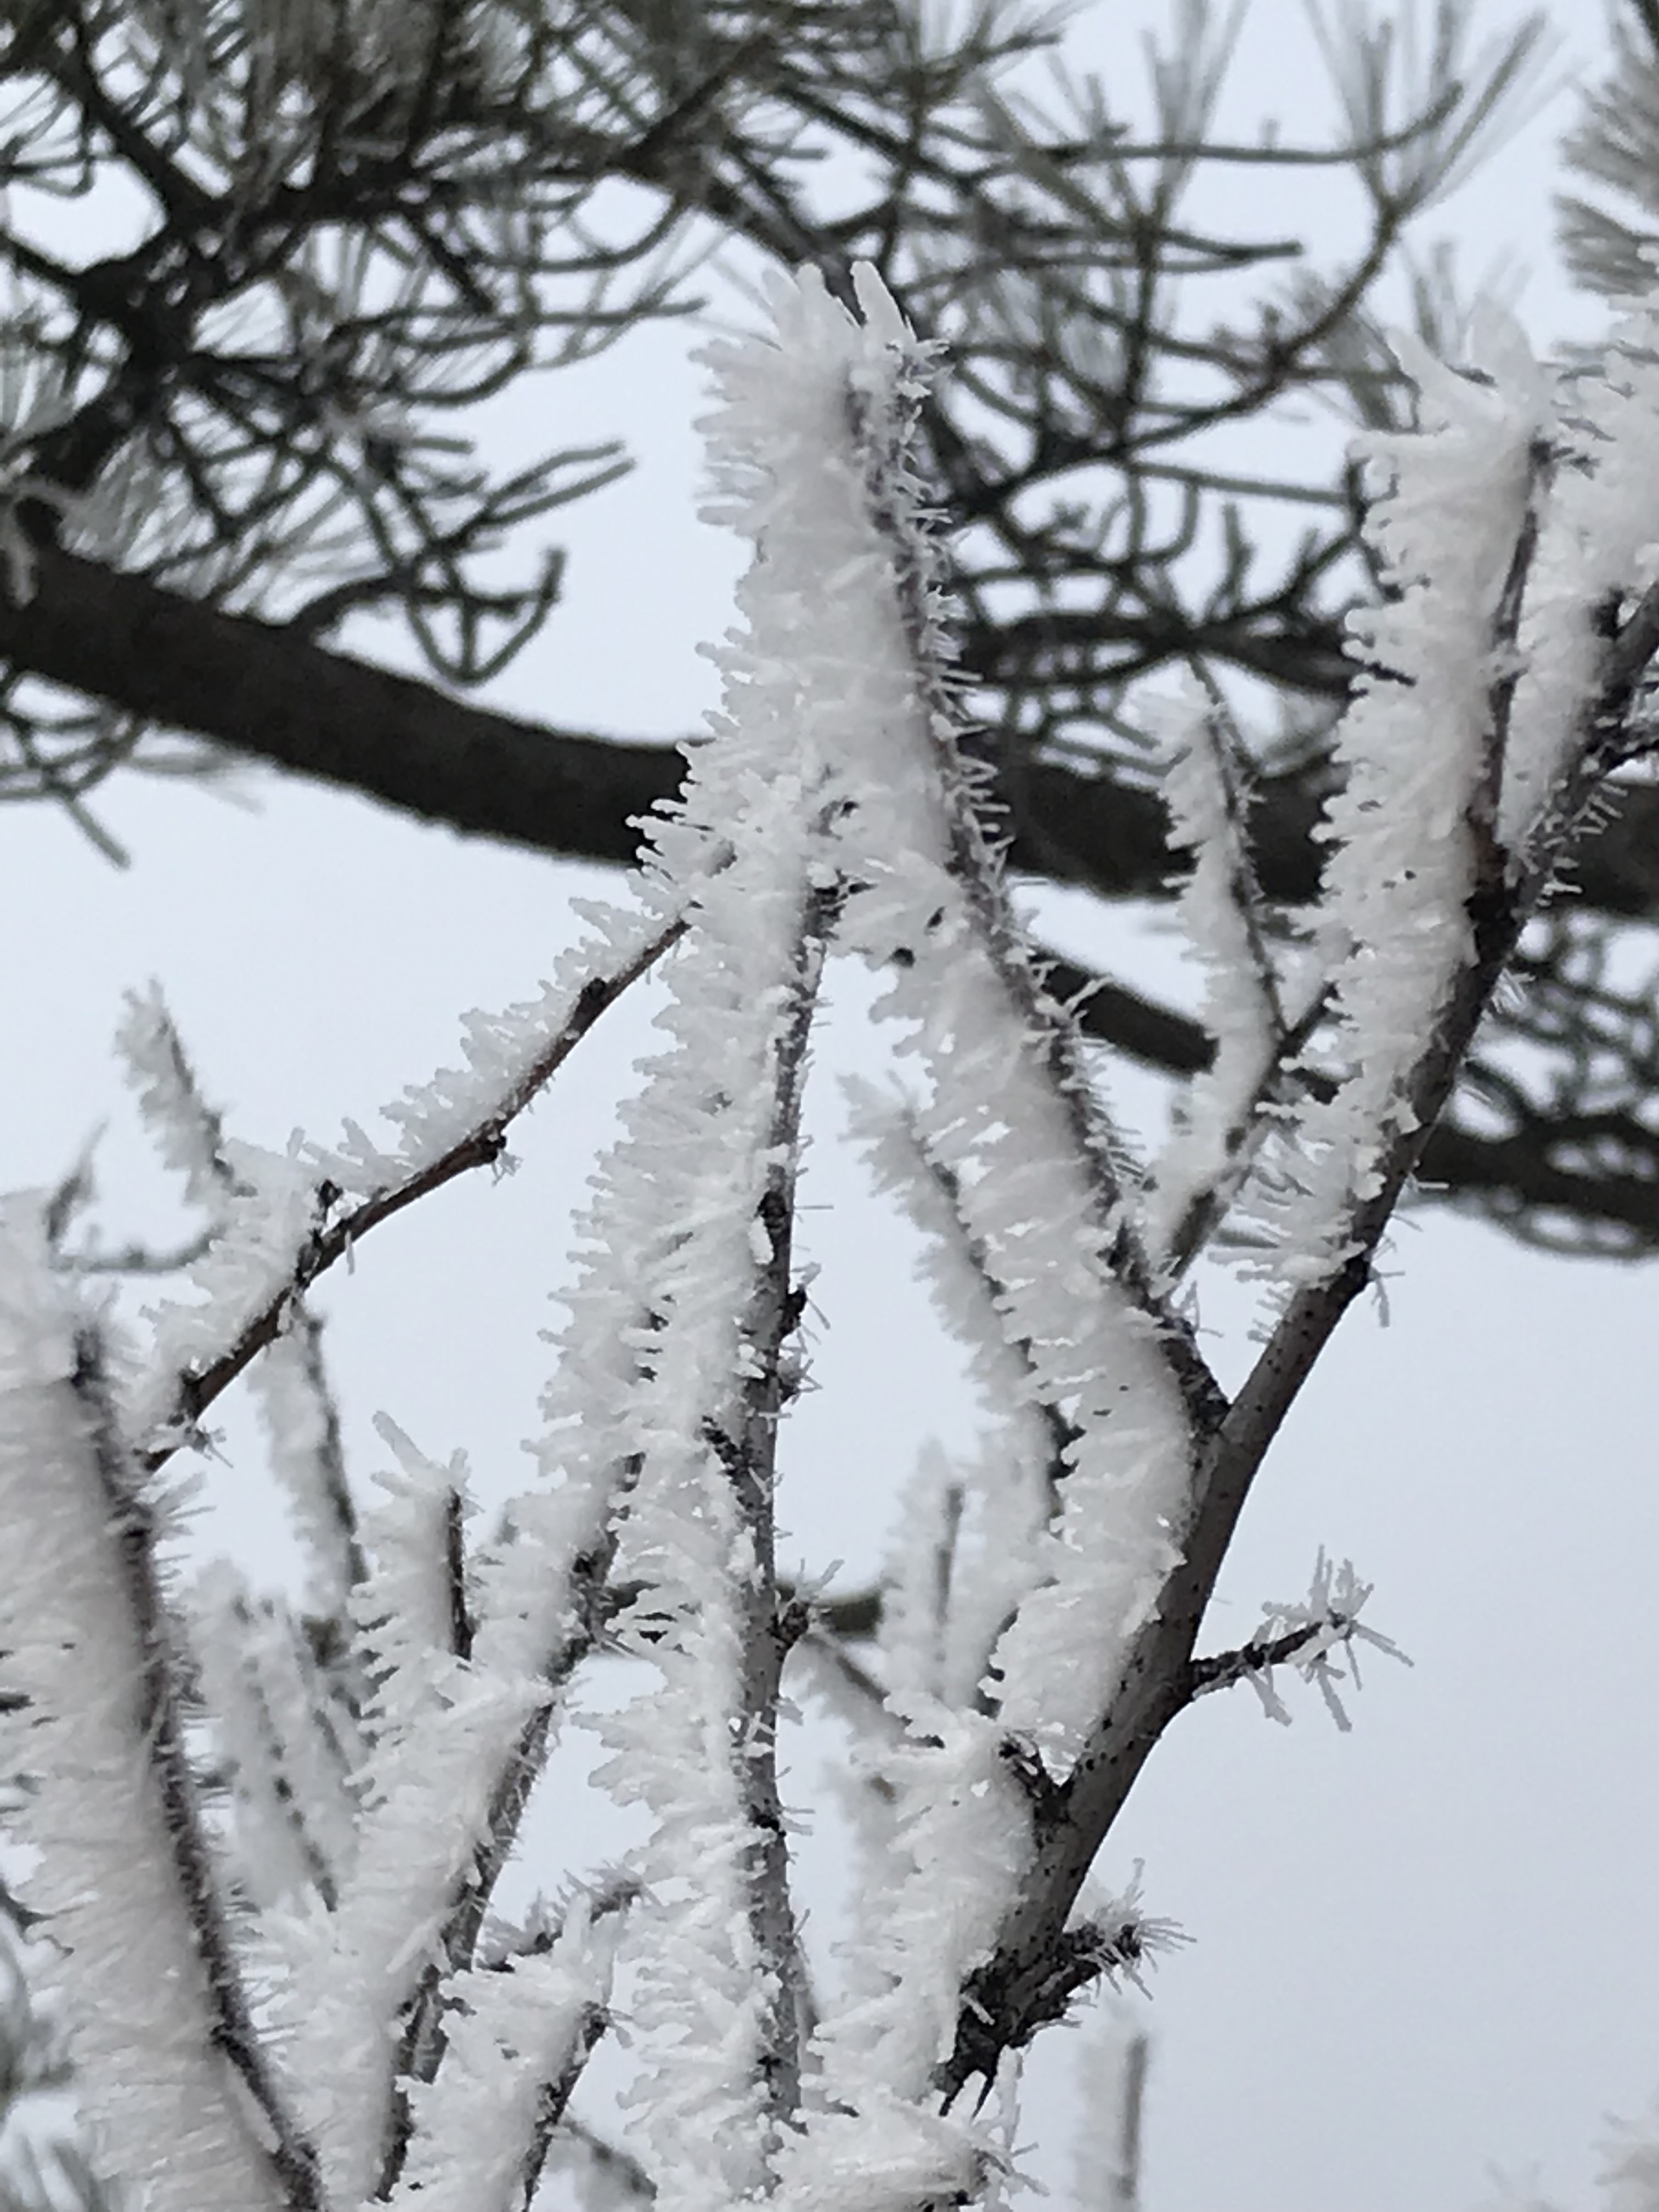
One particular January day our local area was socked in with heavy, freezing fog.  It was a damp, 30ish-degrees so it wasn’t exactly ideal for being out (though the hoarfrost on the trees was beautiful!)  

Previous experience has shown us how variable our local weather can be, dependent on terrain.  Due to this, we knew the weather in the Black Hills could be far different than what we were currently experiencing in town (being married to a meteorologist who can look up conditions in certain areas helps too 😉).  So, we decided to try out the Robber’s Roost Trail in Custer State Park.  We knew, at the worst, we would be able to enjoy a pretty drive and could get some nice hiking in, while at the best the weather could be FAR different as we climbed in elevation.  Boy, was it!

A Foggy Drive through Custer State Park

As we headed for the park, Mr. Trekker made the prediction that we’d emerge from the fog shortly after passing the entrance sign (where the road begins to gain in elevation)…he was right on the money! (I’m gonna channel Johnny Depp from Pirates of the Caribbean and state, “There’ll be no living with him now.” 😝)  

As we headed toward our trailhead, we made several stops for photo opportunities of the gorgeous hoarfrost the freezing fog had left behind.  I can’t quite explain why, but that natural occurrence utterly fascinates me.  The way the frozen crystals cling to the local flora can cause a smooth piece of bark to look almost furry.  It reminds me of the tiny hairs on a spider’s legs.  

Close-up view of bare tree branches that are covered in frosty needles of ice
Isn’t this incredible?

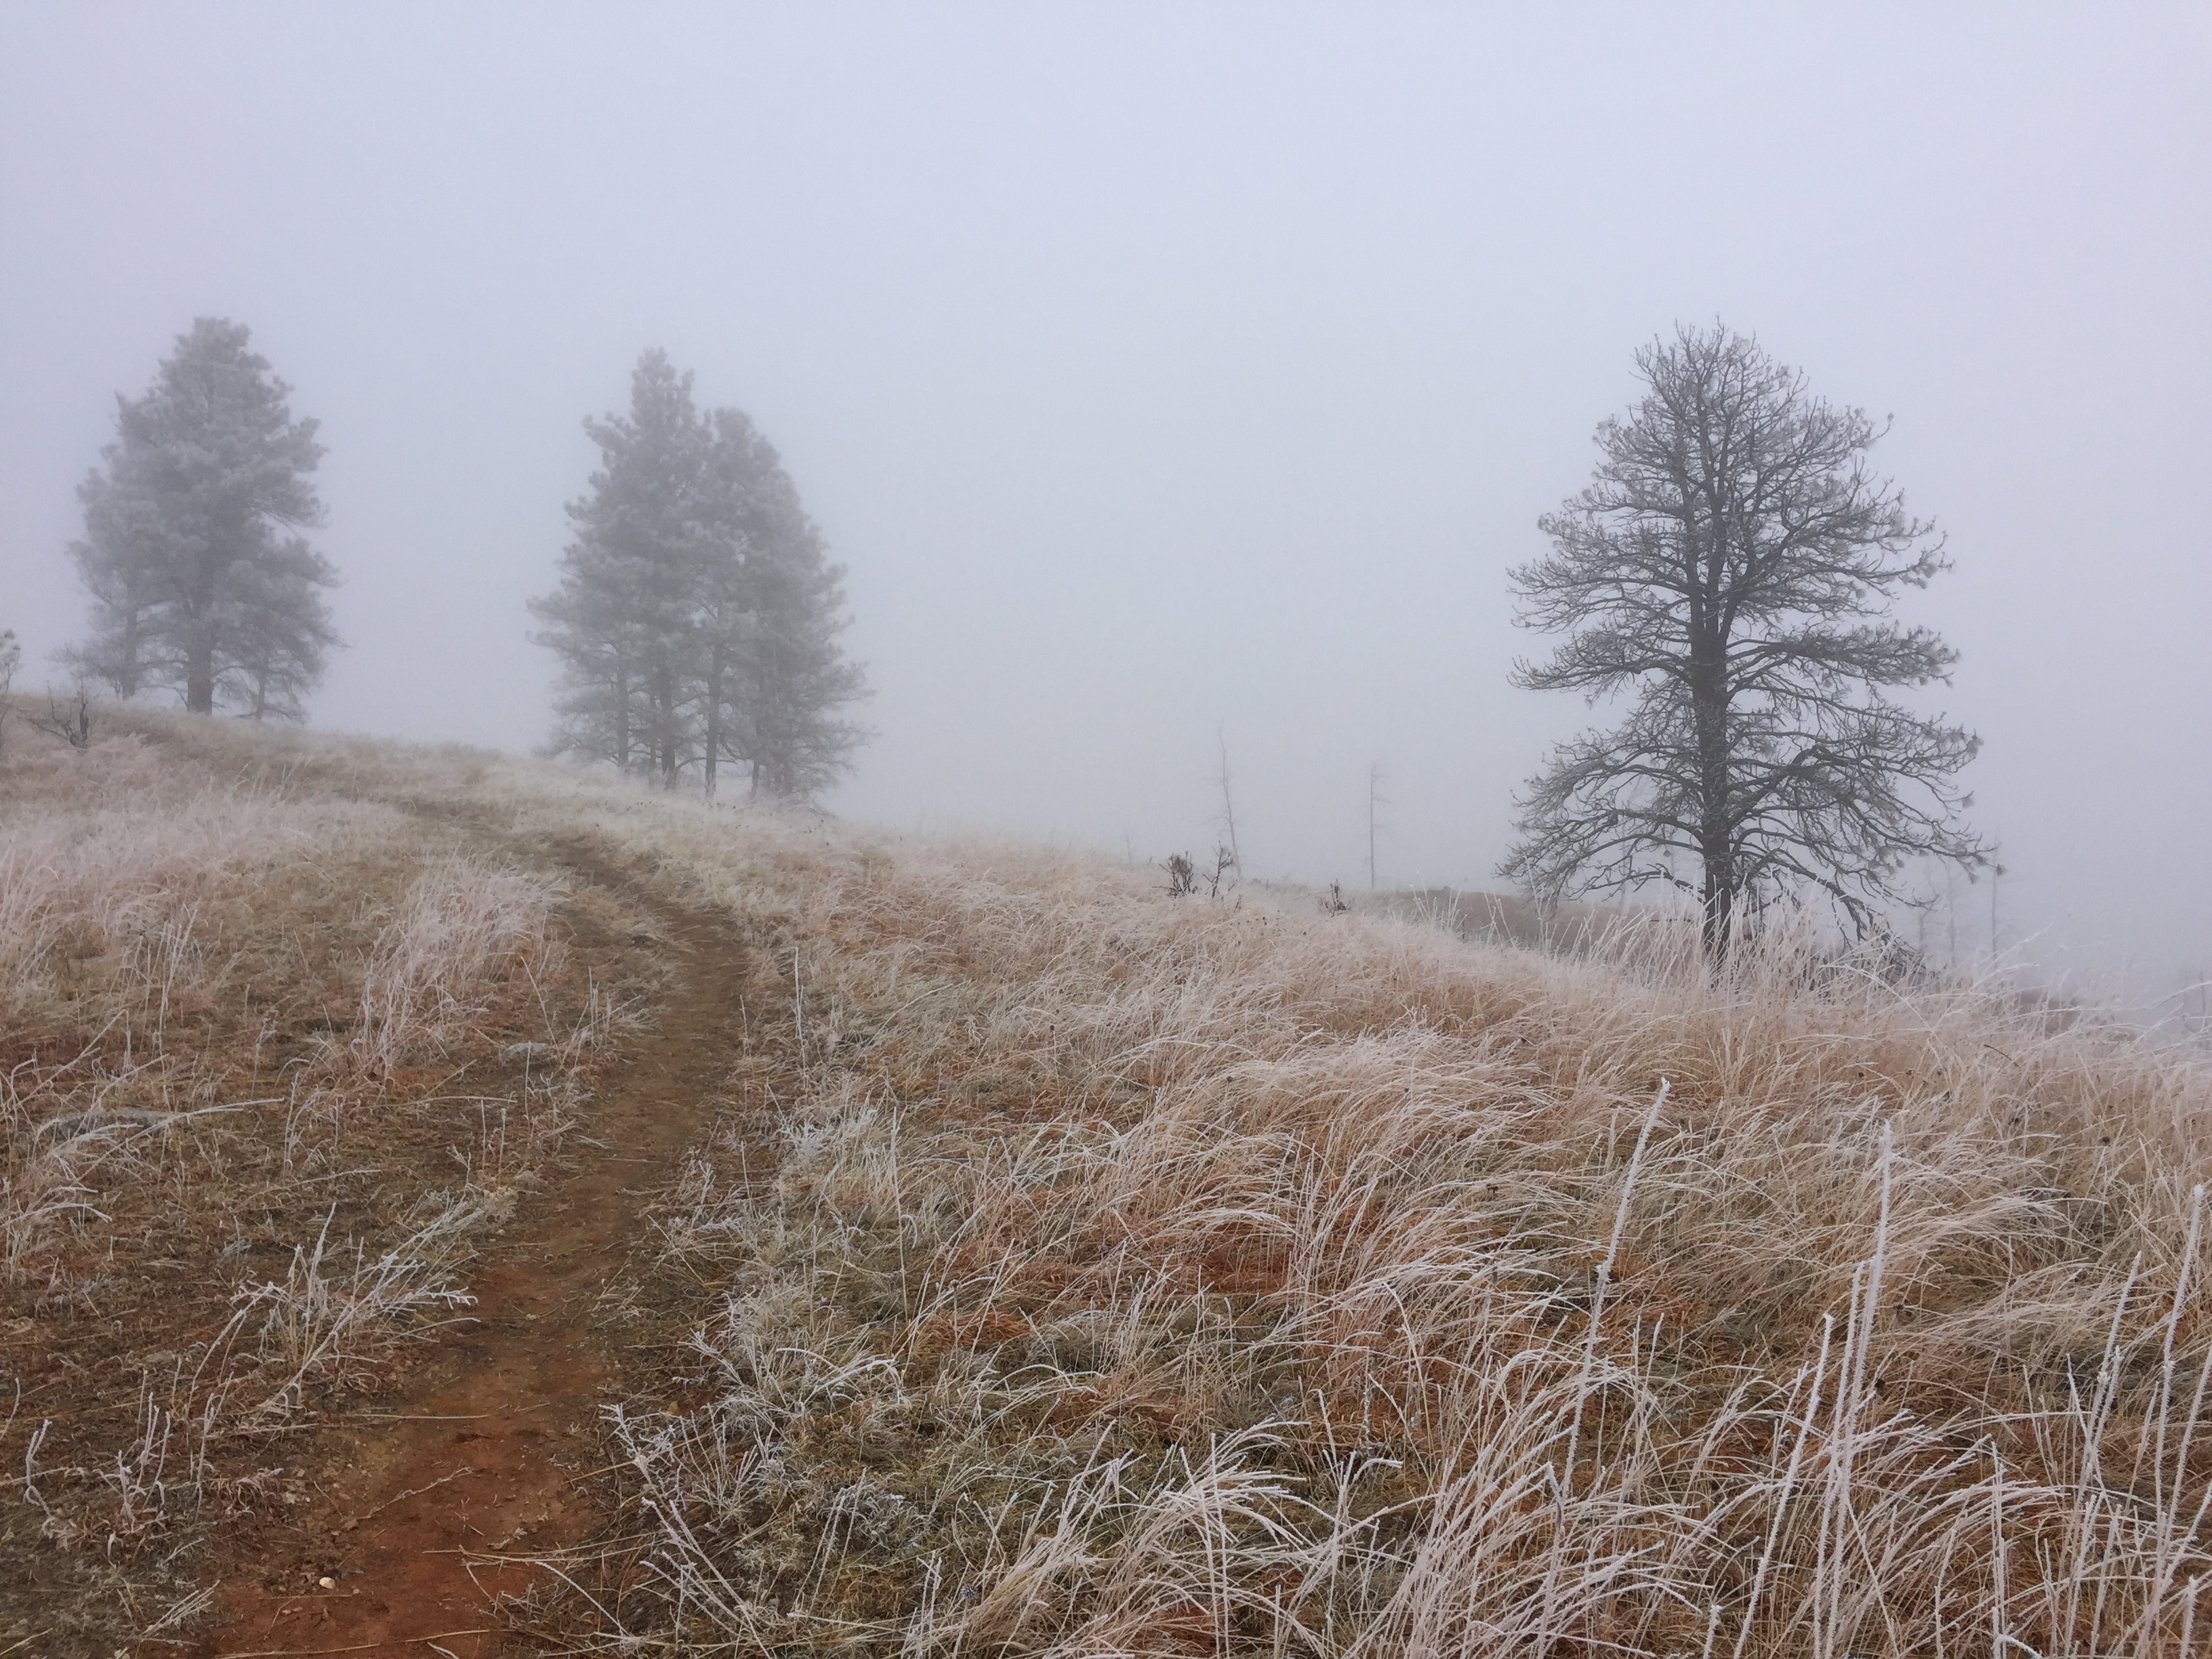
Close-up view of a dirt path that runs through a brown-grass meadow with frost covering the individual grass stems. Pine trees appear through fog in the background.

Close-up view of tiny pine trees in a brown-grass meadow with frost covering the individual grass stems. Pine trees appear through fog in the background.

Hiking the Robber’s Roost Trail

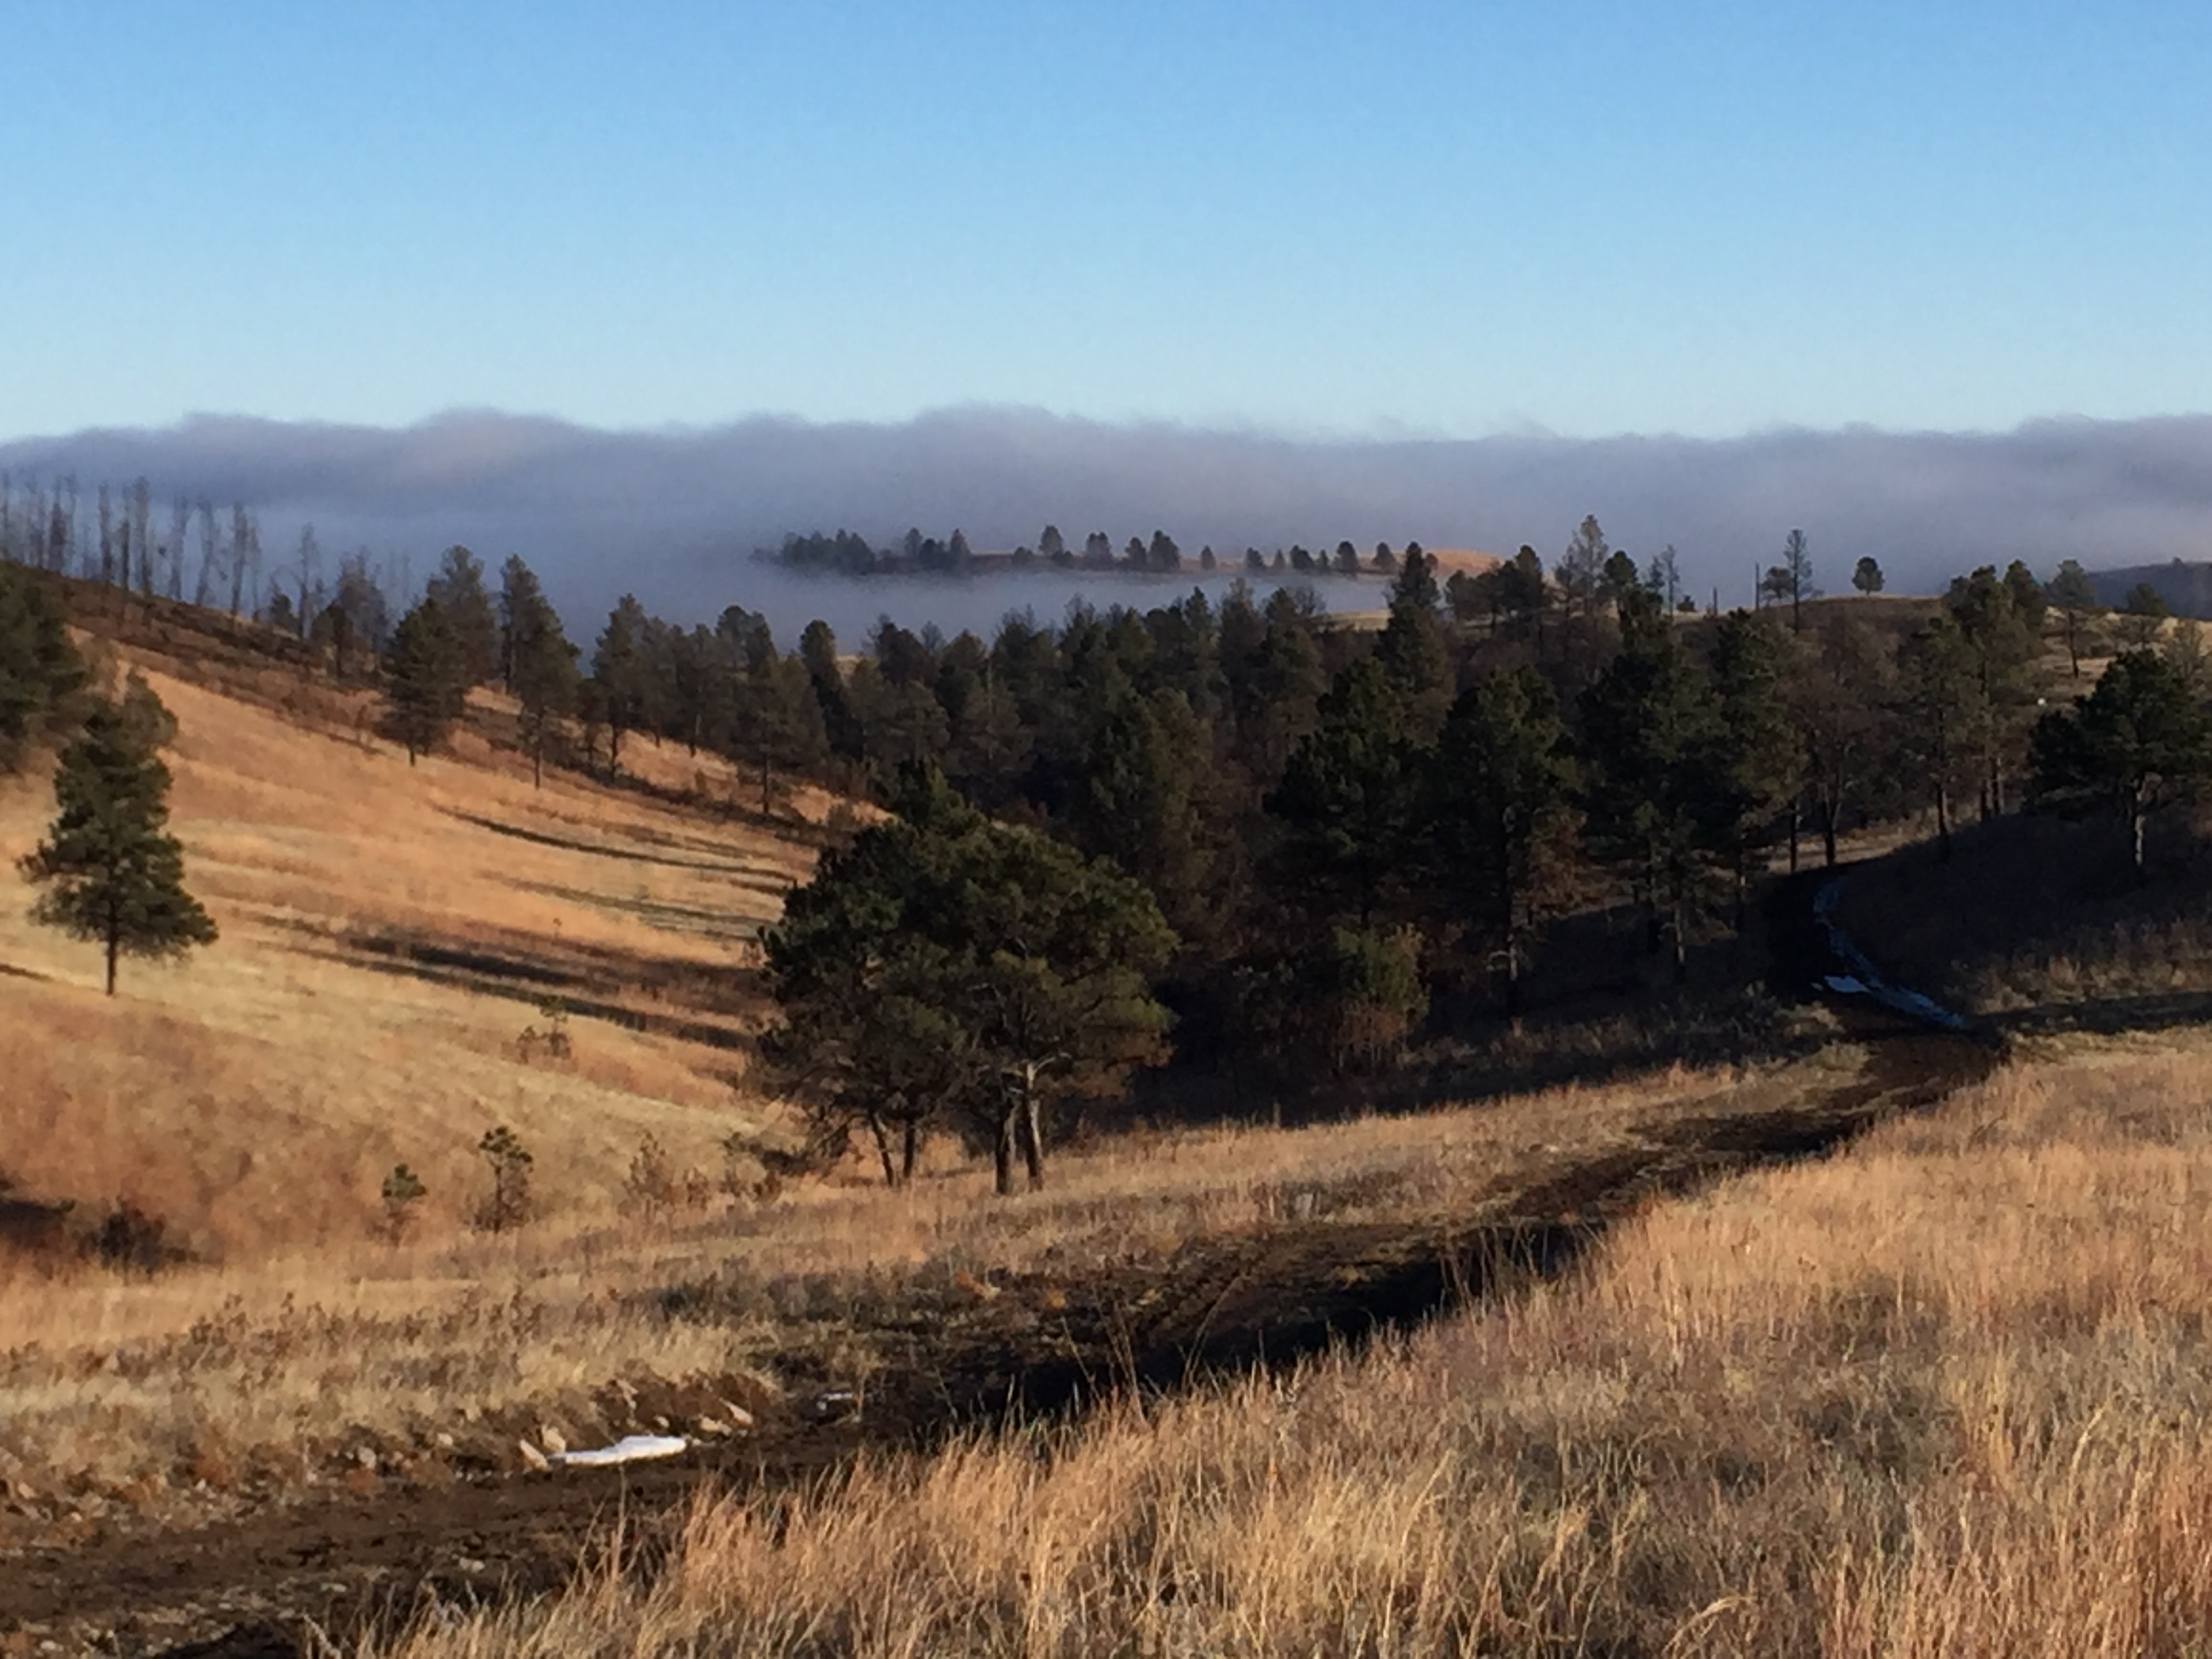
When we arrived at our trailhead, the sun was shining brightly, and continued to do so…for the remainder of the afternoon!  We had many opportunities to view the fog bank below us, in the lower elevations, but it never reached our altitude until the very end of our trek.  By then, we had returned to the car and were wandering about, seeking out prime picture opportunities.  😁

A dirt path runs through a brown-grass meadow with pine tree-covered hillsides in the background. Fog rises over the trees and hills in the far background, all under a clear, blue sky.
The fog is coming!

A brown-grass meadow with pine tree-covered hillsides in the background. Fog rises over the trees and hills in the far background, all under a clear, blue sky.

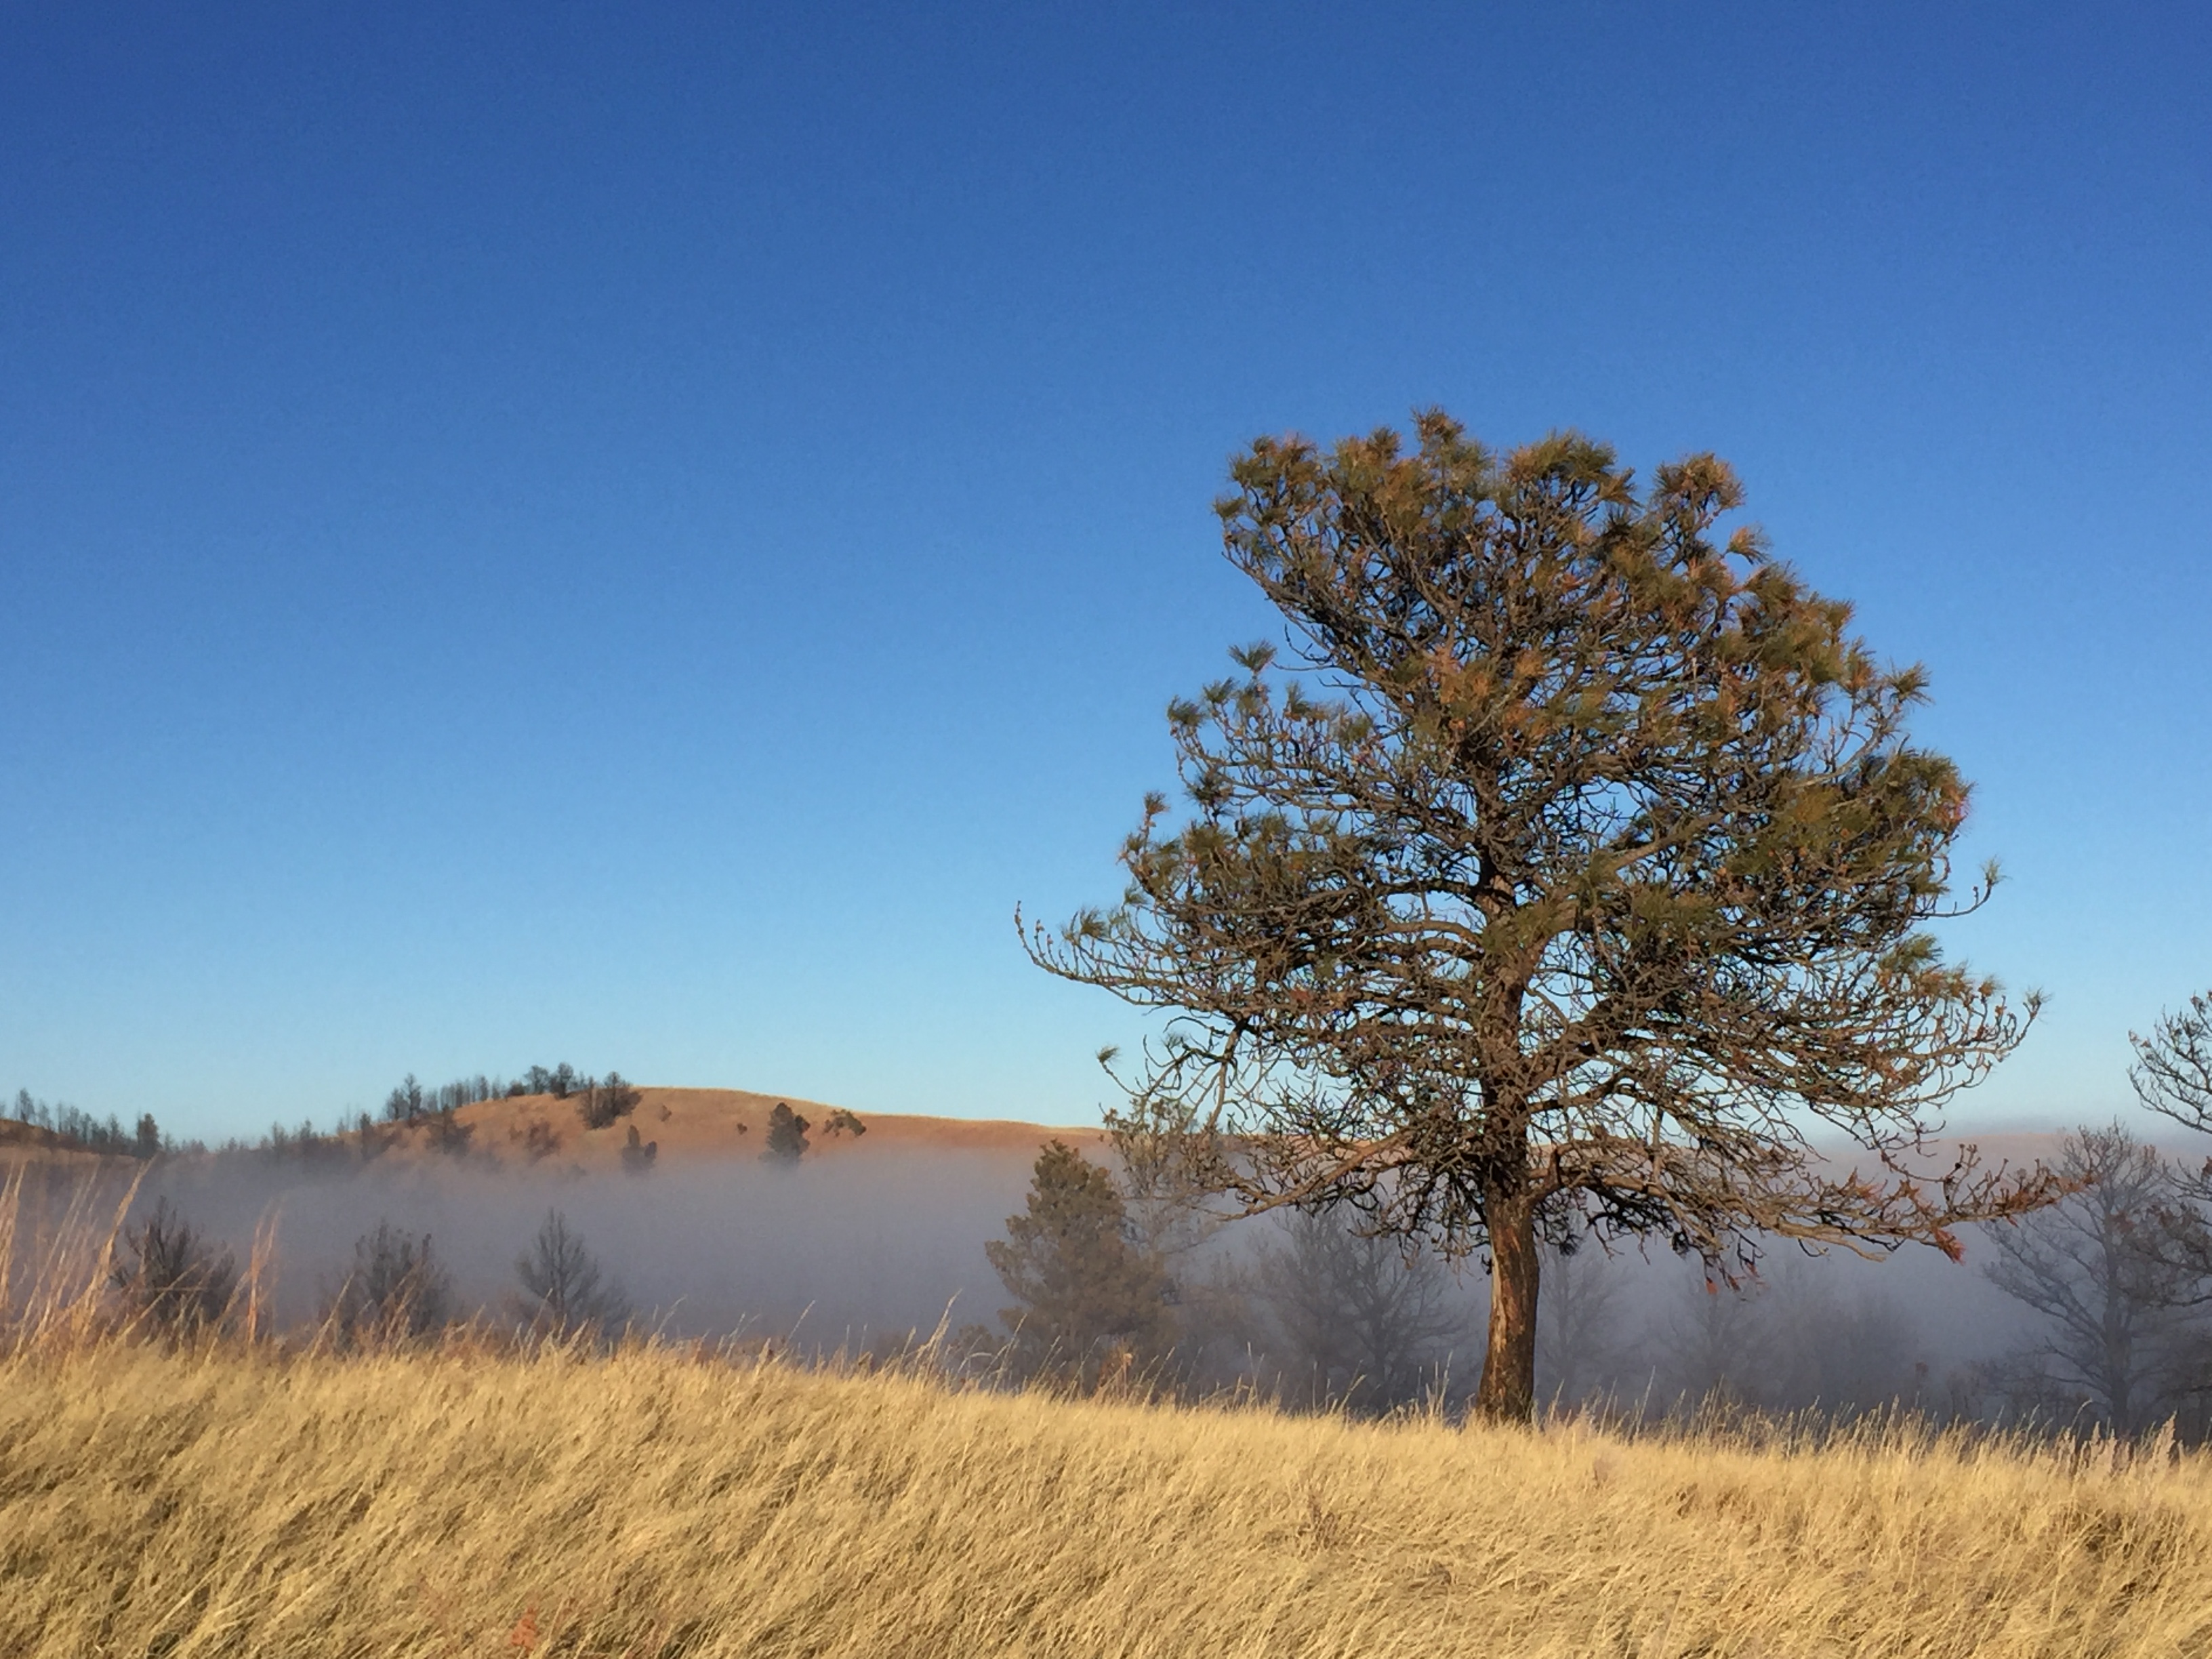
A single, pine tree sits on a brown-grass hill with smoke rising over the pine trees in the valley behind, all under a clear, blue sky.
It was incredible, watching the fog slowly rise from the lower elevations.

A brown-grass meadow with pine tree-covered hillsides in the background. Fog rises over the trees and hills in the far background, all under a clear, blue sky with a foggy sun shining through.

The trail isn’t anything exciting, it’s just an old fire road that winds through prairie land, around and over hills throughout the park, but we had a great time!  

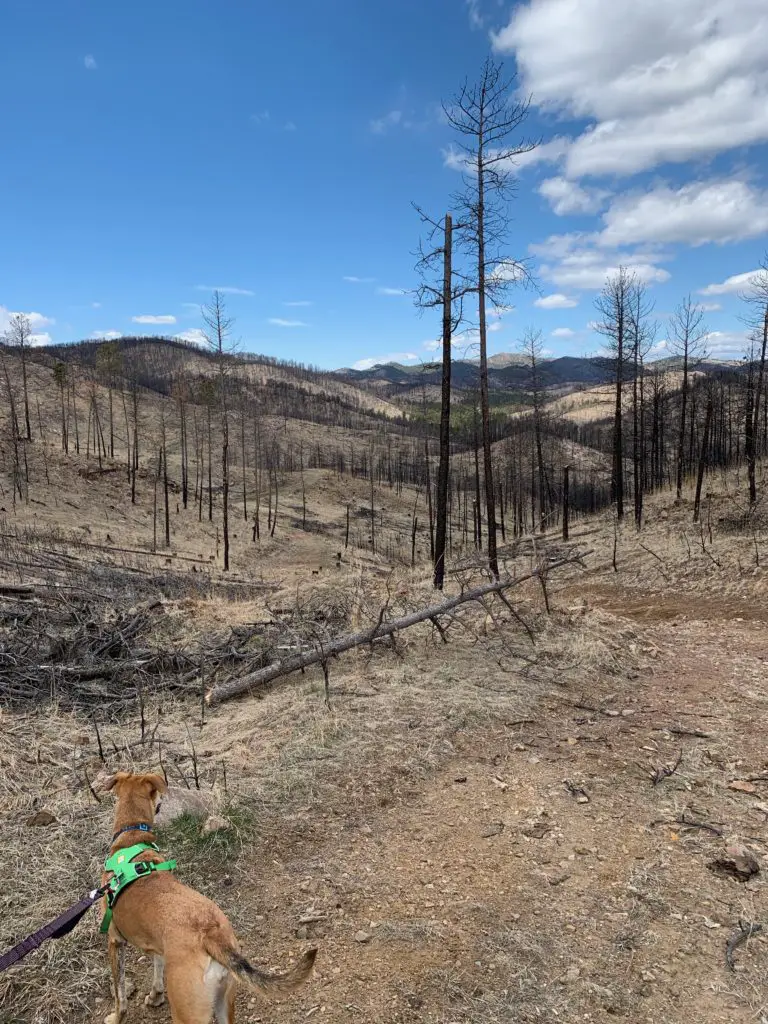
The scenery used to be more picturesque, but after the large, Legion Lake Fire that swept through this area in December 2017, this portion of the park now consists, mainly, of a burn scar.  For this reason, be aware, that in the warmer months, there is very little shade.  You should be prepared for hot conditions.   

If you’re looking for some additional fun activities to check out in Custer State Park, click here!

Where is the Robber’s Roost Trailhead?

The trailhead is located in the southern portion of Custer State Park, off of Oak Draw Road (just to the east of the Prairie Trail trailhead).  You can reach that road from the southern arm of the Wildlife Loop Road (Route 16A).  

The hike just follows an old, forest road, out-and-back, though it can be combined with other old roads, in the local area.  These would make for a great hike, horseback, or mountain bike ride. (We’re planning to try this route on our bikes soon!) 

A dog looks down a brown-grass hillside over an expanse of other hills in the distance, all covered by trees that appear to have been burnt.
Puppers enjoying the hike!
A dirt lane traverses a brown-grass hillside with a lone, pine tree on it's side and tree-covered hills in the background--some of the trees appear burnt.
You can see the burn scar in the distance

Below is a short video I took, at the end of the hike, of the coyotes’ haunting song that seemed to welcome the fog as it silently slipped back up the mountainside…(turn the sound up for this one!):

Below are a few more pictures of our trek.  Thanks, as usual, to Mr. Trekker, for several of the pictures!

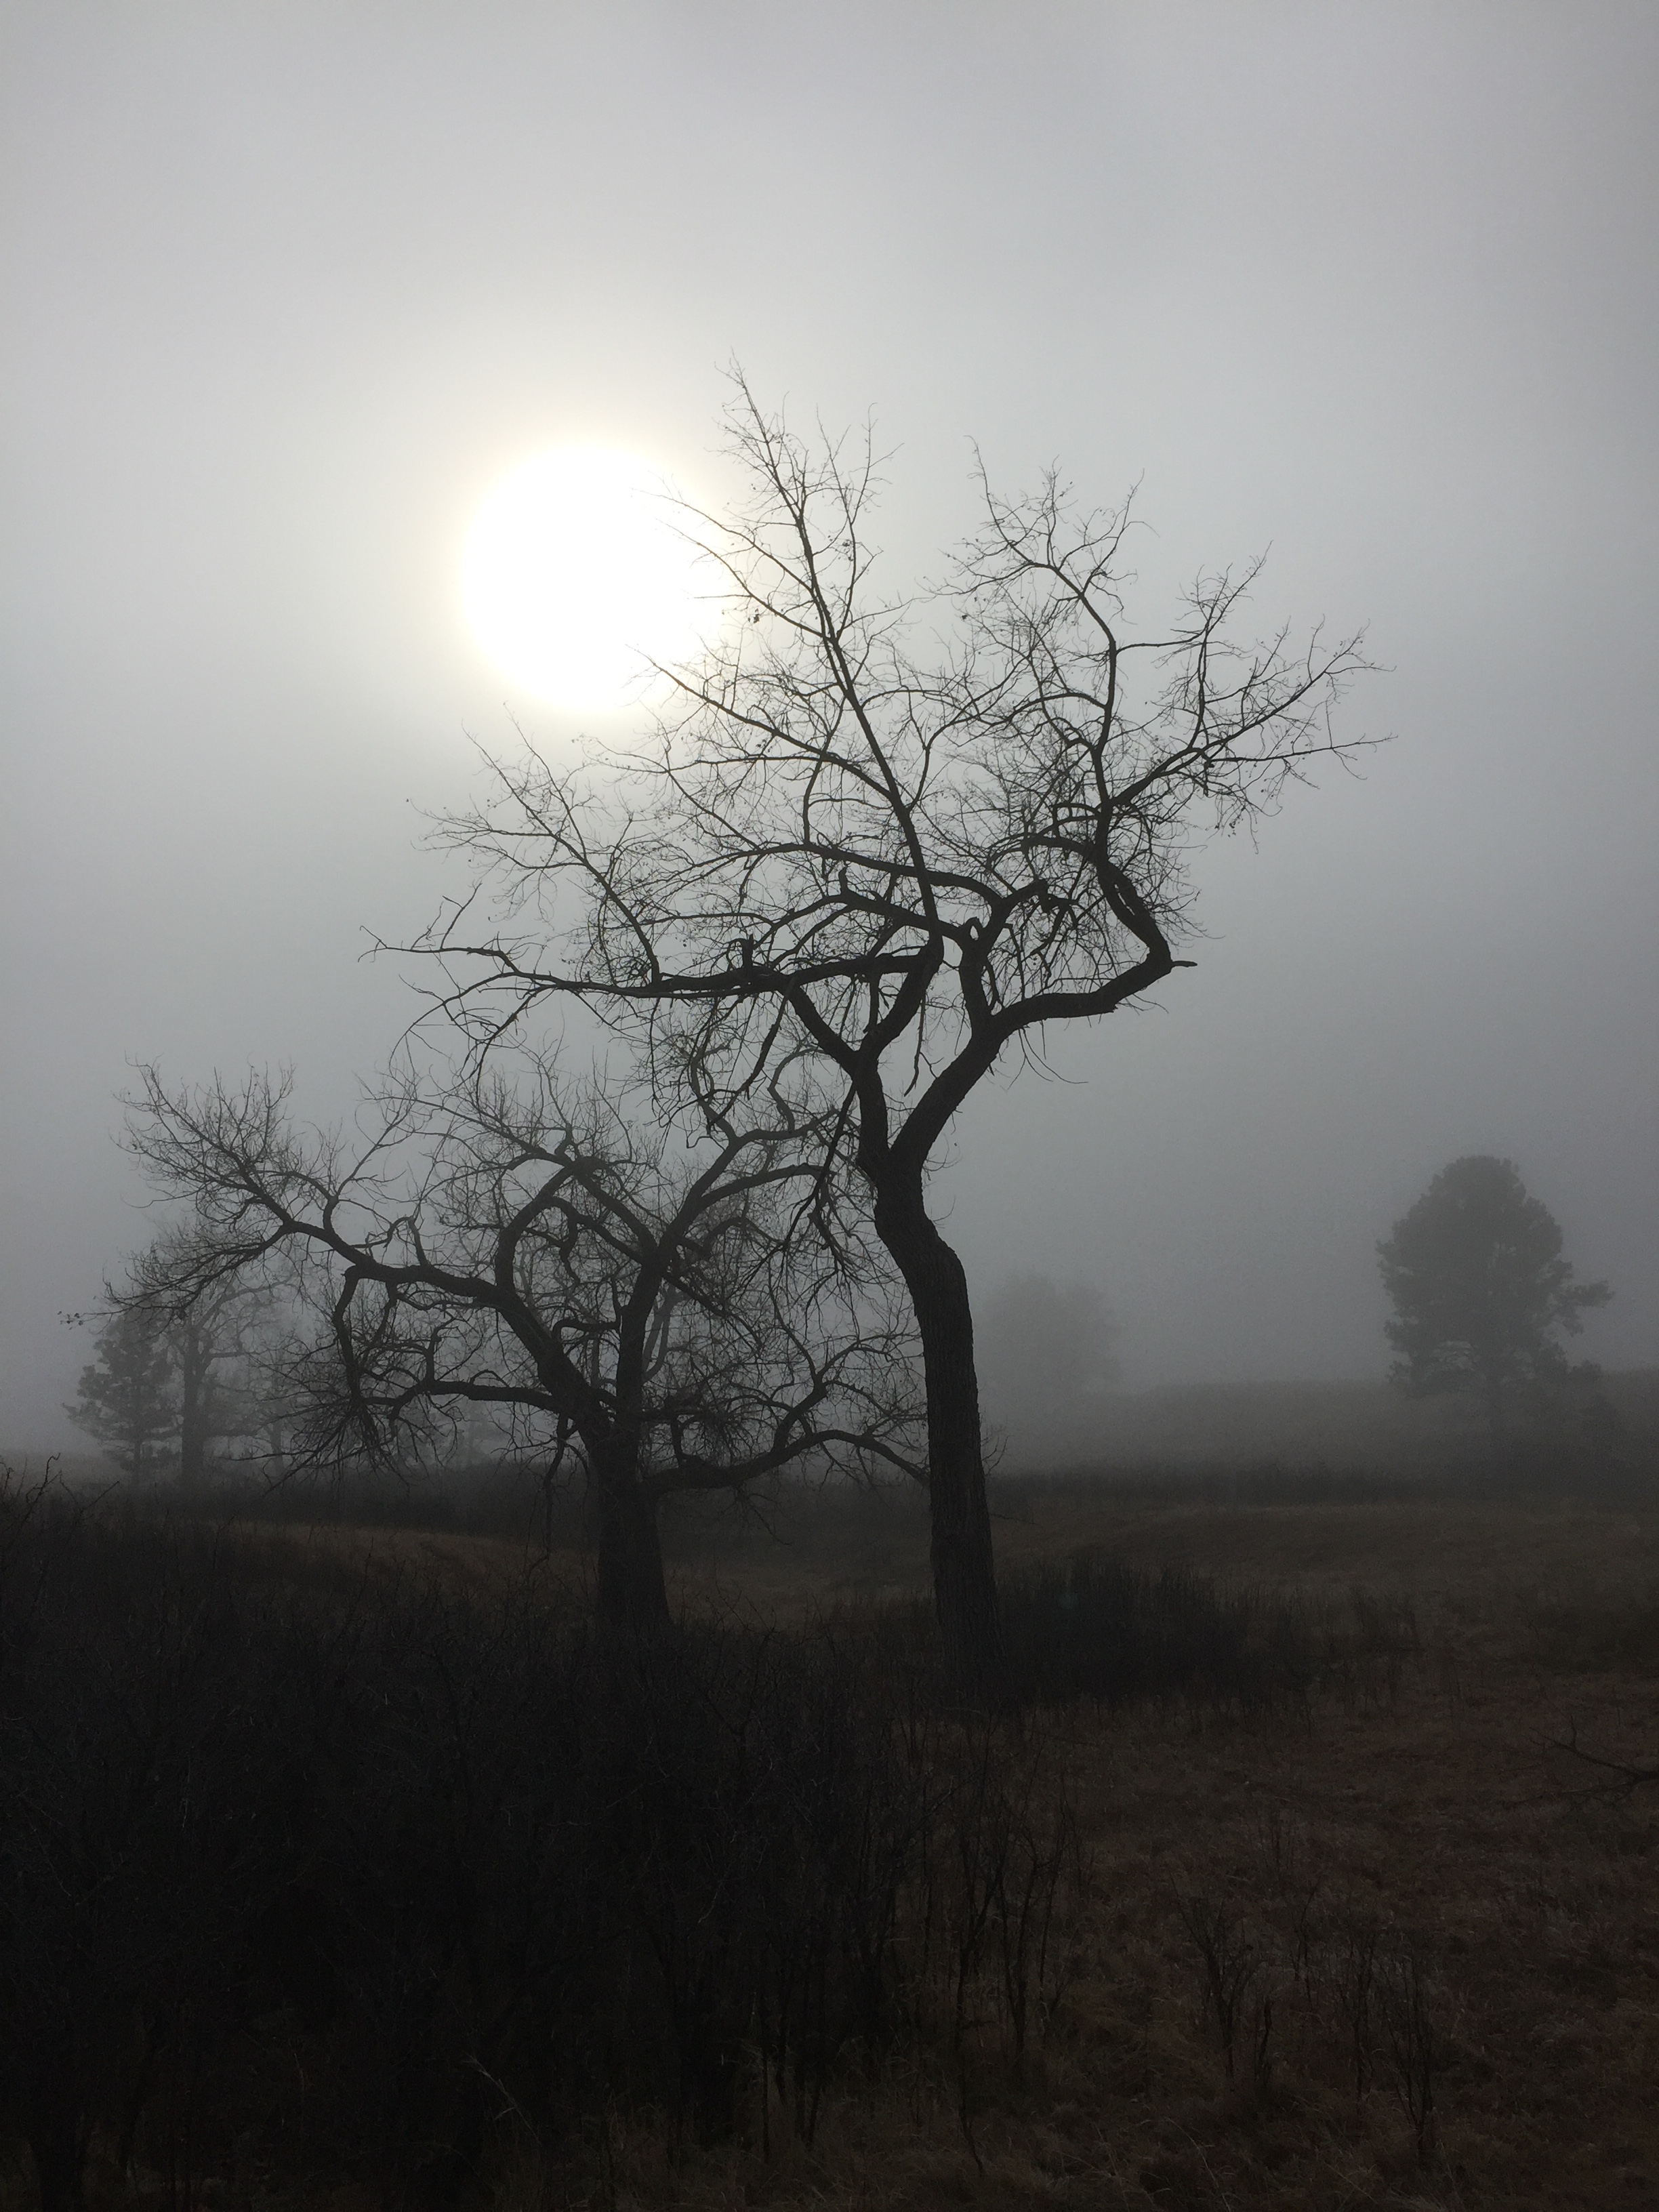
Picture looks black & white. Leafless trees and a milky sun appear through the fog

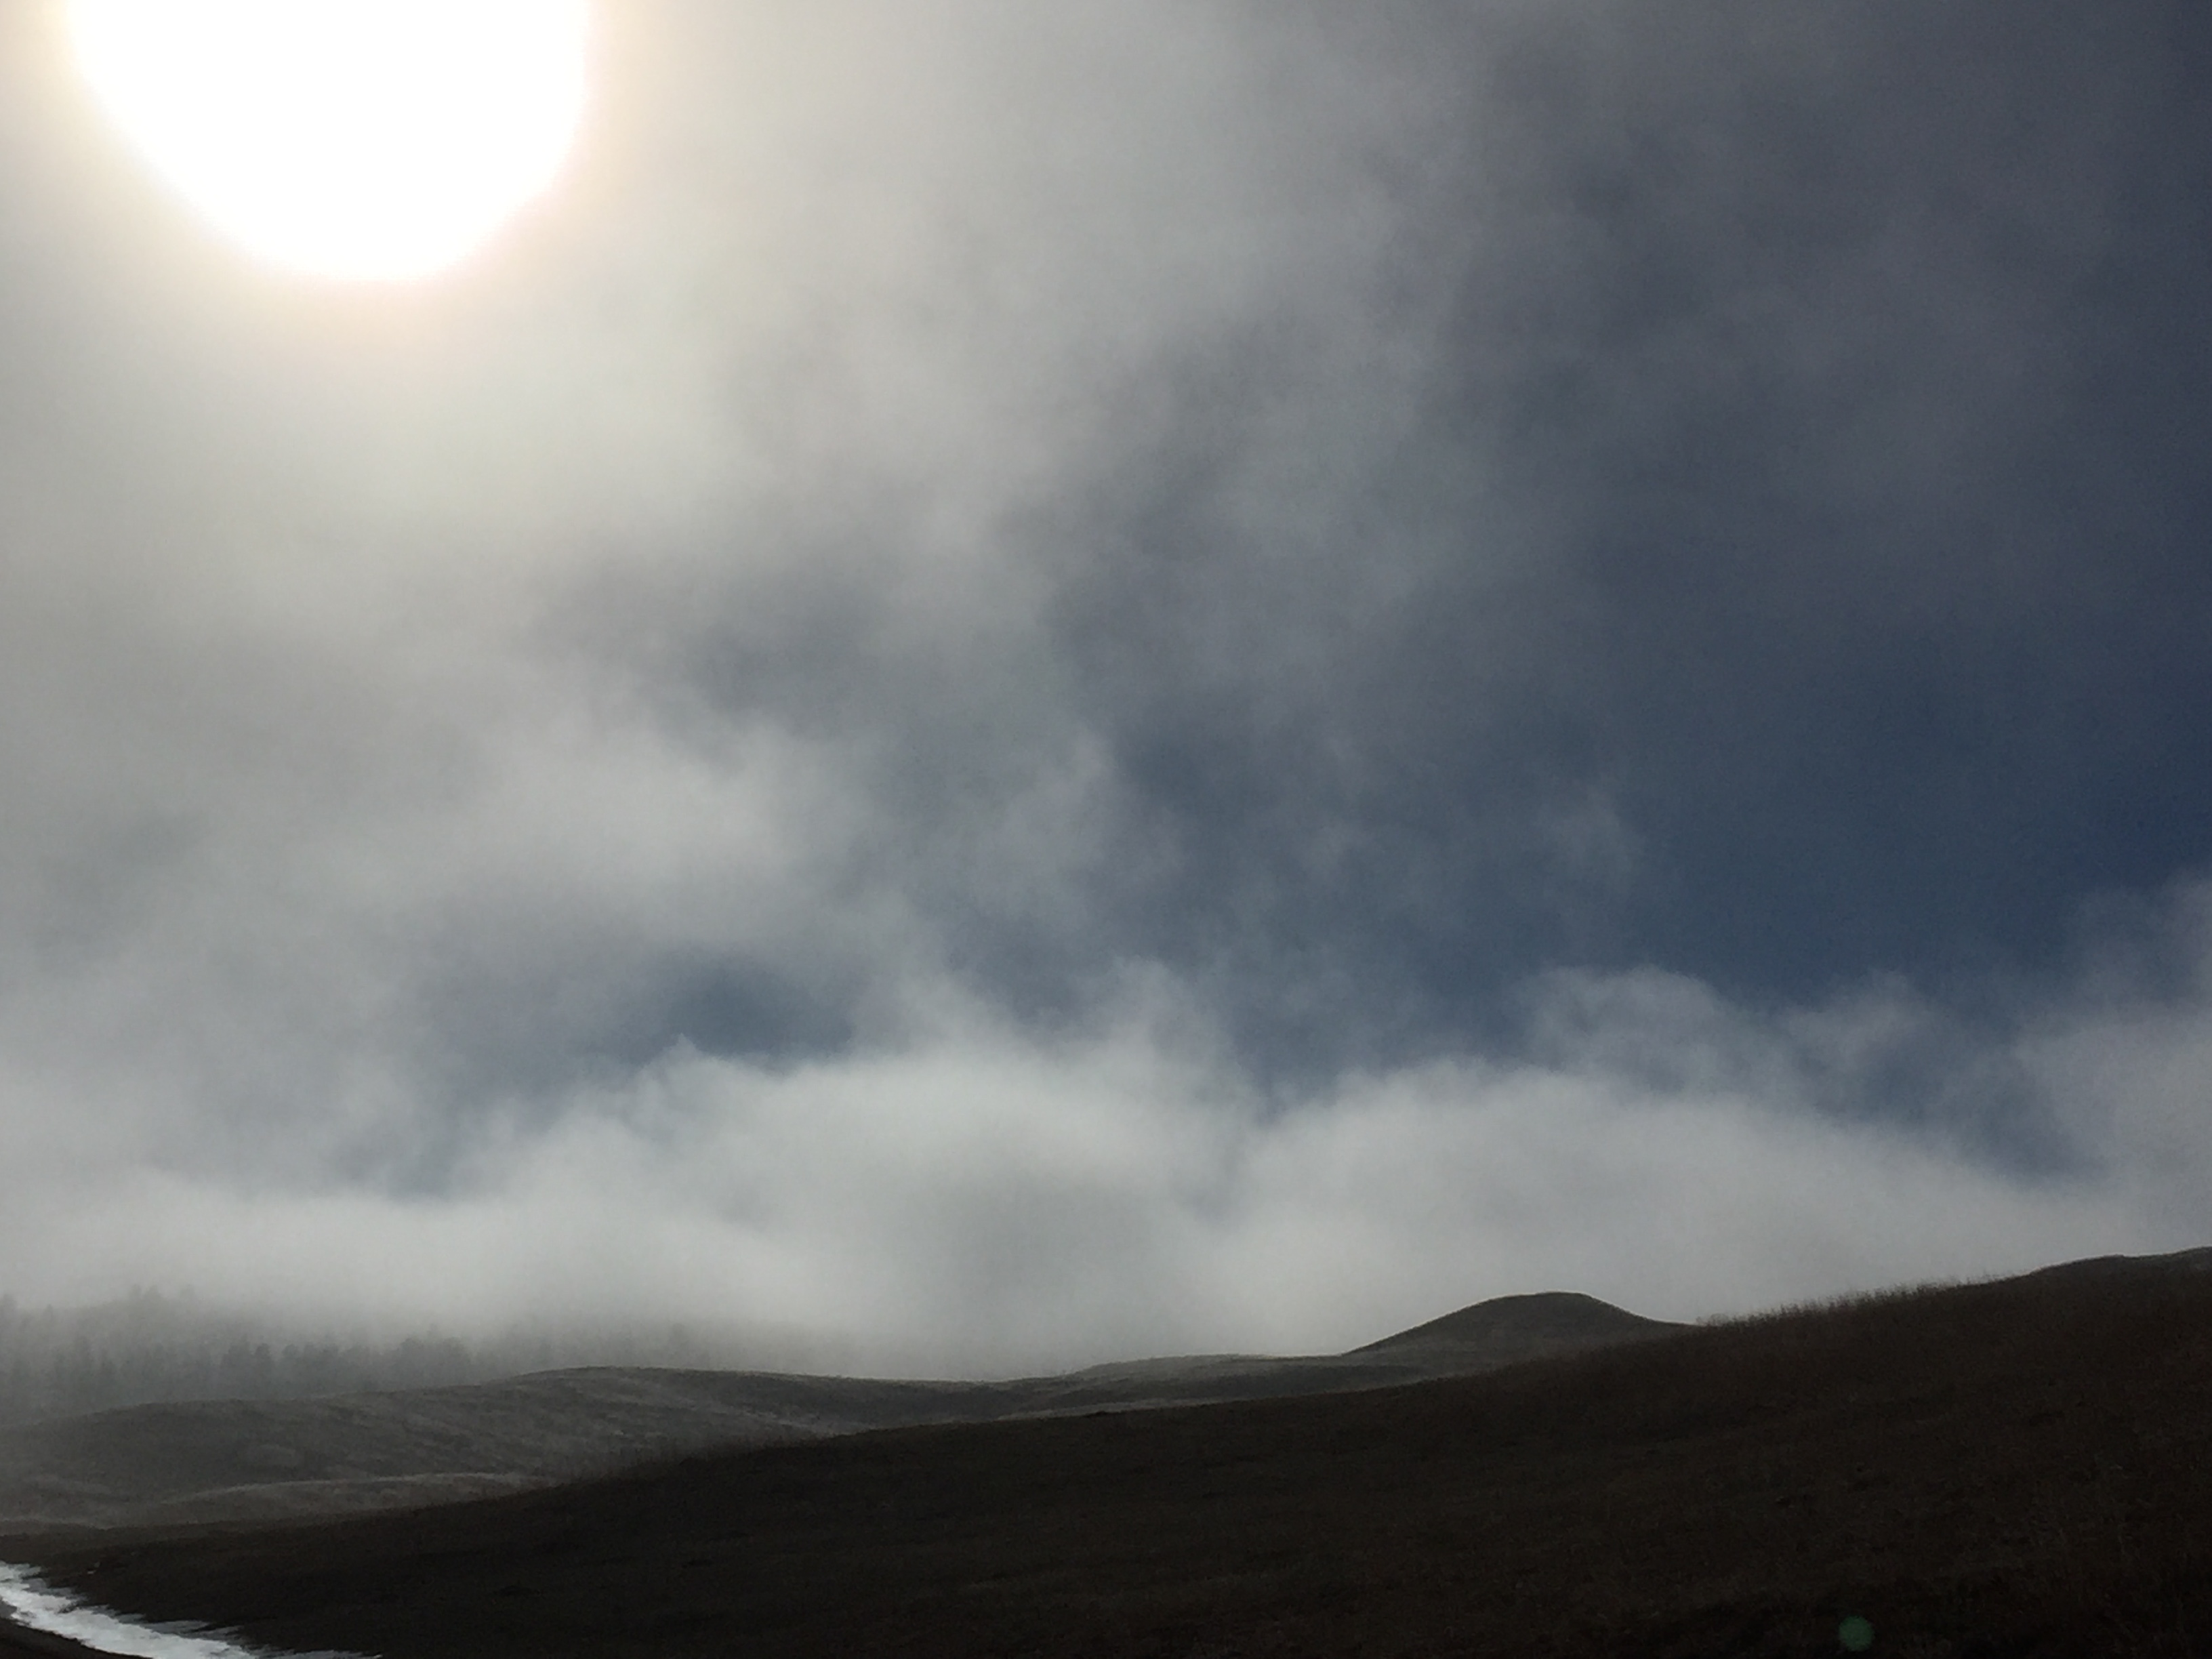
The sun shines through whispy fog as it rises above hills
To me, this picture feels otherworldly, like smoke rising from a scorched landscape (it is just fog).
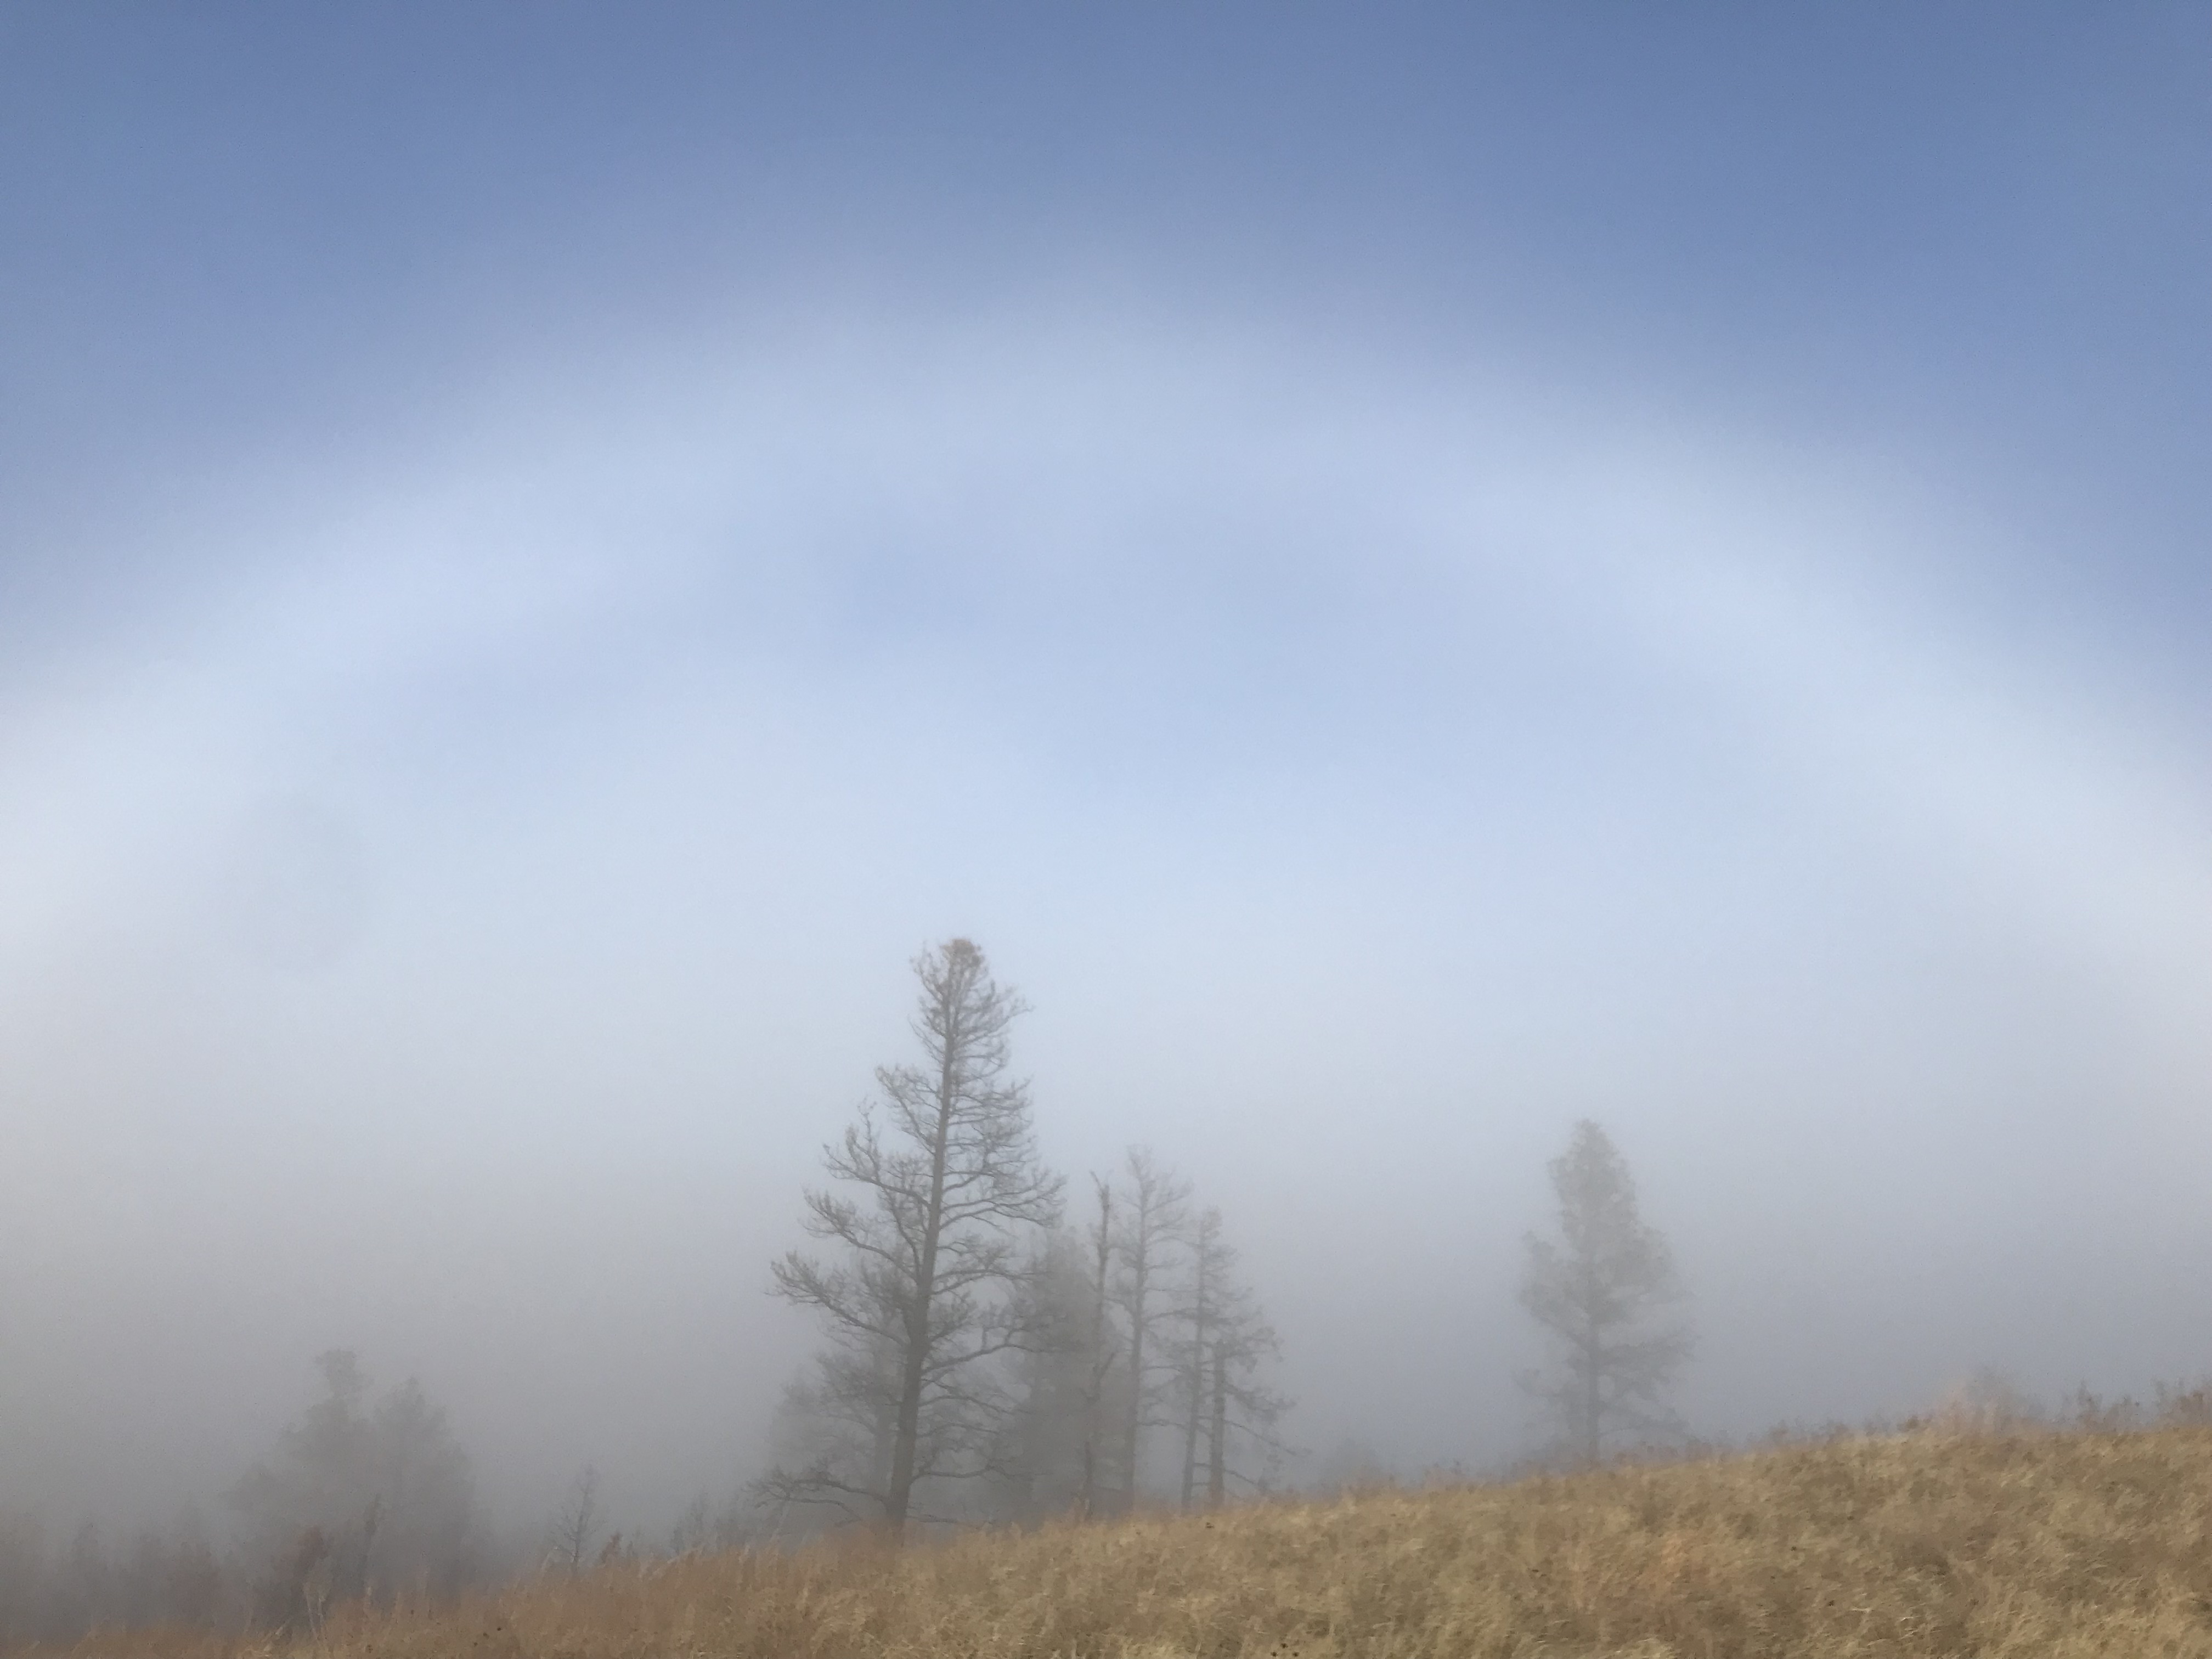
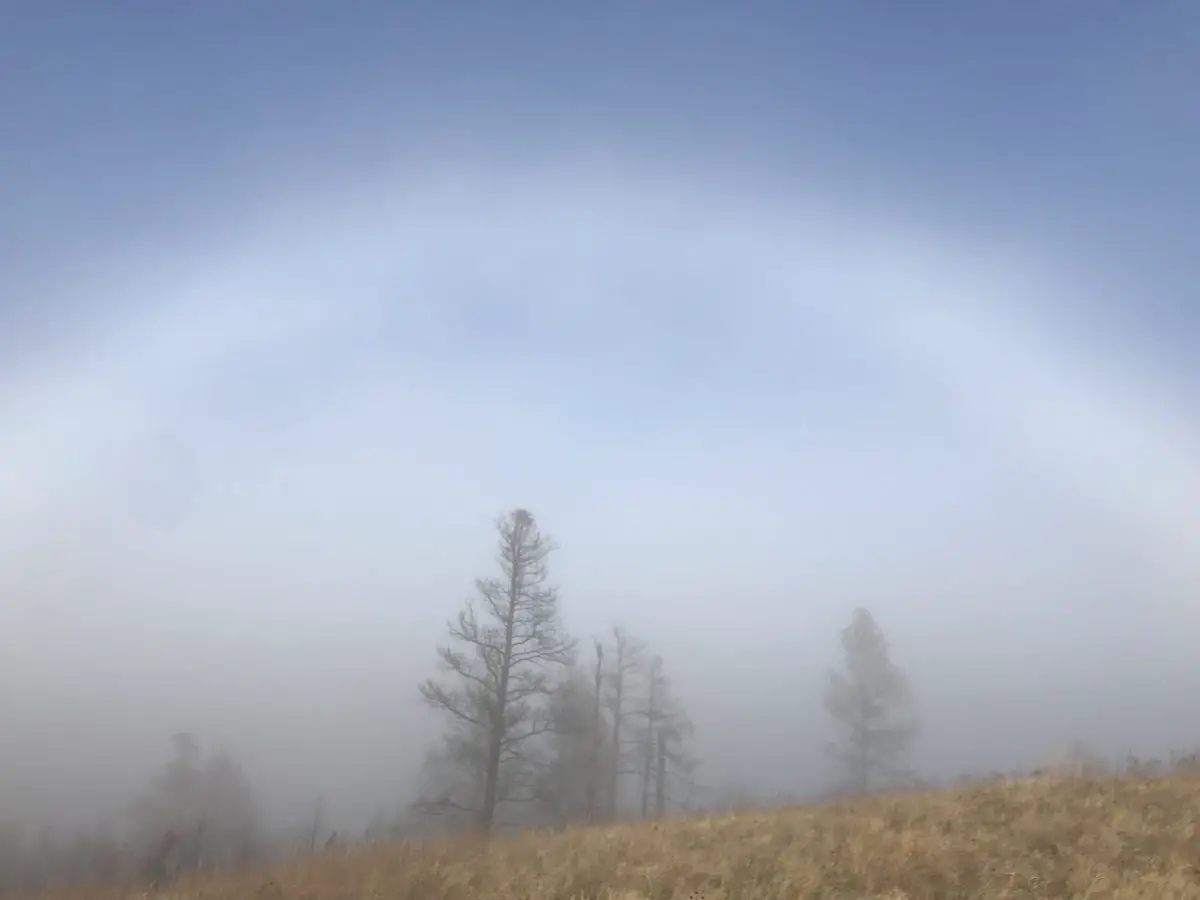
A fog bow forms over a fog-covered trees under a clear, blue sky
Fogbow!
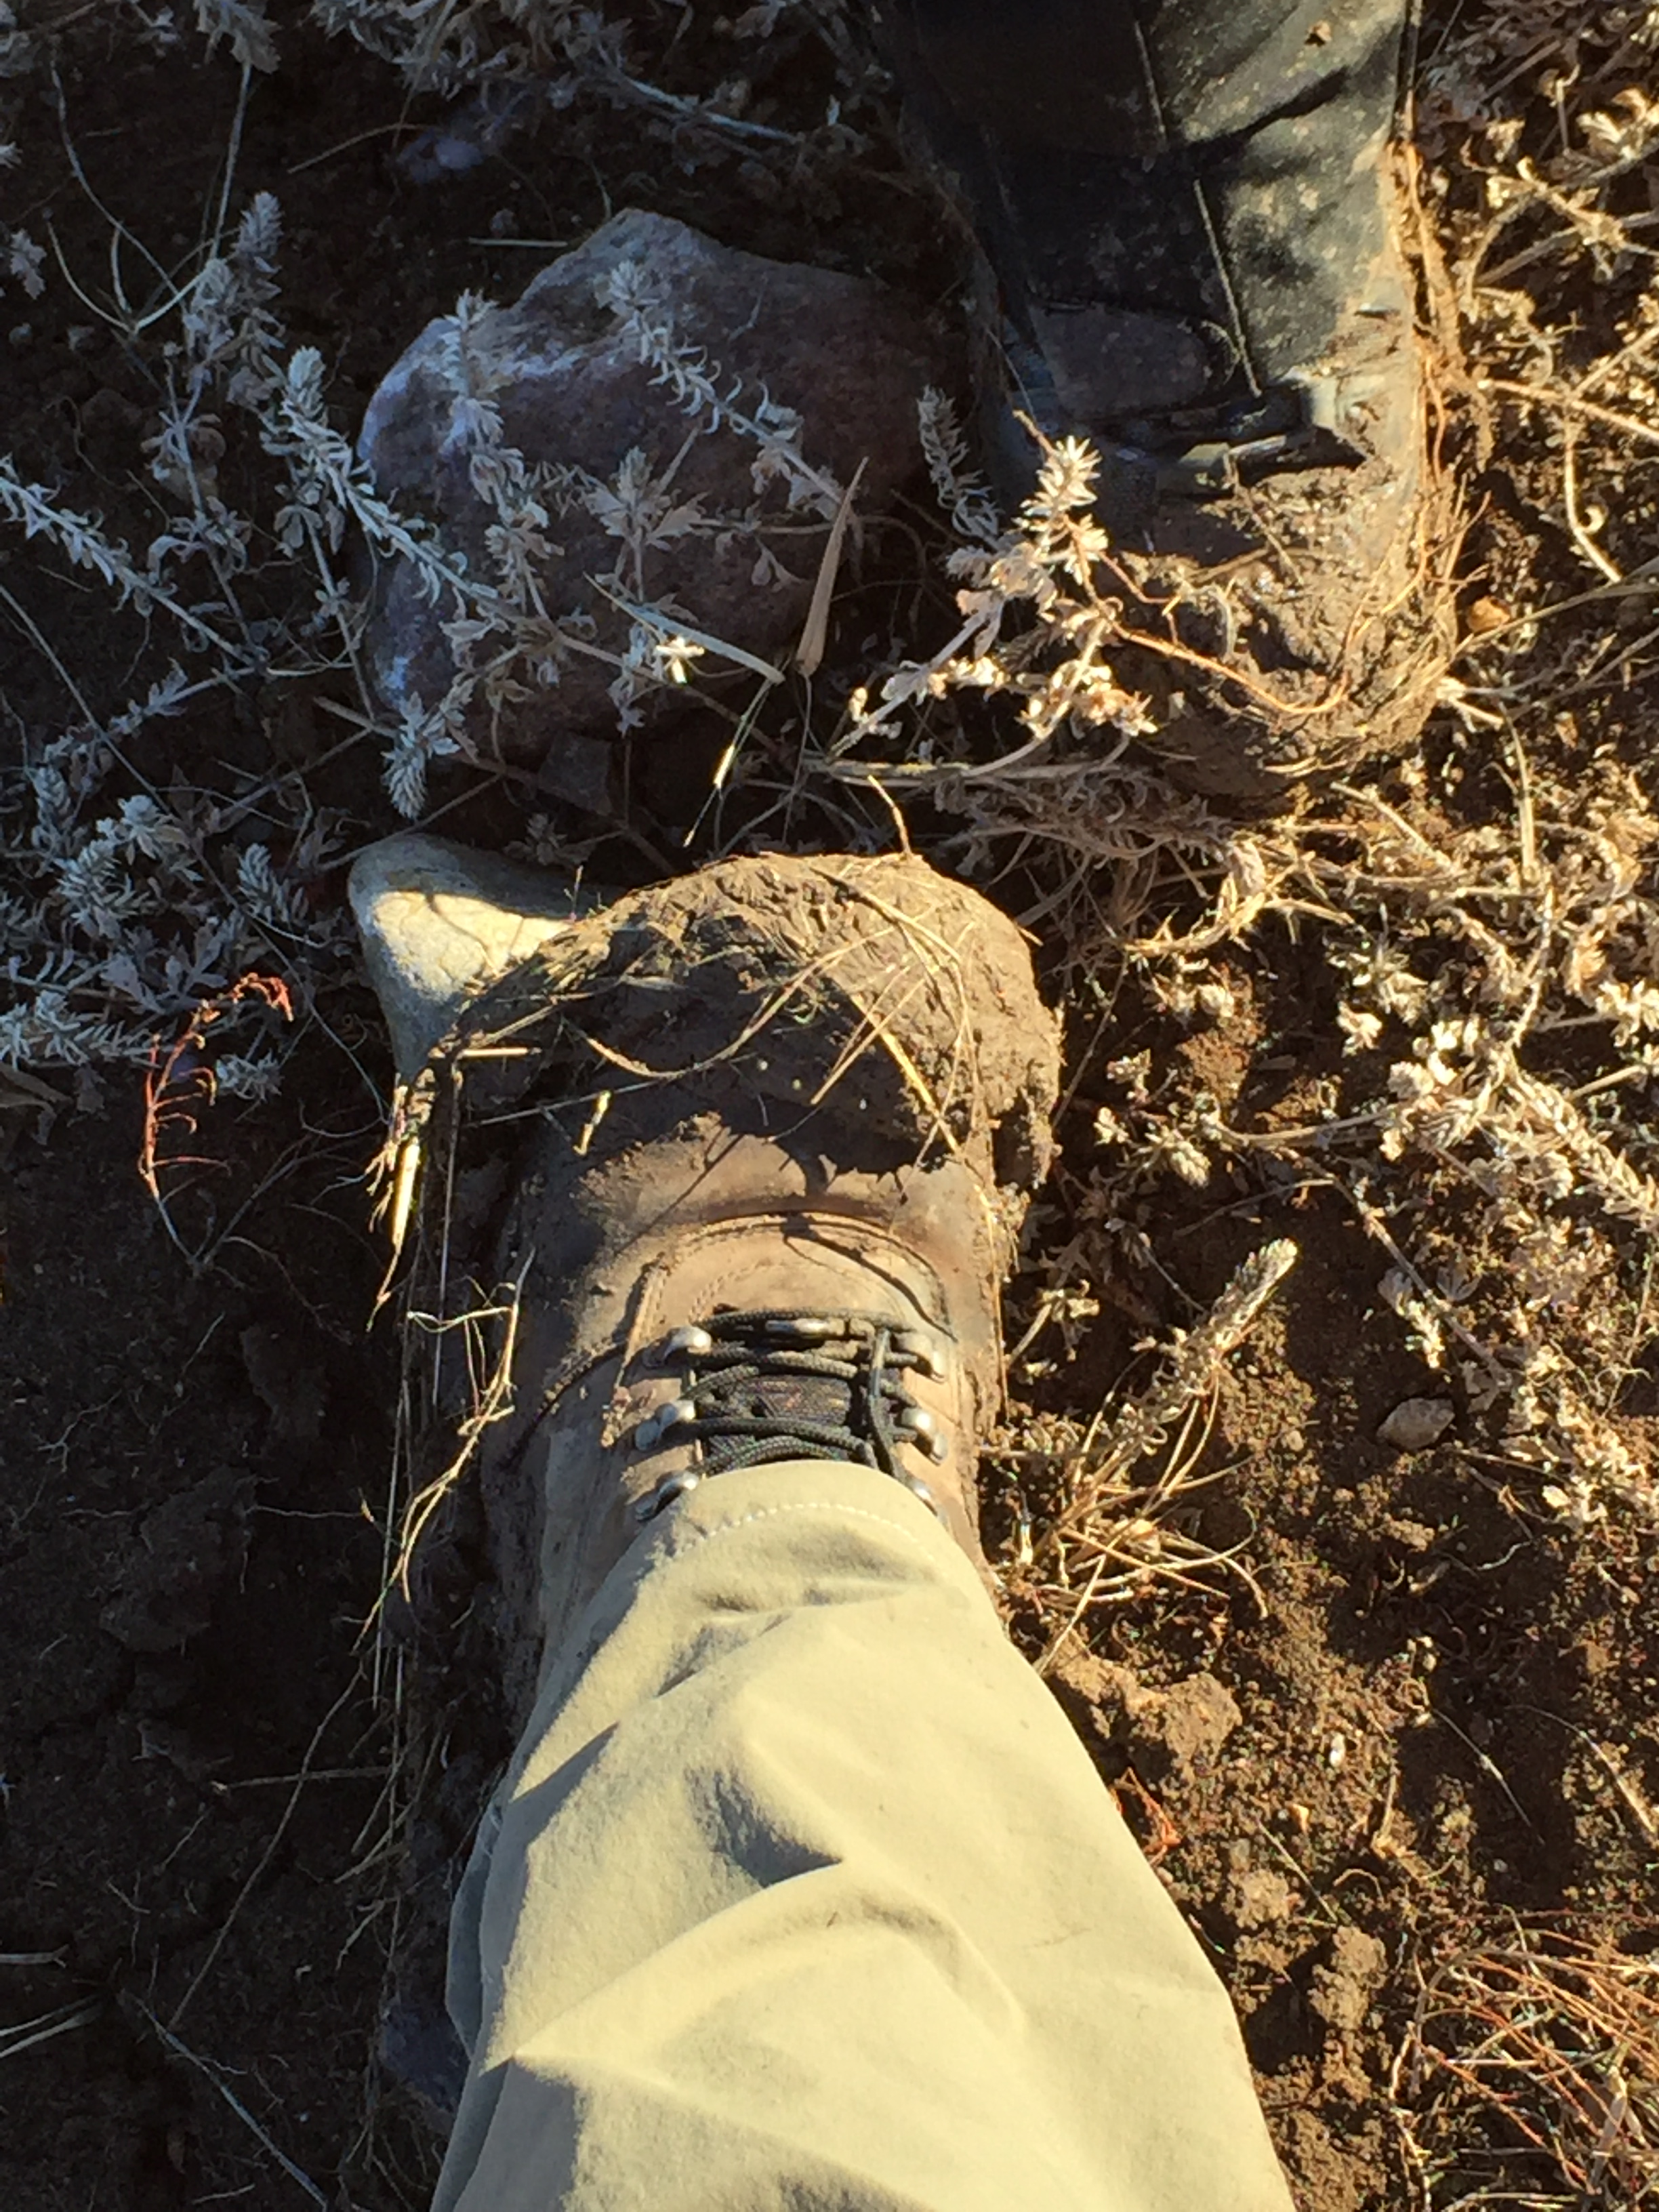
2 hiking boots covered in mud on the ground
Did I mention this trail can get a “bit” muddy? 😳😁

In Conclusion

Don’t be afraid to seek out the “boring” or “go-nowhere” treks, they can sometimes offer some surprises of their own.  We enjoyed a great–albeit INCREDIBLY muddy–hike (basically in shirt sleeves)…in mid-January…in SOUTH DAKOTA!  Whereas, if we had stayed at home, we may have felt depressed by the cold, damp, foggy day.  So don’t be afraid to Get Out While the Gettin’s…Bad!

Have you had a positive experience where you ventured outdoors when the weather was less than perfect?  Tell me about it in the comments!


Did you enjoy this post?  Pin it!

A path leads through brown-grass-covered hills and trees that appear burnt. Pin reads, "Hiking Custer State Park's Robber's Roost Trail"


Like what you read here today?  Please feel free to leave a comment, like or share this post!  Add your email at the bottom of the page, or the sidebar to the right, to be notified when a new post is published.  By signing up for the email list, you will also receive a free copy of the Tranquil Trekker’s Top 10 Tips of Trekking Do’s and Don’ts!

You can also follow the blog on social media by clicking the links below!
Facebook

Twitter

Instagram

Pinterest

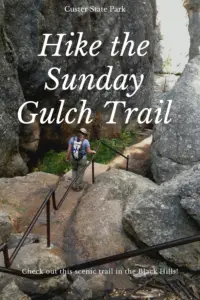
Hike the Sunday Gulch Trail in Custer State Park

In this post, I review the Sunday Gulch Trail, in Custer State Park, near Sylvan Lake.


As part of the incredible trail system offered by Custer State Park, the Sunday Gulch Trail is a must-hike!  You will find the trailhead located behind the large rocks at the back of Sylvan Lake,  off the Sylvan Lake Shore Trail.  

Note:  this trail is closed in the winter months due to ice buildup from the nearby creek.  

Hiking the Sunday Gulch Trail

This loop trail is around three miles long and can be completed in either direction. 

I suggest taking the right fork at the trailhead.  This way, you’ll complete the most difficult portion of the hike first, and you’ll be doing it heading downhill.  You will still end your trek with an uphill climb, but it will be far less strenuous than the alternate option. 

Traveling this direction, the early portion of the trail is comprised of steps and large boulders that must be navigated—there is a handrail—as you make your way down the ravine.  Once you reach the bottom, the path is relatively easy and flat while you traverse a canyon; until the final climb back to Sylvan Lake at the top.

In the hotter months, be prepared for a hot hike!  Due to the gulch-like nature of the terrain, cool summer breezes often miss this area. Fortunately, the surrounding foliage provides significant shade opportunities (except when the sun is high, in the middle of the day).  

As you continue down the canyon, your trek will eventually begin to wind uphill when you commence the final, LONG ascent back to the lake.  The path is well-trodden and fairly smooth/free of debris, but it’s a long hill back to Sylvan Lake.  You will hear more road noise on this portion of the trail as it parallels Route 87.  

Pine trees with rock formations rising behind them
A view of the surrounding peaks from the top/end of the trail

Things you will see on the Sunday Gulch Trail

The trail is beautiful.  As you descend into the ravine, granite cliffs tower far above you on both sides, while a bubbling brook accompanies you the entire way.  

Once you reach the bottom of the gully, continue following the creek as it winds its way through the canyon.  This area is very peaceful as there is little road noise–the only main route, nearby, is Route 87, and that snakes along the edge of the ridge far above you.    

Rear view of a woman climbing down rocks while holding onto a metal railing
The Tranquil Trekker, navigating the steep, boulder section of the trail, through the ravine

Use caution when the path is wet, due to rain or snowmelt, as the creek often gushes across it when the water level is high.  Even in late spring, be prepared for the possibility of ice where the route traverses the deep ravine, as it doesn’t get sufficient sunlight throughout much of the day.

Traction devices, such as Yaktrax, are highly recommended unless you are hiking this trail at the height of summer. (Click here for more information on these awesome traction devices!)      

This trek can be managed by smaller children and pets, but they may require assistance with the really, rocky portions of the trail. 

As it combines bouldering with a relaxing jaunt through the forest, this fun hike contains a wide selection of scenery and is a must-see for those wanting a bit more adventure.  If you’re looking for a challenging and fun hiking trail on your visit to Custer State Park, check out the Sunday Gulch Trail near Sylvan Lake!  

Have you hiked this awesome trail?  Tell me about your experience in the comments!


Did you enjoy this post?  Pin it!

Rear view of a woman climbing down rocks while holding onto a metal railing. Pin reads, "Hike the Sunday Gulch Trail"


Like what you read here today?  Please feel free to leave a comment, like or share this post!  Add your email at the bottom of the page, or the sidebar to the right, to be notified when a new post is published.  By signing up for the email list, you will also receive a free copy of the Tranquil Trekker’s Top 10 Tips of Trekking Do’s and Don’ts!

You can also follow the blog on social media by clicking the links below!
Facebook

Twitter

Instagram

Pinterest


†As an Amazon Associate I earn from qualifying purchases


Hike the Norbeck Trail in Custer State Park

I review the Norbeck Trail, a low-use trail in the higher elevations of the Black Hills, near Custer State Park.


The Norbeck Trail is a beautiful, lesser-traveled hiking route situated within the Black Elk Wilderness.  This is found within the boundaries of Custer State Park in the Black Hills of South Dakota. 

How do you get to the Norbeck Trail in Custer State Park?

There are actually two trailheads to access the Norbeck Trail:

If you want a shorter hike and want to hit the more difficult, steeper sections sooner (while you have more energy) the Upper Norbeck trailhead comes first. It is located about .3 miles east of Sylvan Lake and about .1 miles east of the trailhead for the Cathedral Spires (all on the Needles Highway, Route 87.)

It’s kind of hard to find the trailhead because you can’t see it from the road and there isn’t any sign. Basically, once you pass the trailhead for the Cathedral Spires, start watching for a paved lane going off to the left. That’s the trailhead. (Sorry, that’s about the best description I can give. 😝)

To reach the main Norbeck trailhead, take Route 87 to Forest Road 345 (Camp Remington Road).  Then take Iron Creek Horse Camp Road (which will be on your left).  Watch for signs for the Iron Creek Horse Camp and the Iron Creek Centennial Trailhead as they’re both, also, found on this road.  You will actually park at the horse camp, or just outside of it if the gates are closed (when we were there in mid-April the campground was still closed for the winter.)

Note: the Needles Highway is closed to vehicle traffic during the winter months. You can hike, snowshoe or ski it though (which can be a lot of fun!) 

What you will see on the Norbeck Trail, in the Black Hills

The trail is comprised of picturesque, rolling terrain.  It’s well-marked and wide enough for two people to walk side-by-side in some places.  There are several water crossings that are small enough that they’re easy to cross but big enough to offer relief and respite on a hot day. 

The ecology found along the length of the trail varies greatly from moist, almost temperate rainforest near the base, to dry, alpine forest near the top. 

As you trek through these various ecosystems take note of the abundance of spruce trees in certain areas–usually on the northern slopes–that denote a wetter climate (you usually only see this variety in wetter locations in the Hills.)  

What is the difficulty level of the Norbeck Trail?

The route is steep in parts, but the elevation changes are fairly moderate until you near the terminus of the trail where it joins with the Little Devils Tower trail.  These last 2.5 miles of the trail gain 1000 feet in elevation! (To compare, we gained the same elevation amount on the Misty Moon trail in the Bighorn mountains of Wyoming over the course of five miles!) 

This more difficult area is beautiful, though, as it snakes through a canyon complete with rocky, craggy overhangs and caves.  You’ll see the backside of the Cathedral Spires towering over you to your left, and if you turn around you will be treated to beautiful views of the Southern Hills and plains to the south.

A word of advice: never let your focus on completing a trail keep you from looking around–and behind you!  You never know what incredible views you may be missing if you’re solely focusing on the trail in front of you.

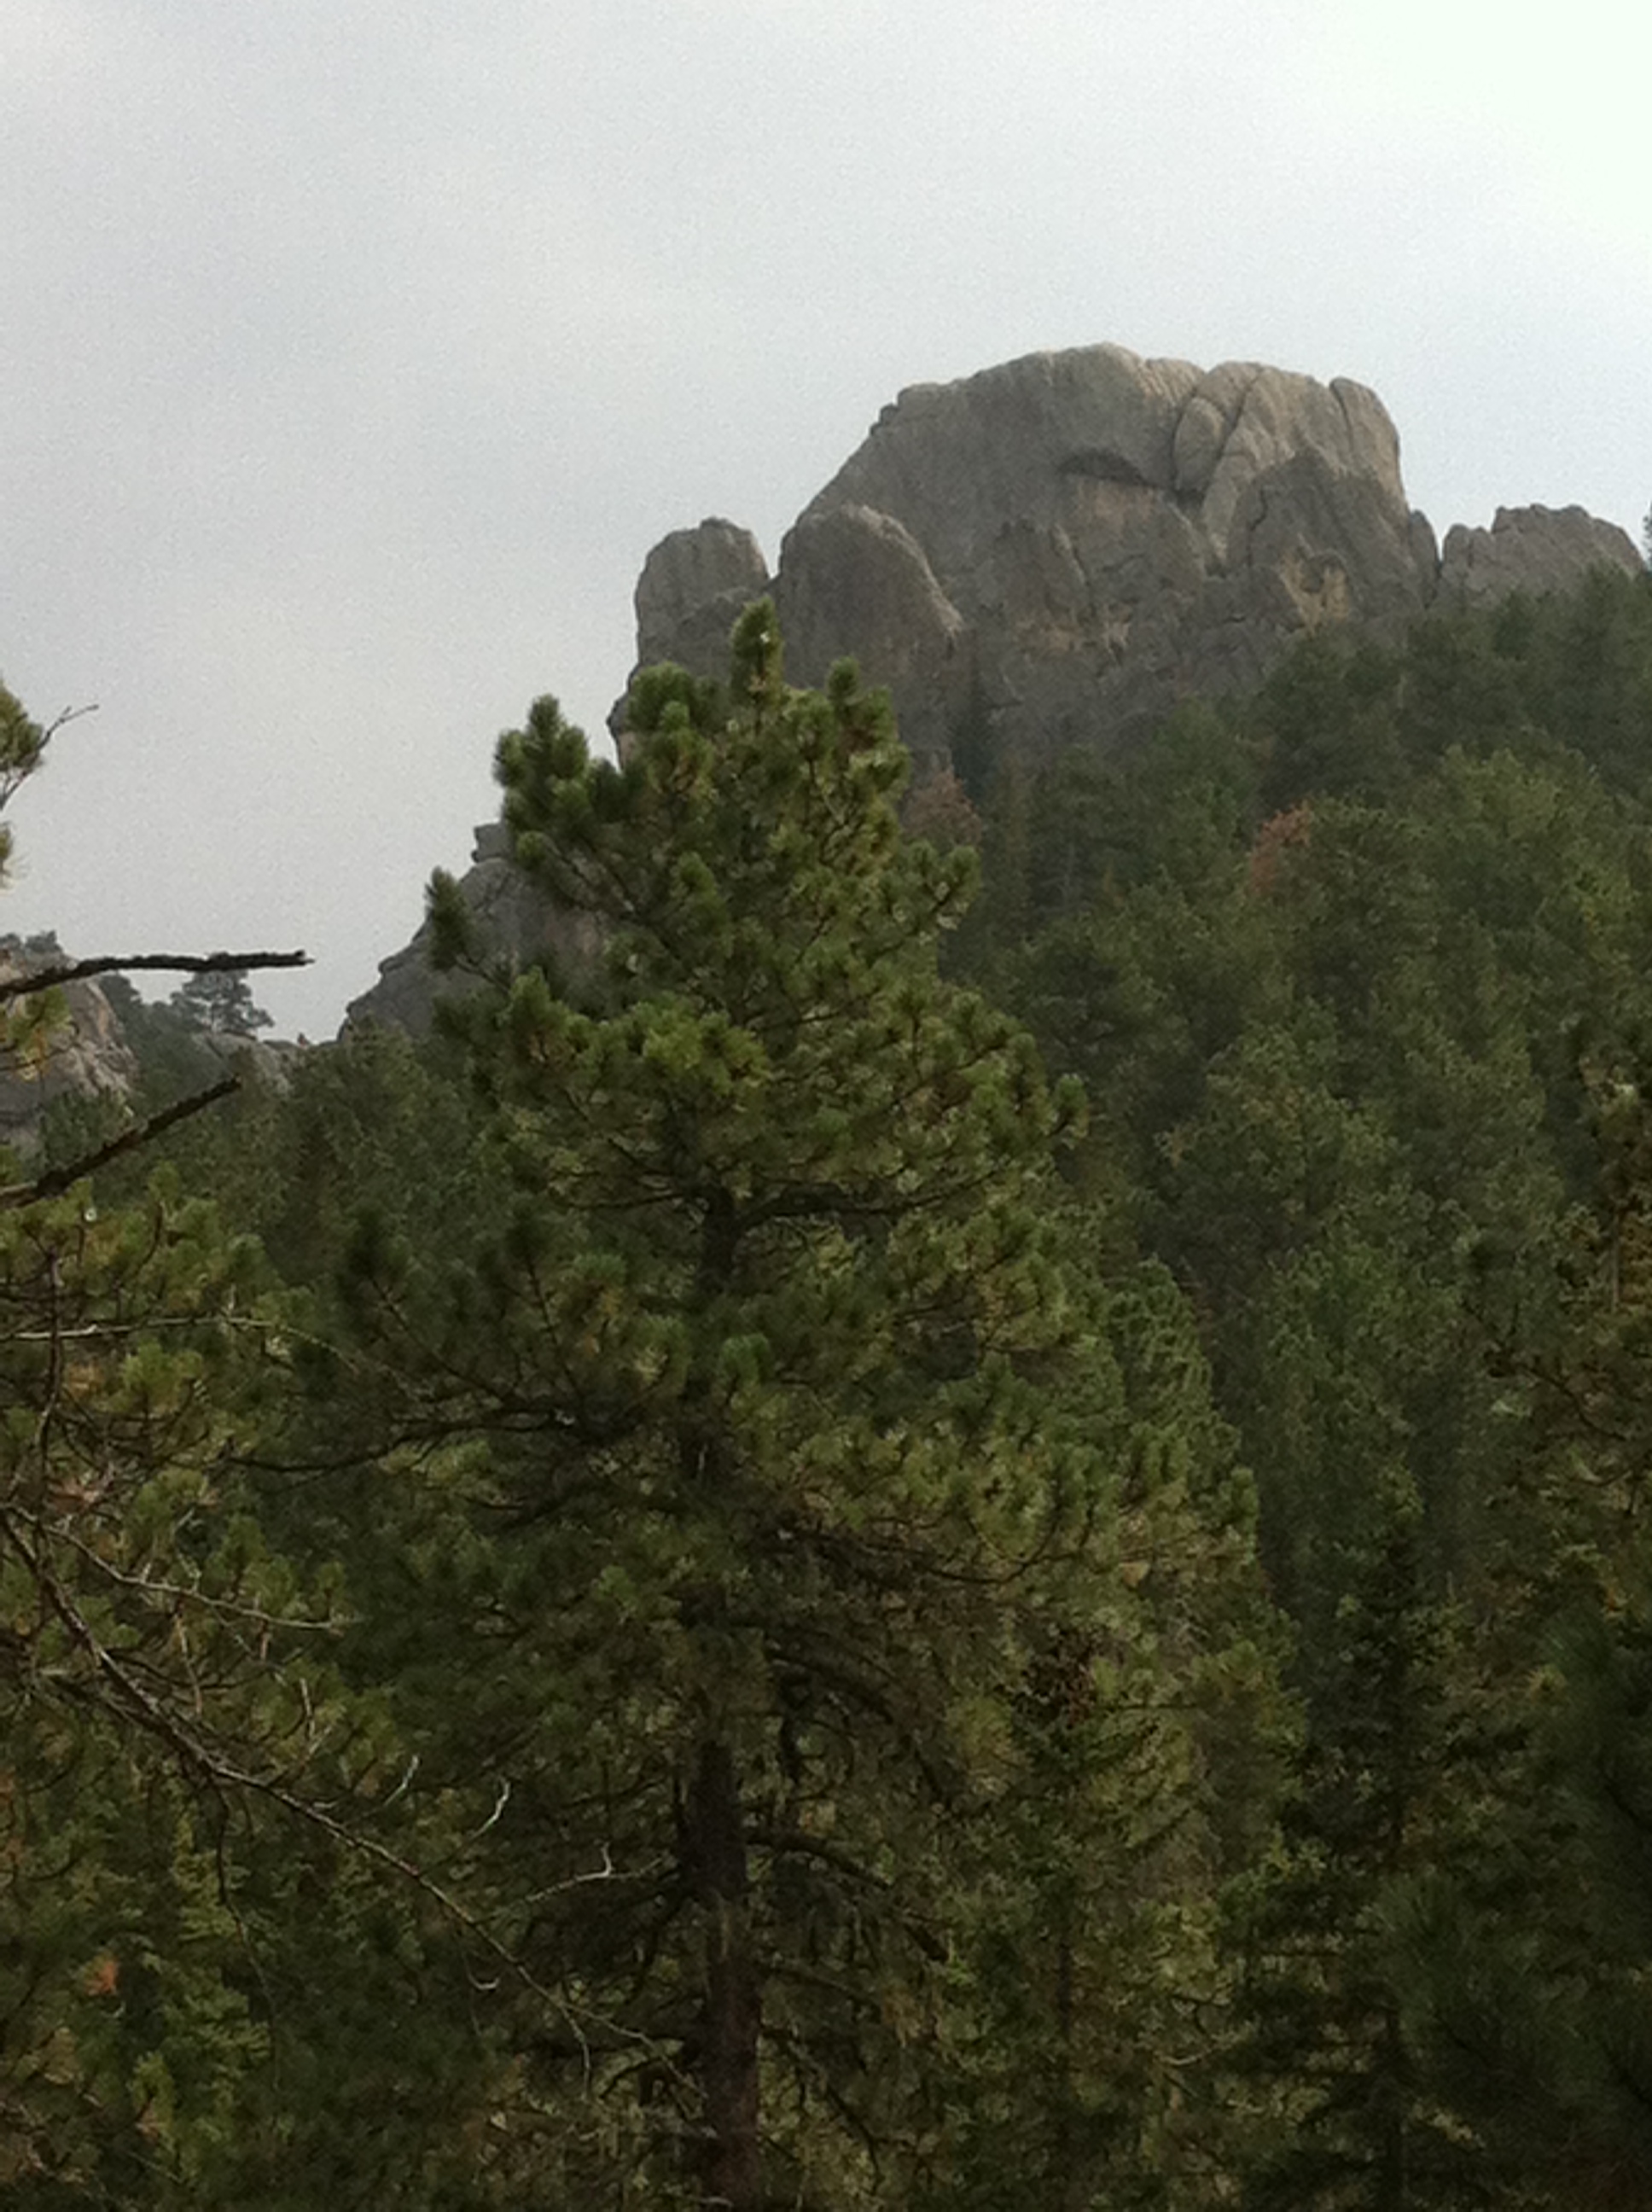
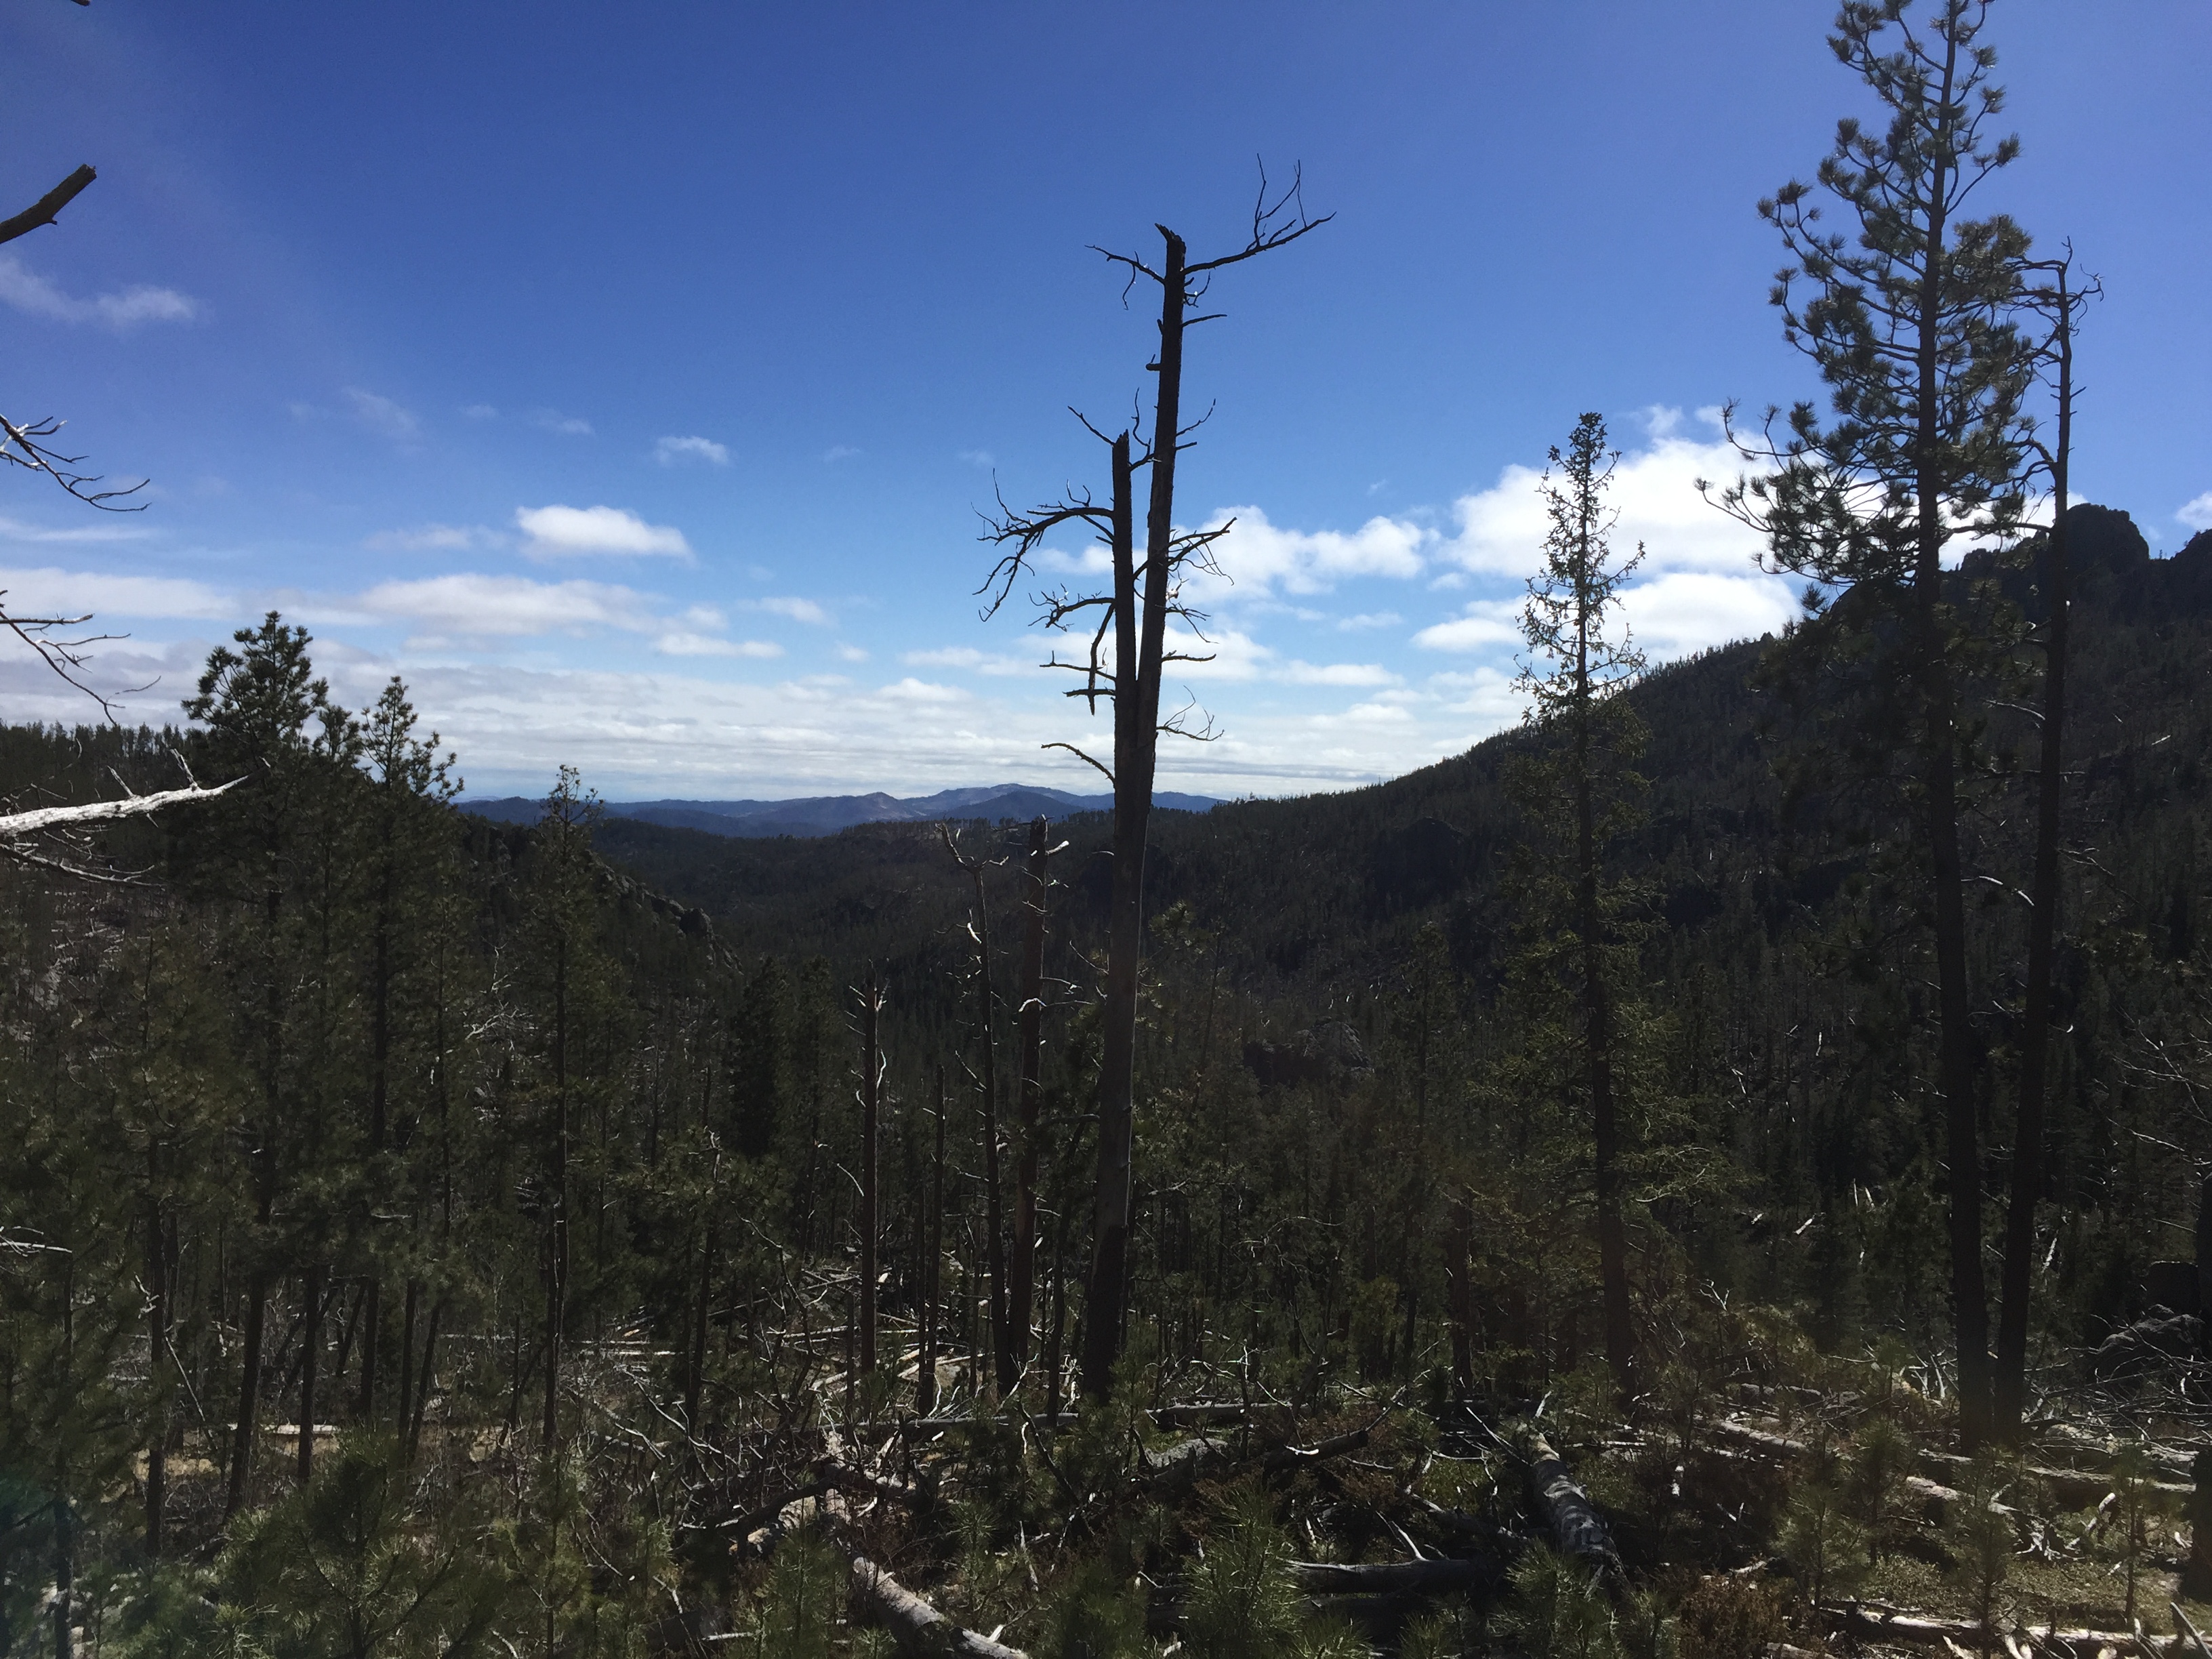
Pine trees and tree-covered mountains. Spindly rock on top of a mountain are in the far background
The rear view of the Cathedral Spires.

This trail doesn’t really “go” anywhere, per se, it’s more of a connector to other notable trails.   It can be combined with different routes to form various loops depending on how long you wish to spend in the Wilderness Area.  From the trailhead to the junction with the Little Devil’s Tower Trail, the route is a little over five miles (one way)–and as mentioned above it gets steep–so plan for a full day’s hike when considering this option. 

We really enjoyed the hike and the ever-changing scenery was beautiful.  There were some gorgeous vantage points and numerous opportunities for wildlife sightings.  This trail is less well-known and, therefore, more secluded. 

A portion of the trek does run near Route 87, for a time, so the summer months may be busier.  Certain areas of the trail also traverse old burn scars so, if traveling in the summer, be prepared for lack of shade and a hot hike in some parts.

Person stands in an open space amongst deadfall of trees. A few scraggly pine trees remain standing. Rock mountains are in the far background
You can see the sparseness of the shade in some areas.

As with many other areas in the Black Hills, be watchful for deadfall as well as dead trees that remain, precipitously, standing (and their hanging, broken branches).  These are remnants of the recent pine beetle infestation, and they can fall at any time, even on not-so-windy days.    

A few scraggly pine trees standing amonst deadfall. Rock mountains are in the far background
Damage from the recent pine beetle infestation

If you’re looking for a fairly easy day hike, with nice views and few people, consider the Norbeck Trail!  

Have you ever hiked this lighter-use trail?  If so, tell me about your experience in the comments!


Did you enjoy this post?  Pin it!

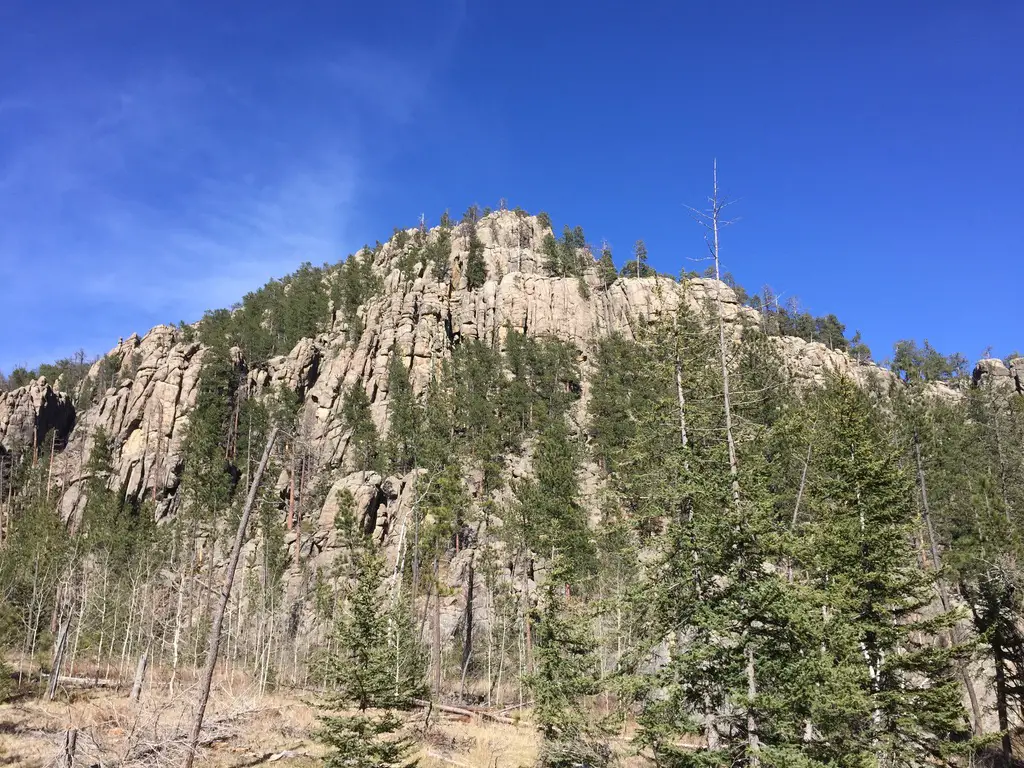
Picture of a rocky mountain sparsely covered by trees and a blue sky overhead. Pin reads, "Hike the Norbeck Trail in Custer State Park."


Like what you read here today?  Please feel free to leave a comment, like or share this post!  Add your email at the bottom of the page, or the sidebar to the right, to be notified when a new post is published.  By signing up for the email list, you will also receive a free copy of the Tranquil Trekker’s Top 10 Tips of Trekking Do’s and Don’ts!

You can also follow the blog on social media by clicking the links below!

Facebook

Twitter

Instagram

Pinterest

Car Altimeter and Sun Shower Review

In this post, I review one of my favorite gear items (a car altimeter), as well as a piece of gear no long-term camping trip should be without (a sun shower!)


The car altimeter and sun shower are two items the Trekkers use fairly regularly when car camping/traveling.  Neither are must-haves, per se, but they make the trip more comfortable and more fun!

What is a Sun Shower?

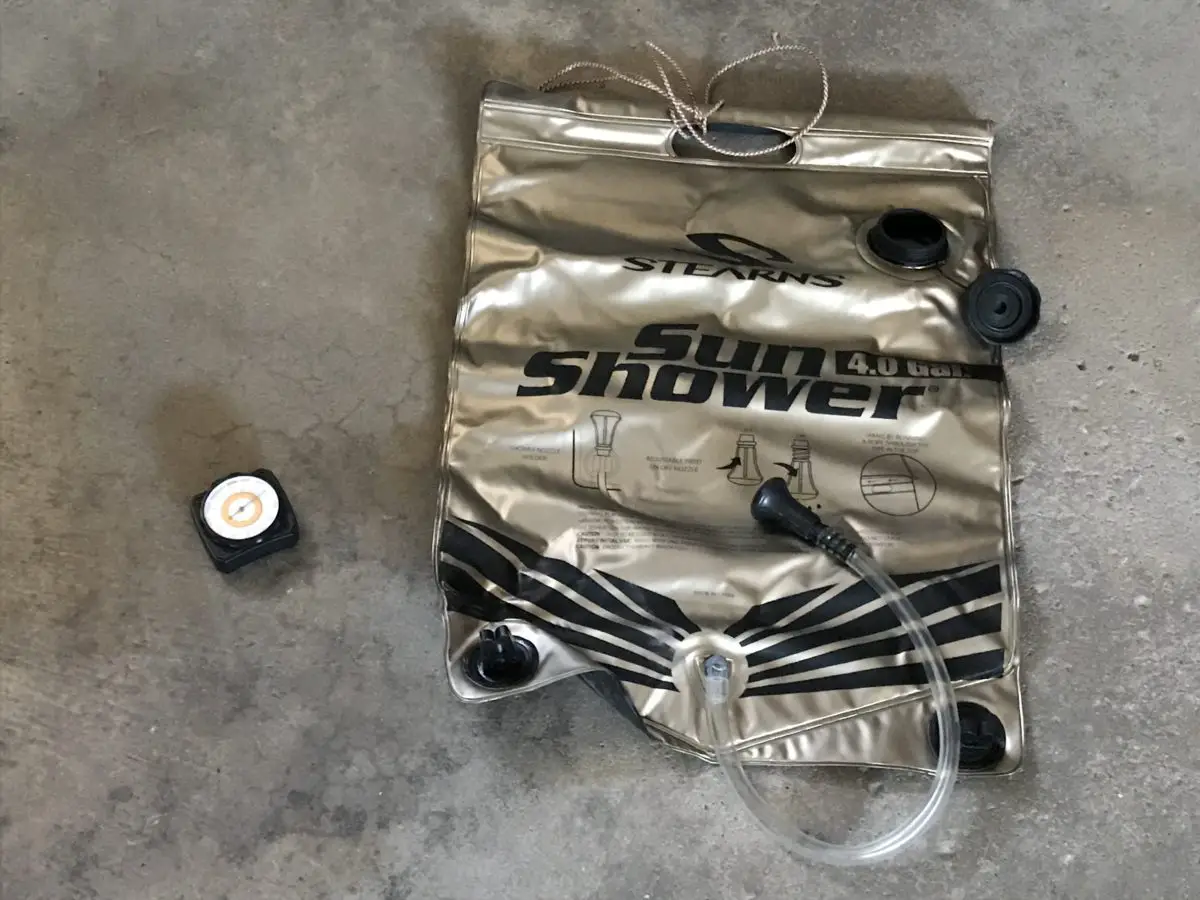
A sun shower is simply a reusable, robust, vinyl bag and tube, with a spout and black backing, that you fill with water and leave out in the sun–it looks like a giant water bladder.  When you return to camp after a day on the trail, you have warm water and a spigot you can wash with.  The device is gravity-powered, so you’ll need to keep this in mind when you’re picking a spot to hang it.  

There are various brands and versions of this apparatus, this specific one holds four gallons of water.  We’ve found this system works well even to just rinse off, or to have hanging around camp to use to help keep hands and feet clean. (We have found this setup also works well to make sure your fire is out at the end of the evening as you can direct the water more easily than using a bucket).

What is a car altimeter?

The car altimeter indicates the elevation you’re currently residing at.  This may not be a necessary piece of gear for the average hiker, but it’s fun on a road trip to see just how high (or low) of an altitude you’ve achieved.  It’s also one of my favorite gear items, even though it isn’t, usually, essential to regular hikers (those venturing to the truly high altitudes–10,000+ feet–may find it more useful.)

The device responds to changes in barometric pressure caused by weather, as well, so you may have to recalibrate it a little, each day, to maintain the most accurate readings.  

Other versions of this instrument are digital, but I like the classic feel of the dial.  For amateur interest, this is a fun, portable, way to keep track of elevation changes.  It also mounts to the vehicle using velcro, so it can be easily removed and taken on a hike if you’re so inclined. 

Below is a close-up picture of the altimeter:

A small dial showing various elevations sits on a table

So, if you’re wanting to maintain a higher level of hygiene on your next camping trip, or you want to know exactly why you’re breathing a little harder on the mountain top you’re currently standing on 😳, check into these devices!

Have you used either of these products?  What were your experiences?  Tell me about them in the comments!


Did you enjoy reading this post?  Pin it!

A plastic container and tub labled, "Sun Shower" and a small dial sit on the floor. Pin reads, Car Altimeter and Sun Shower 2 Reviews of some of my favorite gear items!"


Like what you read here today?  Please feel free to leave a comment, like or share this post!  Add your email at the bottom of the page, or the sidebar to the right, to be notified when a new post is published.  By signing up for the email list, you will also receive a free copy of the Tranquil Trekker’s Top 10 Tips of Trekking Do’s and Don’ts!

You can also follow the blog on social media by clicking the links below!
Facebook

Twitter

Instagram

Pinterest

†As an Amazon Associate I earn from qualifying purchases

Yaktrax Review

In this post, I review Yaktrax, a must-have, gear item for the slippery, winter months.


When the weather turns cold and the ground icy, there is one item the Trekkers can’t live without, Yaktrax!  These gadgets are a GODSEND for anyone who spends a lot of time walking outside in the winter months.  

We use them for hiking (obviously), but also for things like walking the dog, clearing snow, etc.  They are especially effective for people who live in neighborhoods like ours where there is, literally, no flat ground ANYWHERE.  

Imagine this situation…the dog–with her 4-paw-drive–takes off down the hill dragging you with her.  You can:

A) Hang on for dear life, running through the snow-covered grass to maintain a semblance of traction or skid behind her on the slippery pavement…

or…

B) Walk easily behind her, completely in control (even if she’s slipping along), thanks to the Yaktrax–I speak from personal experience. 😇

There are several variations of these nifty devices, as well as a few different versions of the traction implement on the gear.  I strongly recommend the ones with velcro straps that attach over the top of the foot (they aid greatly in holding the device to the shoe). 

If you want to use these with hiking boots, I would suggest you lean toward a larger size–so, if you wear a size 10 shoes, I recommend the Yaktrax that are intended for sizes 10.5 – 12.5, NOT the ones that can only accommodate up to size 10.  My personal experience was, that the size recommended fits shoes just fine, but is almost too small for boots (they fit but they’re difficult to put on and take off and they tear/wear out sooner).  

Some of the product options feature chains, some studs, some springs, and some spikes (depending on the severity of the conditions you intend to encounter).  We’ve always used the “spring” version with great success (on extremely smooth/slippery ice, you may want something a little more hardcore).  Prices range from under $20 to close to $200 (again, based on the intensity of the spike you are interested in).   

Options for YakTrax!

Trekker Favorites

Best for shoes

Diamond Grip

Cleats for Running

Spikes!

Heavy Duty

A word of caution, be careful walking on these for long periods over hard dirt/rocks as they can become damaged.  We regularly carry them with us and then apply/remove them as conditions require (fortunately they’re small and fold up well, so this is easy to do).  

I would also caution against walking on them indoors (especially on hardwood floors or carpet) as they could tear/scratch that material (this risk will rise with the intensity of the traction material chosen). 

As long as they aren’t too tight, the Yaktrax slip on and off quite easily.  I would also recommend caution when using them in muddy conditions (though sometimes this can’t be avoided).  They can be a HUGE pain to clean if the mud dries on them (though if you can wash it off using water or rub it off with snow before it hardens, the difficulty decreases exponentially).

I would also suggest choosing the traction option that covers the most surface area of the boot/shoe (which is why the Trekkers chose the “Pro” version).  The exception to this would be if you really feel that spikes are required for the activity you intend to use the gear for. 

There are multiple brands of this product, these are the ones we use and have had great success with.  My first pair eventually tore, after several years of use, due to being slightly too small for my boots causing them to over-stretch.  Mr. Trekker got the exact, same brand/type, at the same time I did, and his are still going strong (under very similar use).

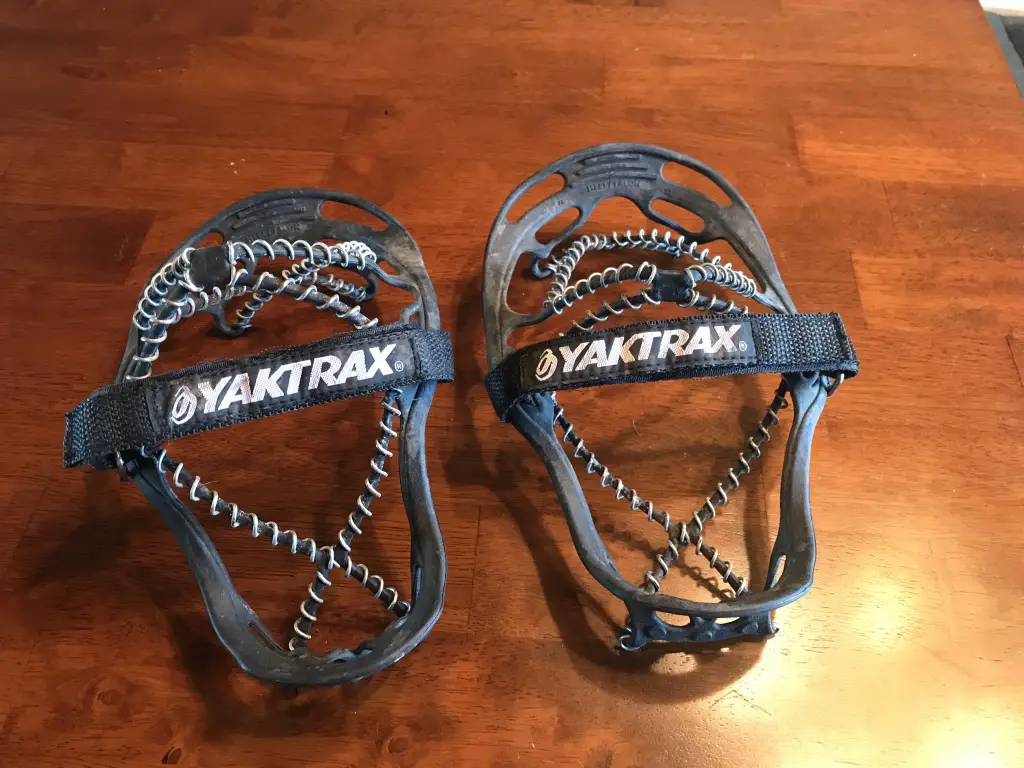
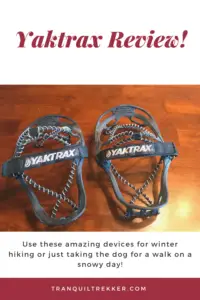
Below is a “shoe-sole” view of the Yaktrax, this is what bites into the ice:

Two springed, traction devices sit on a table

If you’re looking for a low-cost tool to help you remain upright during the slippery, winter months, I strongly recommend Yaktrax!

Have you used Yaktrax?  Tell me about your experience in the comments! 


Did you enjoy reading this post?  Pin it!

Two springed, traction devices sit on a table. Yaktrax are labled on the velcro. Pin reads, "Yaktrax Review! Use these amazing devices for winter hiking or just taking the dog for a walk on a snowy day."


Like what you read here today?  Please feel free to leave a comment, like or share this post!  Add your email at the bottom of the page, or the sidebar to the right, to be notified when a new post is published.  By signing up for the email list, you will also receive a free copy of the Tranquil Trekker’s Top 10 Tips of Trekking Do’s and Don’ts!

You can also follow the blog on social media by clicking the links below!

Facebook

Twitter

Instagram

Pinterest


†As an Amazon Associate I earn from qualifying purchases

Rimrock Trail Black Hills

In this post, I review Rimrock Trail, that traverses the canyon walls, floor and crest of Spearfish Canyon.


Located along the crest and walls of Spearfish Canyon, in the northern Black Hills of South Dakota, is Rimrock Trail–Trail #79. (This route also now offers access to the recently organized Tinton Trail that traverses this area, as well.)  

Where is Rimrock Trail?

You can access the route via several different trailheads.  The easiest is to use Forest Road 222 from the tiny hamlet of Savoy, at the junction of Spearfish and Little Spearfish Canyons.  

From the Spearfish Canyon Byway turn at the Spearfish Canyon Lodge.  Once you drive past the final pullout for Roughlock Falls, start looking for parking areas–there are several. (If you reach the T-intersection with Tinton Road you’ve gone too far.) 

The parking areas are near the Rod & Gun and Timon Campgrounds, on the right-hand side of the road.  Be watchful as they are VERY small–they only fit about two vehicles each.  Also, some of the trailhead signs are recessed into the woods a bit, so they’re easy to miss.  

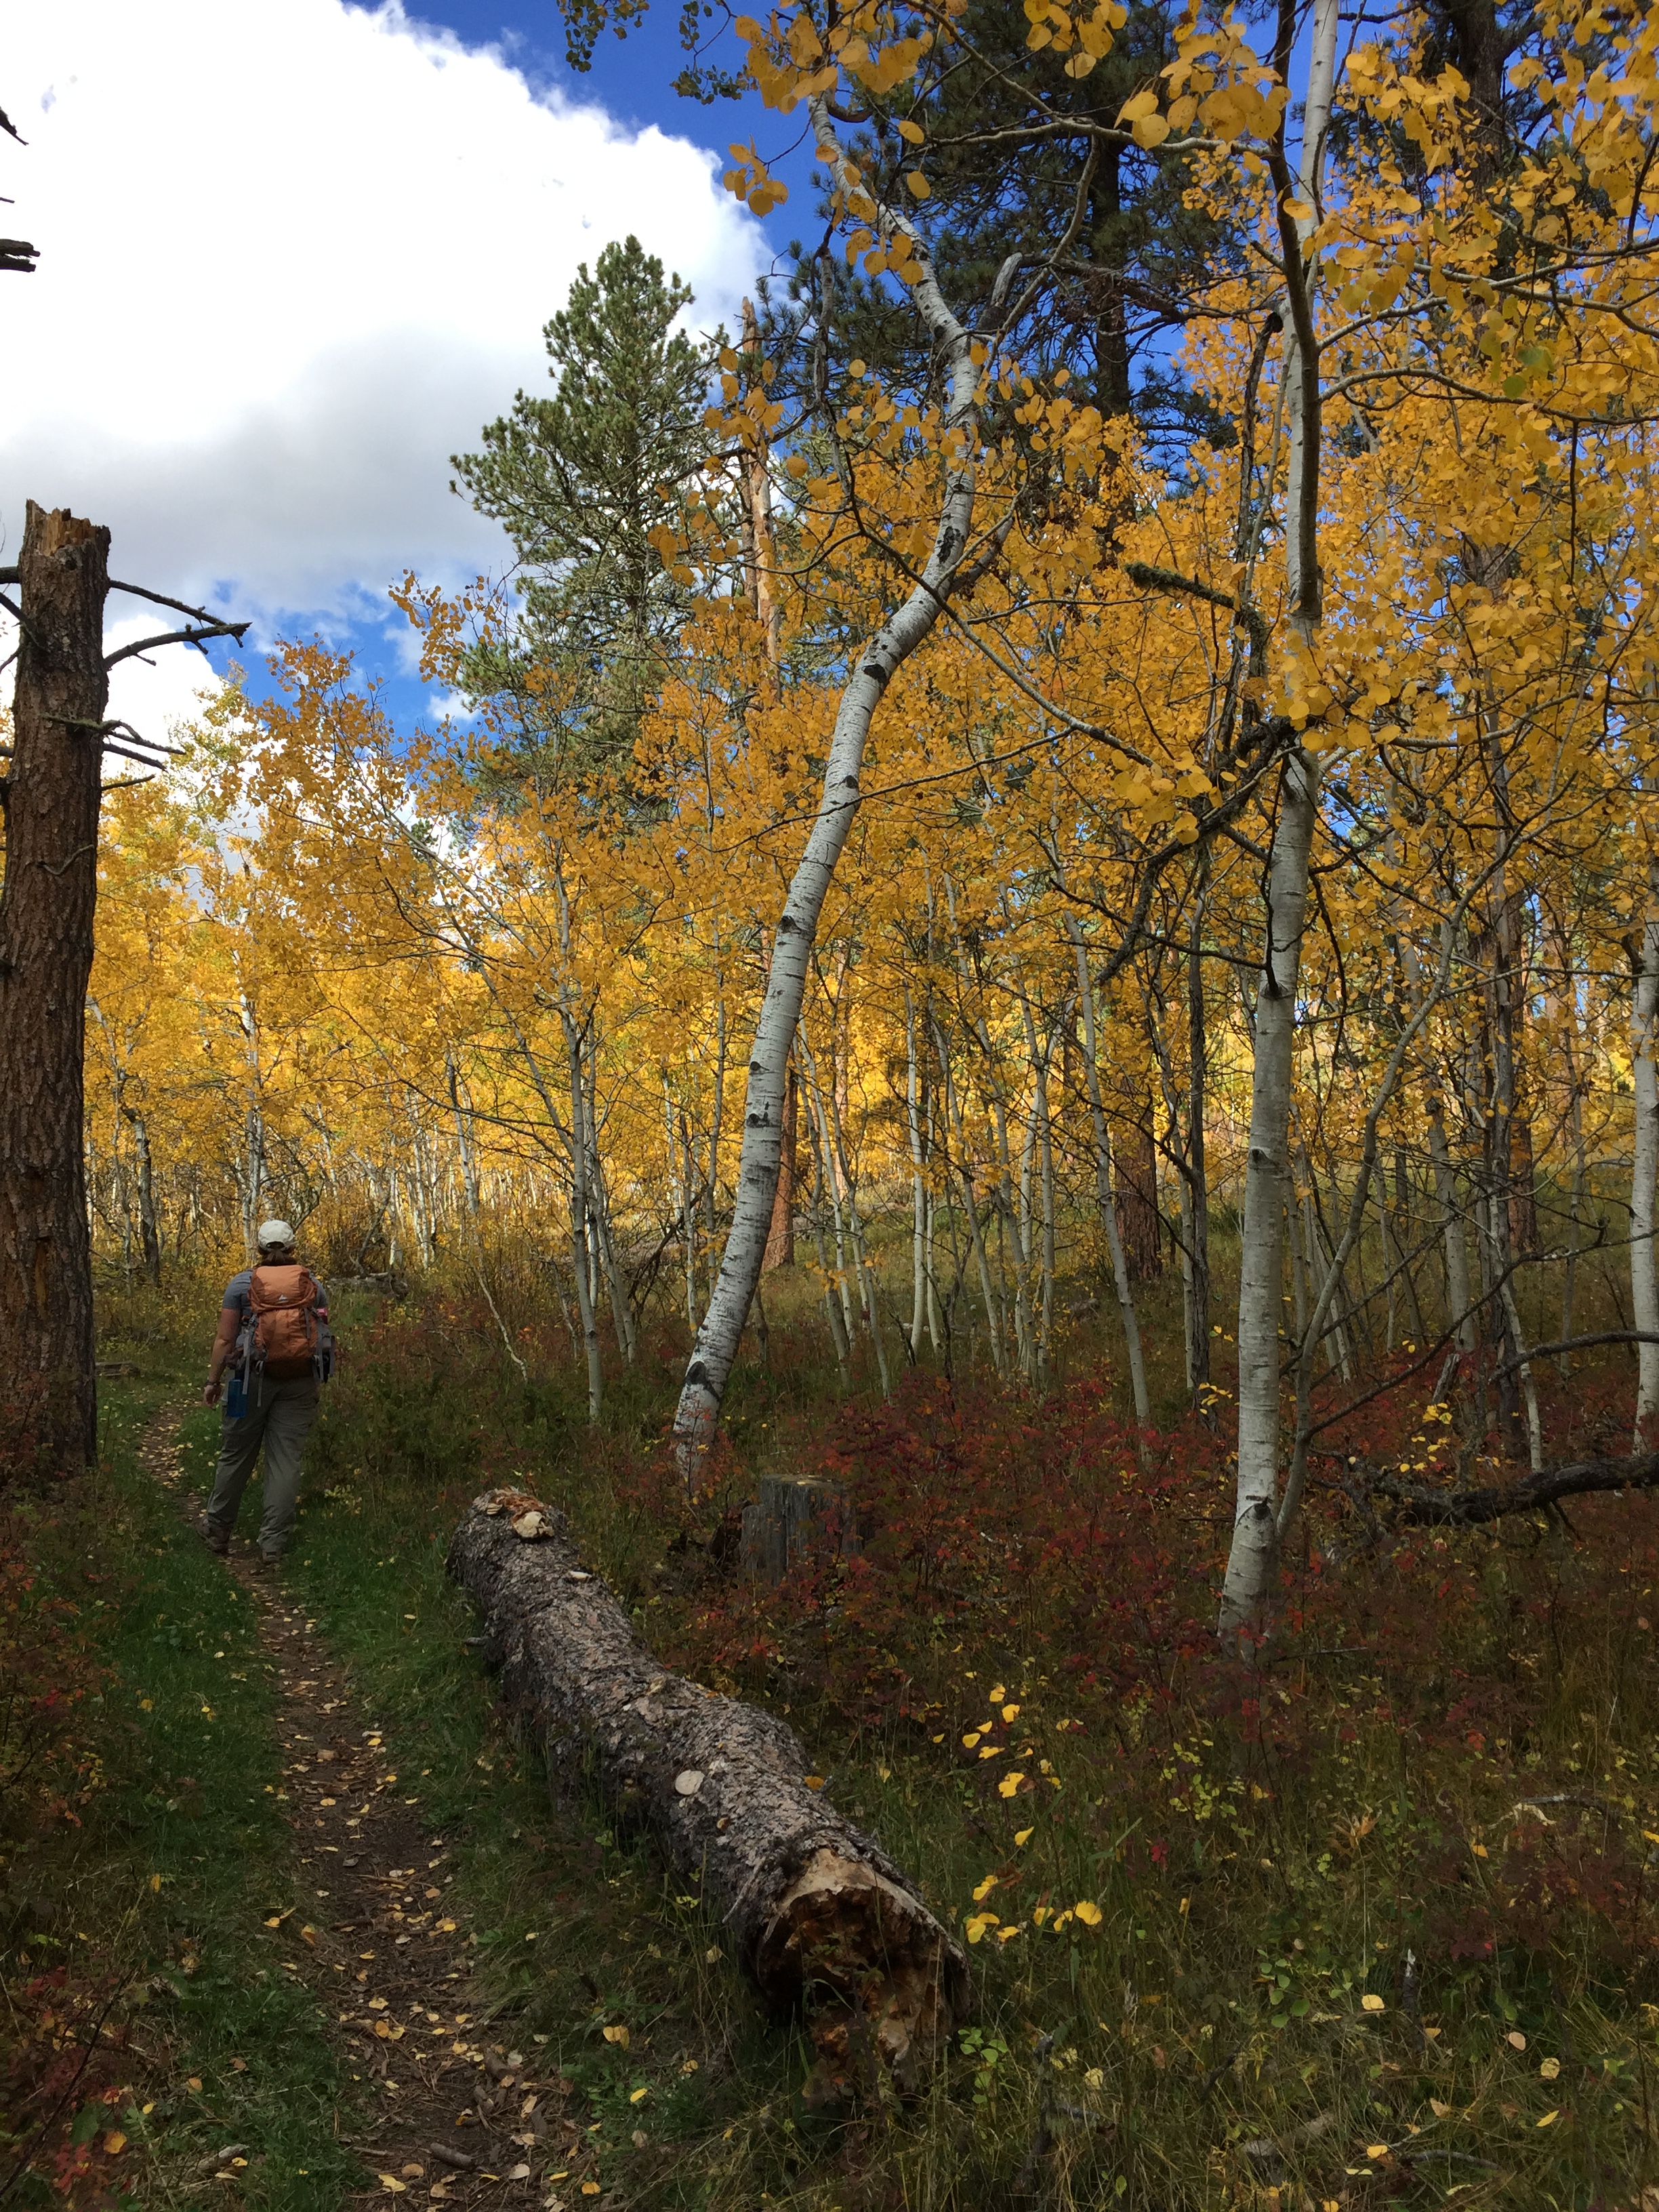
Rear view of a woman walking on a trail through a grove of yellow aspen trees and green grass.
The Tranquil Trekker traverses an “Aspen Tunnel”!

There is easy, trail access from the Rod & Gun and Timon Campgrounds, as well, though there are technically no “official” trailheads here.  If you want to avoid the crowds near Savoy, you can also take Tinton Road north from US 85 as it heads west out of Lead (towards Wyoming) and turn right onto Roughlock Falls Road, heading towards the falls (in this case the trailheads will be on your left before you reach the falls).  

There is another access point to this route from a spur trail that begins at the Old Baldy trailhead and parking area, which is found further along Tinton Road.  From here you will actually approach the canyon from the top.  This portion of the trail is relatively flat.

What is the Rimrock Trail like? 

The trail is comprised of two loops, the Upper Loop is 4.7 miles long and the Lower Loop is  3.2 miles.  We enjoyed both, and doing so means you’ll experience around a 700-foot total elevation change (the trail is fairly flat, the entire elevation change is mostly contained within an area of 1/2 mile or so, twice, throughout the hike–once descending and once ascending the canyon wall).  

This area is open for hiking, snowshoeing, horseback riding, and mountain biking.  The trails can be enjoyed year-round with proper equipment, though be aware, Route 222 is closed in the winter to all vehicles other than snowmobiles.

Tinton Road is not usually maintained in this area during the winter either, so, its accessibility varies depending on current conditions.  In addition to the weather, these include the vehicle you’re driving, the recovery gear you’ve got at your disposal, and your experience level with 4×4 driving.  We’ve traversed it successfully, but we’ve also gotten stuck, to the point where we would have had to be rescued had we not had proper recovery gear with us.   

What you will see on the Rimrock Trail

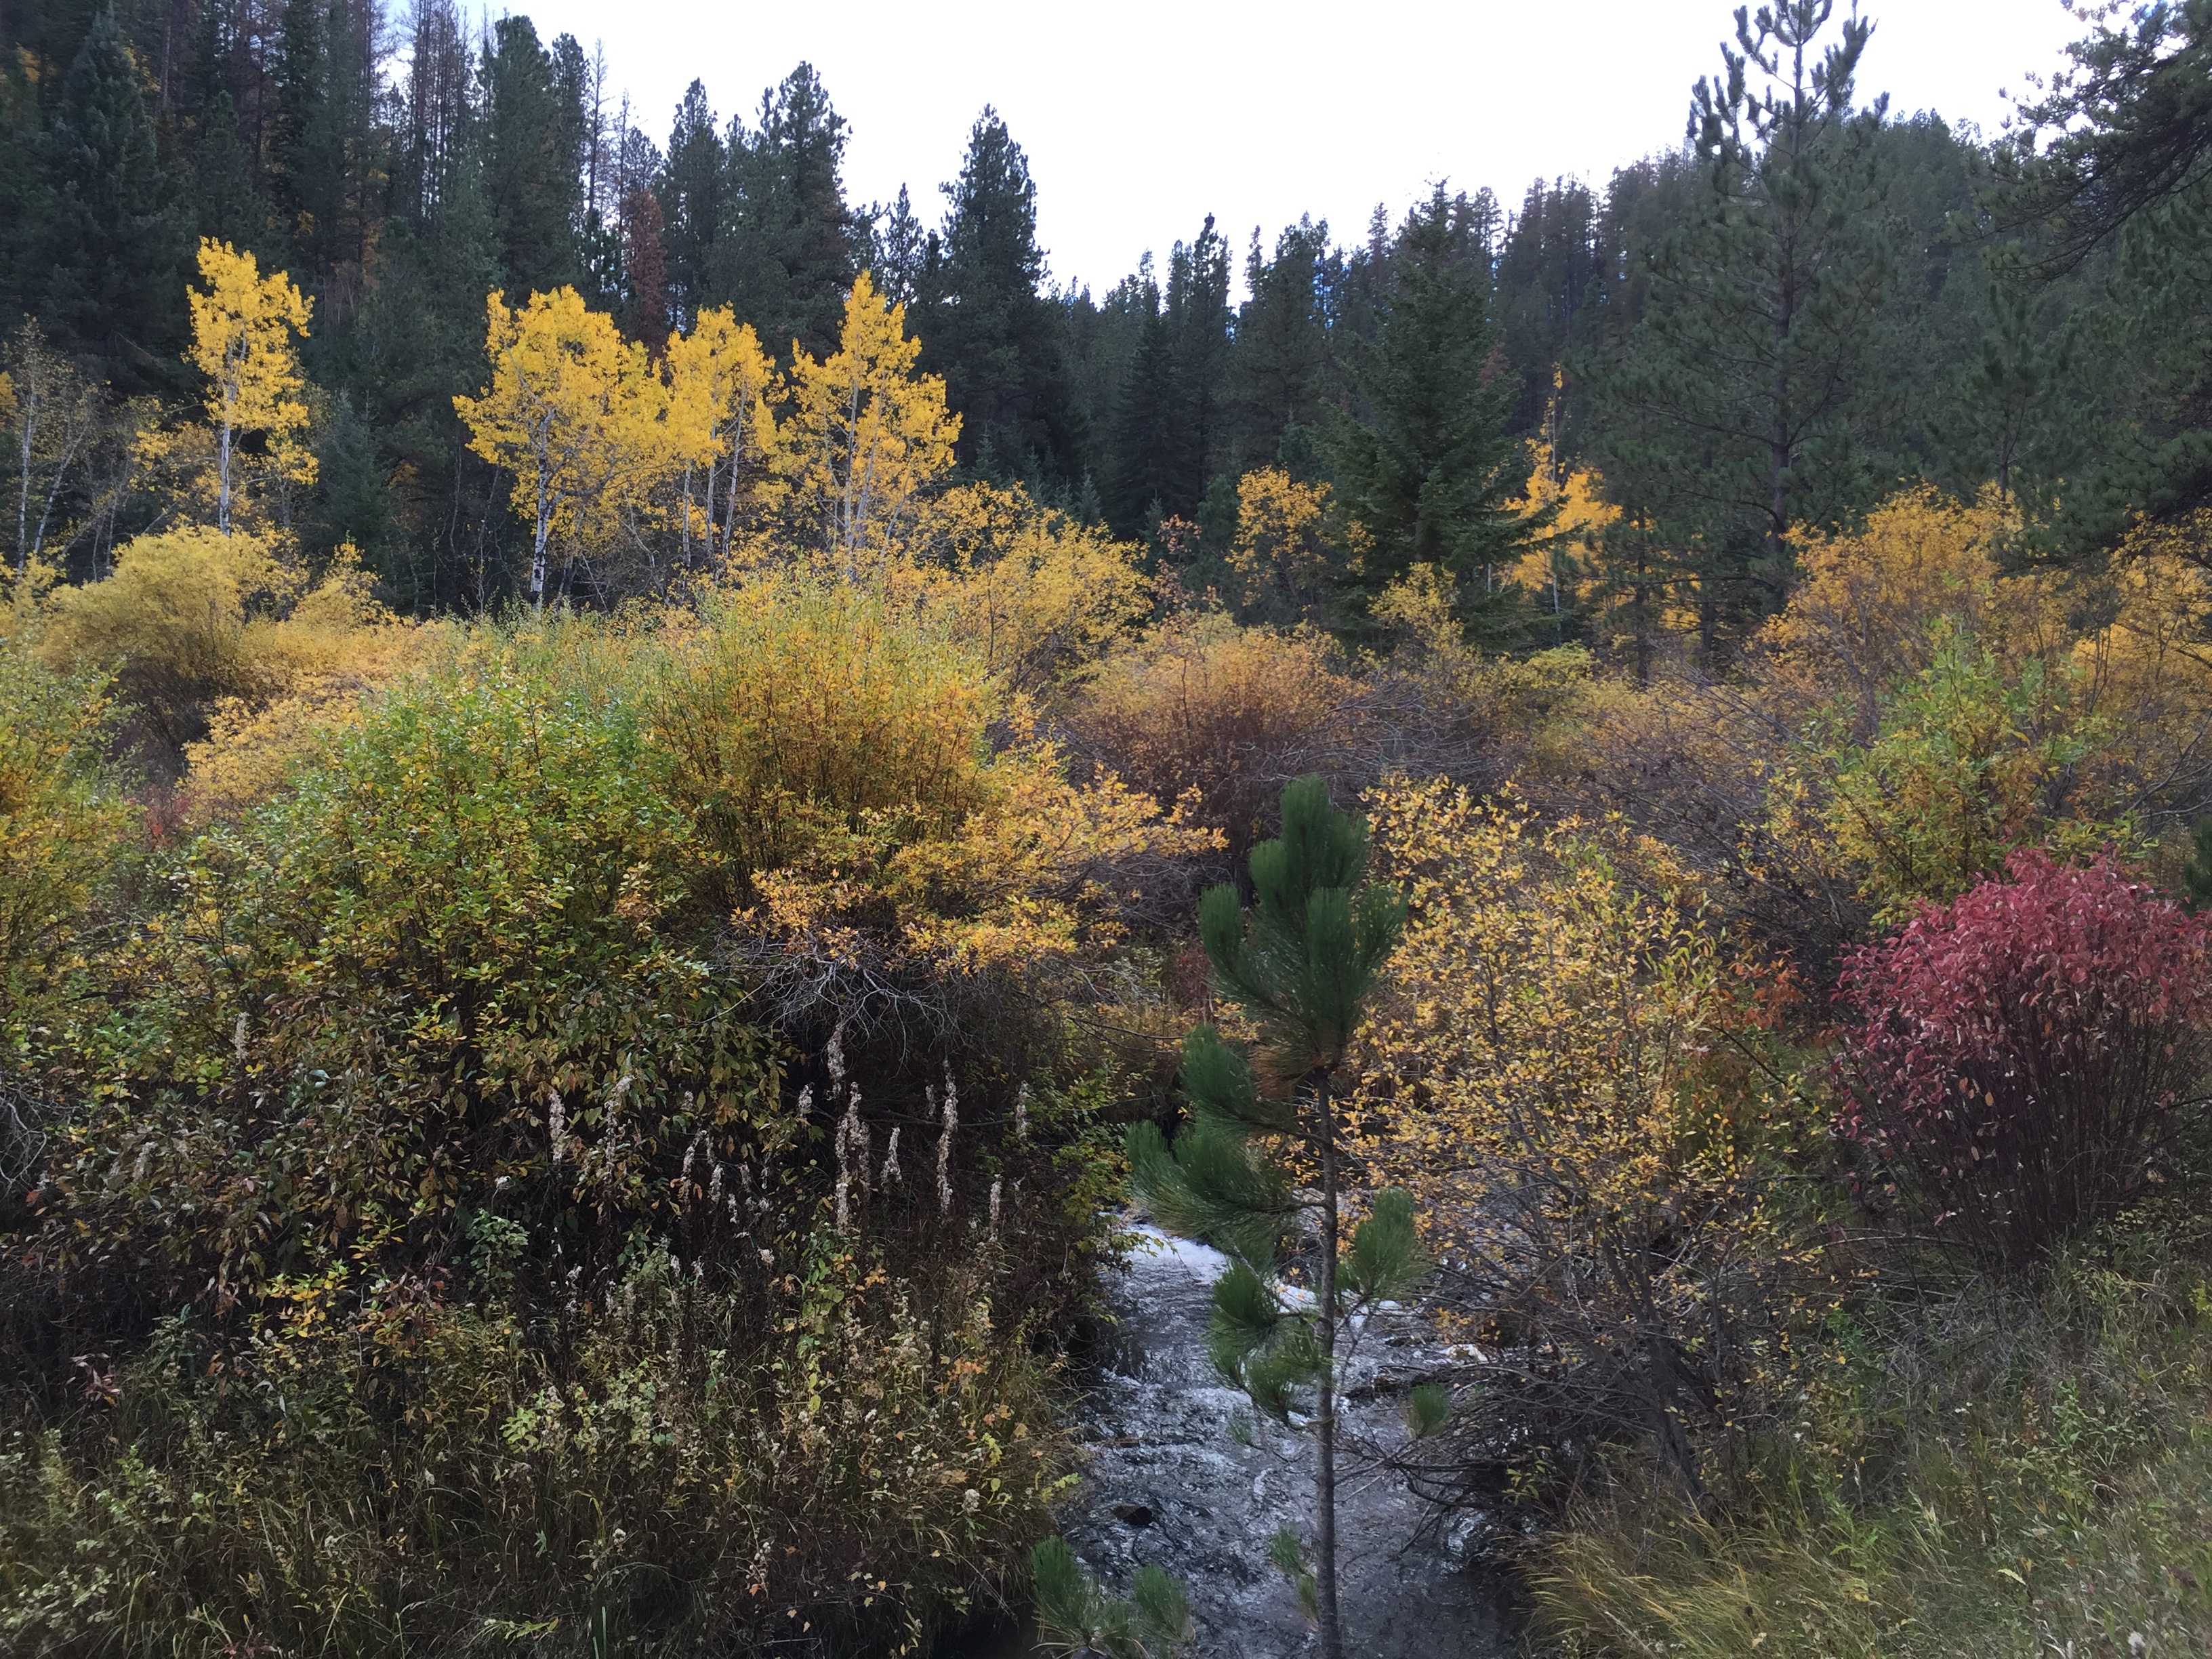
The trail offers GORGEOUS aspen groves that are especially lovely in Fall (take note, this area is one of the higher elevations in the Hills and trees usually change earlier here.)  The trek also features canyons and open meadows that are perfect for a stop for lunch. 

This area used to be fairly well-shaded.  Unfortunately, it has been hit by multiple tornadoes in recent years so now there are several bare spots where the trees once stood. 😕

We started from the eastern, Lower Loop, trailhead (the first one you come to when traveling from Savoy.)  Beginning the hike from here, the climb isn’t as steep, whereas if you start from the western trailhead the trek gets VERY steep almost immediately.  Due to the grade of that climb, that area would be very difficult and potentially risky if it was muddy.  

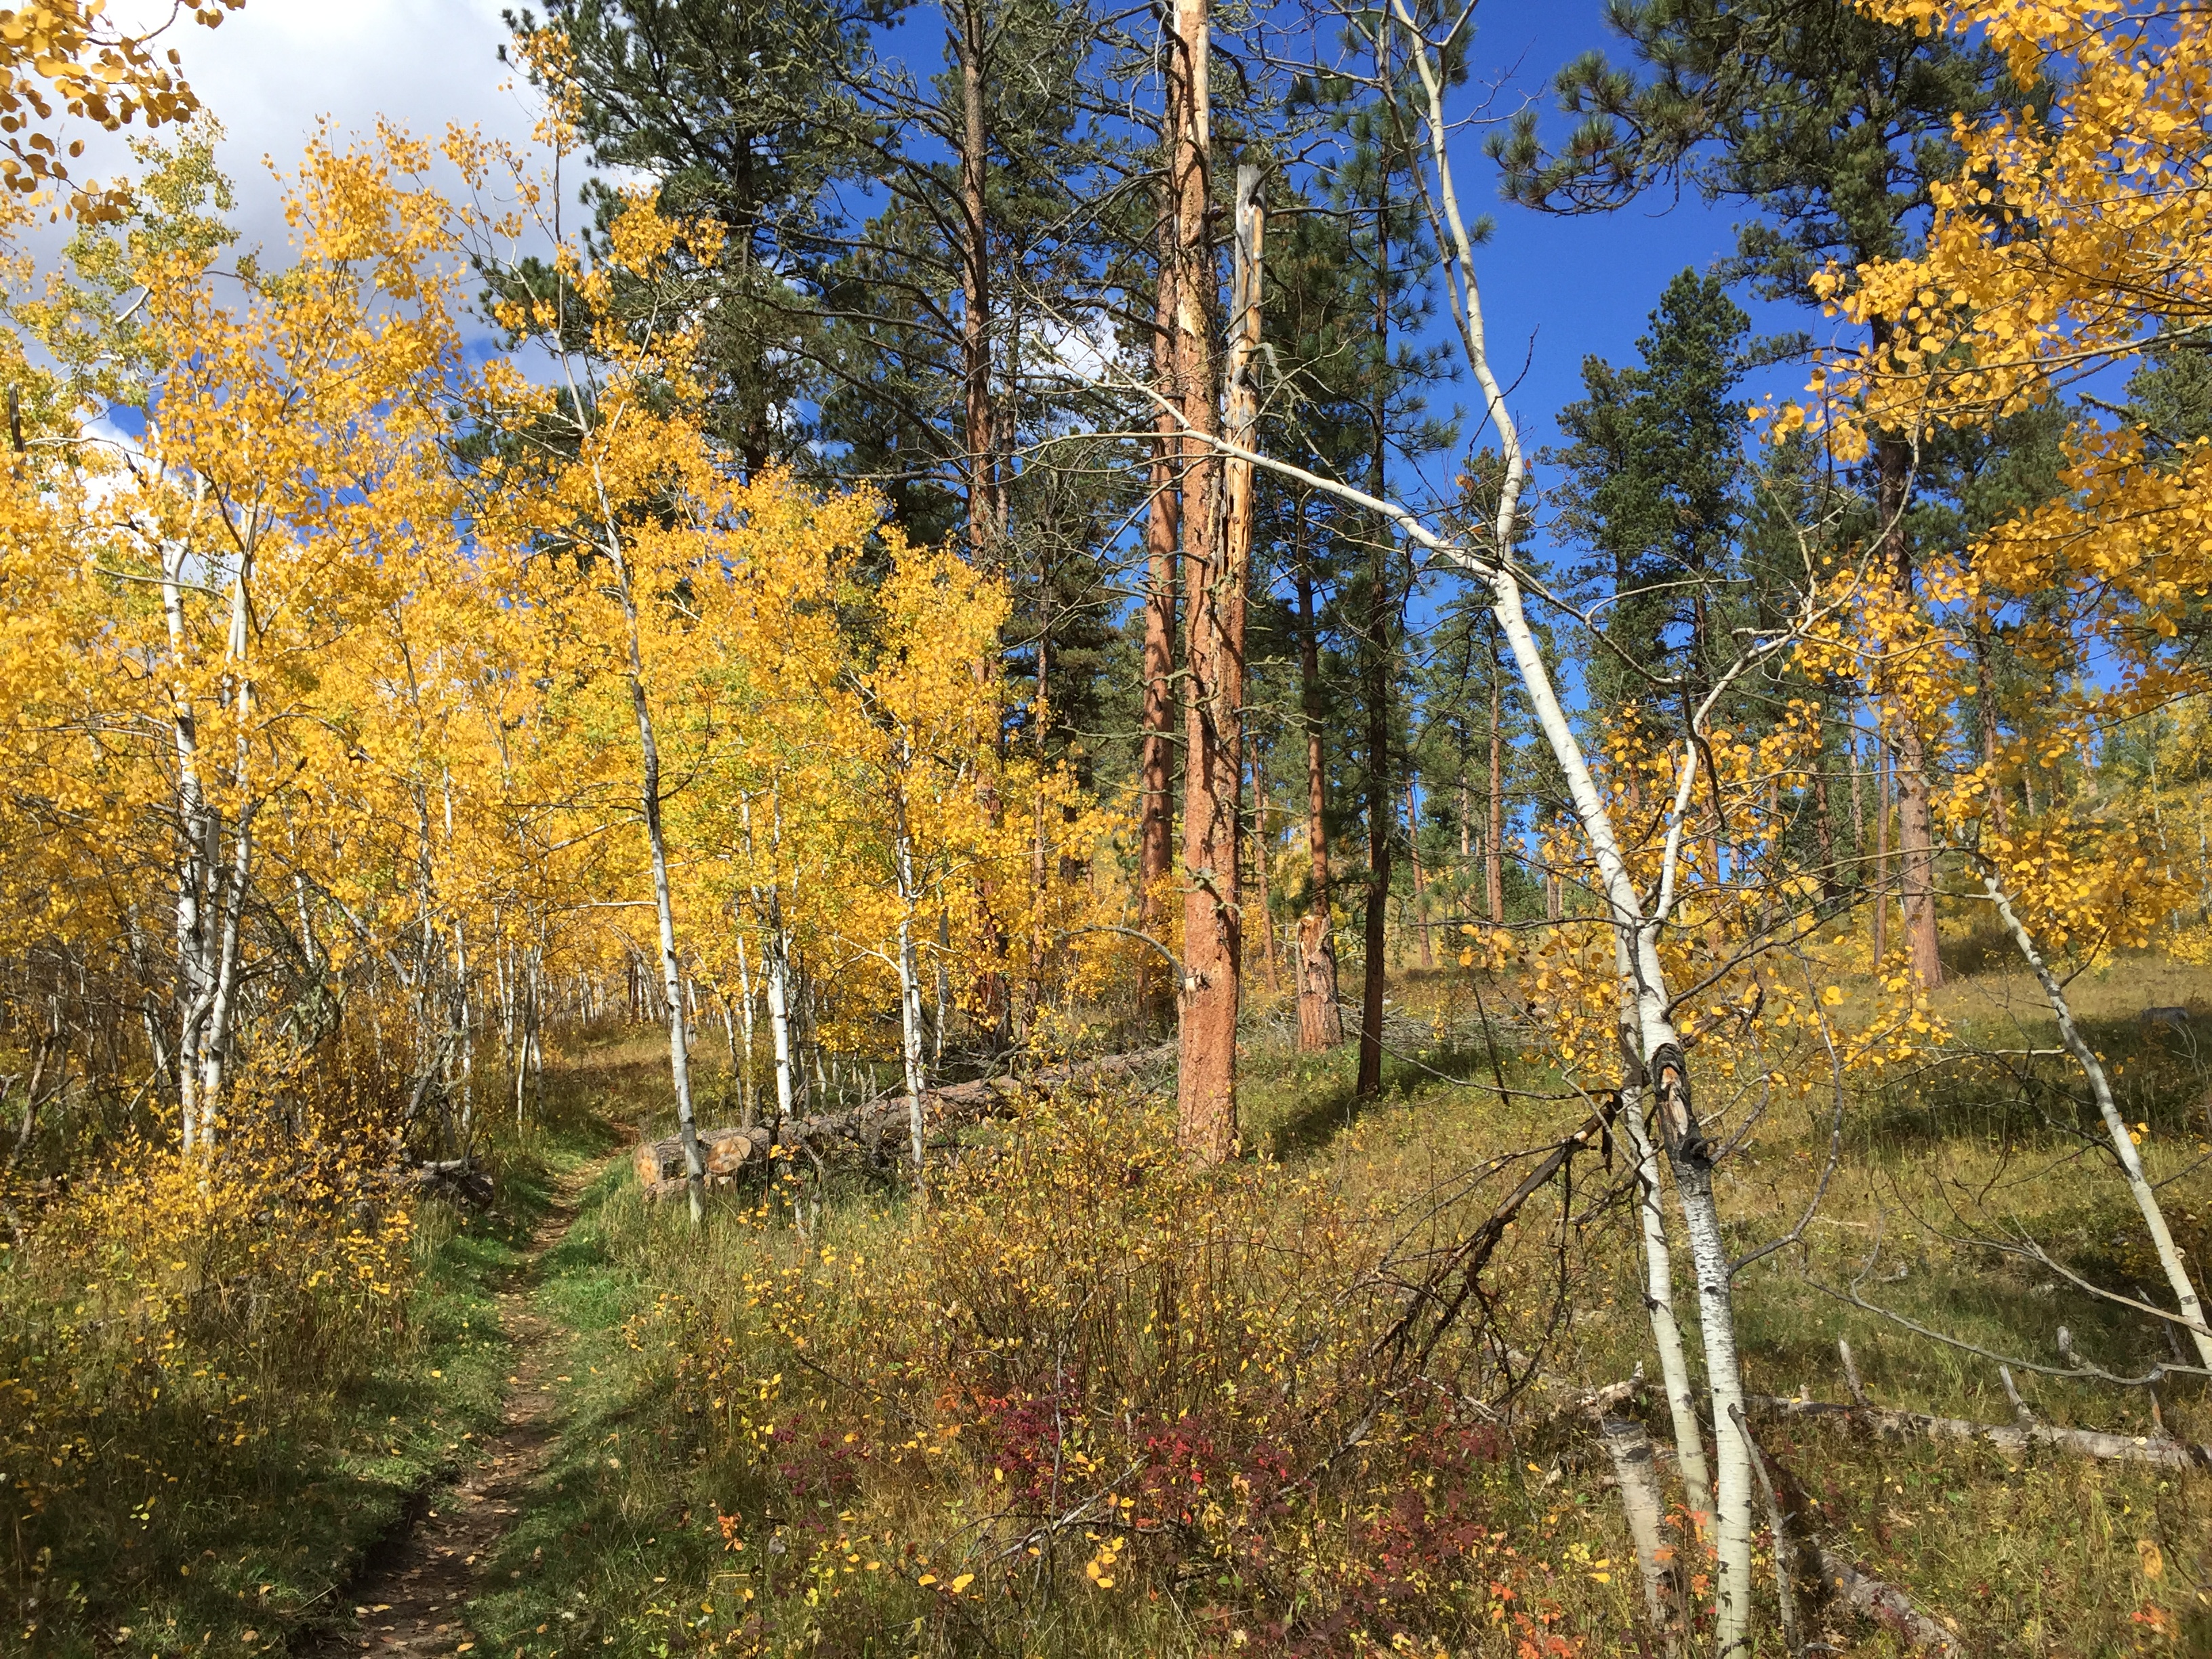
A dirt path winds through yellow aspen trees and green grass with pine trees in the background, all under a blue sky.

From where we began, it was amazing how quickly the ecosystems changed from a cool, damp, almost rainforest-type environment to the dryer, warmer, ponderosa pine forest and meadows common to the rest of western South Dakota.  The trail also offers expansive views of the canyon and surrounding countryside once you reach the crest. 

Going this direction, the final stretch of the route is easy and almost flat (which is nice when your energy is running low) as it traverses the floor of the canyon.  The babbling Little Spearfish Creek accompanies you the entire way.  Feel free to stop for a spell and soak your tired feet in the cool water, or watch minnows dart in and out of the sun-dappled shallows. 

You’ll pass a filming site from the movie Dances with Wolves (from the final scene in the film).  The origin of the 1997 White House Christmas Tree and the remains of an abandoned ranger station/homestead can be seen in this area, as well.

A grove of yellow, aspen trees with green grass and pine trees in the background all under a blue sky dotted with white, fluffy clouds.

This really is a great trail!  It’s one of the better options to experience the various ecosystems western South Dakota has to offer and it’s also very pretty.  The canyon portions remind me of those I’ve mentioned previously on the Deerfield Trail.  

In the fall, you can enjoy some of the best leaf viewing the Black Hills has to offer without having to negotiate all the traffic and visitors to the main portion of Spearfish Canyon.  During the autumn months, the yellow of the aspen contrasted with the dark ever-green of the pine trees; the brown bark of fallen logs; the incredible South Dakota blue sky, and the white puffy clouds (with red creekside plants speckled throughout the canyon areas) truly creates an iconic scene.  

I would rate the entirety of the trail as moderate (though several of the flatter portions are actually easy).  The climb up and down the canyon wall is relatively short but it’s steep enough for a strenuous rating, especially in less-than-superb conditions.  Because the trail can be divided into shorter sections, it is appropriate for smaller children, though they may need some assistance negotiating the steeper portions.  

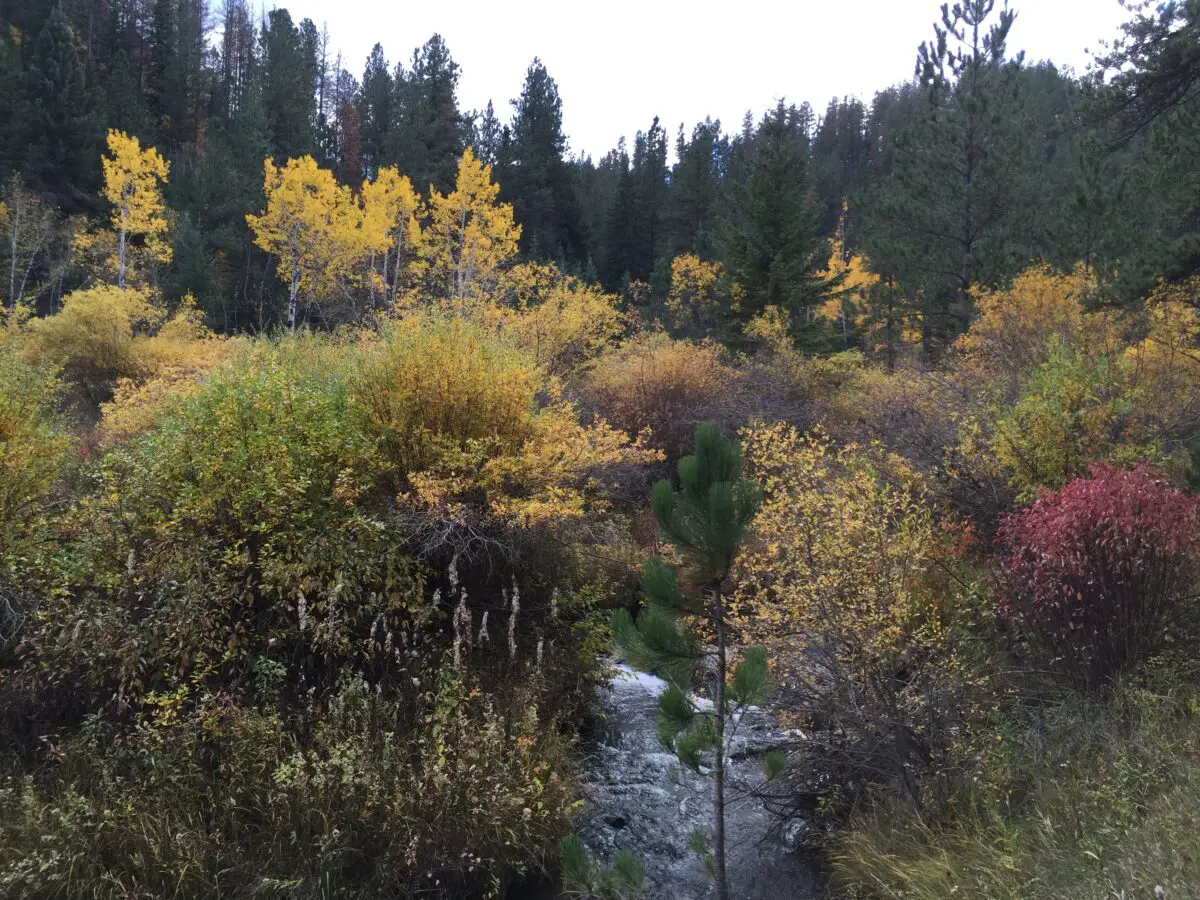
A creek runs through yellow, green and red, fall foilage with pine trees in the backgound.
The view as you’re descending to the creek (creekside areas seem to be about the only place to reliably see red color in the Hills in the fall)

If you’re seeking a less well-known hike in the Hills, check out Rimrock Trail!

Have you ever hiked in this area?  What did you think?  Tell me about your experience in the comments!


Did you enjoy reading this post?  Pin it!

A creek runs through yellow, green and red, fall foilage with pine trees in the backgound. Pin reads, "Black Hills Rimrock Trail"


Like what you read here today?  Please feel free to leave a comment, like or share this post!  Add your email at the bottom of the page, or the sidebar to the right, to be notified when a new post is published.  By signing up for the email list, you will also receive a free copy of the Tranquil Trekker’s Top 10 Tips of Trekking Do’s and Don’ts!

You can also follow the blog on social media by clicking the links below!
Facebook

Twitter

Instagram

Pinterest

Spokane, South Dakota (ghost town)

I discuss our discovery of the ghost town of Spokane, SD near Custer State Park.

There is a really cool, hidden site in the central Black Hills, the ghost town of Spokane, South Dakota!  I was surprised how long we lived in the Black Hills before we heard about this location! 😳 (This is likely due to it not being well-publicized, even though it’s very near a major tourist attraction in the local area…)

The site was pretty amazing (it didn’t hurt that the day we visited was GORGEOUS!)  I’d encourage you to research the town’s history as it’s pretty interesting.  Spokane was an actual town at one point (rather than just a simple mining camp) complete with a schoolhouse and a general store.

While the majority of the buildings have been destroyed by fire and Mother Nature, we think we found the foundation of the old schoolhouse.  The only structures still completely standing were a house with some outlying buildings.  There is also a root cellar in the main valley and the mine manager’s home still sits on a hill, overlooking the former town that was nestled in the meadow below (or it would overlook the town if there weren’t trees in the way, now. 😉) 

An old house in the woods, surrounded by pine trees
The mine manager’s house

Hazards in a Ghost Town

There are always numerous hazards to be VERY cautious of at these sites. Among a few other foundations, metal remnants, and ancient mining equipment, there was also an old well that had been sealed with a cement cover, but this has since been dislodged.  While you could see the bottom, a fall of 20 – 50 feet could be deadly, and either way, the rescue operation would be difficult for all involved. (This is another time it’s important to remember you can NOT rely on cell service when in the mountains).  

*Let’s talk safety for a bit, shall we?  When you visit ruins of old towns, mines, natural caves, etc. safety should be your #1 priority (respect for the site should be a VERY close #2).  These buildings can be dangerous. The wood is rotting, most are in the process of falling down.  Many have basements/root cellars (that you may not even be aware of).  If you fall through the wood into these, you could be seriously injured.  

Many of these buildings are also havens for rattlesnakes and other critters who may not appreciate you barging in (a mountain lion could be using a cool, abandoned root cellar as a place to nap.)  

Old mines can collapse or cave-ins–even in natural caves–can occur at any time and with little to no warning.  I cringe whenever I see pictures of people venturing into abandoned mines. 🤦‍♀️  So, adventure at your own risk, but, the Trekkers NEVER encourage people to actually venture into any of these structures. They can be enjoyed perfectly well and safely from outside.  (You should be watchful even in the outside areas around these old sites.  You never know when old holes, sharp metal pieces, or even disgruntled snakes may be camouflaged by the tall grass that often surround the structures.)

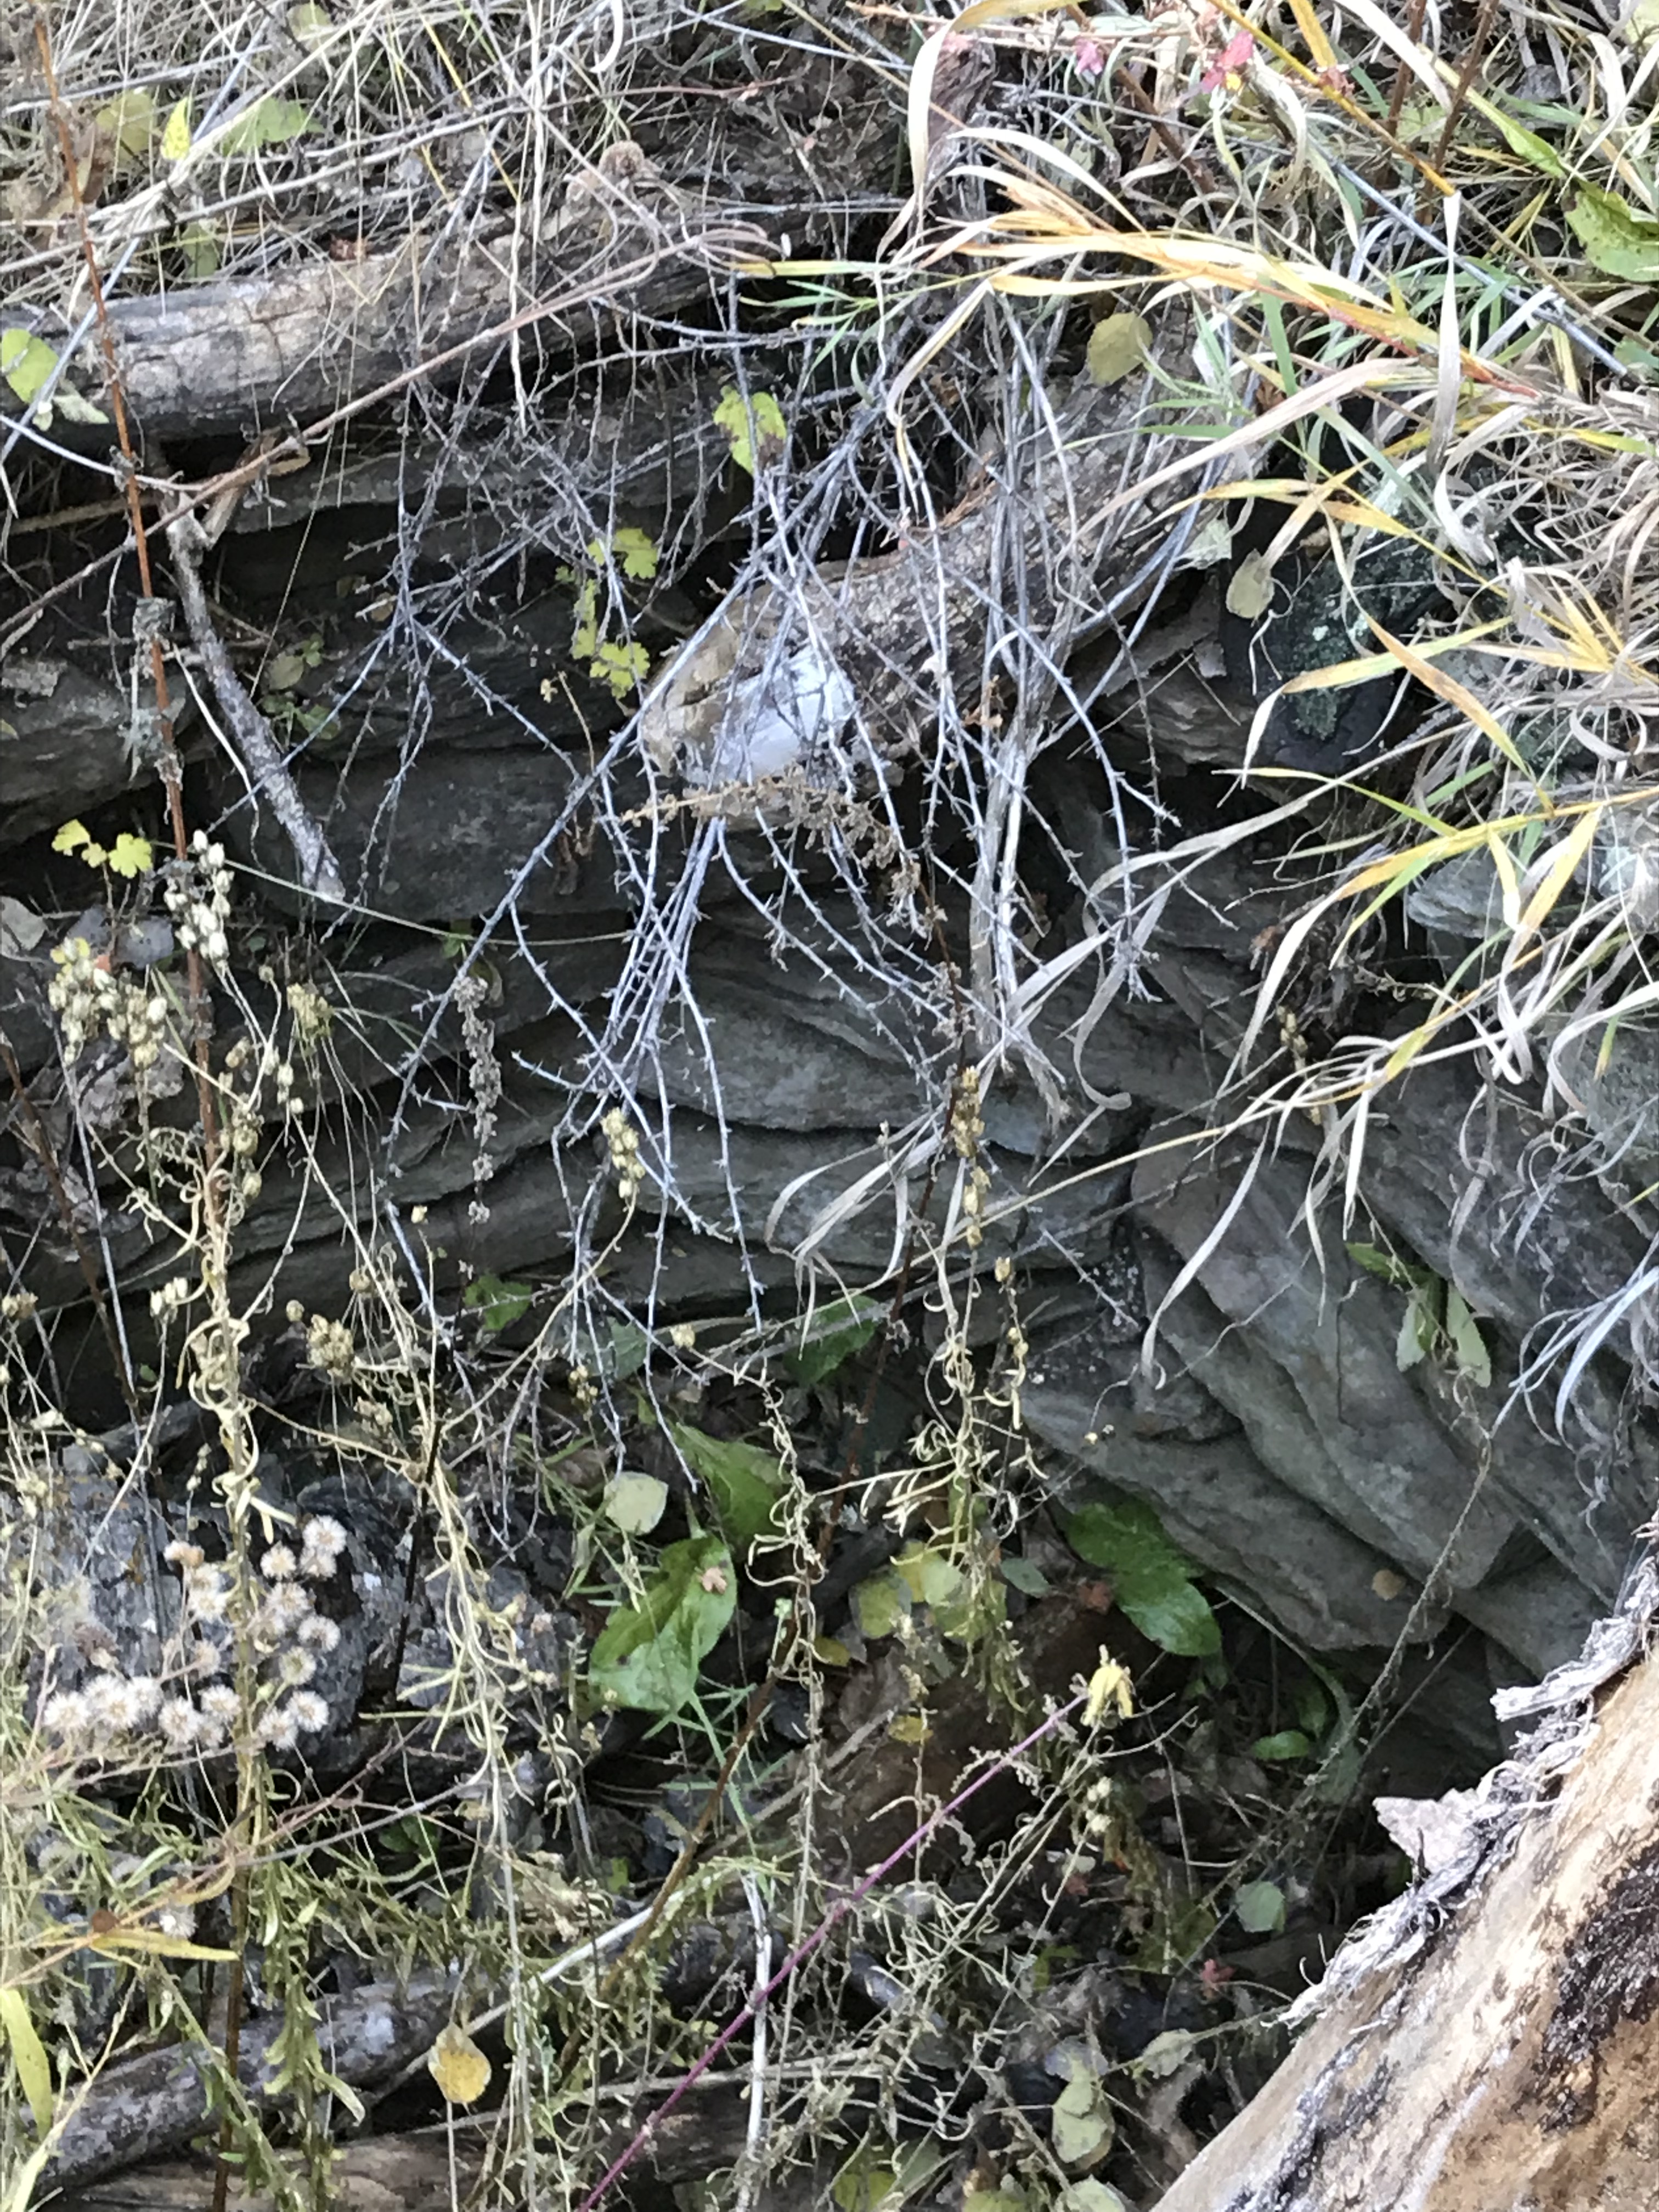
A hole a foot or more deep sits in the ground, lined with thin, regular rocks placed on top of each other. The hole is overgrown with grass and weeds on the bottom and the sides.
This hole in the ground appeared to be constructed, not sure if it was an old well, or what.  This is what I’m talking about with safety, though.  This hole was in the middle of what used to be the yard, without a cover or barrier around it.

Unique sites in Spokane, South Dakota

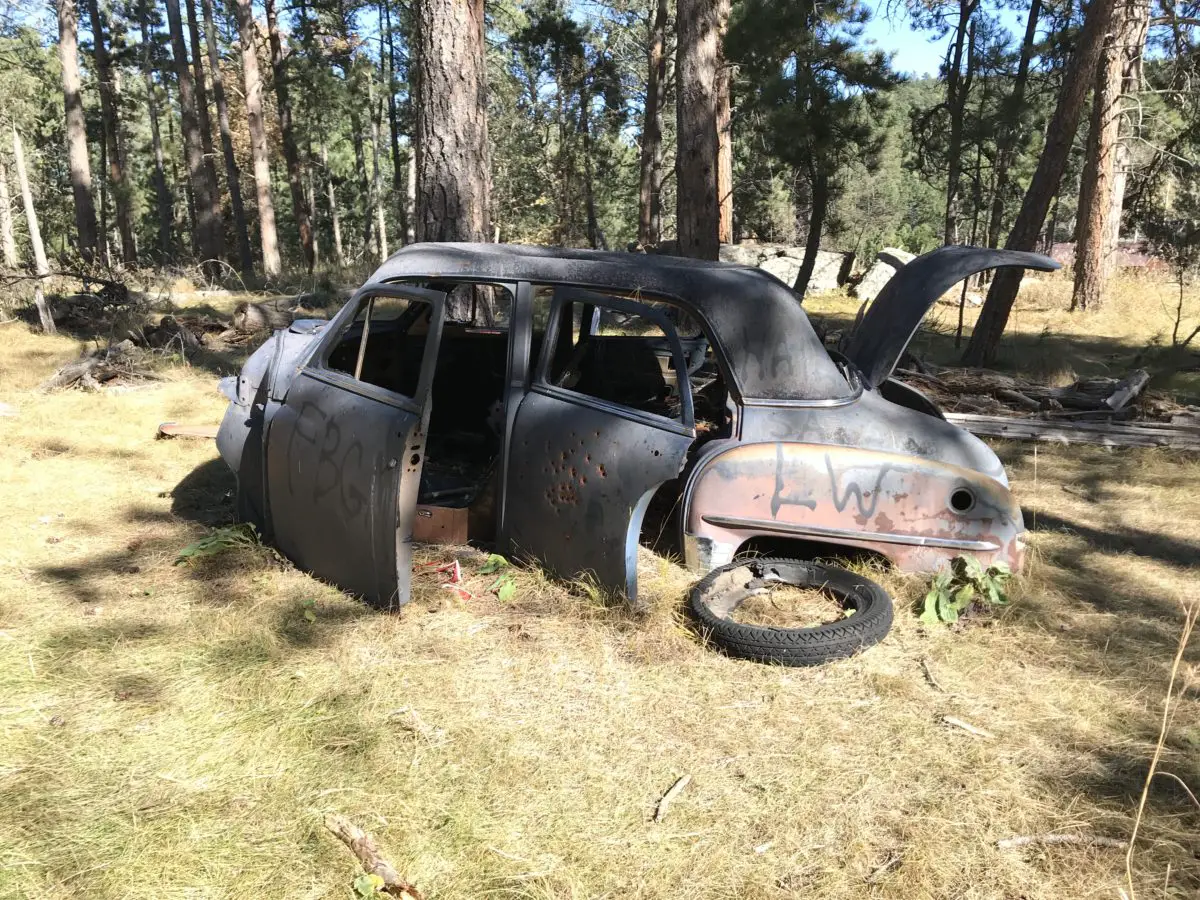
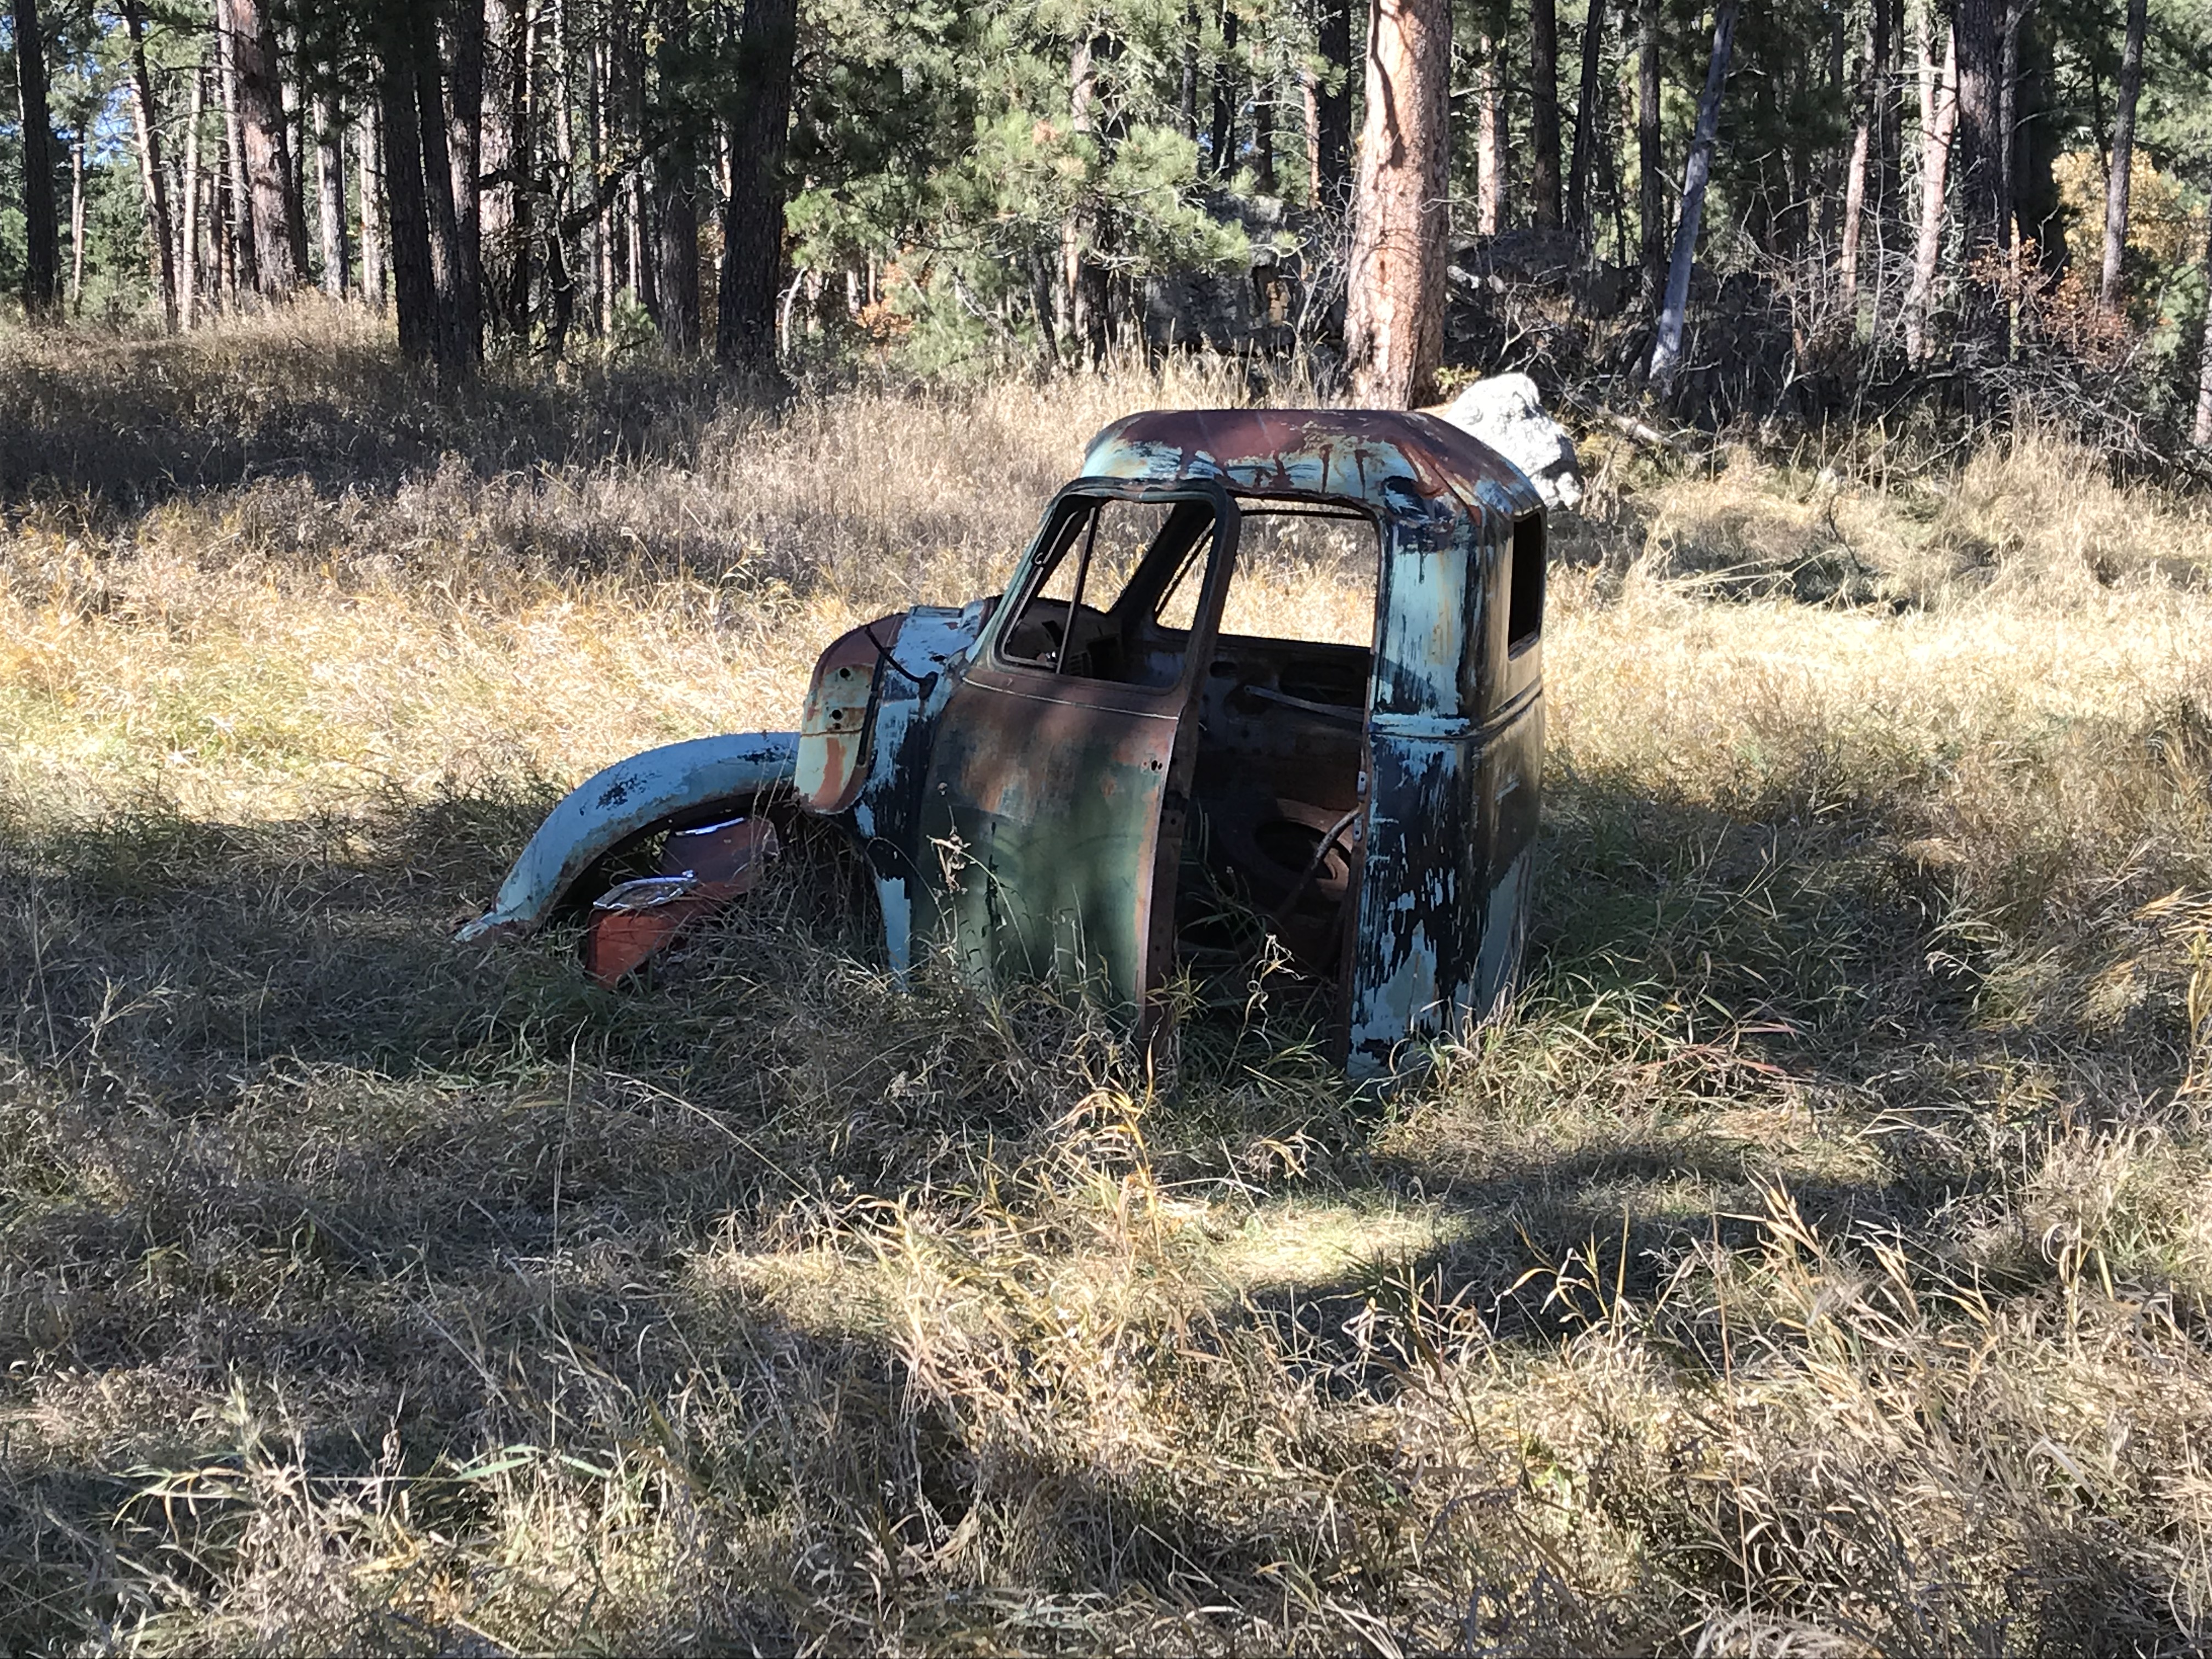
One unique aspect of this ghost town (at least compared to others the Trekkers have visited) is the presence of old cars!  Most of the towns we’ve toured had heydays in the late 1800s when horse and cart were the primary source of travel.  This town hit it’s prime in the 1920s (and wasn’t abandoned until the 1940s) so the unusual site of motor vehicles and evidence of electrical wiring on the buildings felt out of place.

The cab of a rusted, old truck with no windows sits on the ground, in a meadow, surrounded by trees.
I LOVE this old truck!

A rusted, old car with no windows or tires, and the hood and trunk stuck open sits in some overgrown grass on the outskirts of the woods.

Two rusted cars with no tires or windows with graffiti on them sit in an open spot in the woods.

Where is the Spokane ghost town?

In order to help preserve the integrity of the site, I’m not going to give the exact directions to this location–other than what is already available with a simple Google search.  I will give a few hints though:

      • It’s near Custer State Park (VERY, near).  You can reach the site using Playhouse Road and/or Iron Mountain Road.
      • There are two entrances to the site.  The main entrance, described in Google, requires a half-mile (or so) walk up a steep, rocky, abandoned forest road to reach the valley.  We–somewhat accidentally–stumbled on the back entrance with an easy walk of only about 1/8th of a mile to reach the meadow.
      • The rest of the discovery is up to you (as I said, Google is your friend!)Author’s Note:  In recent years the site has become more popular. Unfortunately, that means it’s also been vandalized–it’s too bad there are a few jerks out there who insist on ruining the fun for everyone–Some barriers have been erected in recent years to help keep people away from the buildings to hopefully help mitigate the damage. If you want clearer instructions on how to reach the site, you may contact me via social media as indicated below, or by using my contact form, and I may be able to help you a little more. (I won’t give precise instructions–that ruins the fun!–but I can give a few more helpful hints. 😇) 

The mood this site created was pretty cool.  The sun-dappled trees and forest floor make shadows flit on the ruins.  You can almost smell the musky scent of horse, and hear the horses, wagons–and cars?! 😳–that trundled down the rutted, dirt road, as the wind rattles the dry leaves of the aspen trees that border the ramshackle houses.  

While visiting the ghost town, why not check out Iron Mountain Road found nearby, as well?

This location would also make for a creepy adventure during the Halloween season! 👻  The site was pretty haunting, between the dilapidated old cars and buildings, you got a sense that this is what a post-apocalyptic society would look like (I may have been watching too much Walking Dead lately.) 😜

Below are some more pics of our adventure (thanks, as usual, to Mr. Trekker for many of these)!

An old, two-story home that is broken-down to the frame sits amongst some trees in a meadow.
To be clear, the house is leaning, not the photographer!  😉

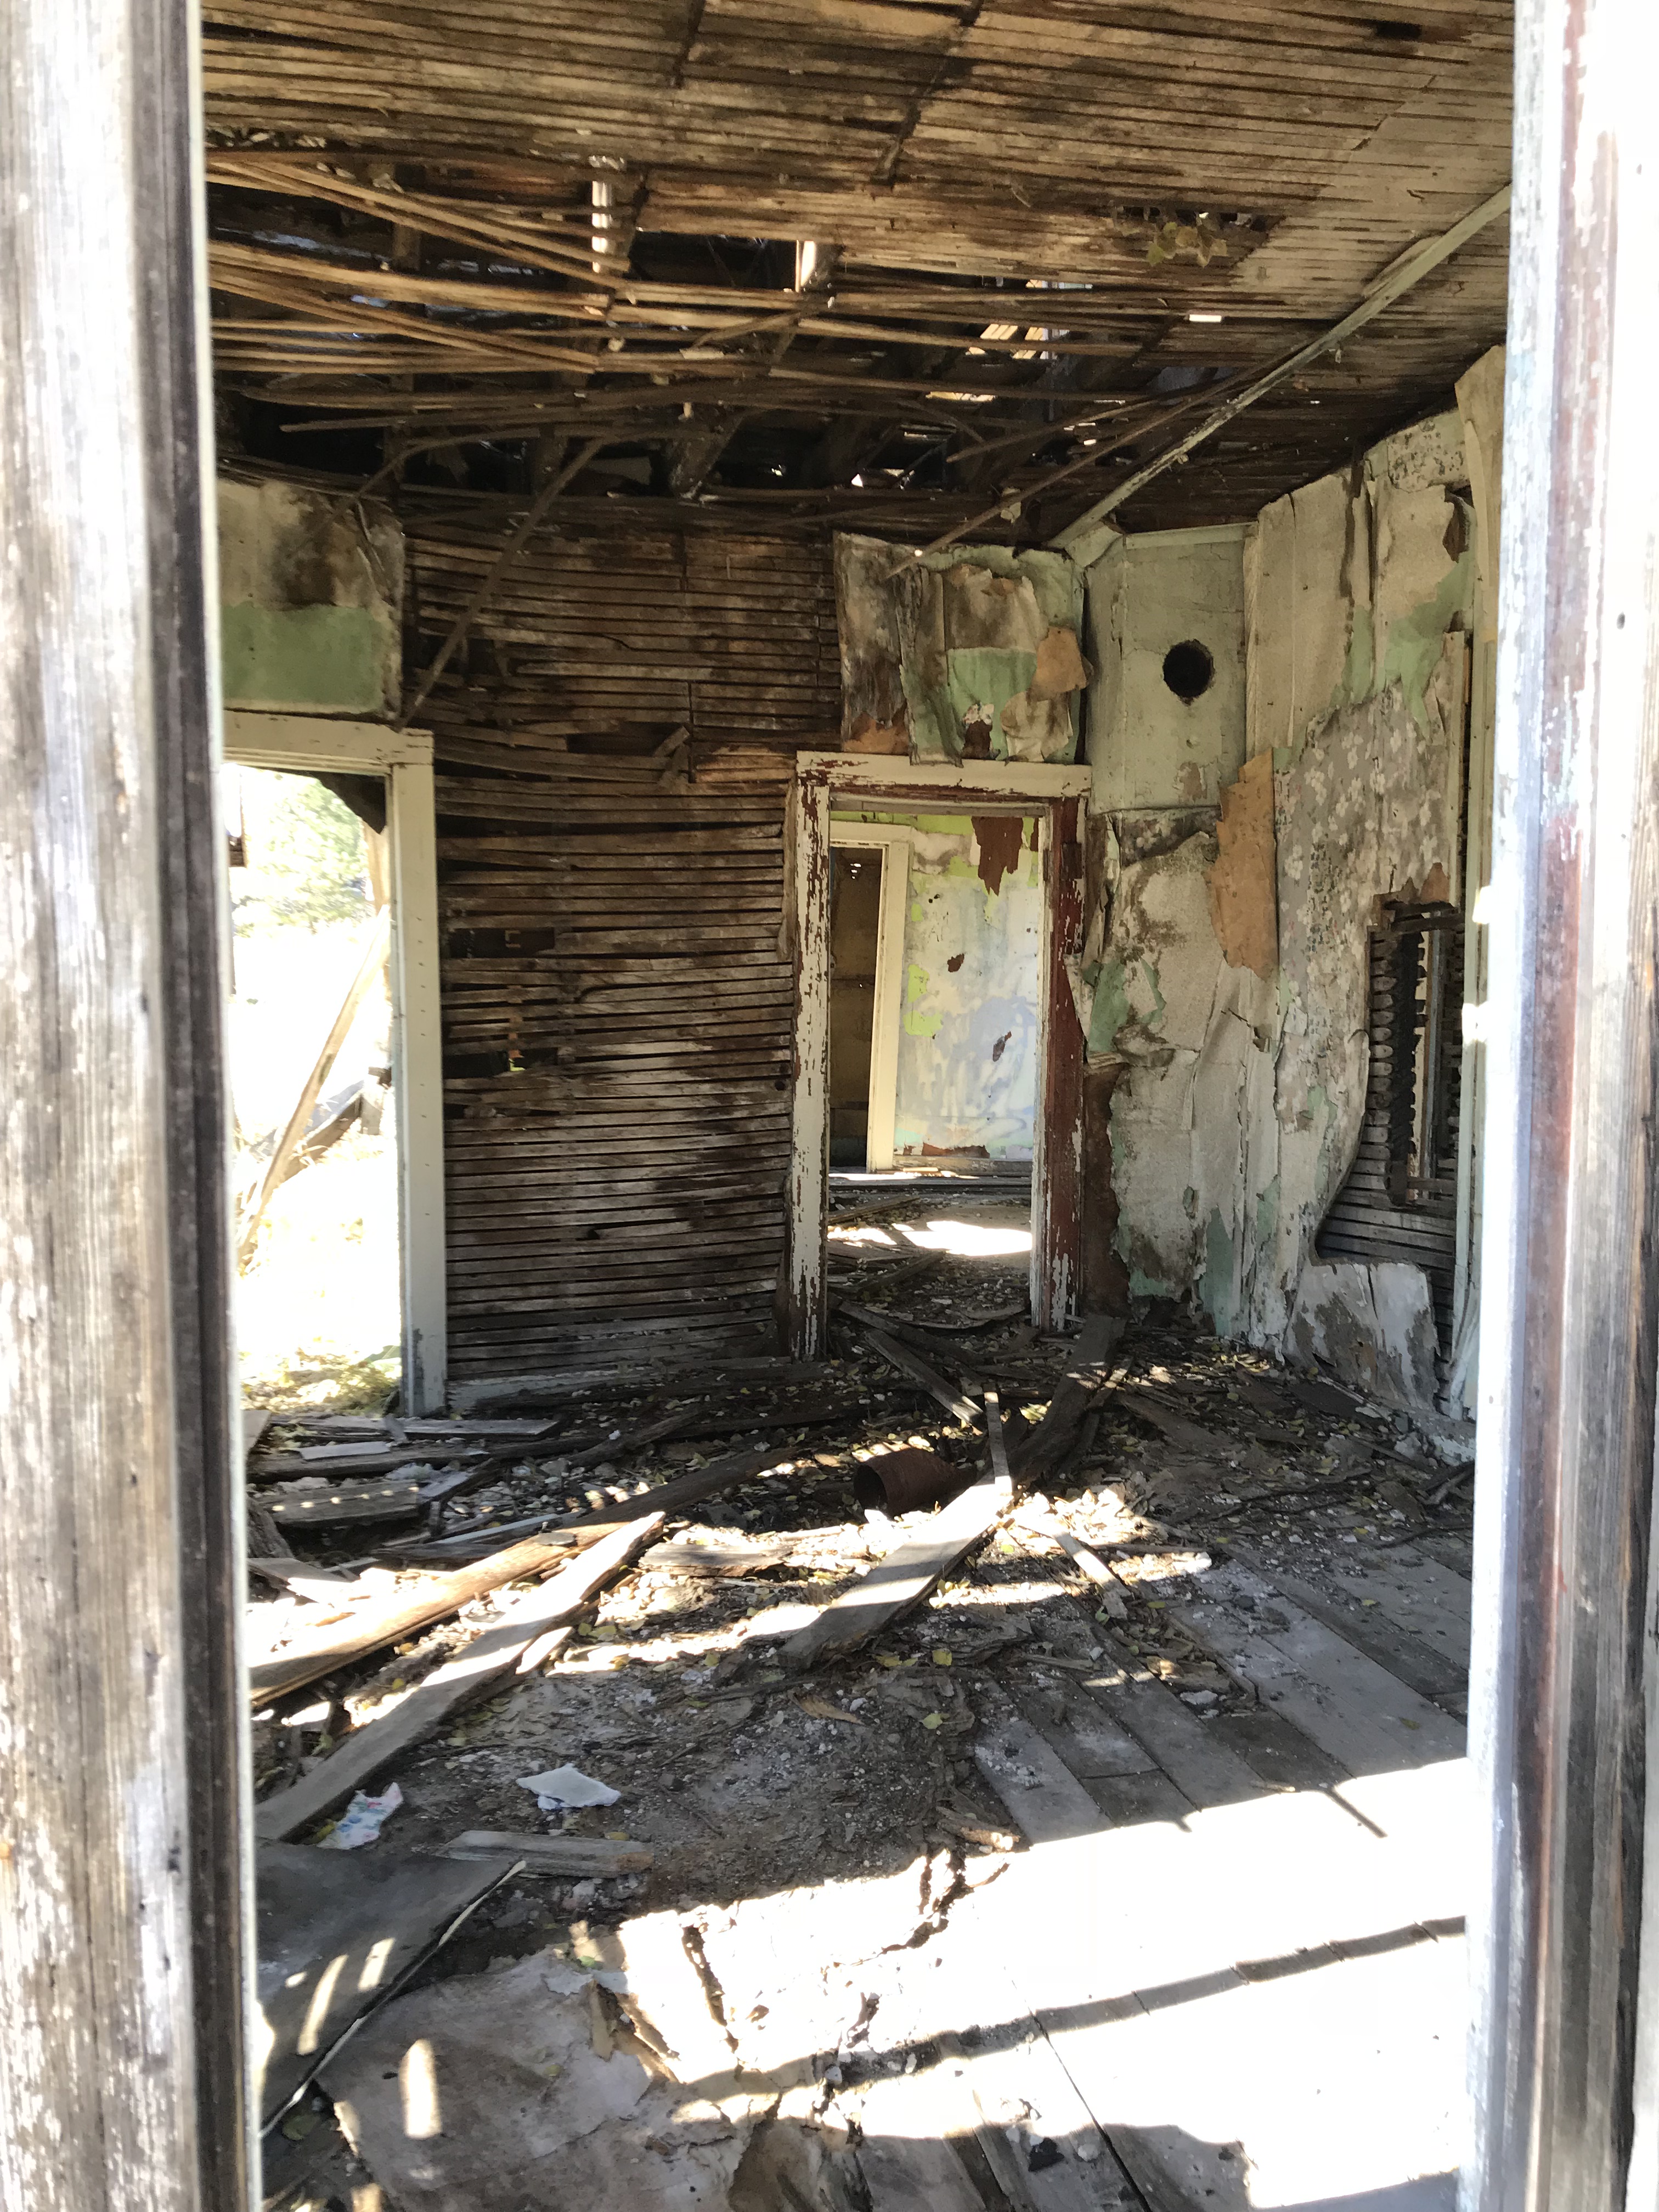
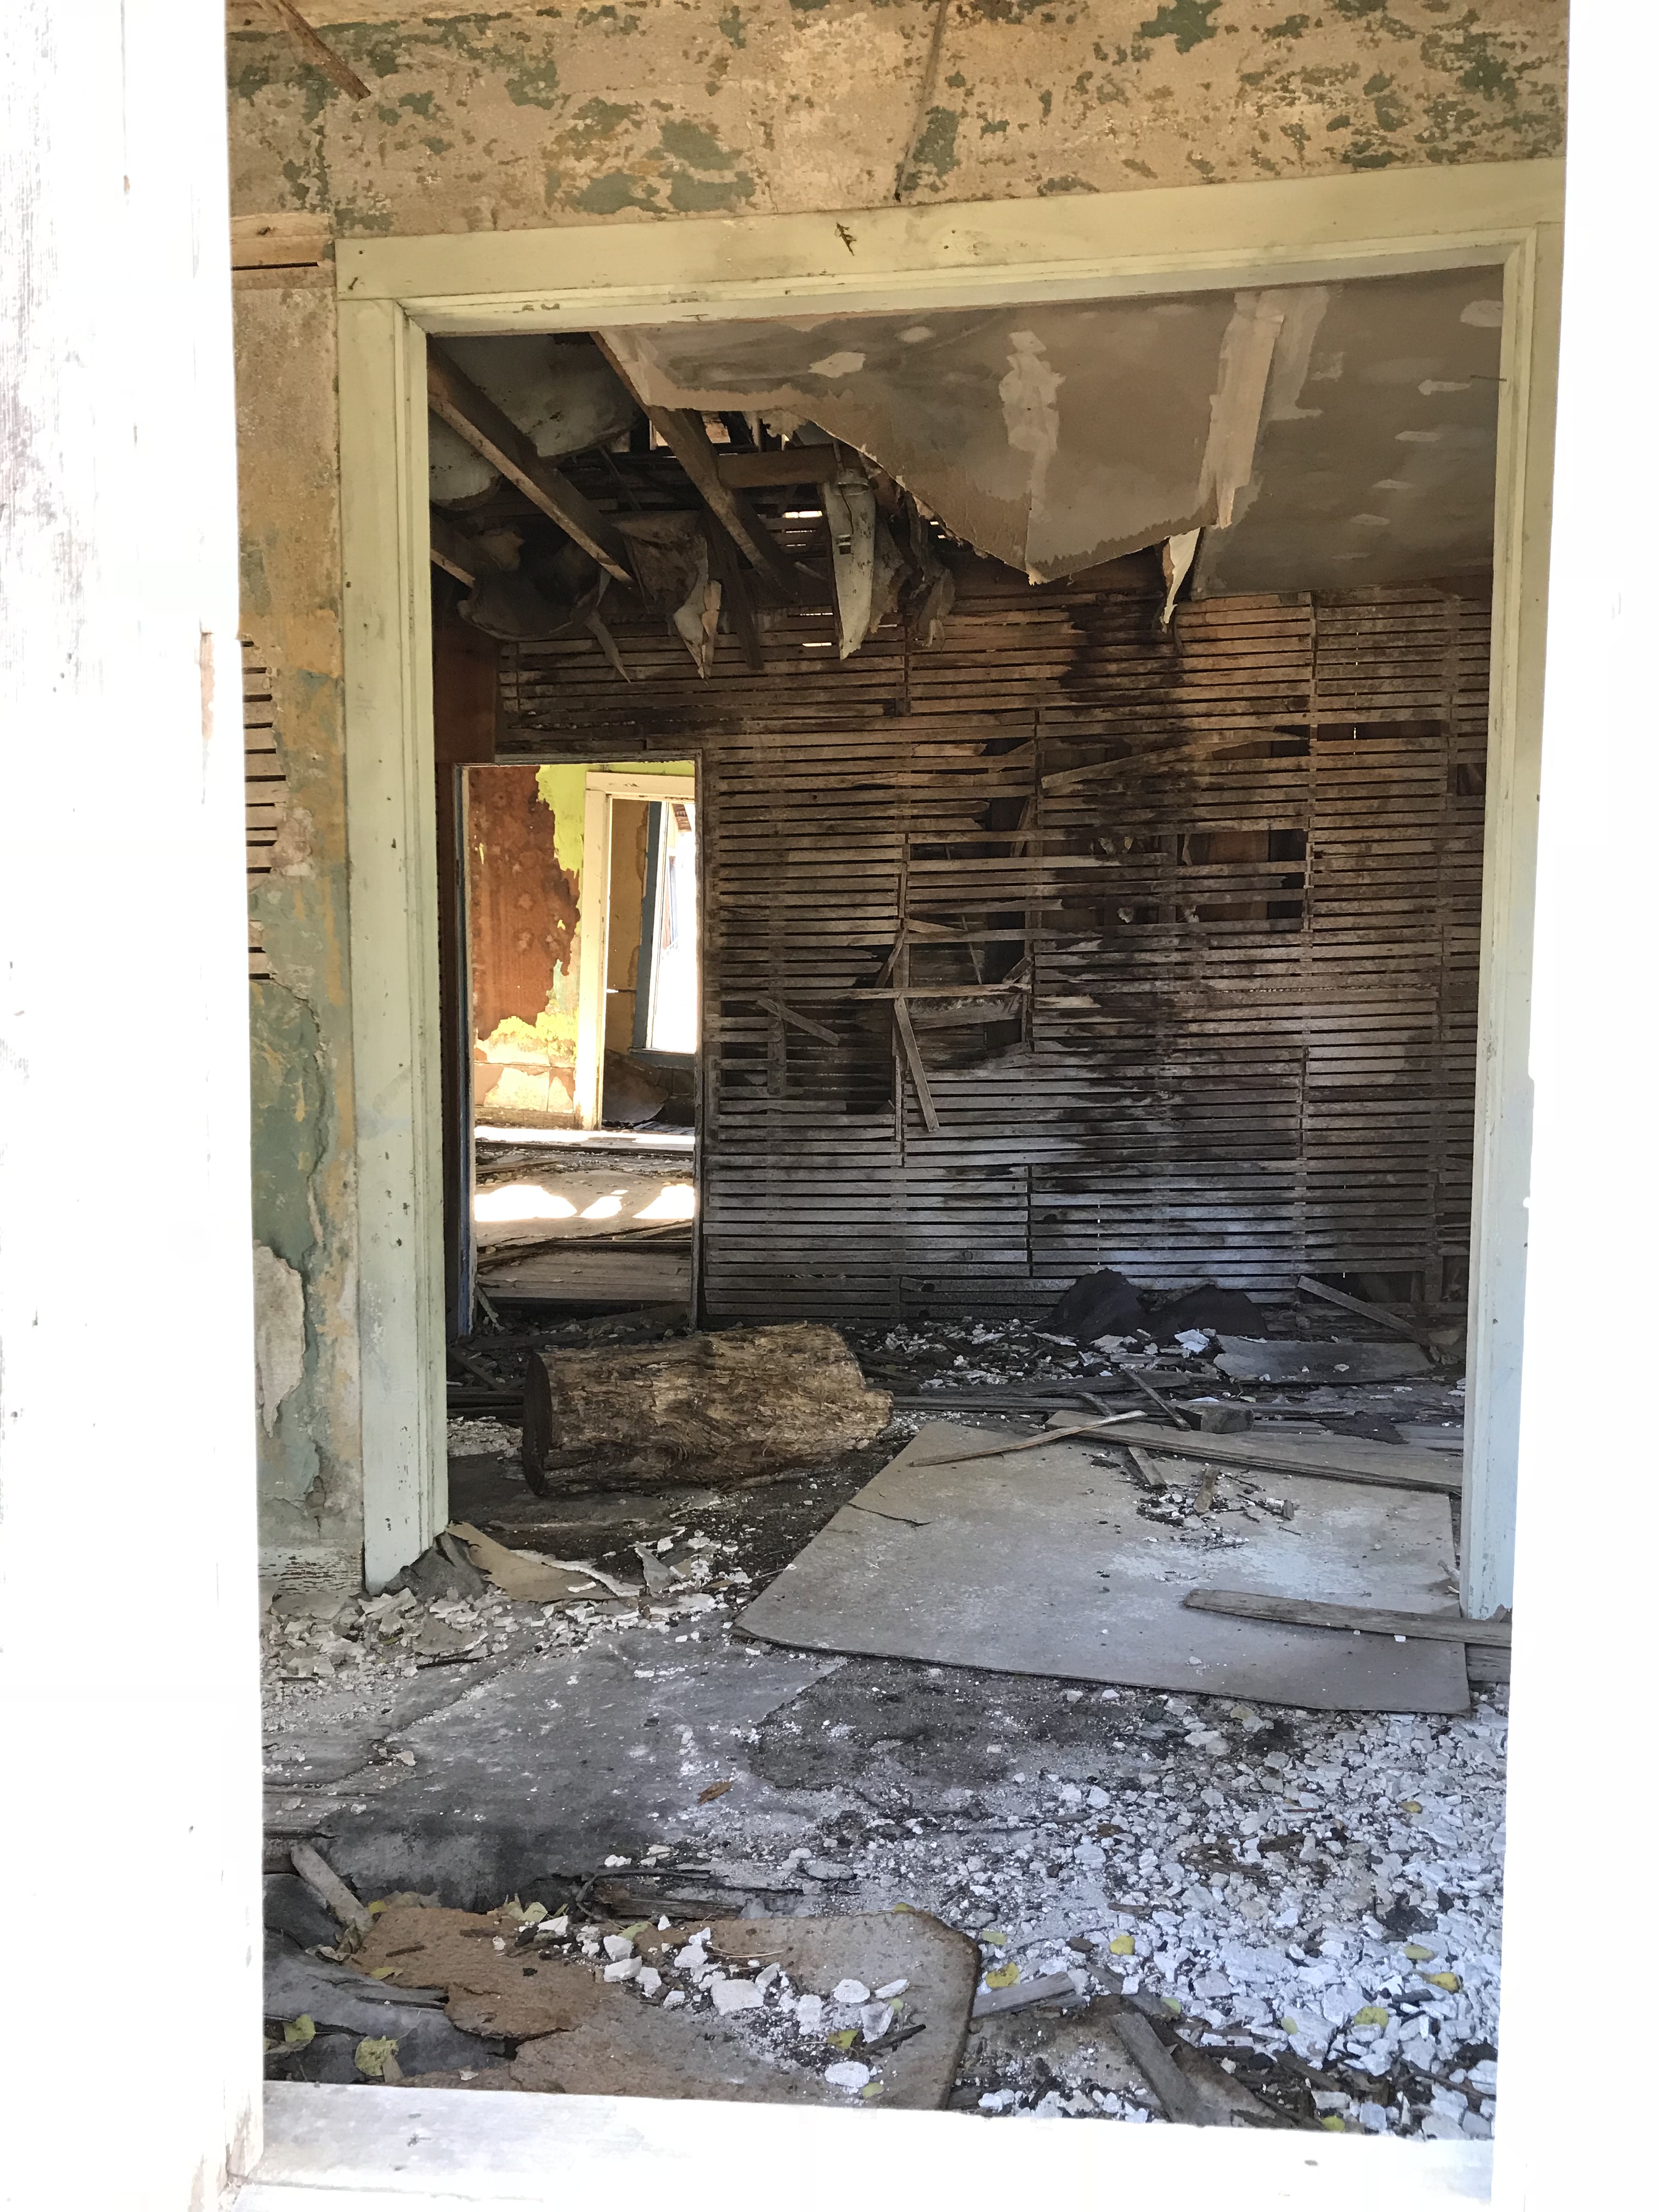
Inside the room of an old house. No doors or windows are left and the frame is visible on the floor/walls/ceiling
Inside the room of an old house. No doors or windows are left and the frame is visible on the floor/walls/ceiling. The floor is messy, covered in plaster and the ceiling sags.

An old, metal container, open in the middle with an agitator sticking out of the open portion
Dishwasher or a washing machine?

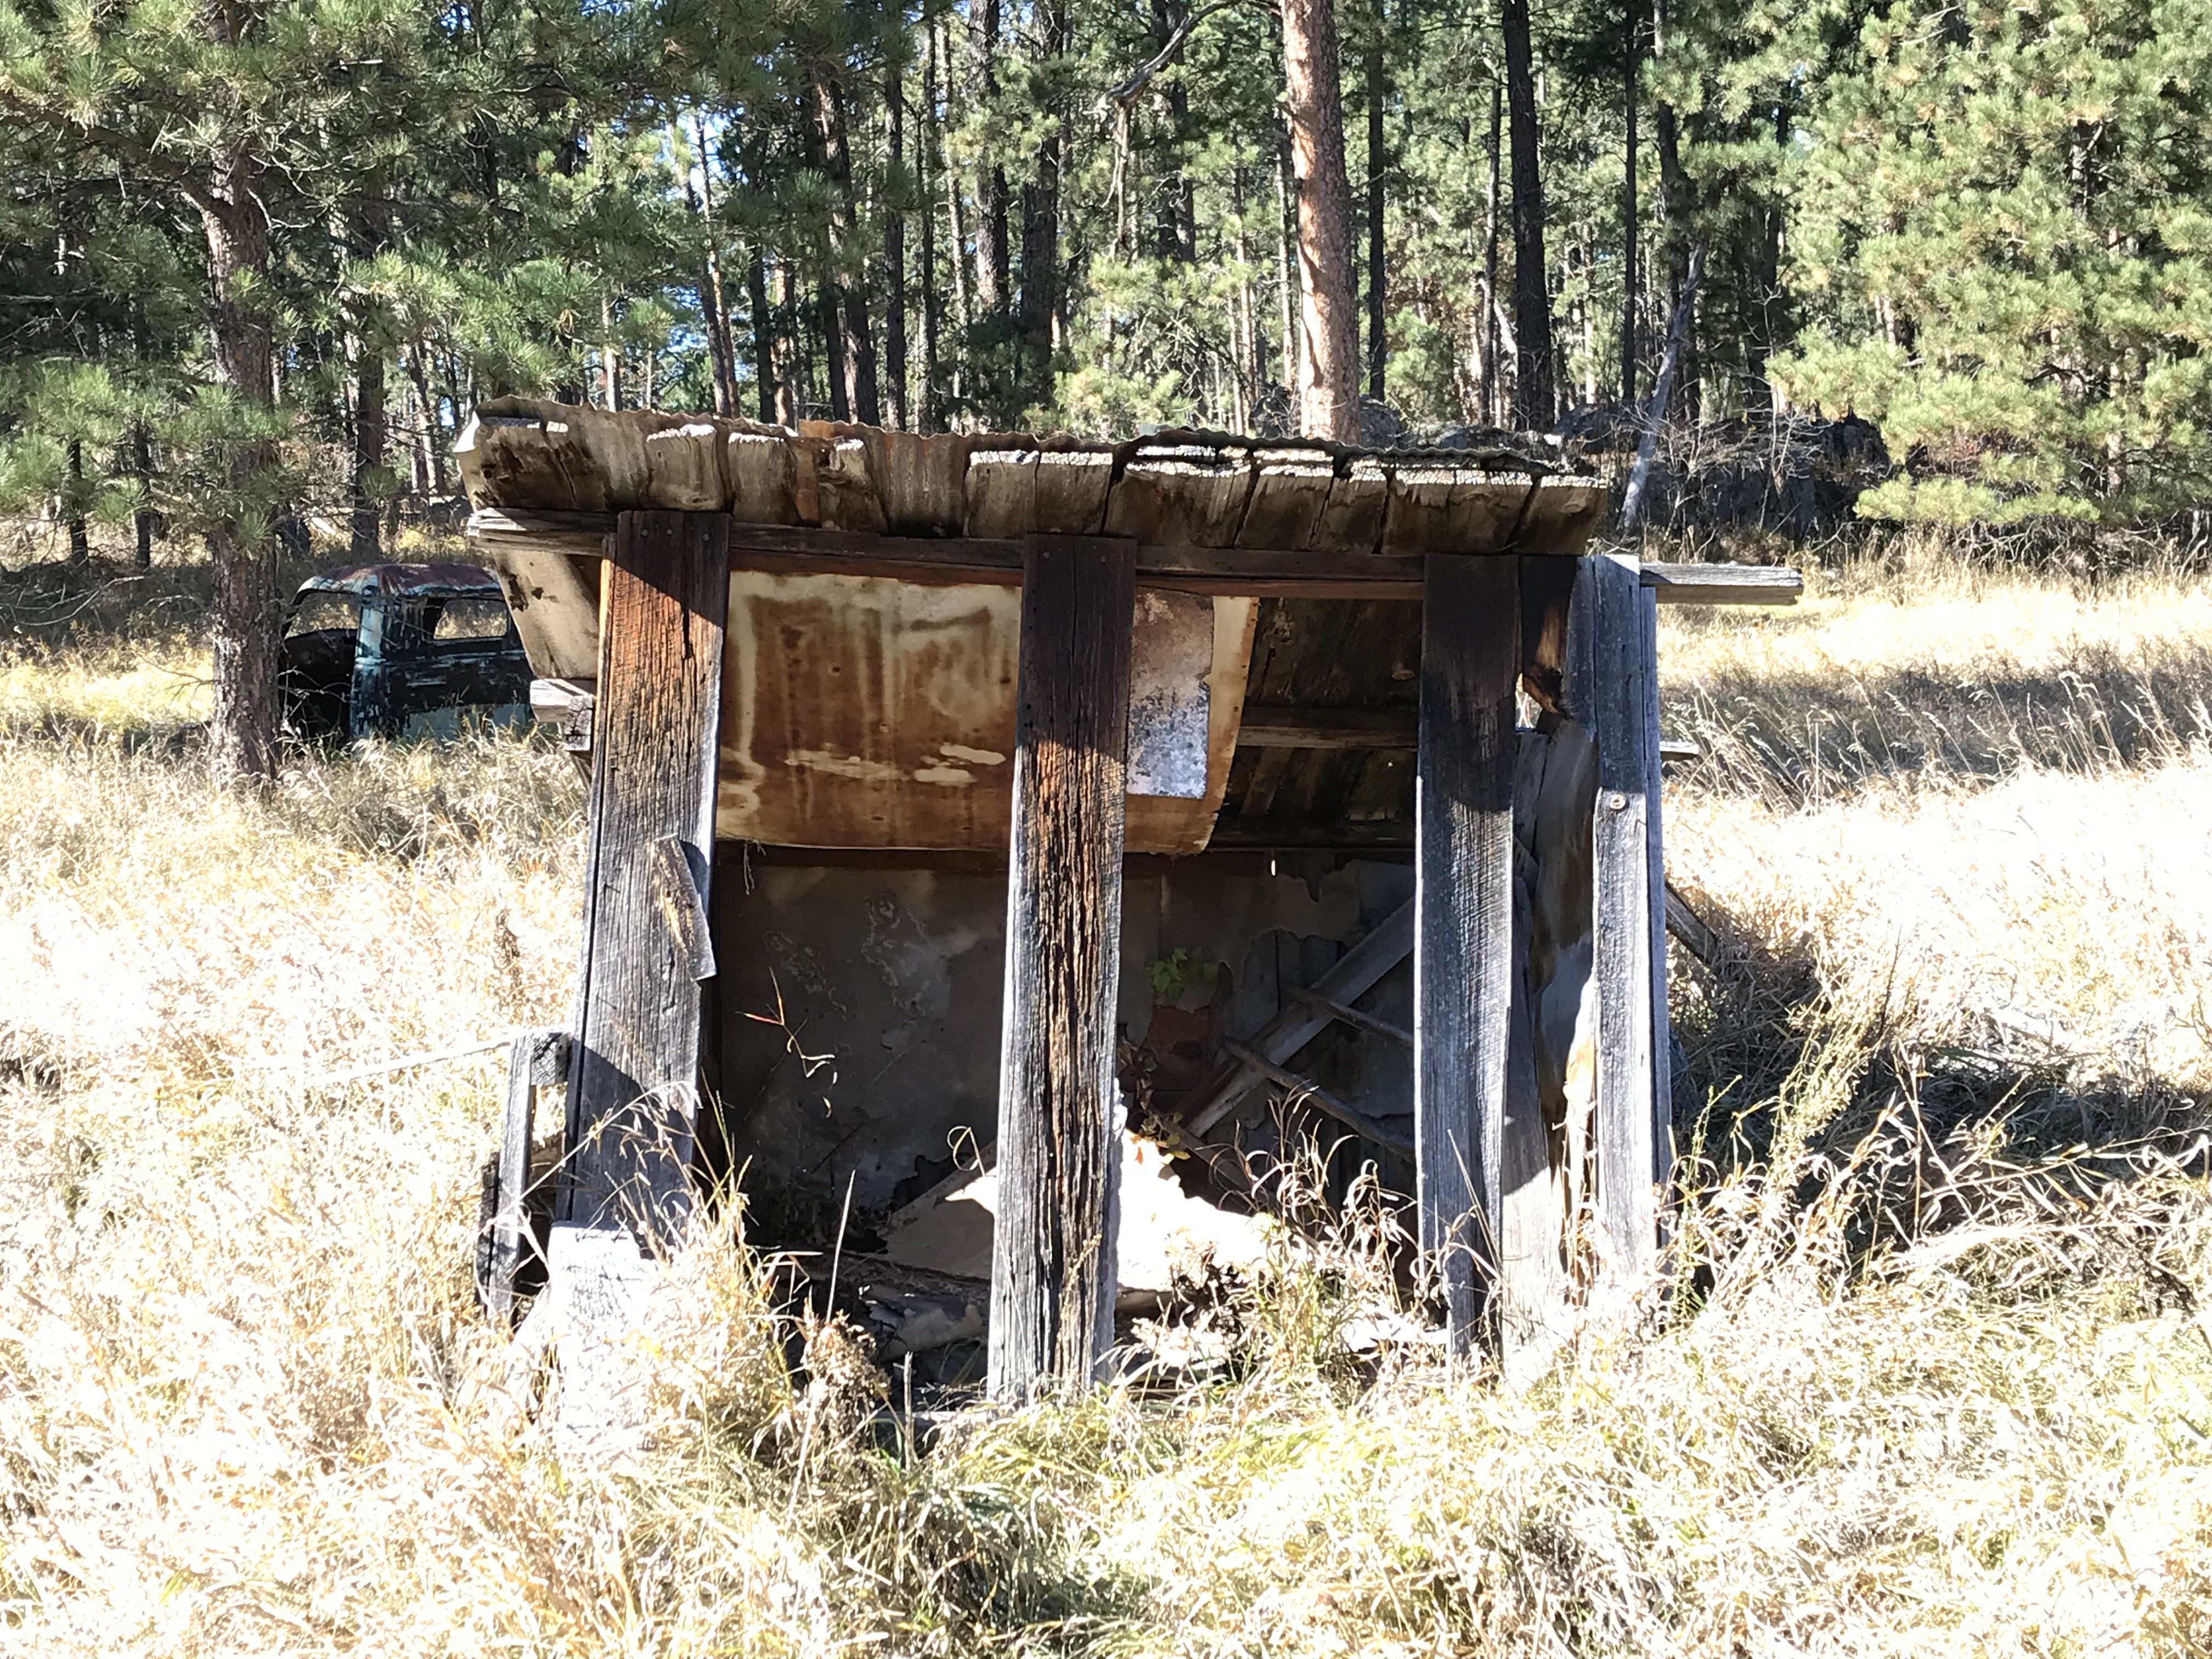
Old metal barn missing windows and doors sits in a grassy meadowOld shed missing windows and doors sits in a grassy meadow

Old wood pallets lay in overgrown grass amongst the trees

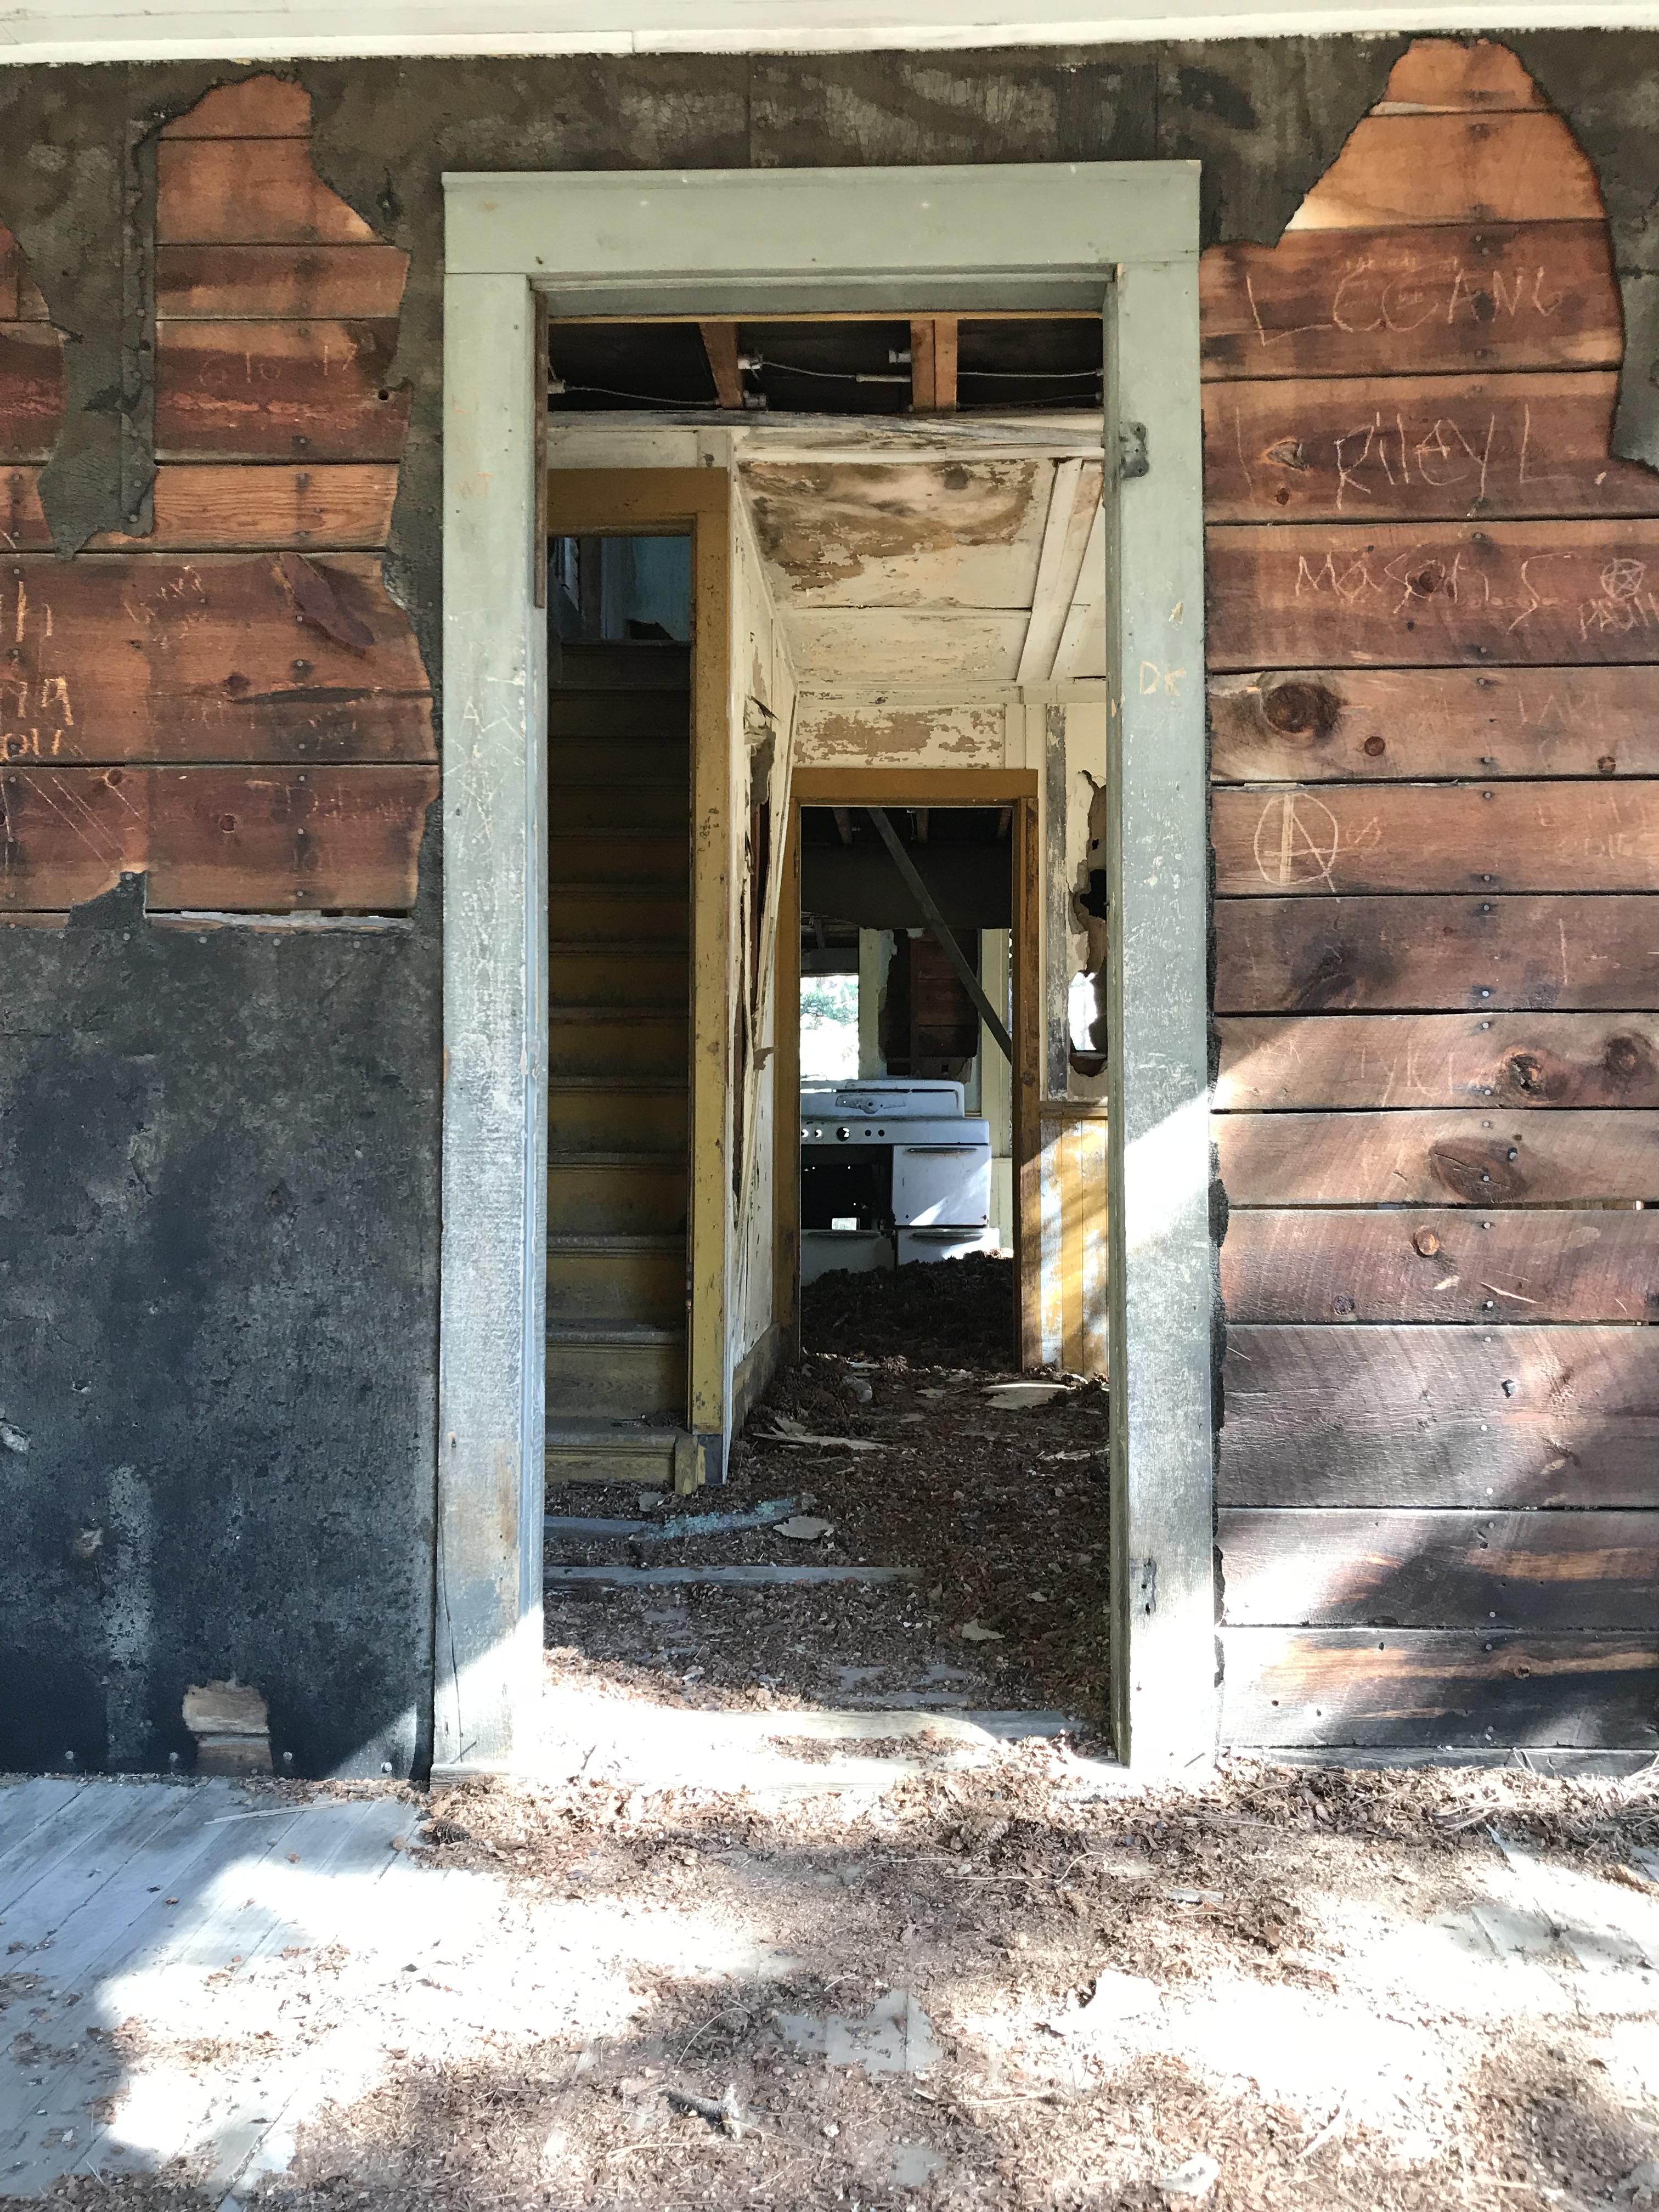
Looking through the doorway from the porch, into an old house. No doors are left and the frame is visible on the floor/walls/ceiling. Stairs lead to the second floor and an old stove is in the kitchen in a room far in back
I’m loving the old stove!  (FYI, those are YEARS of pine cones, left by squirrels, layering the floor in front of it!) 😳

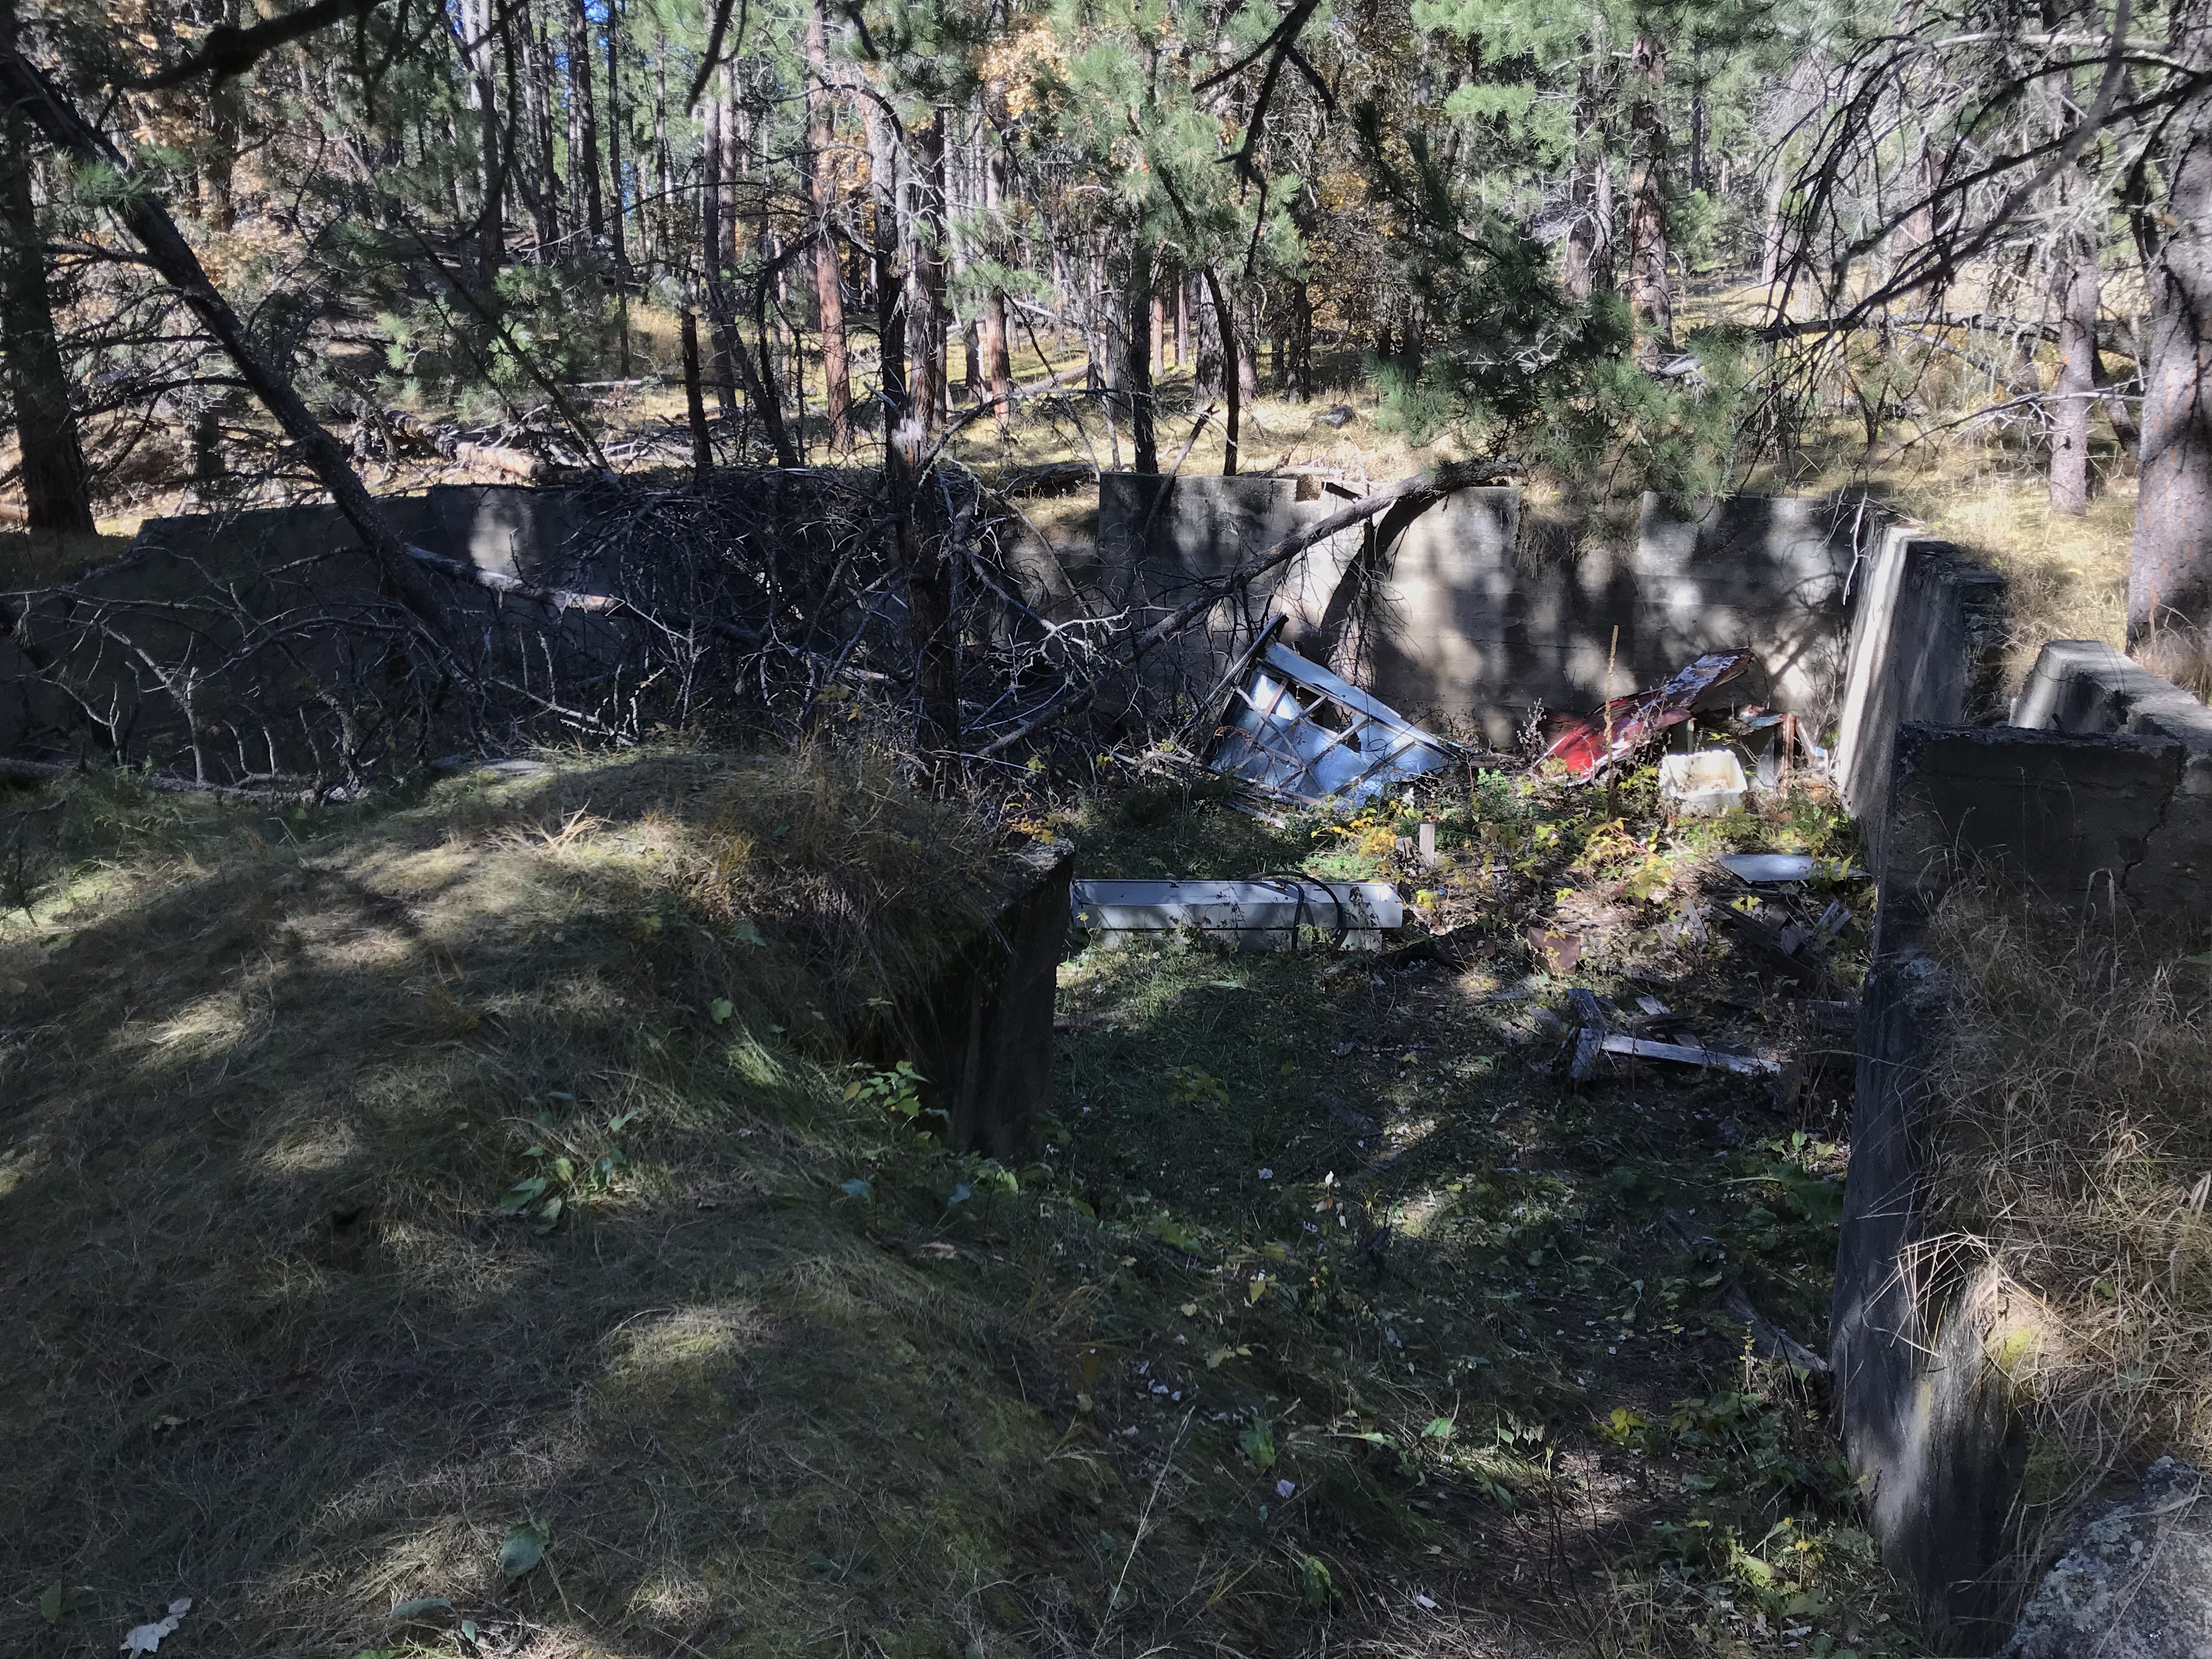
An old, cement foundation now filled with grass, trees and trash


Have you ever visited this unique place?  Tell me about it in the comments!


Did you enjoy this post?  Pin it!

Three pictures: 1) Looking through the doorway from the porch, into an old house. No doors are left and the frame is visible on the floor/walls/ceiling. Stairs lead to the second floor and an old stove is in the kitchen in a room far in back; 2) The cab of a rusted, old truck with no windows sits on the ground, in a meadow, surrounded by trees; 3) dirt lane traverses a meadow surrounded by trees. Pin reads "The Ghost Town of Spokane South Dakota"


Like what you read here today?  Please feel free to leave a comment, like or share this post!  Add your email at the bottom of the page, or the sidebar to the right, to be notified when a new post is published.  By signing up for the email list, you will also receive a free copy of the Tranquil Trekker’s Top 10 Tips of Trekking Do’s and Don’ts!

You can also follow the blog on social media by clicking the links below!

Facebook

Twitter

Instagram

Pinterest

Bighorn Medicine Wheel in Wyoming

In this post, I discuss an ancient medicine wheel in the Bighorns!


**Author’s note: Just a word of warning, as this is a protect cultural, spiritual and historical area, no dogs are allowed on any trails (exceptions for Service Animals). They are only permitted in the parking lot.**

There is a prehistoric Medicine Wheel hidden in the northern, Bighorn mountains of eastern Wyoming.  It was built by the ancient ancestors of today’s American Indian tribes.  More than 80 tribes claim the wheel in their oral traditions so it can’t be attributed to any one group or culture, though it’s, obviously, a very sacred site.  

What does the Bighorn Medicine Wheel look like?

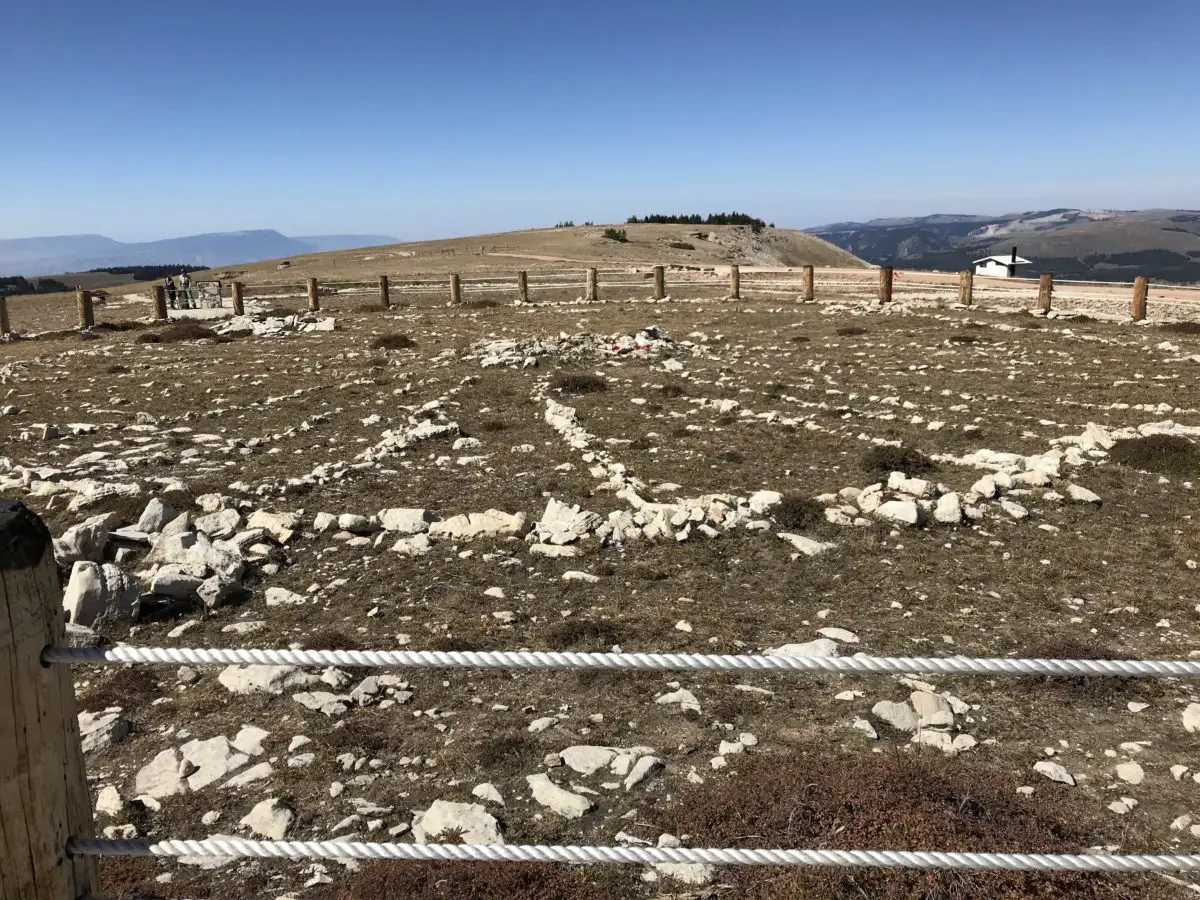
This is one of the largest, stone medicine wheels in North America (there are at least 150 spread throughout the continent).  It’s constructed with a center cairn with spokes emanating from it to an outer circle that connects six, smaller cairns that appear to be strategically placed.  

Archeologists aren’t sure of the wheel’s exact age, most estimates date it back at least 800 years, but it could be far older.  Archaeological evidence shows human habitation as far back as 12,000 years in this area!  

The ranger we spoke with stated the six rock cairns that dot the outer portion of the circle are believed to have a celestial purpose, but the exact function remains a mystery–it is thought that they may have been used during vision quests.  The last time the six cairns matched up with celestial markers was at least as far back as the 1700s!

Medicine Wheels are Sacred Sites

Religious ceremonies are still held at the wheel on a regular basis as many tribal members make religious pilgrimages to the site.  Some of the ceremonies involve large groups, while others include only a few individuals–two, small, private ceremonies occurred while we were there.  Anyone with American Indian heritage can participate in a ceremony.  

It’s always enthralling for me to observe religious practices that I’m not familiar with.  I’m fascinated by the emotions you see play out on the faces of the participants, and how descriptive their movements can be.  I find their actions evoke emotions within me as well.  You can actually feel the peace and tranquility emanating from them as they dance, pray, or worship in their own way.  

A tour of the wheel may be delayed if a ceremony is occurring, though they usually don’t last longer than 30 minutes, so please be patient and respectful during this time of worship.  Numerous religious offerings are tied to the fence that rings the site (or are placed within the wheel itself).  Please do not touch or photograph these items directly as they are sacred.  It is also requested that people not take photos or videos of the ceremonies, as they are occurring, to respect the privacy of the participants.  

Where is the Bighorn Medicine Wheel?

The wheel is located on Forest Road 12, off of US 14A, in the northern part of the Bighorns.  It’s about 20 miles from Burgess Junction (where 14A branches off from US 14 to the east) and about 30 miles from Lovell, Wyoming, to the west.

Related posts: Lake Helen, Bighorn Mountains, Wyoming; 4 Don’t Miss Sites in the Bighorn Mountains of WyomingWest Tensleep Trail, Bighorn Mountains, WyomingCamping in the Bighorns

The parking lot is a mile-and-a-half walk from the wheel on a graded, dirt road.  The hike isn’t bad, though it is uphill both ways (seriously 😝) and the altitude is over 9,000 feet, so take your time.  The site is also above tree line so bring a hat, water, and sunscreen, and be prepared for the ever-present, Wyoming wind.  It usually takes an hour or so to complete the entire route.  The site is free to visit, though donations are appreciated.  Because this is a sacred site, pets are not permitted and must be left in the parking area.

The only thing that marred the experience was the large, FAA radar placed on the adjoining peak (because none of the numerous, other peaks in the surrounding area, that were a little farther away, wouldn’t have worked?  REALLY?!)  Federal Government, do better! 😤      

Panoramic view of a rocky mountainside. Tree-covered mountains spread in the distance under a crystal clear, blue sky
The incredible view of the Bighorns from the Medicine Wheel site (to the right is the road you hike to reach the wheel)
Small stones on the ground form the center and outer portions of a wheel with stone spokes connecting them
The Medicine Wheel (you can see one of the rock cairns in the foreground to the left)

The Backroads of Wyoming

I’ve suggested before, to always take the scenic route, when time permits.  We enjoyed a good bit of that on this trip!  We started by taking Route 24, west, from where it branches off near the Island Park campground.  We then took Forest Road 408, to BLM Road 1117, on to Hyattville.  

This route is listed in the gazetteer as being Hyattville Road, but we saw NO signs reflecting this.  Similar to what we’ve found in Colorado, even though a road may be listed as a “major connector”, especially in the gazetteer, this could easily mean the road is actually dirt (sometimes wide and graded, other times little more than a narrow, two-track, high-clearance road that I wouldn’t be comfortable taking an Outback on). 😝 

We used three separate maps–the gazetteer, a Bighorns map we picked up at a local, outdoor store, and a road atlas–to gather a–somewhat accurate–estimate of the roads’ actual conditions.  Part of the difficulty was the roads traversed National Forest and BLM land in this area, and each department names and maintains their roads differently.  

Overlooking a rocky cliff with pine trees growing up from below
A view from our backroad trip

The drive was very manageable with Mr. Trekker’s Tacoma (any high-clearance, 4WD vehicle could handle it in good conditions).  There were no steep drop-offs and no, real, technical obstacles like what we’ve encountered on some of the roads in Colorado.  It was also beautiful, ranging from alpine, spruce forests and aspen groves, to dun-colored high prairies dotted with tan and red clay mounds, adorned with the varying greens of the diverse foliage.  Rock-rimmed canyons with their gaping mouths open onto prairie grasses far below, while rocky cliffs of various colors traverse throughout, all with the imposing Bighorns as a backdrop.  

Here is a video I made that showcases the beauty that is eastern Wyoming.

After leaving the Medicine Wheel, we decided we were game to try a few more back roads.  We took another scenic trip, east, on US 14A to Burgess Junction, where we picked up US 14 and took it west.  We took that road to Route 17, another “major connector”, that we then took to Alkali Road/BLM Road 1111/Route 228, back to Hyattville (this is a back way to reach the Medicine Wheel from the south).  

Again, these road numbers and names were listed on the gazetteer and one of the maps–some of these roads didn’t even appear on the Atlas–but were NOT shown on the actual road.  We just trusted the signs that directed us back to Hyattville.  You always need to be flexible when taking back roads, as you never know what kind of obstacles or conditions may cross your path.  I should also note, there was NO cell coverage in this remote location (and GPS can often be inaccurate), so maps are often times your only option–time to go “old school” folks!  

Another road we could have driven was labeled in the Gazetteer as the “Red Gulch, Alkali National Back Country Byway”.  We didn’t actually drive it this time–though we returned at a later date to check out the fossilized dinosaur footprints it leads to! 😯  

The Back Country Byway is more of a two-track, high-clearance path, at least in spots.  I certainly wouldn’t call it a “main road”.  Funnily enough, the roads we took back to Hyattville ended up being in better shape than the back road we brought out from the campground.  They were graded, gravel roads that one could expect to travel 30 – 40 mph on (if the rancher in front of us hadn’t decided a slower speed was better.  Unfortunately, on those roads, that are only about 1.5 lanes wide, passing really isn’t an option unless the person in front of you is feeling charitable and pulls over.  This man didn’t. 😜)  So, we enjoyed a leisurely, scenic stroll through the beautiful Wyoming countryside.  😁  

After reaching Hyattville we took Route R54 (another graded, well-maintained, gravel road) to Ten Sleep and then got to enjoy the, INCREDIBLY beautiful, US 16 east through Ten Sleep Canyon, back to our campground. (Did I mention, almost all of these roads, despite their varying conditions–with the exception of the highways–had the EXACT SAME indicators on the map? 😜)

Peering through the trees across tree-covered mountains out to the dry, high prairie far in the distance

The topography of Wyoming is very unique.  It’s characterized by the towering Bighorns in the northeast, to the Grand Tetons that criss-cross Yellowstone and the Rockies, in the west.  A drier, large, bluff-filled basin sits between Yellowstone and the Bighorns.  

Some parts of the state are prettier than others–while the dry, scrubland that surrounds the mountains can be pretty and green in spring, it usually turns rather drab in the later months.  The basin area is dotted with oil fields and sketchy-looking, government sites with warning signs plastered on the fences, which can be rather intimidating. 😳

Below are some more pics of our scenic drive:

Dry, green meadow with trees and rocky mountains far in the background, under a clear, blue skyWhite, rocky cliffs rise high aboveA dry, scrubland canyon with a dry, high plain in the far distanceDry, grassy meadow with dry, high plains and bluffs in the distanceDry, grassy meadow with dry, high plains and red-rock bluffs in the distanceDry, grassy meadow with tree-covered, white cliffs and dry, high plains and mountains in the backgroundDry, grassy high plains with pine-covered mountains in the background

MOOSE in the Bighorn Mountains!

Earlier that summer, we spent ten days in the Colorado high country during peak season and we didn’t see one moose.  Later that fall, we spent ten seconds in the Bighorn mountains of Wyoming (literally), and TWO moose were waiting to greet us when we arrived at our campsite!  Bighorns for the win!   

Two moose in a field as seen through the trees
Our ungulate friends (this year it was Maggie and Megan)

As I’ve mentioned previously, I’m always surprised at how much this part of Wyoming reminds me of the Colorado mountains.  The scenery and critters are very similar, with the added benefit of being half as long a distance from the Black Hills and FAR less crowded than Colorado. 😉  

If you’re looking for an amazing, historical site to visit in the Bighorn Mountains of Wyoming, check out the Bighorn Medicine Wheel!

Have you ever visited the prehistoric Medicine Wheel in the Bighorns?  Tell me about it in the comments! 

Did you enjoy reading this post?  Pin it!

Small stones on the ground form the center and outer portions of a wheel with stone spokes connecting them. Pin reads, "A Prehistoric Medicine Wheel in the Bighorn Mountains of Wyoming"

Like what you read here today?  Please feel free to leave a comment, like or share this post!  Add your email at the bottom of the page, or the sidebar to the right, to be notified when a new post is published.  By signing up for the email list, you will also receive a free copy of the Tranquil Trekker’s Top 10 Tips of Trekking Do’s and Don’ts!

You can also follow the blog on social media by clicking the links below!
Facebook

Twitter

Instagram

Pinterest

7 “Must-See” Colorado Ghost Towns

I review several ghost towns we toured around the Colorado High Country as well as our drive up Independence Pass.


The Trekkers LOVE visiting ghost towns! We try to include them whenever possible on our trips.  During our 2018 road trip, we got to check out several awesome ghost towns in Colorado.  

Ghost towns give you a true, visual understanding of how people lived “back in the day”.  I’m a very visual person so this helps me fully appreciate what the lives of the inhabitants of these towns must have been like.  I prefer the towns that are restored, with at least several buildings remaining that you can view.  Sometimes, however, the places that are comprised mostly of ruins allow you to use your own imagination of how they must have appeared in their heyday.

Click here for a list of ALL the ghost towns the Trekker’s have visited around the country!

Below is a list of seven ghost towns we visited in central and western Colorado…

Teller City Ghost Town: 

This was the first ghost town we visited and the one that required the most effort to access.  The townsite is near State Forest State Park, in far northern Colorado, around nine miles south of Gould, on Route 740 (Baker Pass Road).  You reach it by driving on a, somewhat rough, 4WD shelf road. (The Guide to Colorado Backroads† book that I mentioned in a previous post, rates this road as “easy”.  I would rate it as “moderate”.  A high clearance, 4WD vehicle should be all you’d need to access this site in good conditions).  

We didn’t actually complete the 4×4 road all the way to Baker Pass, though we spoke with a local who said it was worth the drive.  Alas, daylight was waning (and the mosquitoes were starting to bite!) 😝

 The way was fairly well-marked and obvious, but be watchful.  The road branched off several times and the correct route was only marked with orange, snowmobile trail markers (this is a snowmachine trail in the winter months).  

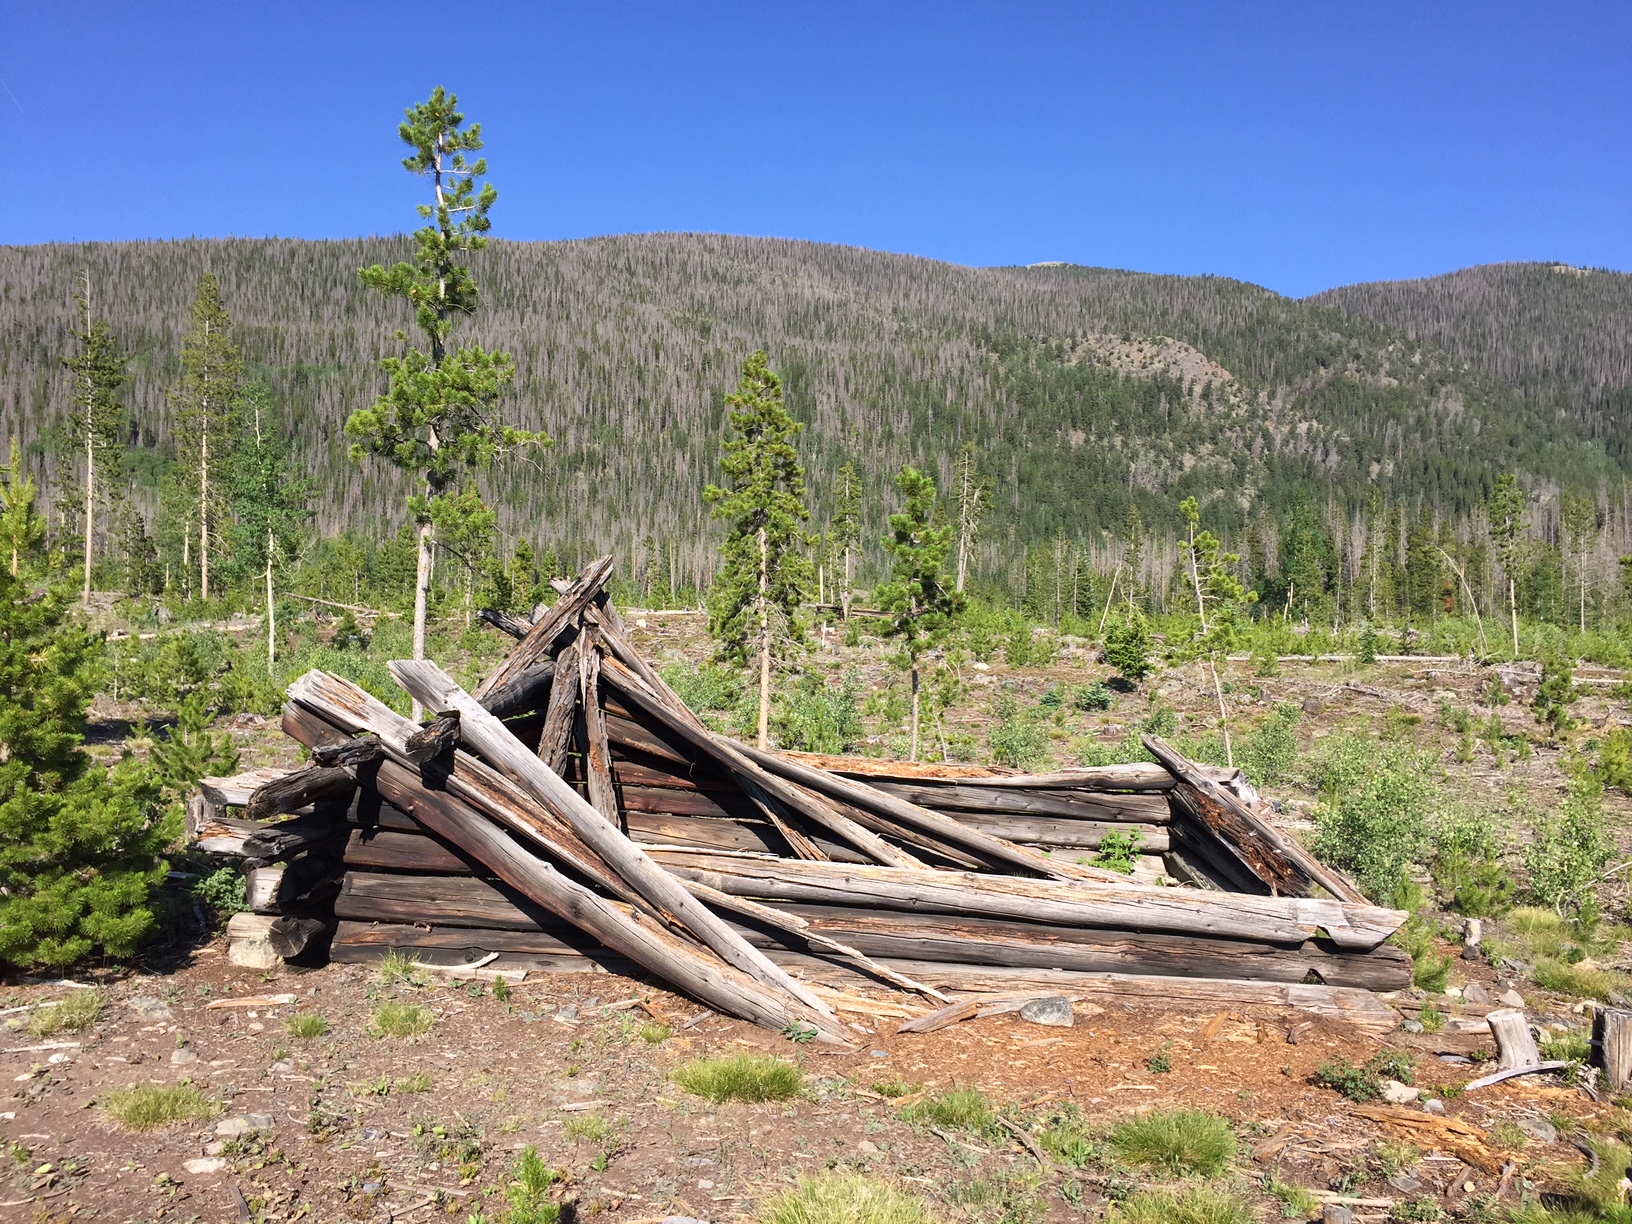
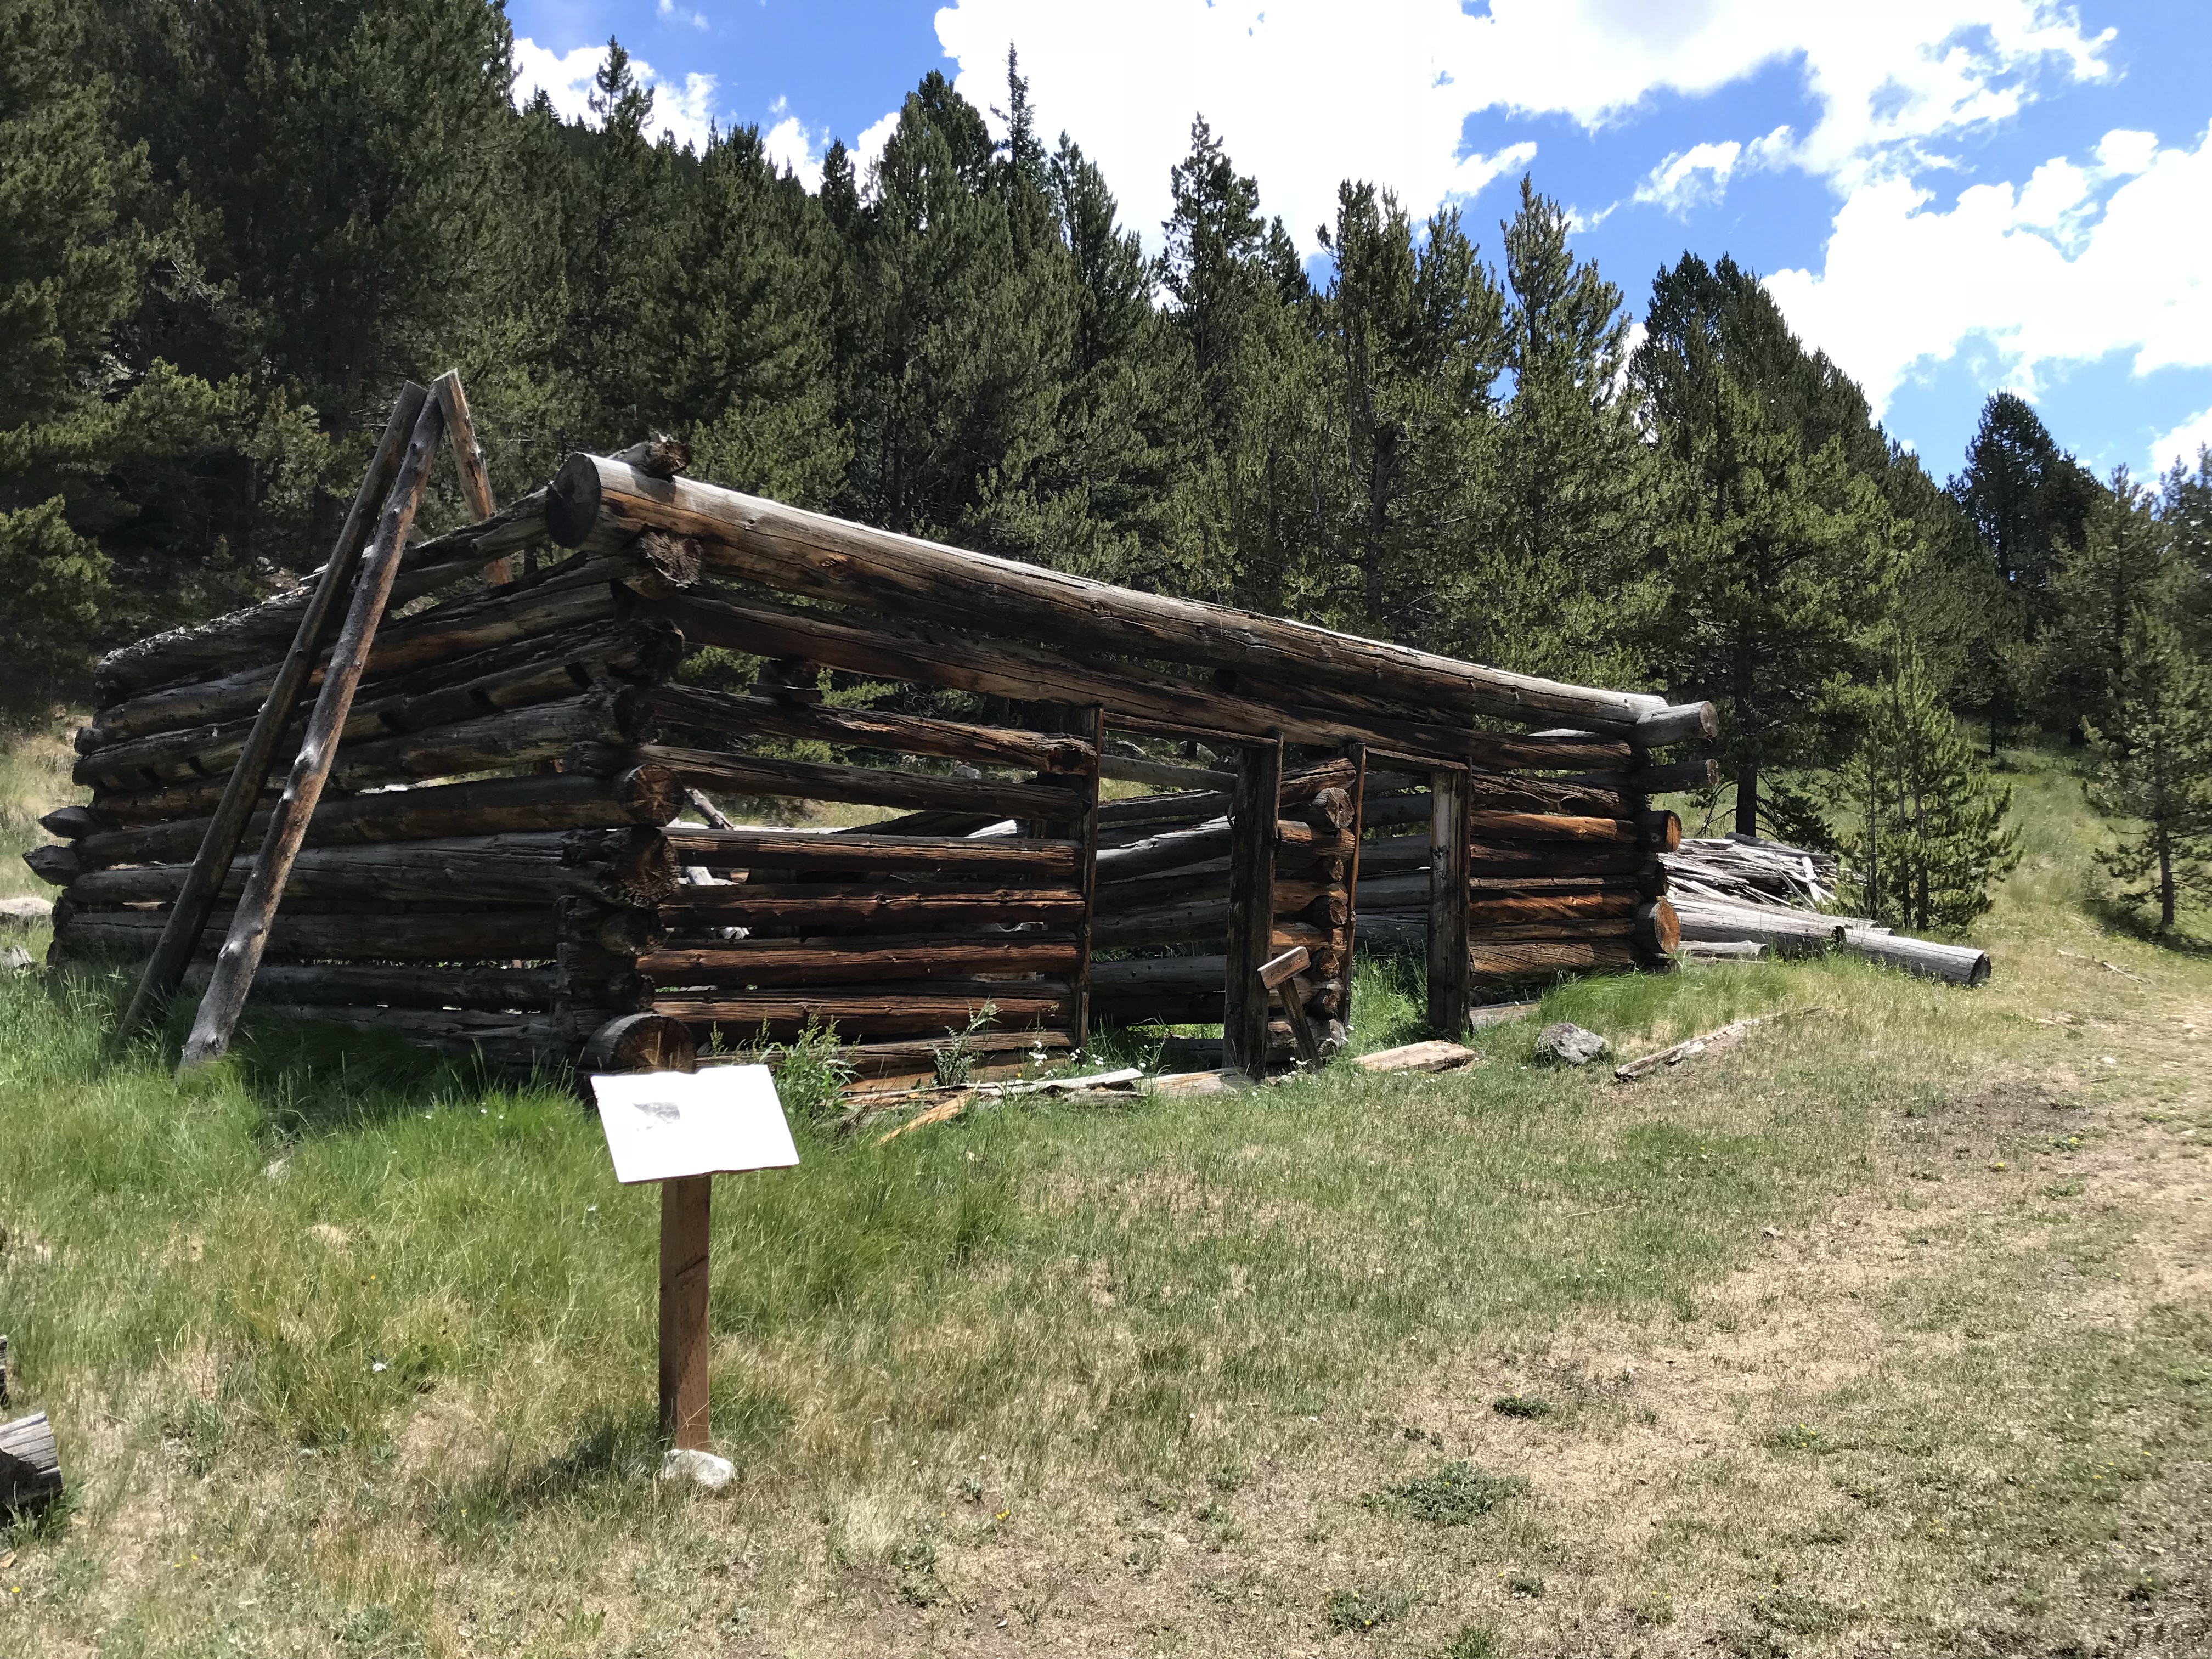
An old cabin sits amongst small trees in a grassy, open space. Tree-covered mountains are in the background.

An old, abandoned cabin without windows or a door

One plus with this site is that there’s a designated parking area and then you hike a Nature Trail loop to view the remains of the town.  Not much is left, but you could almost hear the voices of the patrons visiting the busy shops, and smell the dust kicked up by the wagons as they rolled along–what used to be–a bustling Main Street.  

At various places along the trail, markers describe the history of that home or business.  At one of the stops, the words of a young girl who came into town one winter night, via the pass, were noted.  Her description of the twinkling town lights flickering through the evening shadows was incredible.  

Below are a few more pics of the ruins at Teller City (as usual, thanks to Mr. Trekker for several of these):

The ruins of an old cabin sits amongst small trees in an open space. Tree-covered mountains are in the background.
The ruined walls of an old cabin sit in an open space. No roof or door remains. Tree-covered mountains are in the background.

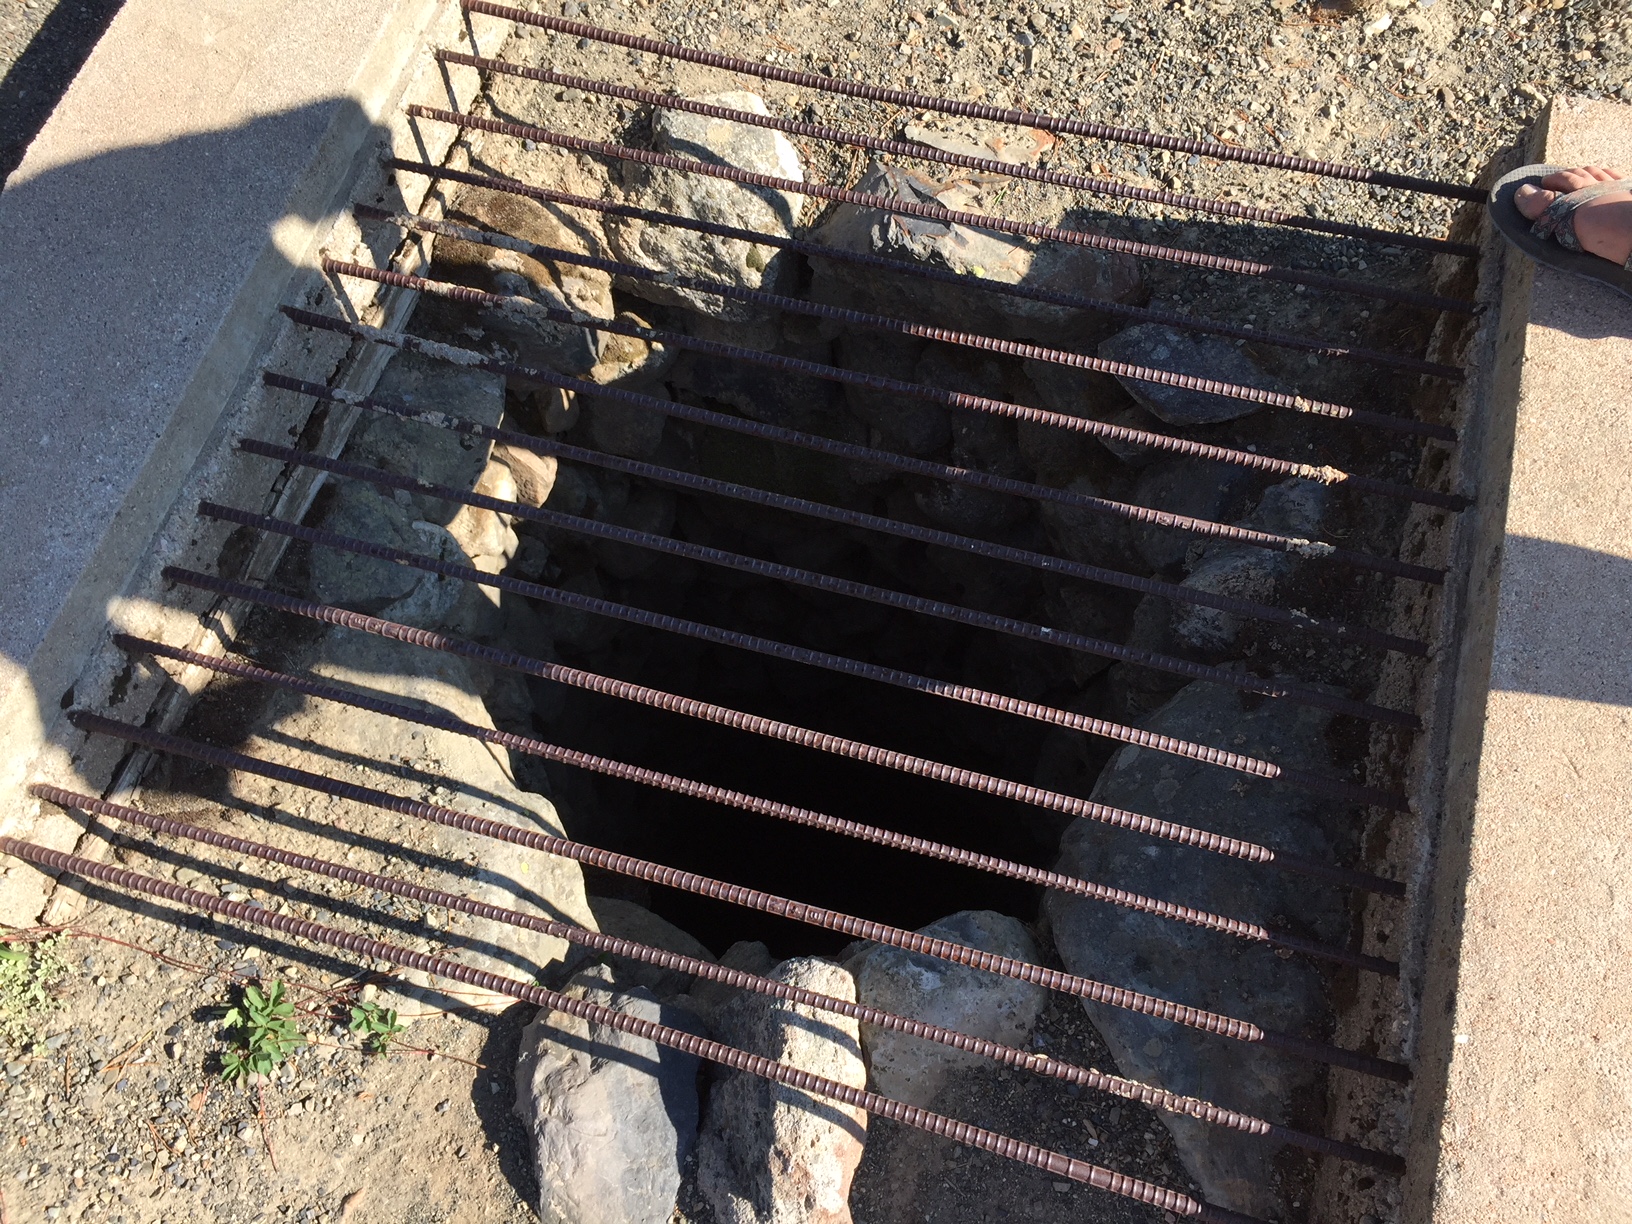
A large, dark hole in the ground is circled by rocks and covered by a wrought-iron cage
An old well pit

Coalmont, Colorado: 

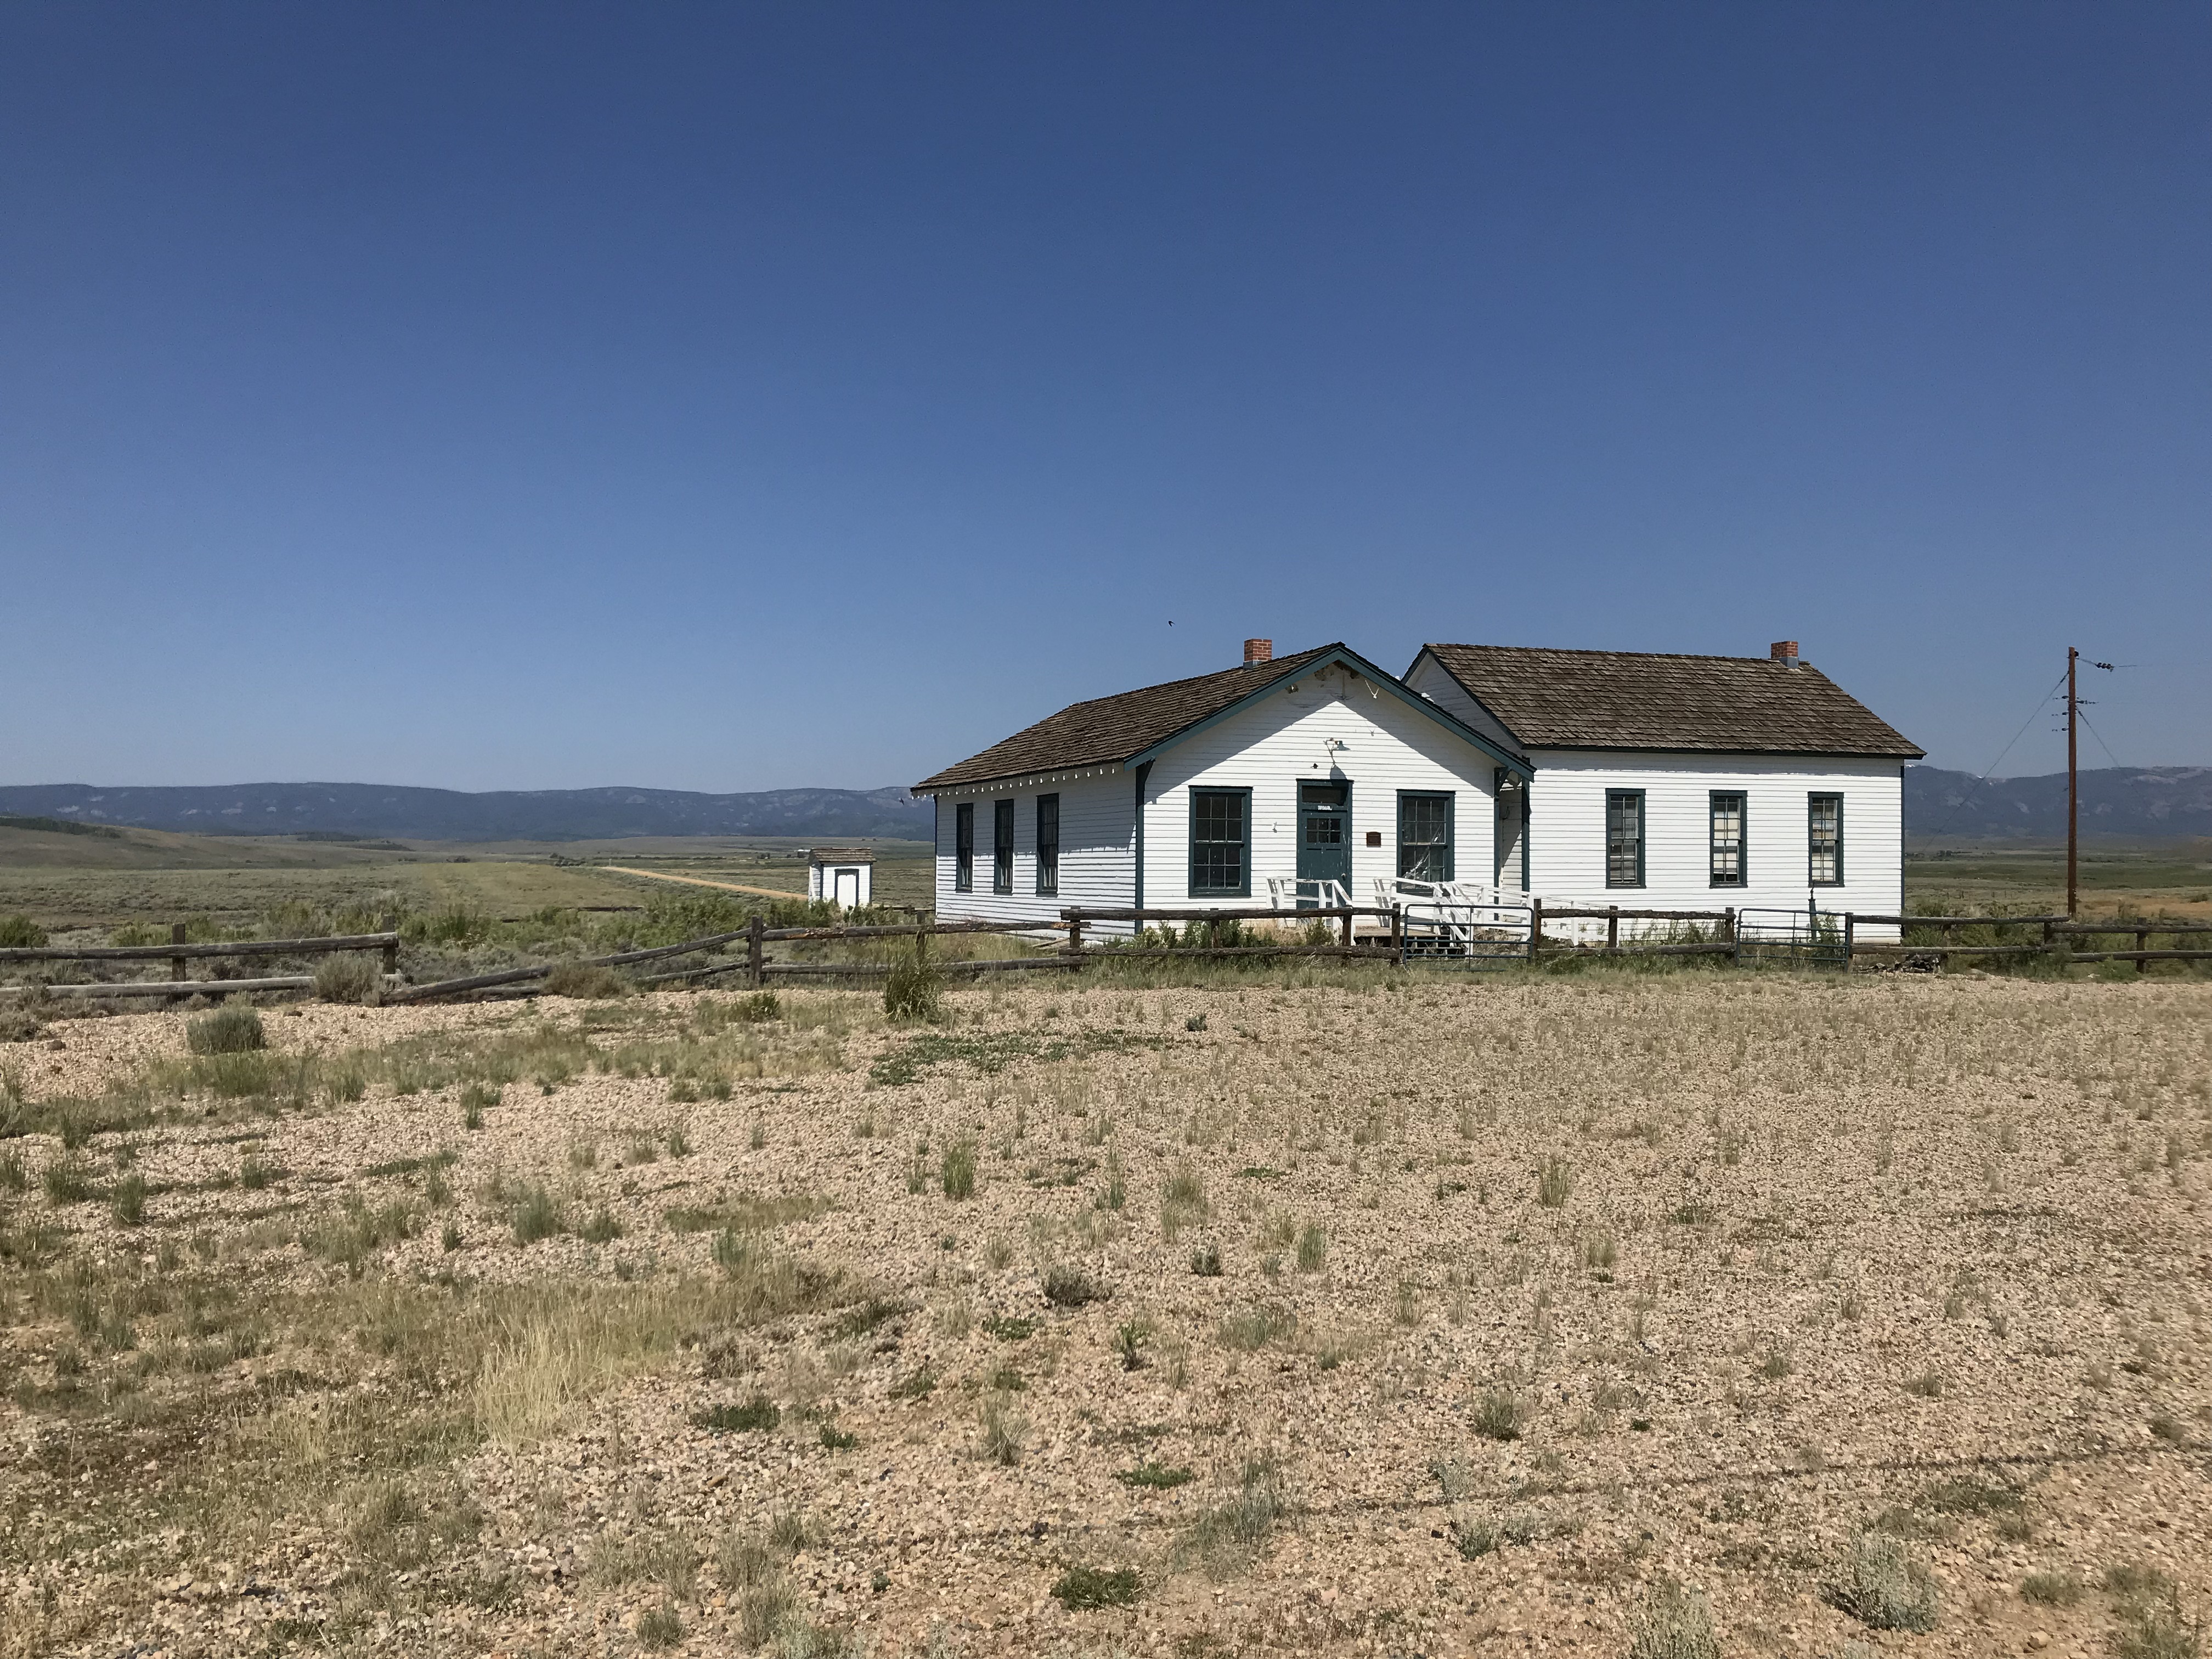
After leaving State Forest State Park, we visited Coalmont on our way to the Flattop Wilderness area.  Only the schoolhouse remains of this dusty hamlet, but from what we could see through the grime-spattered window, it appears to have been restored inside.  It would have been neat to be able to view it in more detail! 

The townsite is located off of Route 14, southwest of Walden, Colorado and can be reached via either Route 24 or Route 26 (they form a half-moon-shaped loop here).  The site is directly off of Route 26.

Old, white-boarded schoolhouse building sits in an arid landscape. Dark mountains are seen far in the background

Remains of an old ranch at Grand Mesa National Forest:

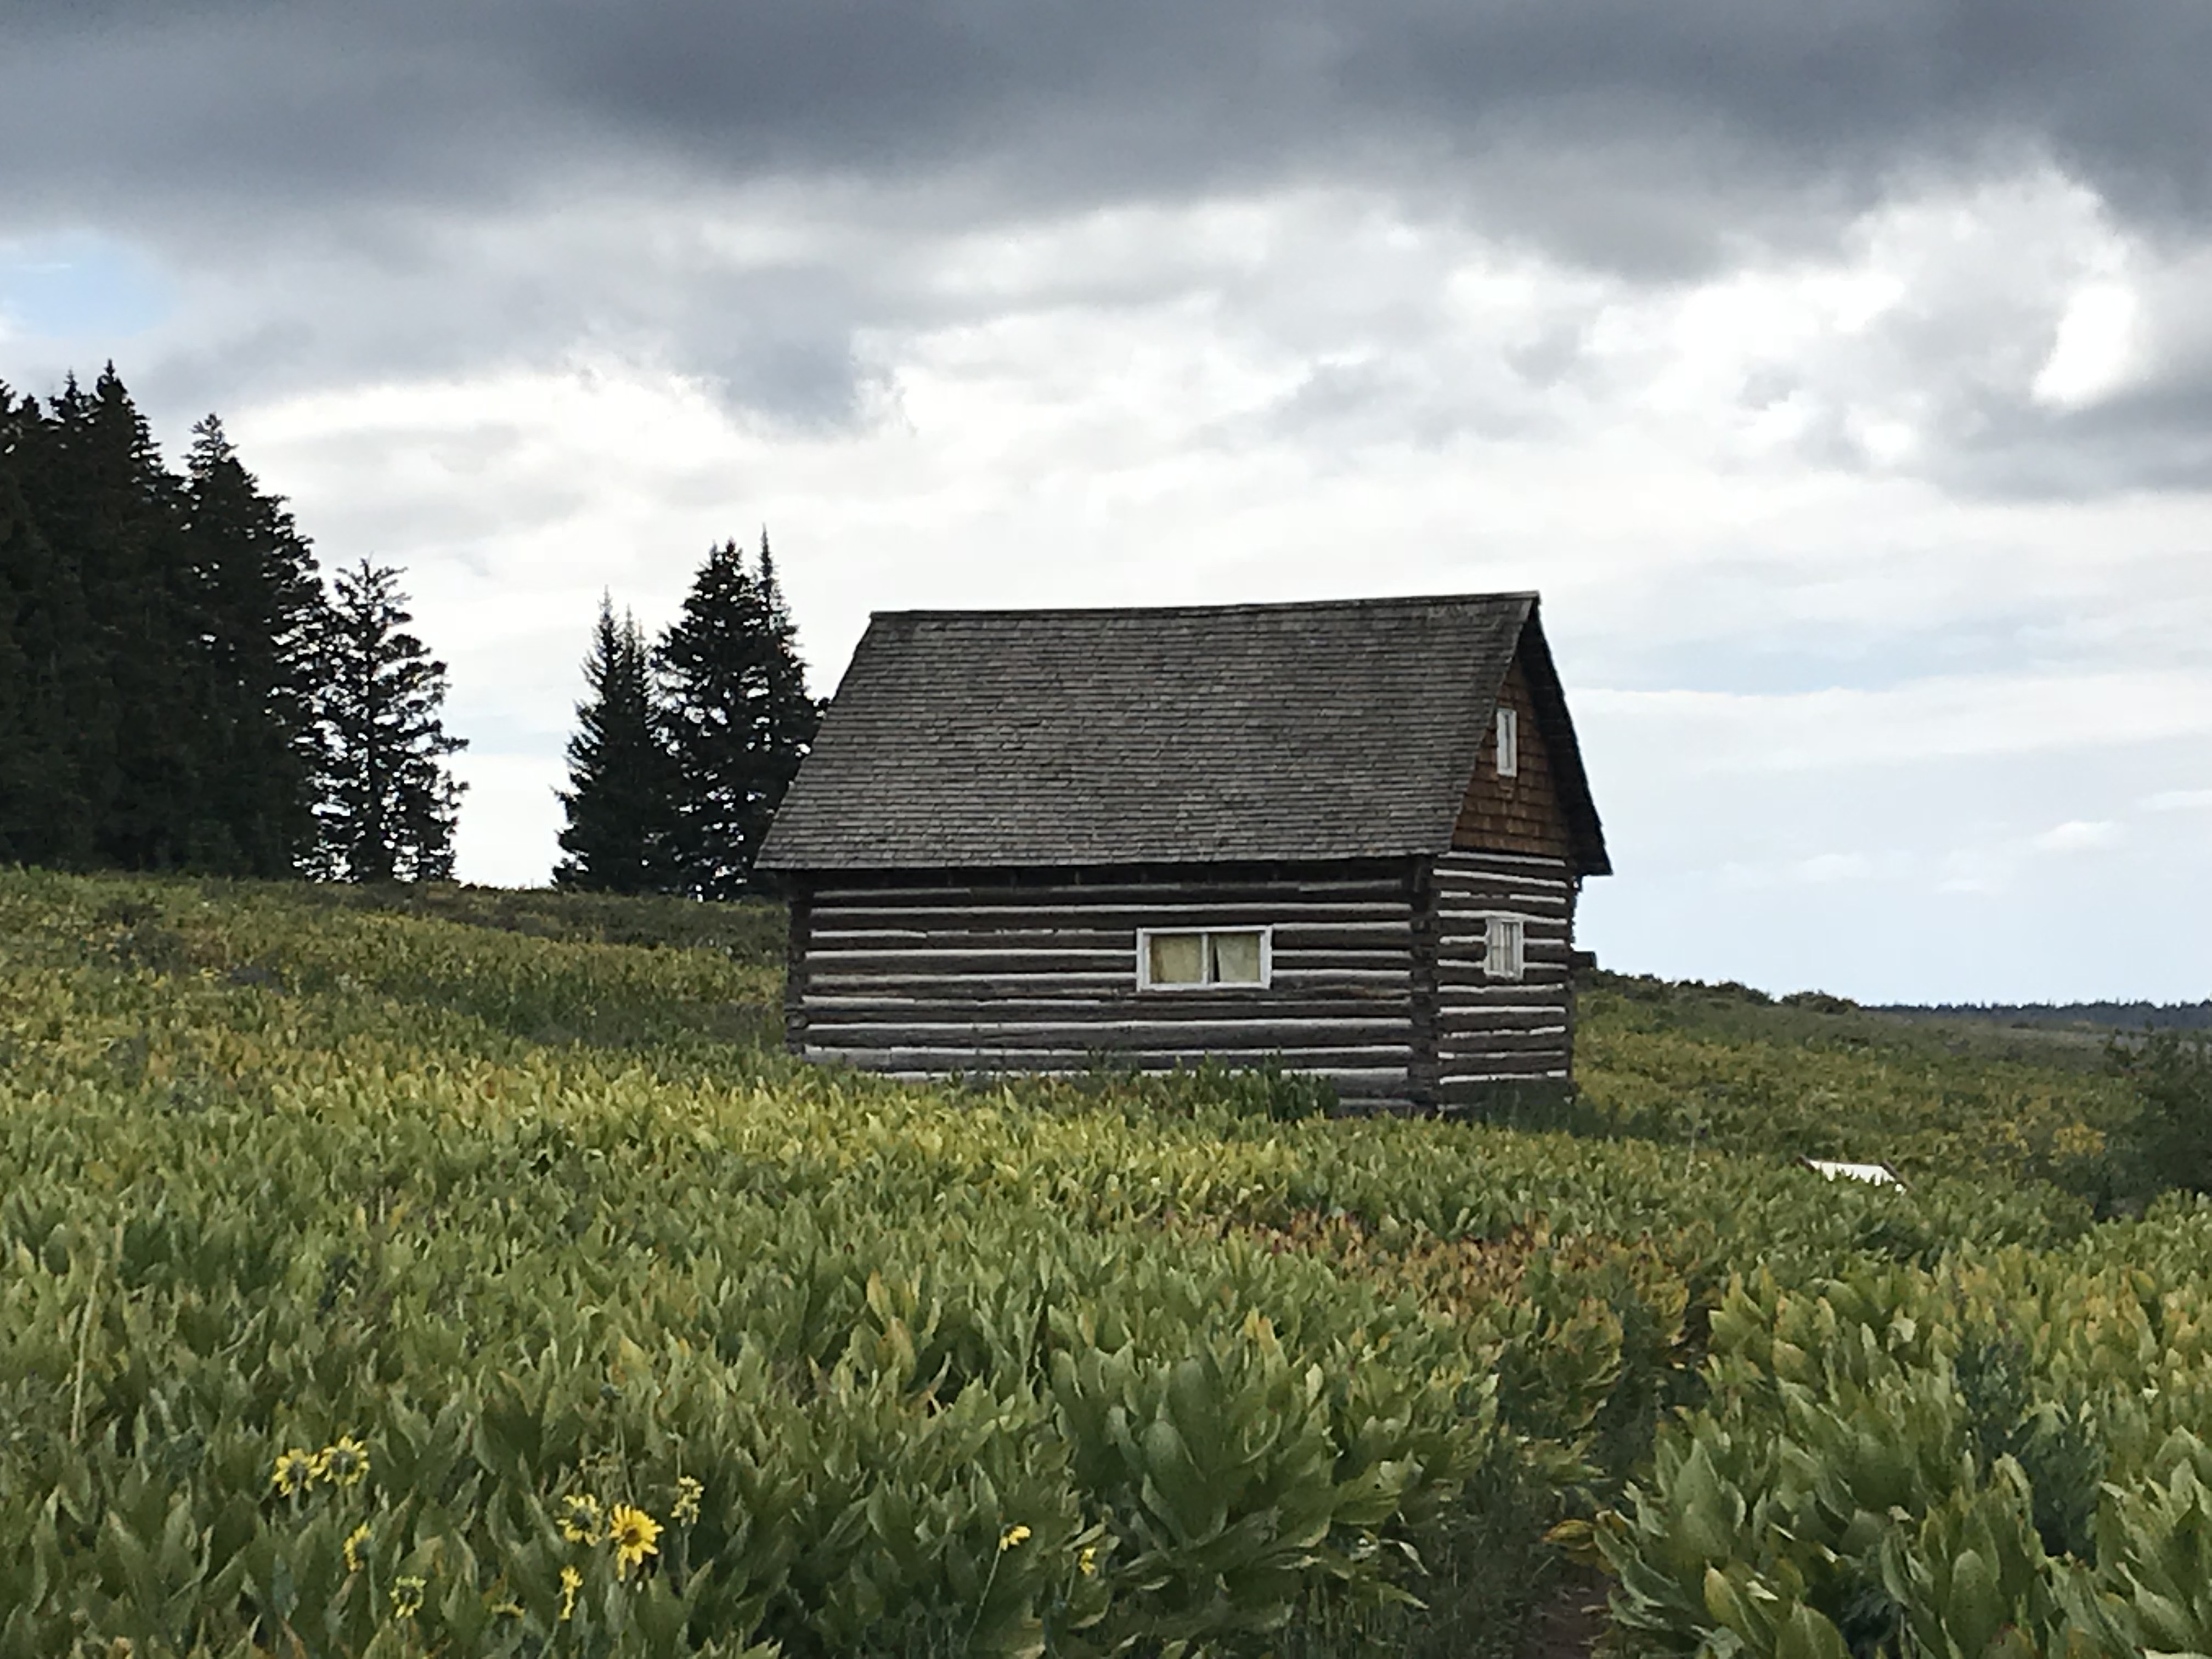
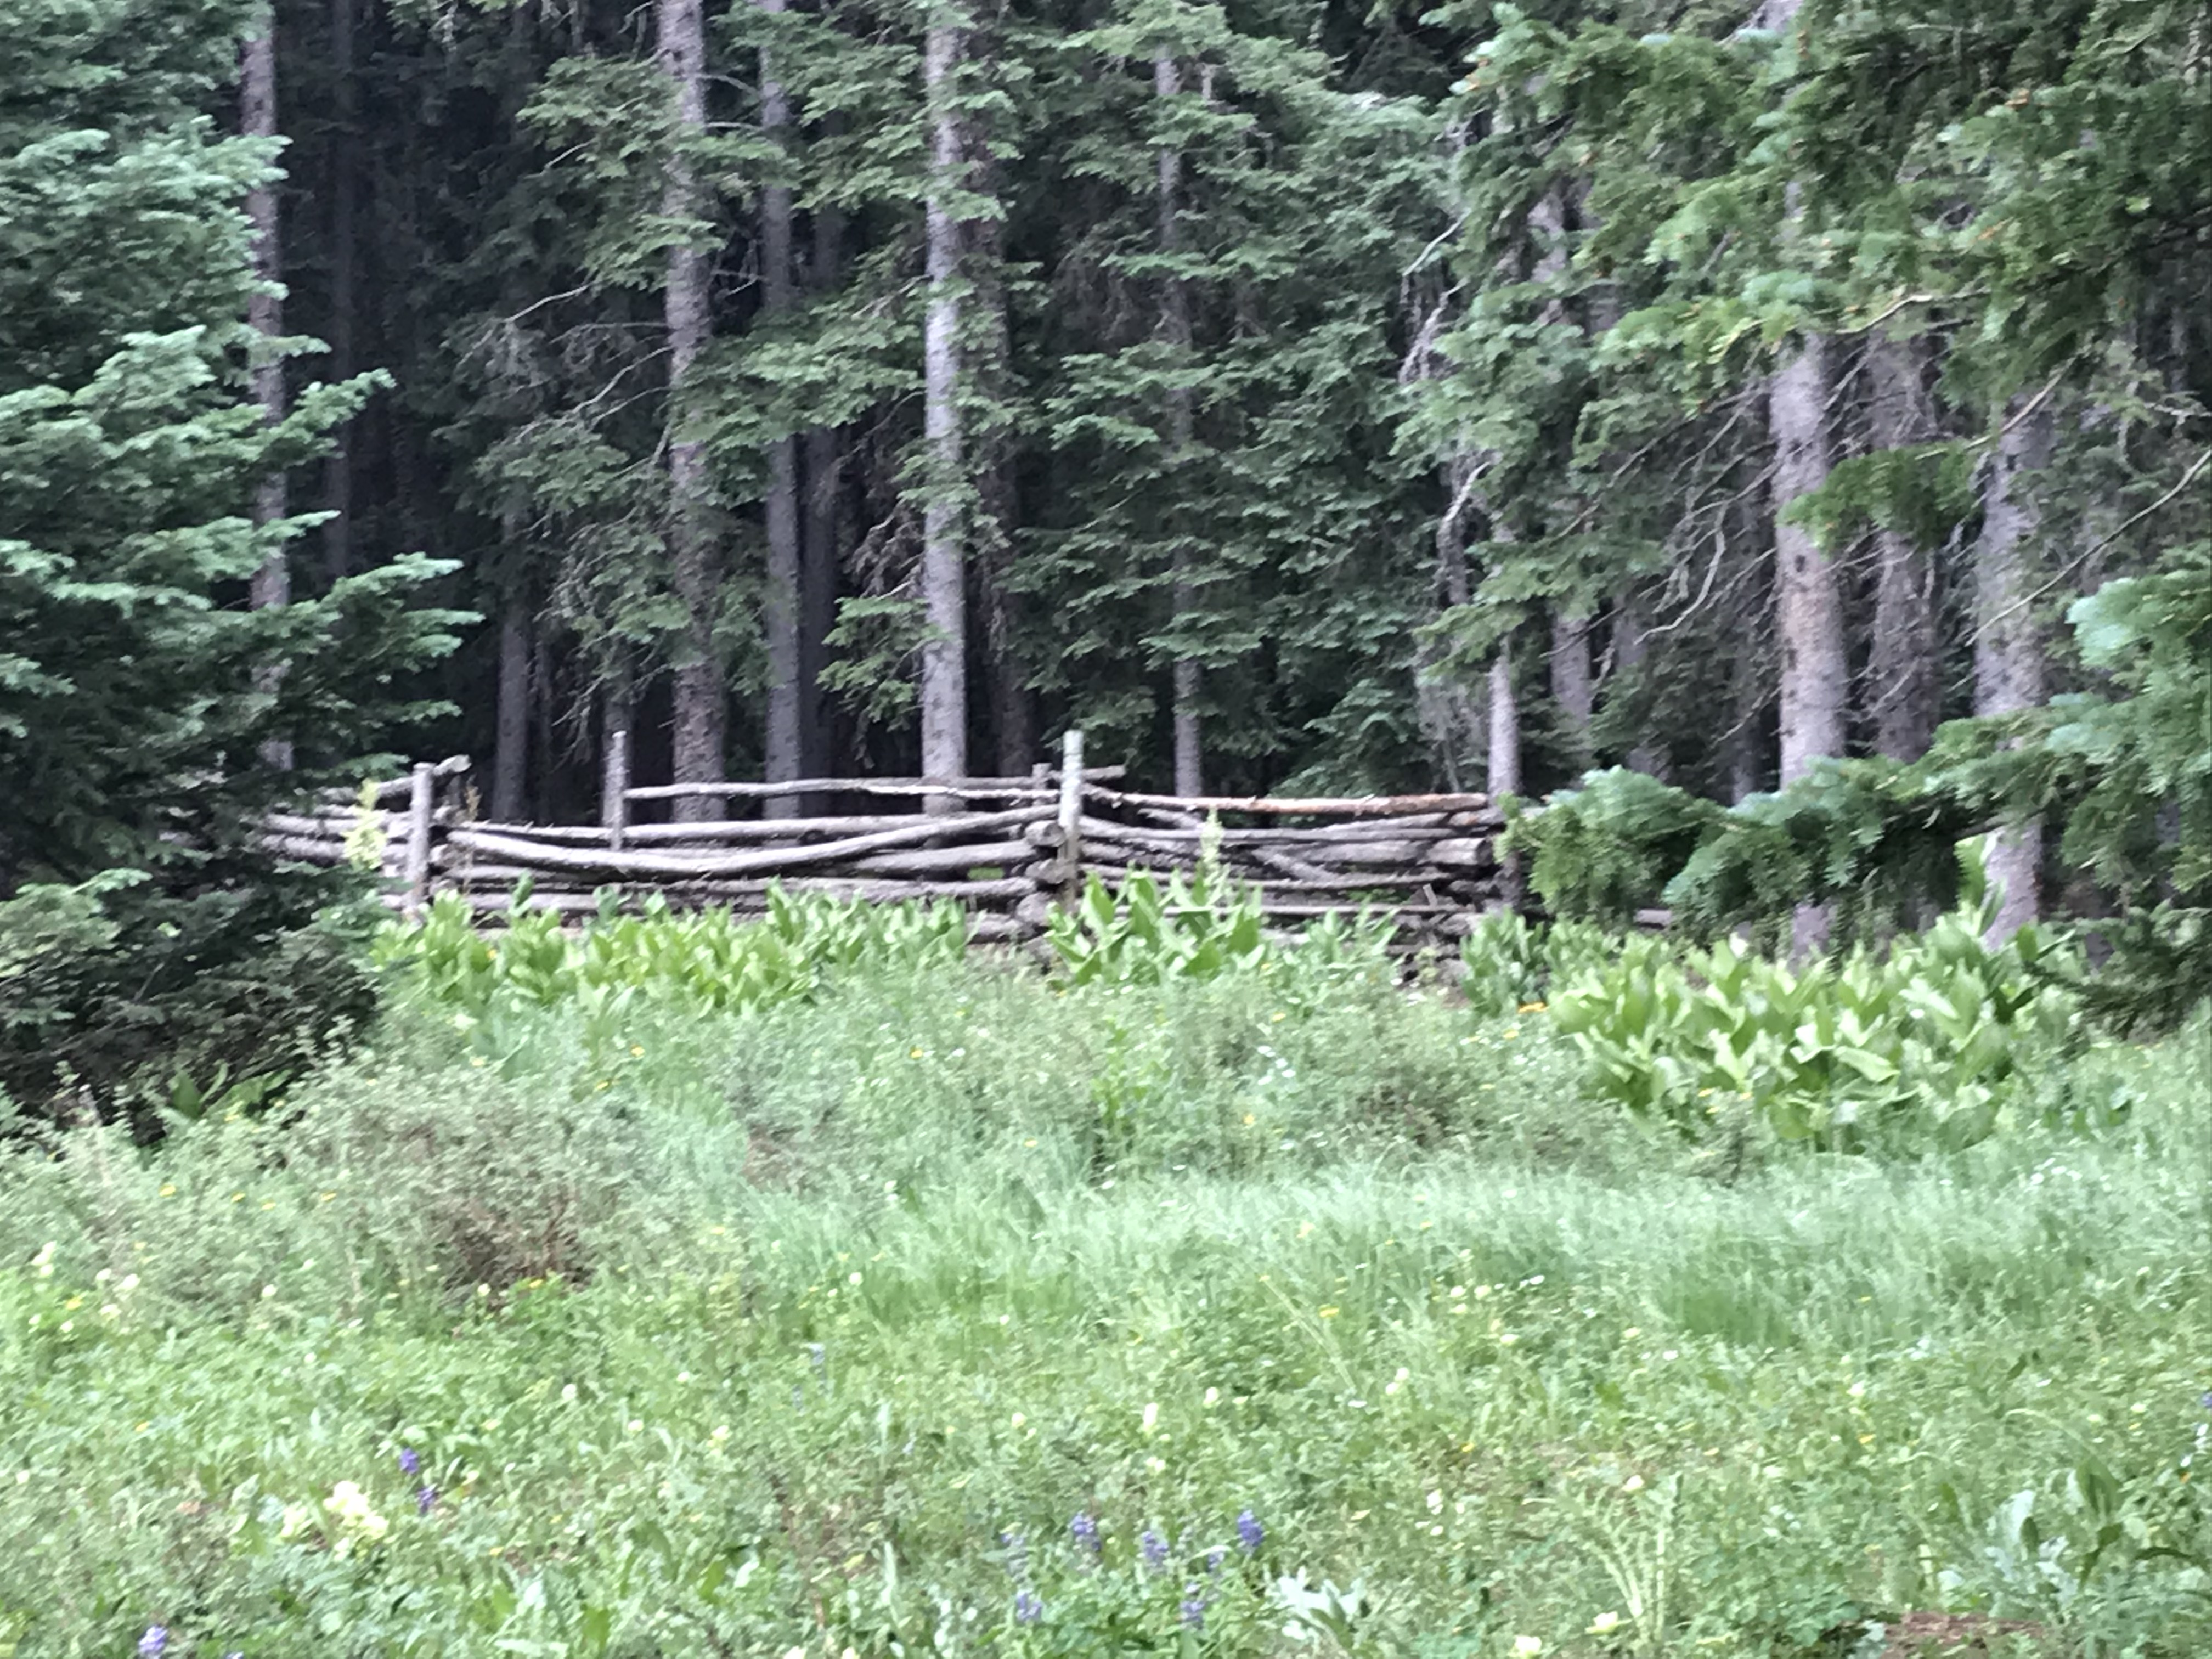
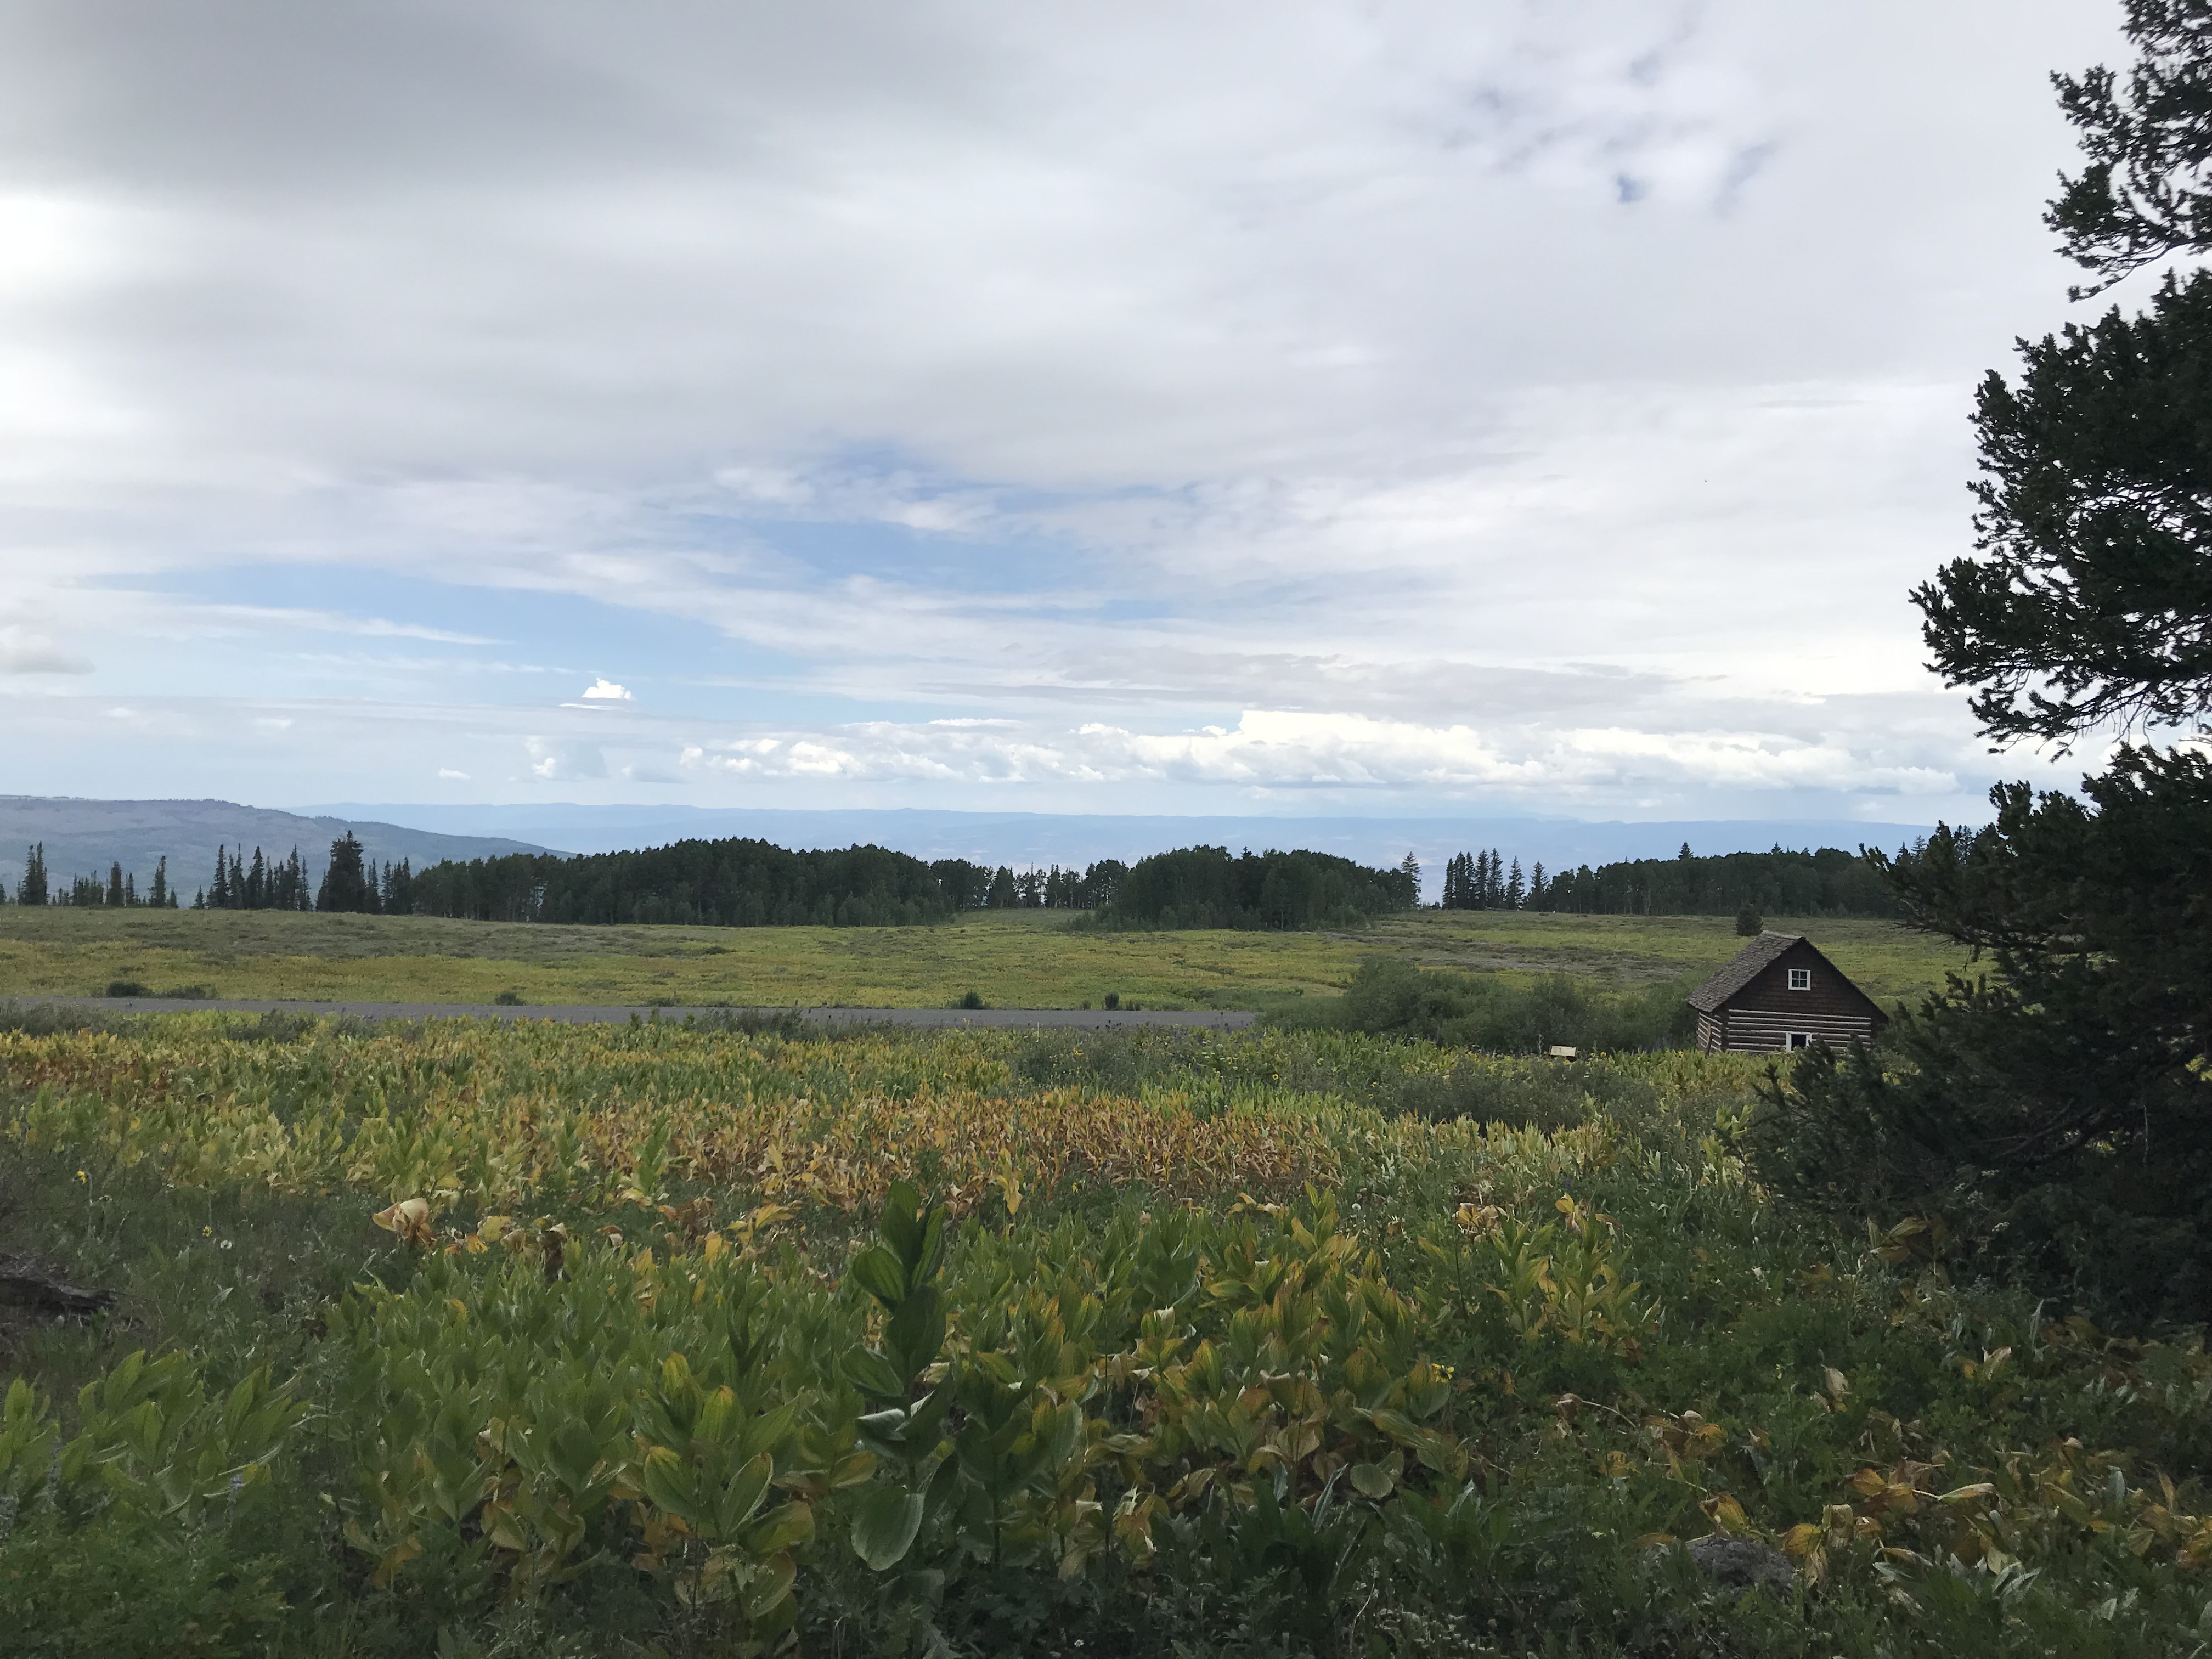
This site is located on top of the mesa, off the Land’s End Road.  It is the remains of a ranch that operated in this area long ago. Several cabins, one of which you can walk inside, and an old livestock corral, have been restored.  They can be viewed on a Nature Trail loop (it is part of a cross-country ski trail in the snowy months).  

A two-story cabin sits amongst tall, green grasses. It is a grey, cloudy day

An old, wooden fence-surround sits in a grassy, open space just outside a deep woods surrounded by tall pine trees
The old corral

Yellow wildflowers in a tall, grassy meadow. An old cabin can be seen down the hill

Pitkin Ghost Town: 

This “living” ghost town is located about 27 miles east of Gunnison Colorado.  Take US 50, east, from Gunnison, then turn left onto Route 76 in Parlin.  

As an aside, we enjoyed several good meals in Gunnison.  We had a wonderful breakfast at the W. Café, and, I can attest that the High Alpine Brewing Company makes great pizza!

Old, freshly-painted, one-story building sits on a plot in town. A statue of a prospector sits out front. The sign over the door reads, "Pitkin Assay Office"

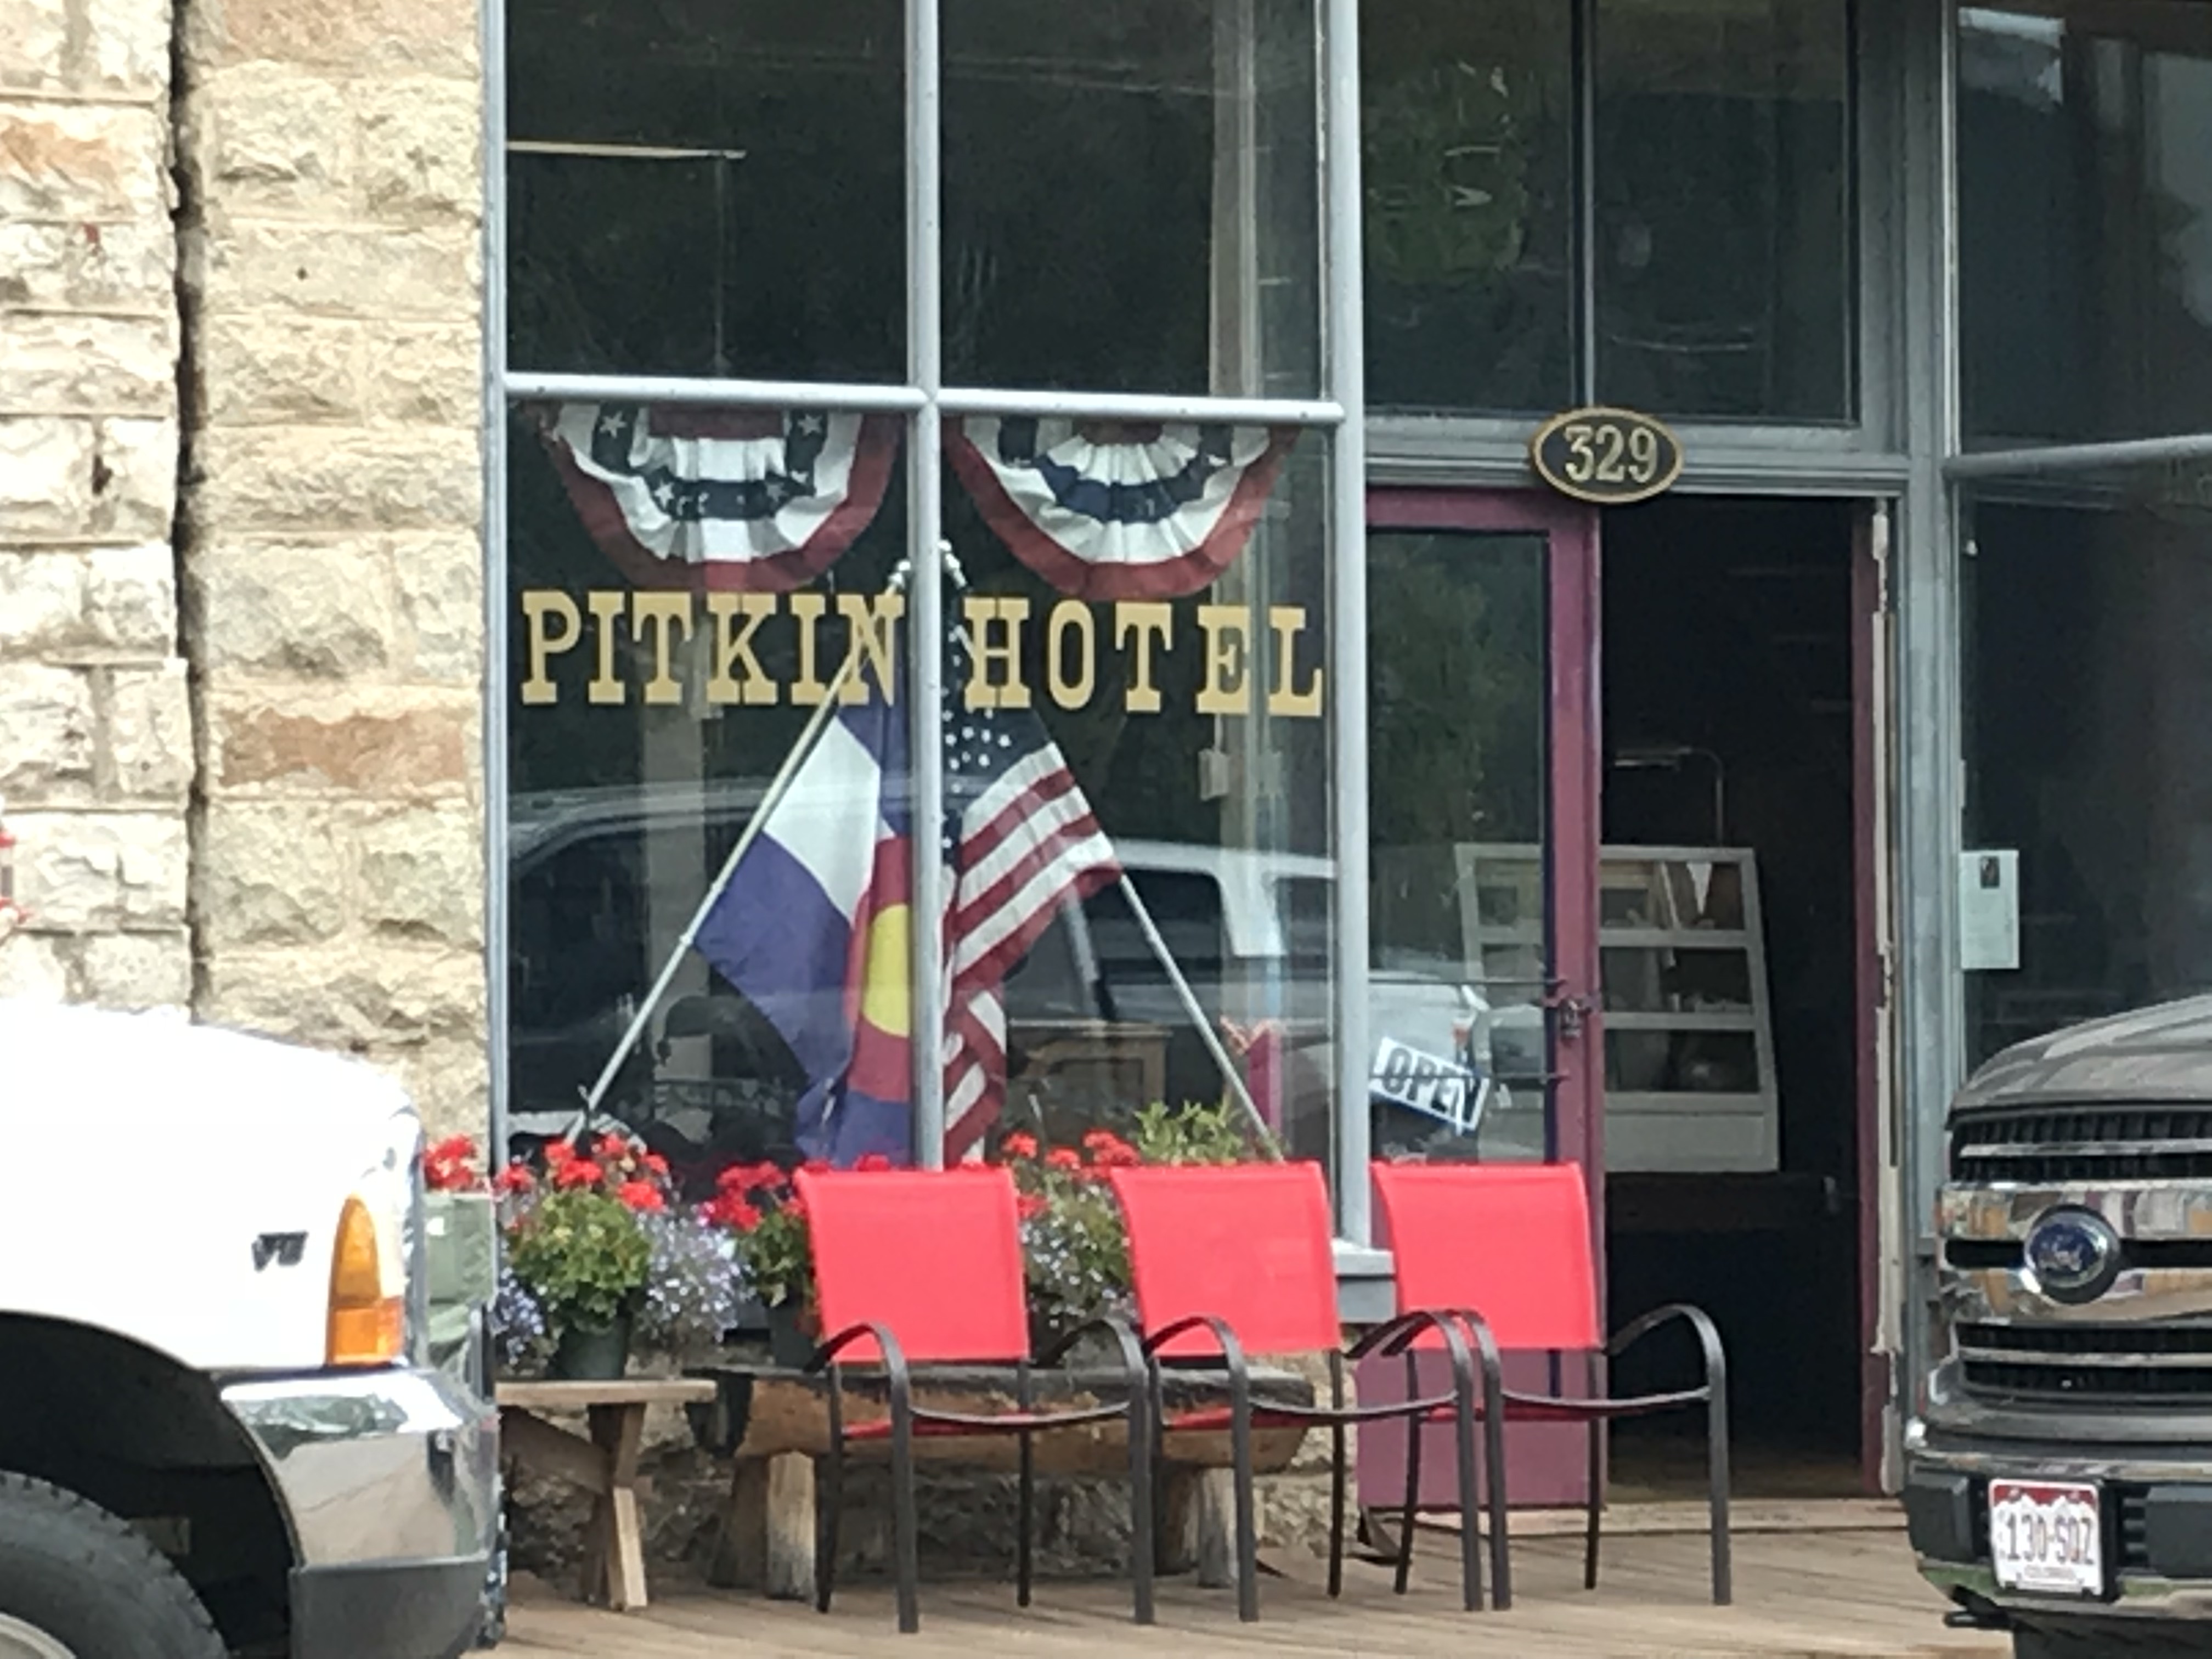
Letters read "Pitkin Hotel" on the glass front of the building. Modern-day trucks sit on the street out front

At about the halfway point on Route 76, you will pass the “living” ghost town of Ohio City. (I call them “living” because some hearty souls are still living in both of these locations!) 

The rain was falling fairly heavily as we passed through Ohio City, so we chose not to stop, but Pitkin should definitely be on your list of places to visit!  It was one of the more “real-feel” ghost towns we toured as it wasn’t crowded with visitors, and enough of the old buildings have been restored that you felt as though you were actually walking down the town’s Main Street.  

The Silver Plume General Store, located on the east side of town at the corner of 9th and State Streets, is a great place to stop for lunch.  We certainly enjoyed our burgers from the outdoor grille! Note: Pitkin is the last chance at civilization if you’re venturing onward to Tincup, Cottonwood Pass, the Alpine Tunnel, or St. Elmo ghost town via Tincup Pass.

We didn’t make it to Tincup on this trip, being that Cottonwood Pass was closed for paving.  We are hoping to, one day, try the Tincup Pass between Tincup and St. Elmo and hike to the Alpine Tunnel.  Another journey for another time, I don’t worry that we’ll be back in Colorado soon!  😁

A two-story building with a belfry on top sits in front of a tree-covered hill. The sign under the belfry reads, "City Hall 1900"
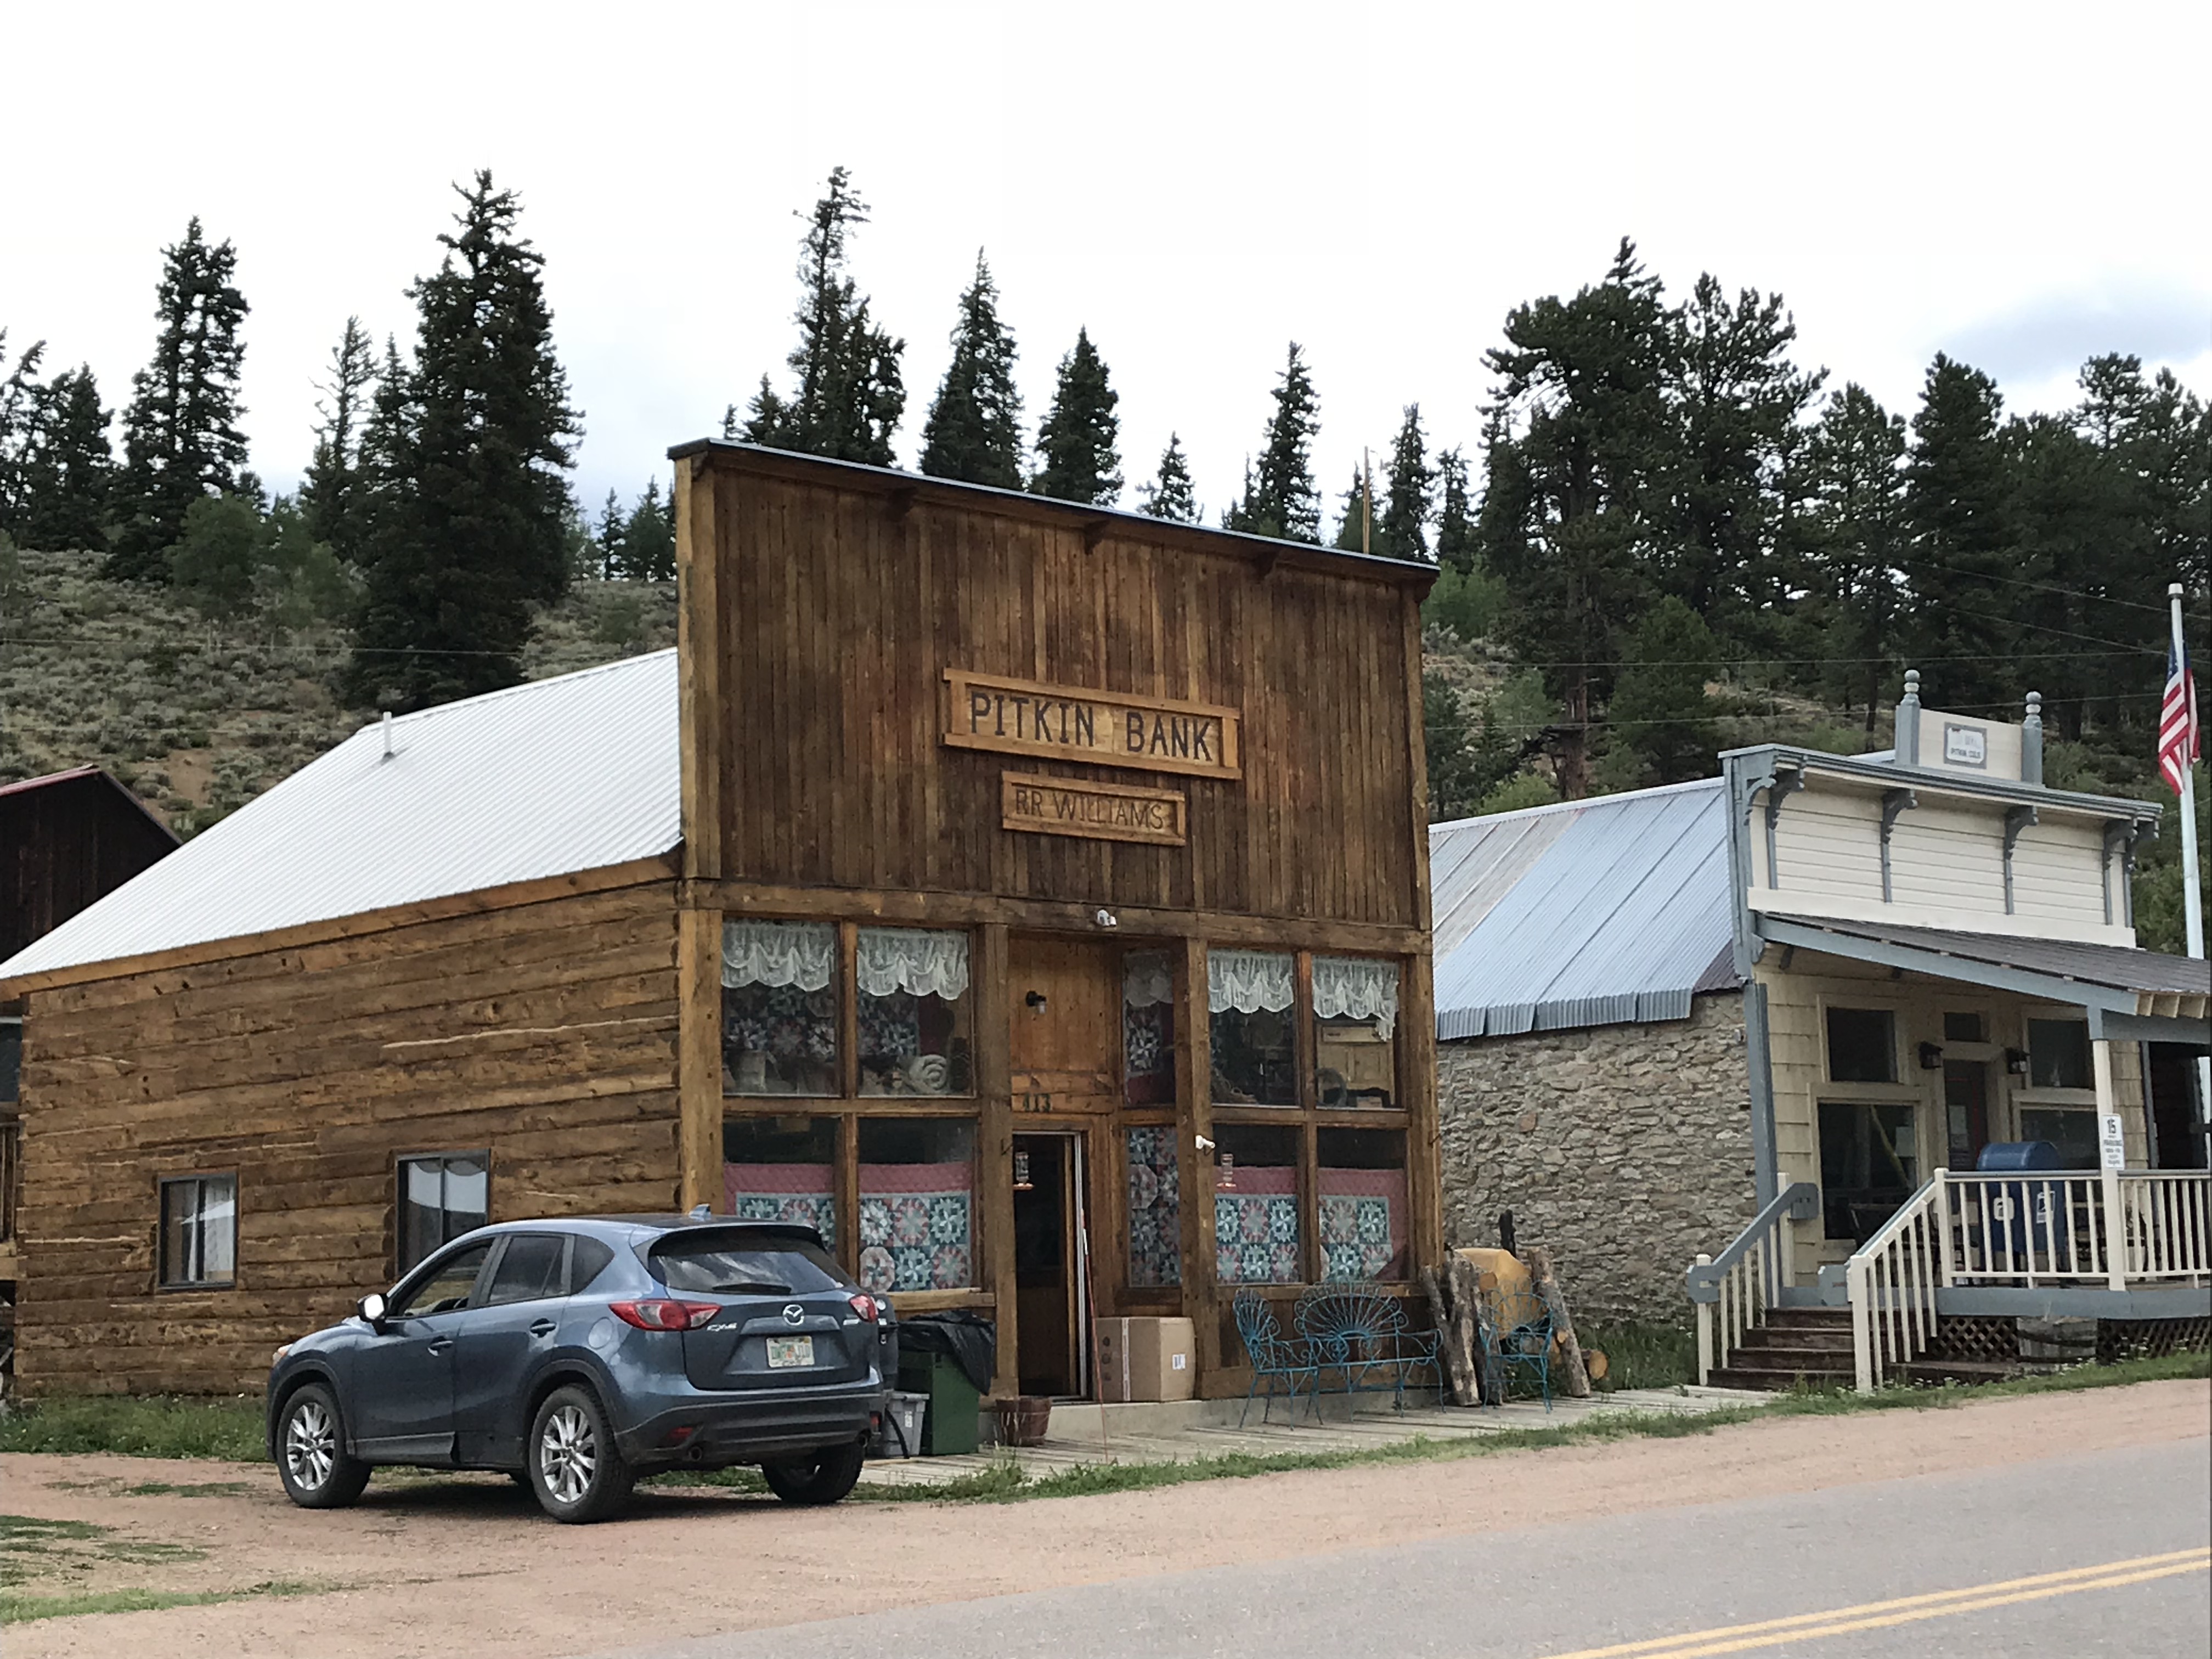
Two old, single-story buildings with false fronts. One reads, "Pitkin Bank". A modern car sits in an alley nearby.
Two old, very small cabins sit so close they appear to connect. One sign reads, "Road Kill Cafe", the other "Stage Stop, Pitkin 1880"
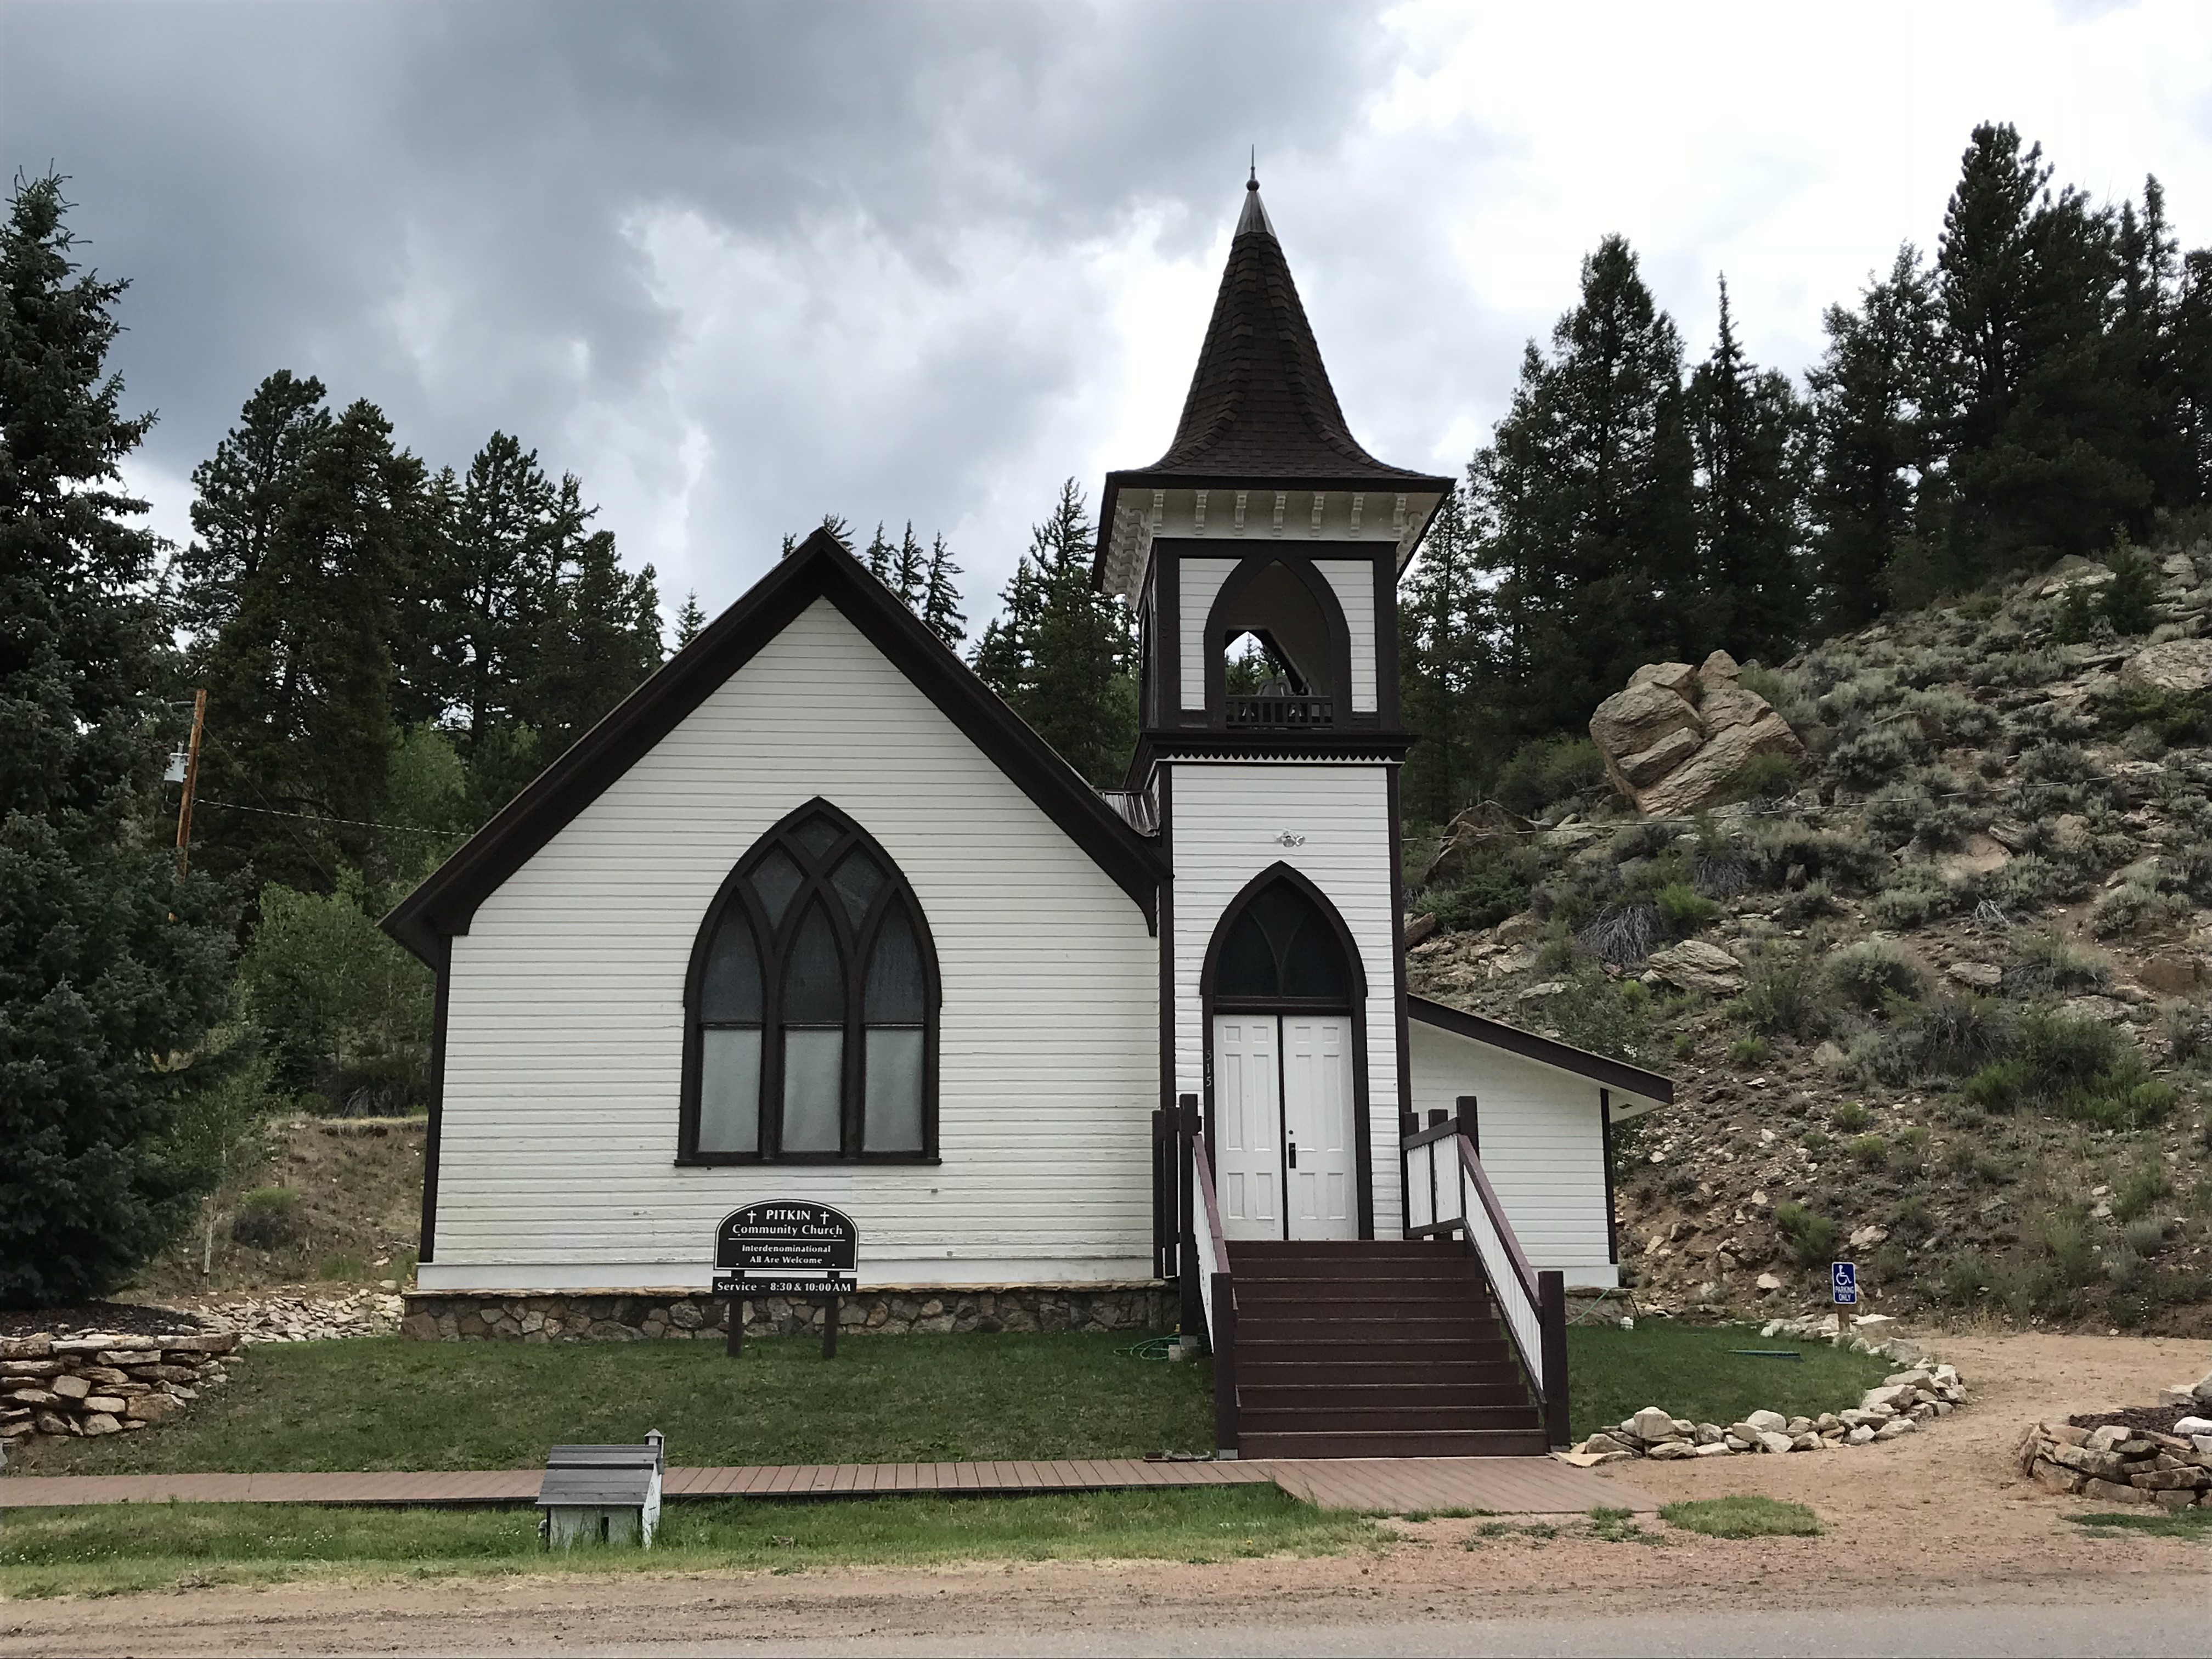
An old, white-clapboard church and steeple

Below is a short video I took of the hummingbirds near the Pitkin Hotel.  I’ve always liked hummingbirds, but I’ve never heard them make this noise outside of Colorado…

St. Elmo Ghost Town: 

Everyone we talked to (and all the guide books we read) told us we HAD to visit St. Elmo, and it was, definitely, worth the visit!

The only disappointment I had with this site is that vehicles are allowed to park in the town itself.  Its spirit seems to be somewhat ruined when there’s a modern Audi parked in front of Town Hall. 😝  Also, they were restoring several buildings while we were there—which I’m sure is necessary and will be wonderful when it’s completed—but it meant that construction equipment was parked along Main Street.  *sigh*  Guess we’ll have to visit another time! 😉 

Two old, single-story buildings that look like they were once shops. One appears weathered, the other freshly-painted. A very tall, rocky mountain can be seen in the background

Two old, small, weathered cabins sit next to the dirt road

As I mentioned previously, if you’re daring, you can reach St. Elmo via Tincup Pass.  If you’re looking for a tamer route, you can do what we did and take the long way.  For this trek take Route 50 east of Gunnison through Monarch Pass (another great view) and turn north onto US 285 at Poncha Springs.  Then take Route 162 west–an out-and-back road (for the less daring among us)–toward the Mt. Princeton Hot Springs resort and on to St. Elmo.  

Near this area, there’s also a turnoff for Hagerman Pass Road to the site of another ghost town, Hancock.  From there, you can hike to the Alpine Tunnel from the east, though it sounded as though the hike is longer and the view isn’t quite as good as hiking from the west side–we chose not to complete the hike at this time due to time constraints and the monsoon-fueled thunderheads that were threatening.  

As I stated previously, since we missed a few ghostly spots this time around, we’ll be putting this area on our “must-visit” list for the future.  It’s always a shame when you visit a location and find out you HAVE to come back to explore further (that happens to us regularly on trips, especially in Colorado…have I mentioned that I enjoy vacationing in this state? 😉)

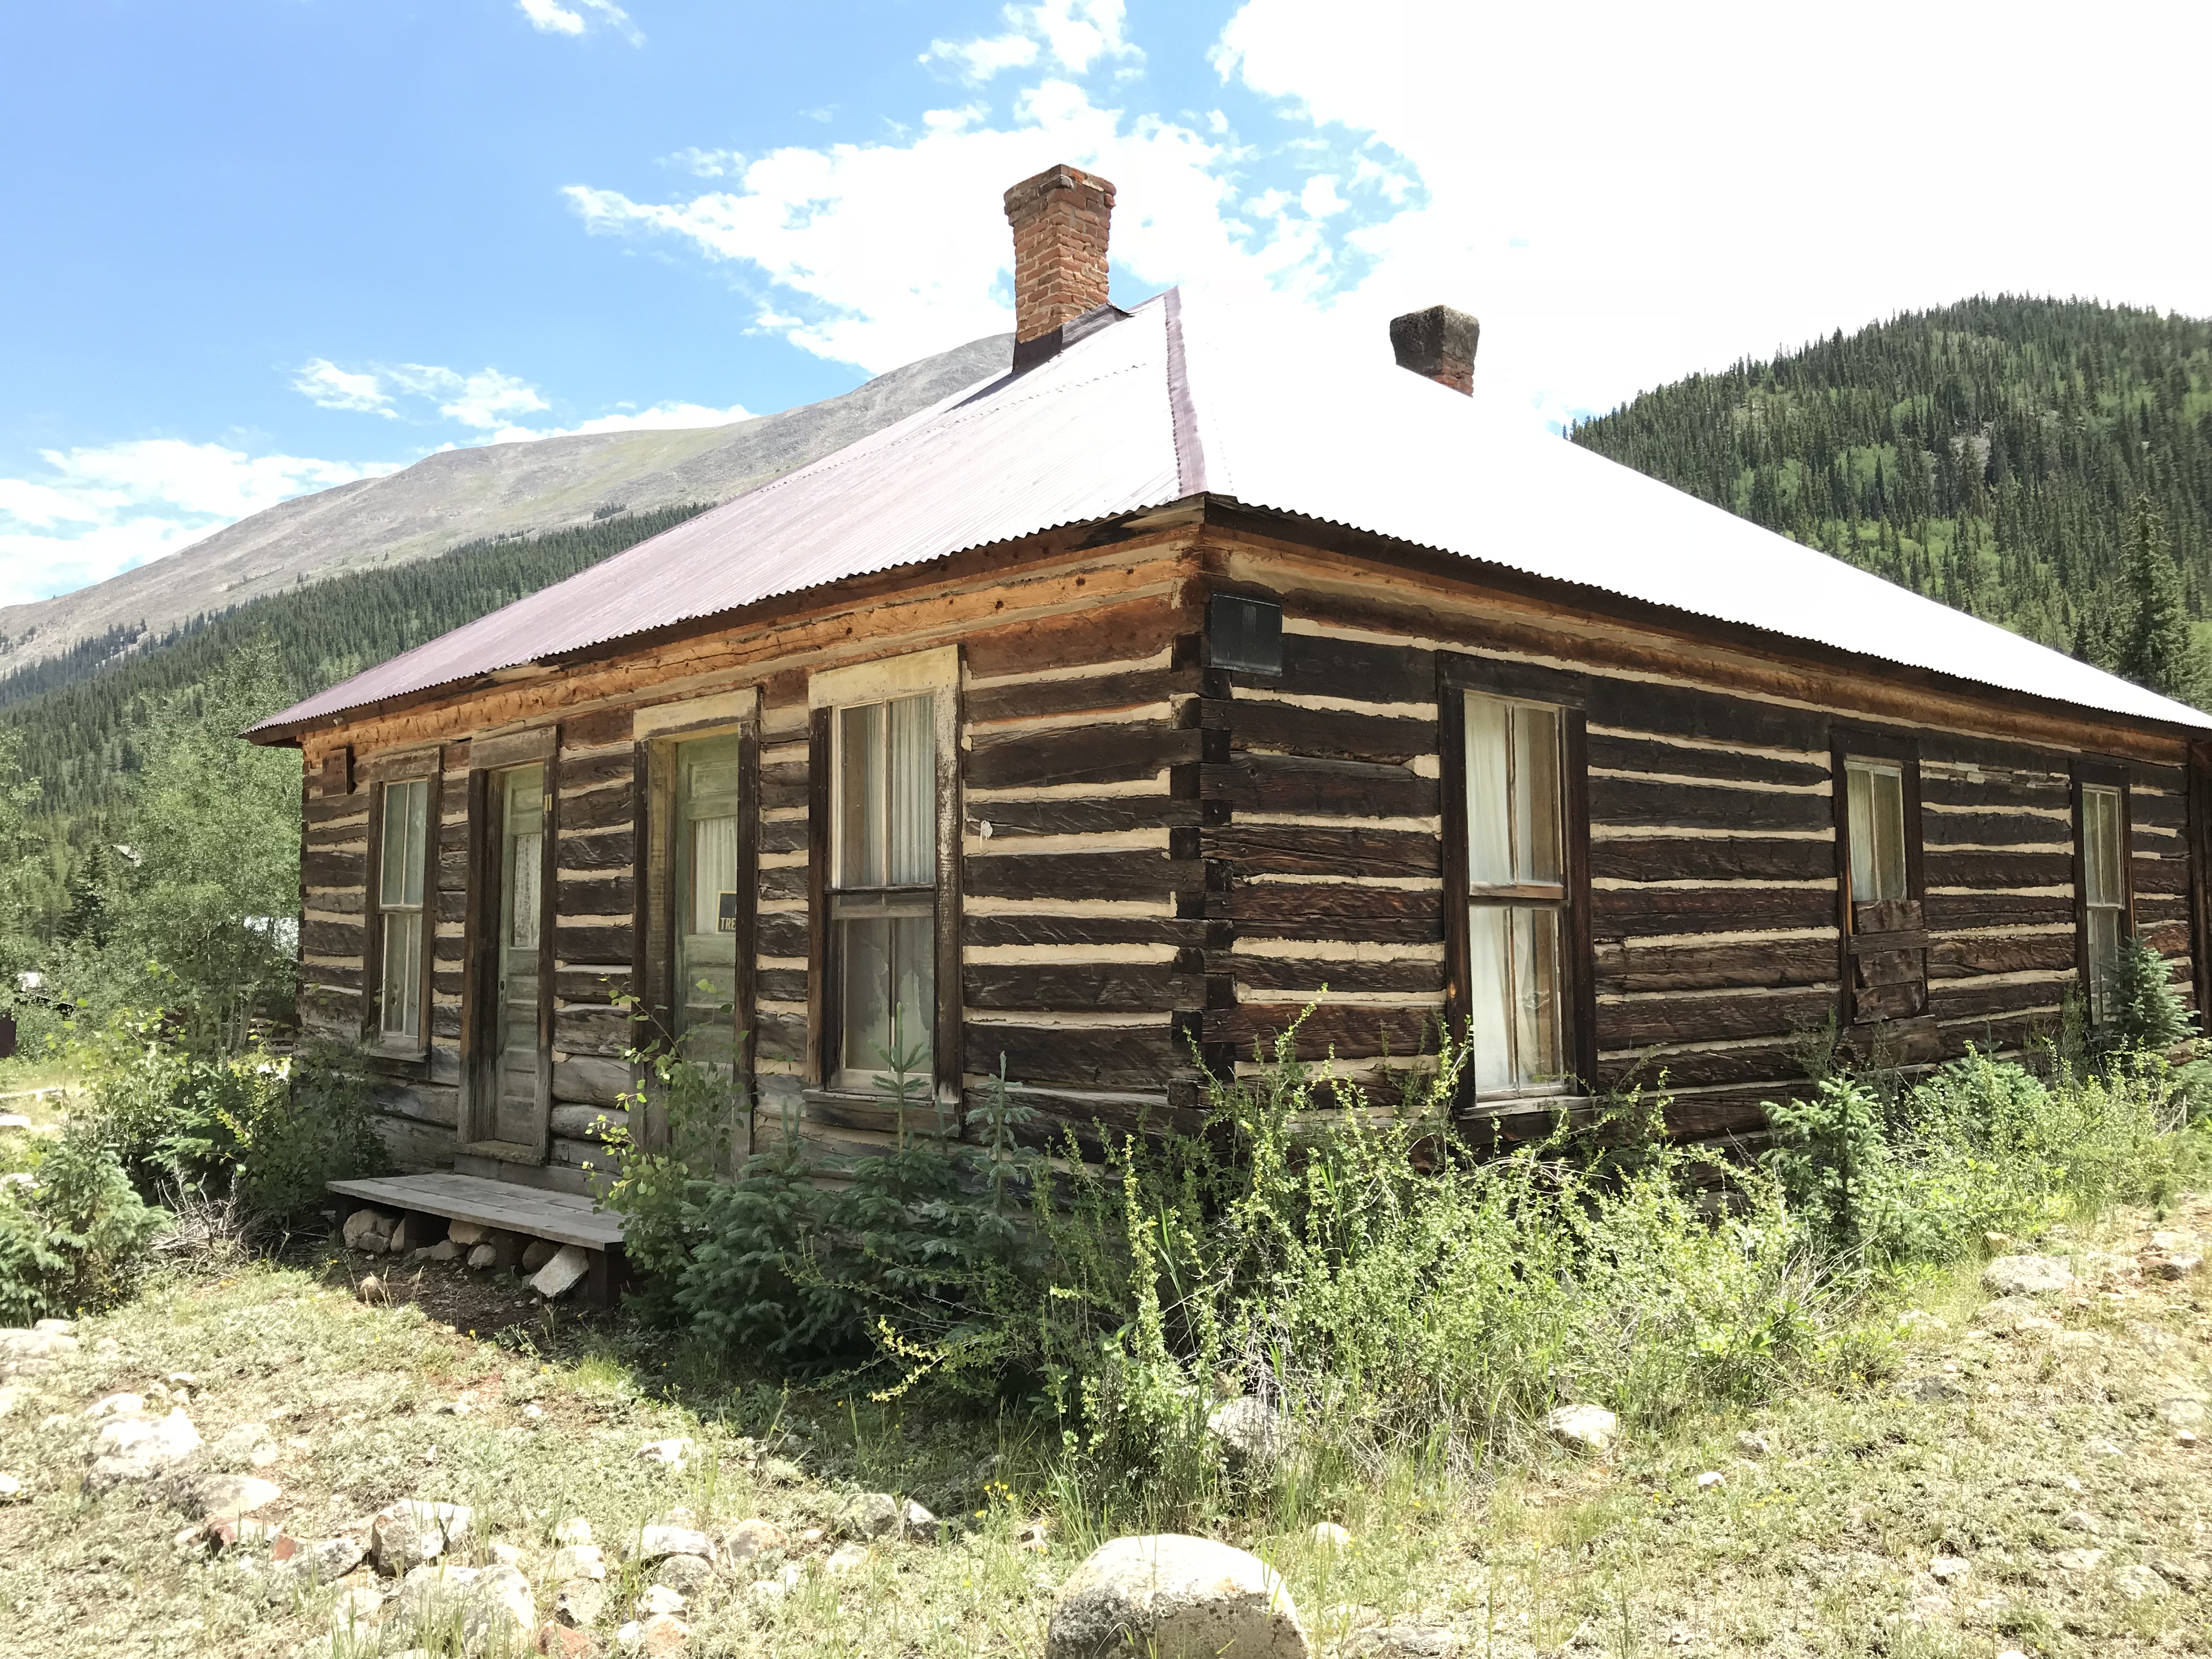
An old, wooden cabin with two chimneys. Two very tall mountains, one rocky, the other tree-covered, can be seen in the backdrop
Two old, wooden cabins sit amongst the trees
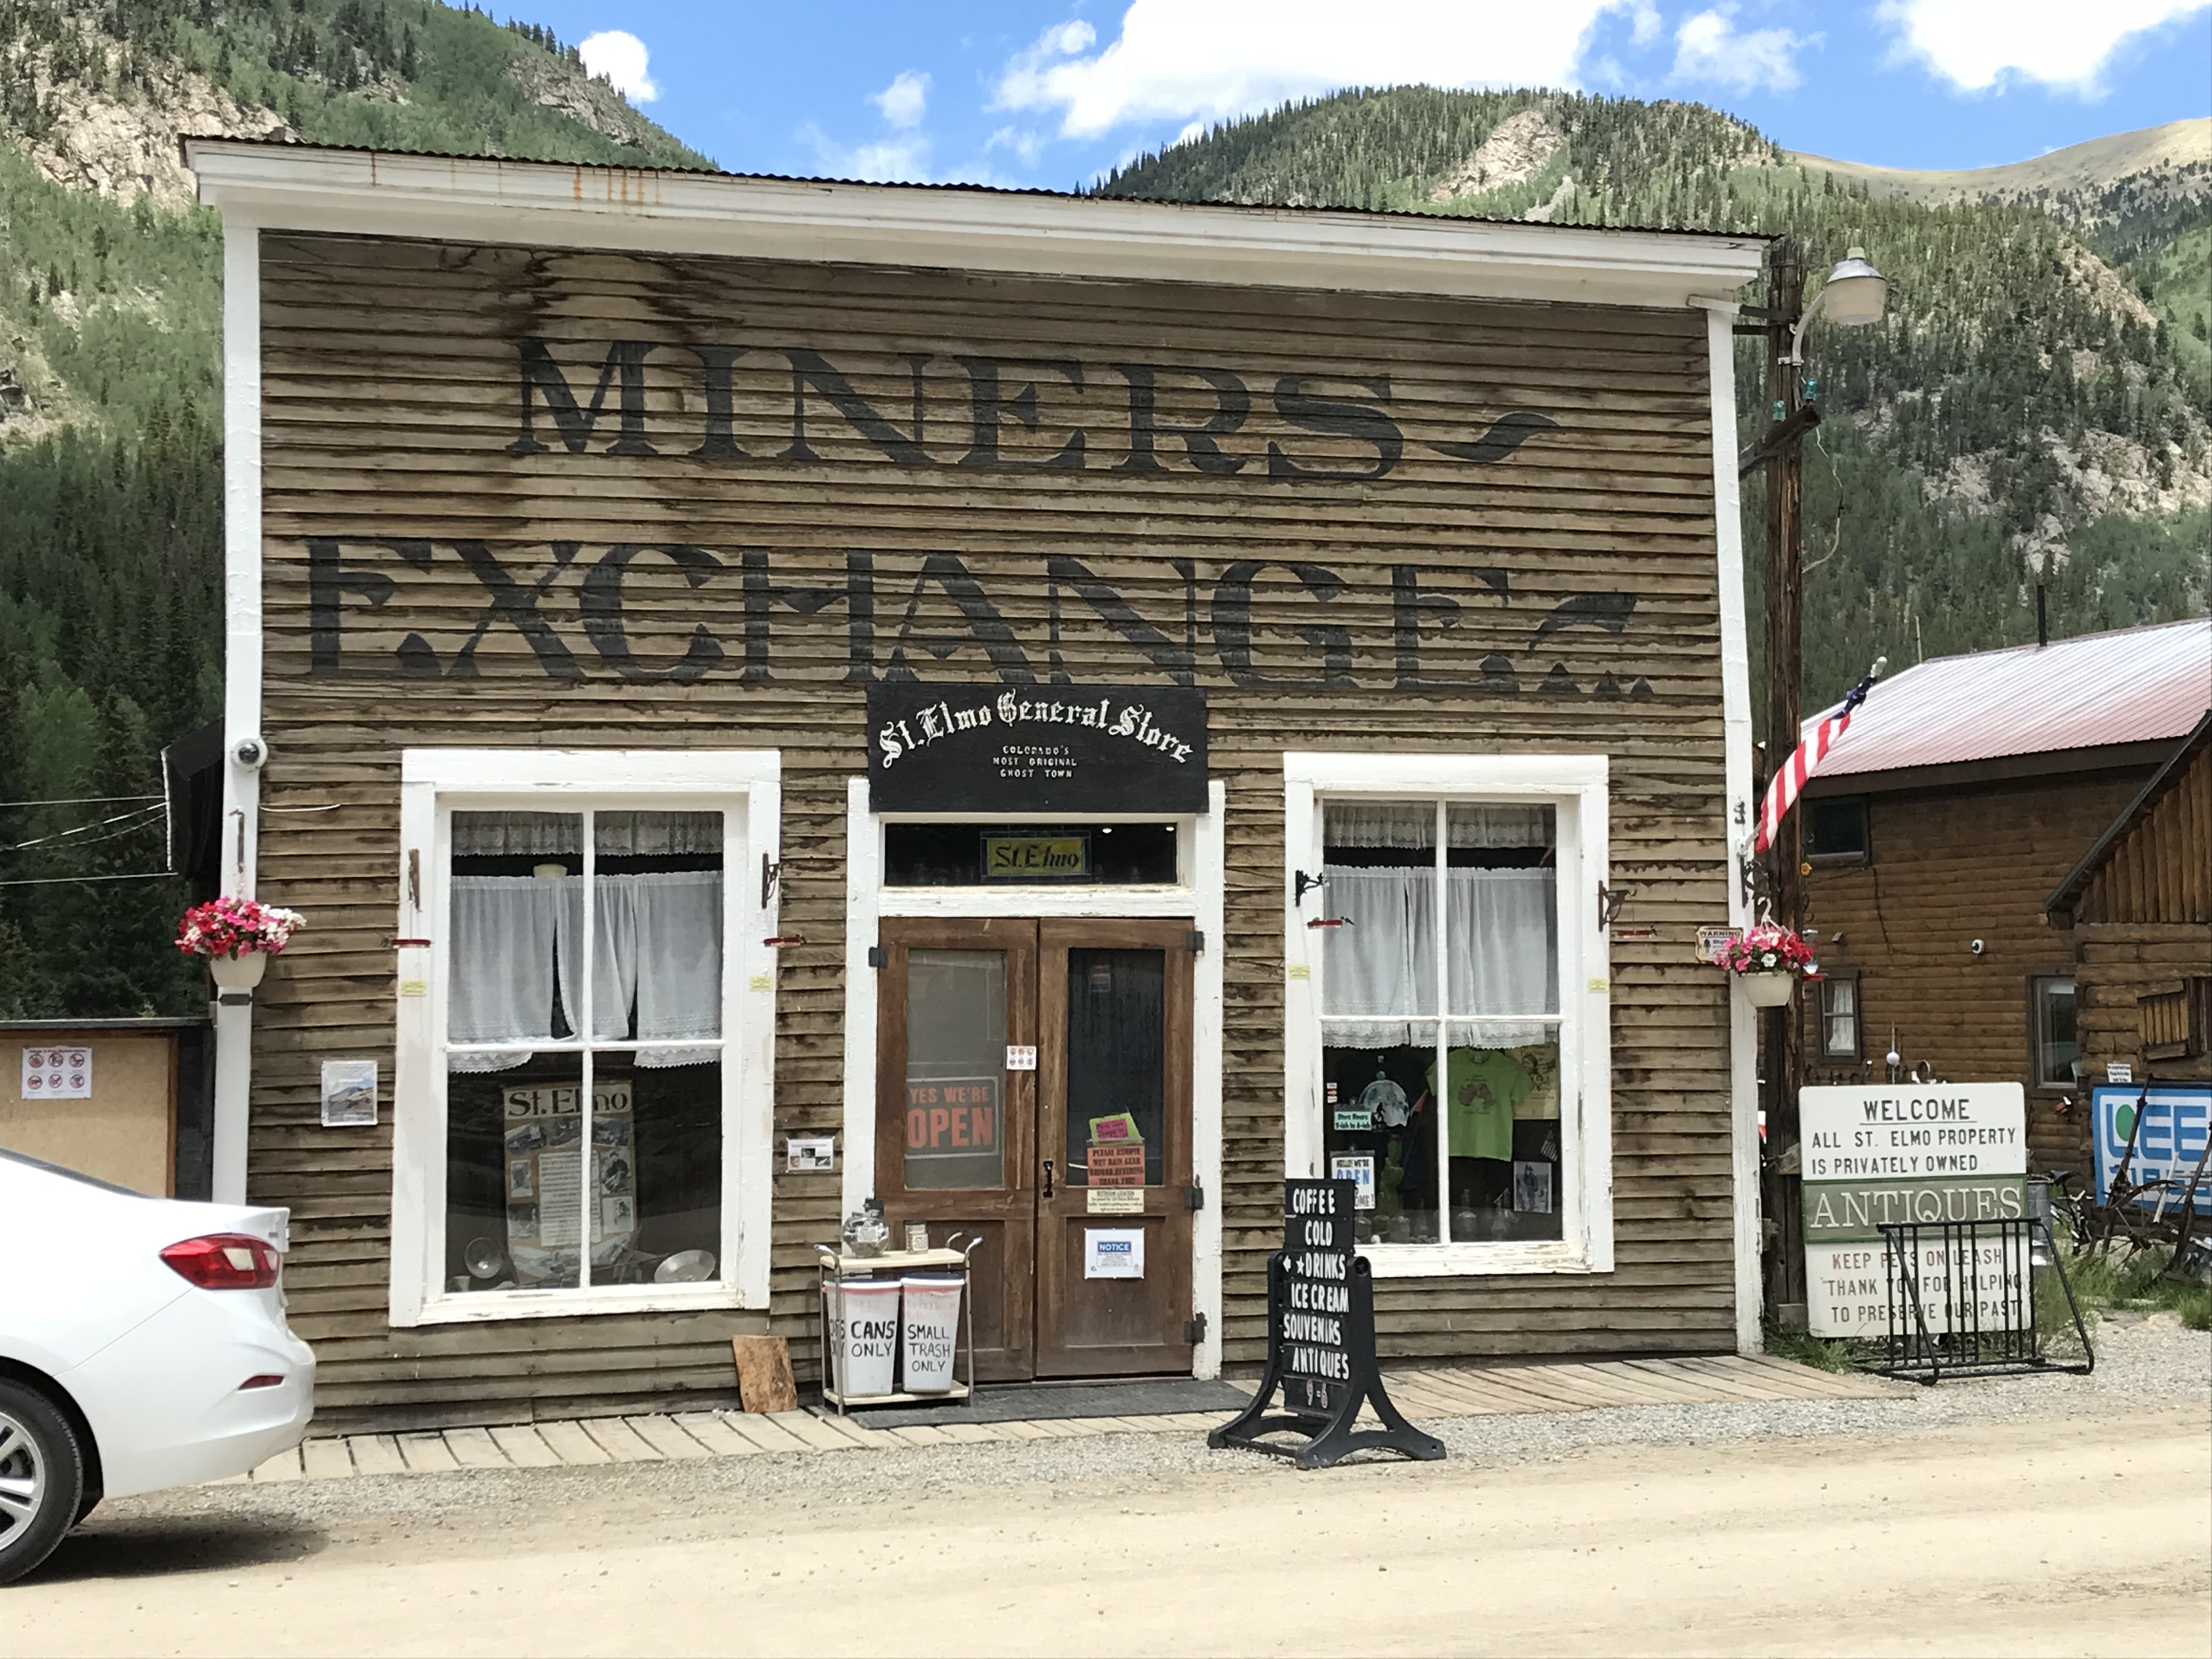
An old, one-story shop that reads, "Miners Exchange, St. Elmo General Store"

Much to the Tranquil Trekker’s dismay (we DON’T feed wildlife) one unique feature of St. Elmo is that visitors are encouraged to feed the WAY-overly-friendly and almost-aggressive local chipmunks. You can buy food for them at the General Store. 😝

The Cascades Waterfall near Buena Vista, Colorado:

After leaving Saint Elmo, on our way east, back to US 285, we stopped at The Cascades.  This is a lovely waterfall that’s just off the side of the road.  It’s a beautiful, peaceful location where you can walk right up to the base of the river that creates a picturesque waterfall in this area as it cascades across boulders–hence the name. 😉  

A creek runs over rocks and down a hill, creating a waterfall amongst the mountains and trees
Water from the creek dribbles over large boulders
A creek runs over rocks, creating a mini waterfall amongst the boulders and trees
A creek runs over rocks and down a hill, creating a waterfall amongst the mountains and trees

Gothic Ghost Town, Crested Butte, Colorado: 

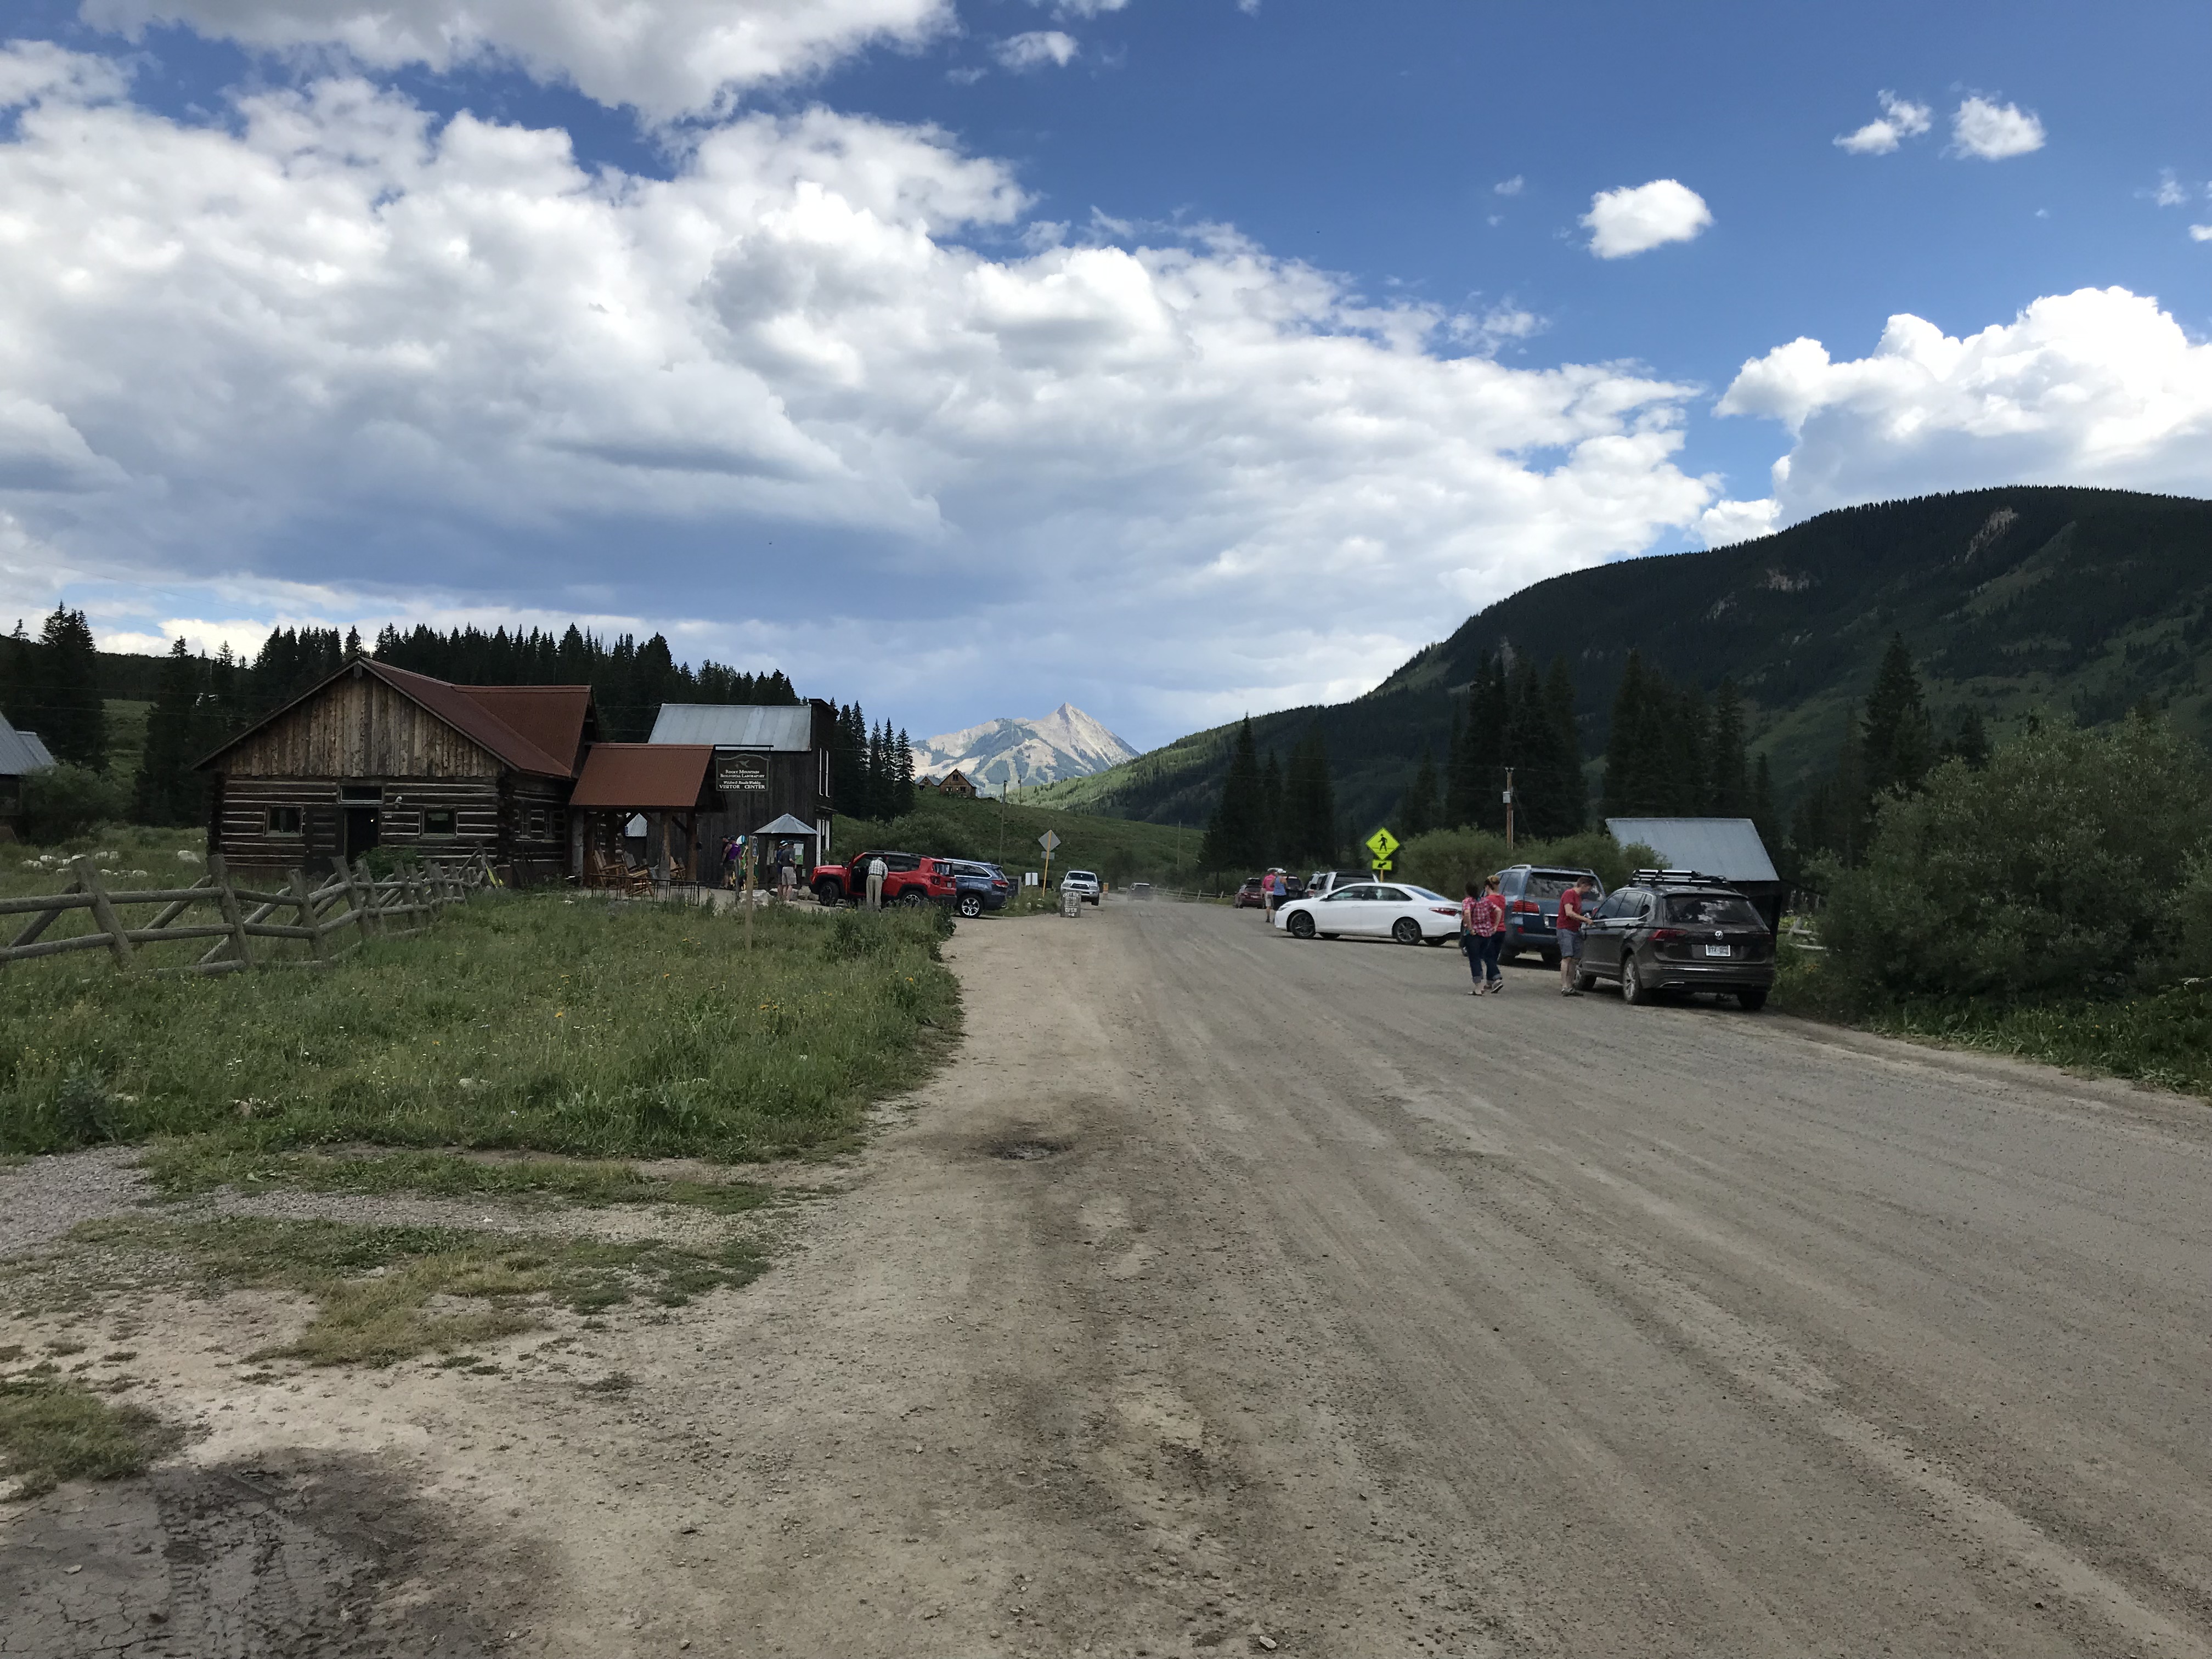
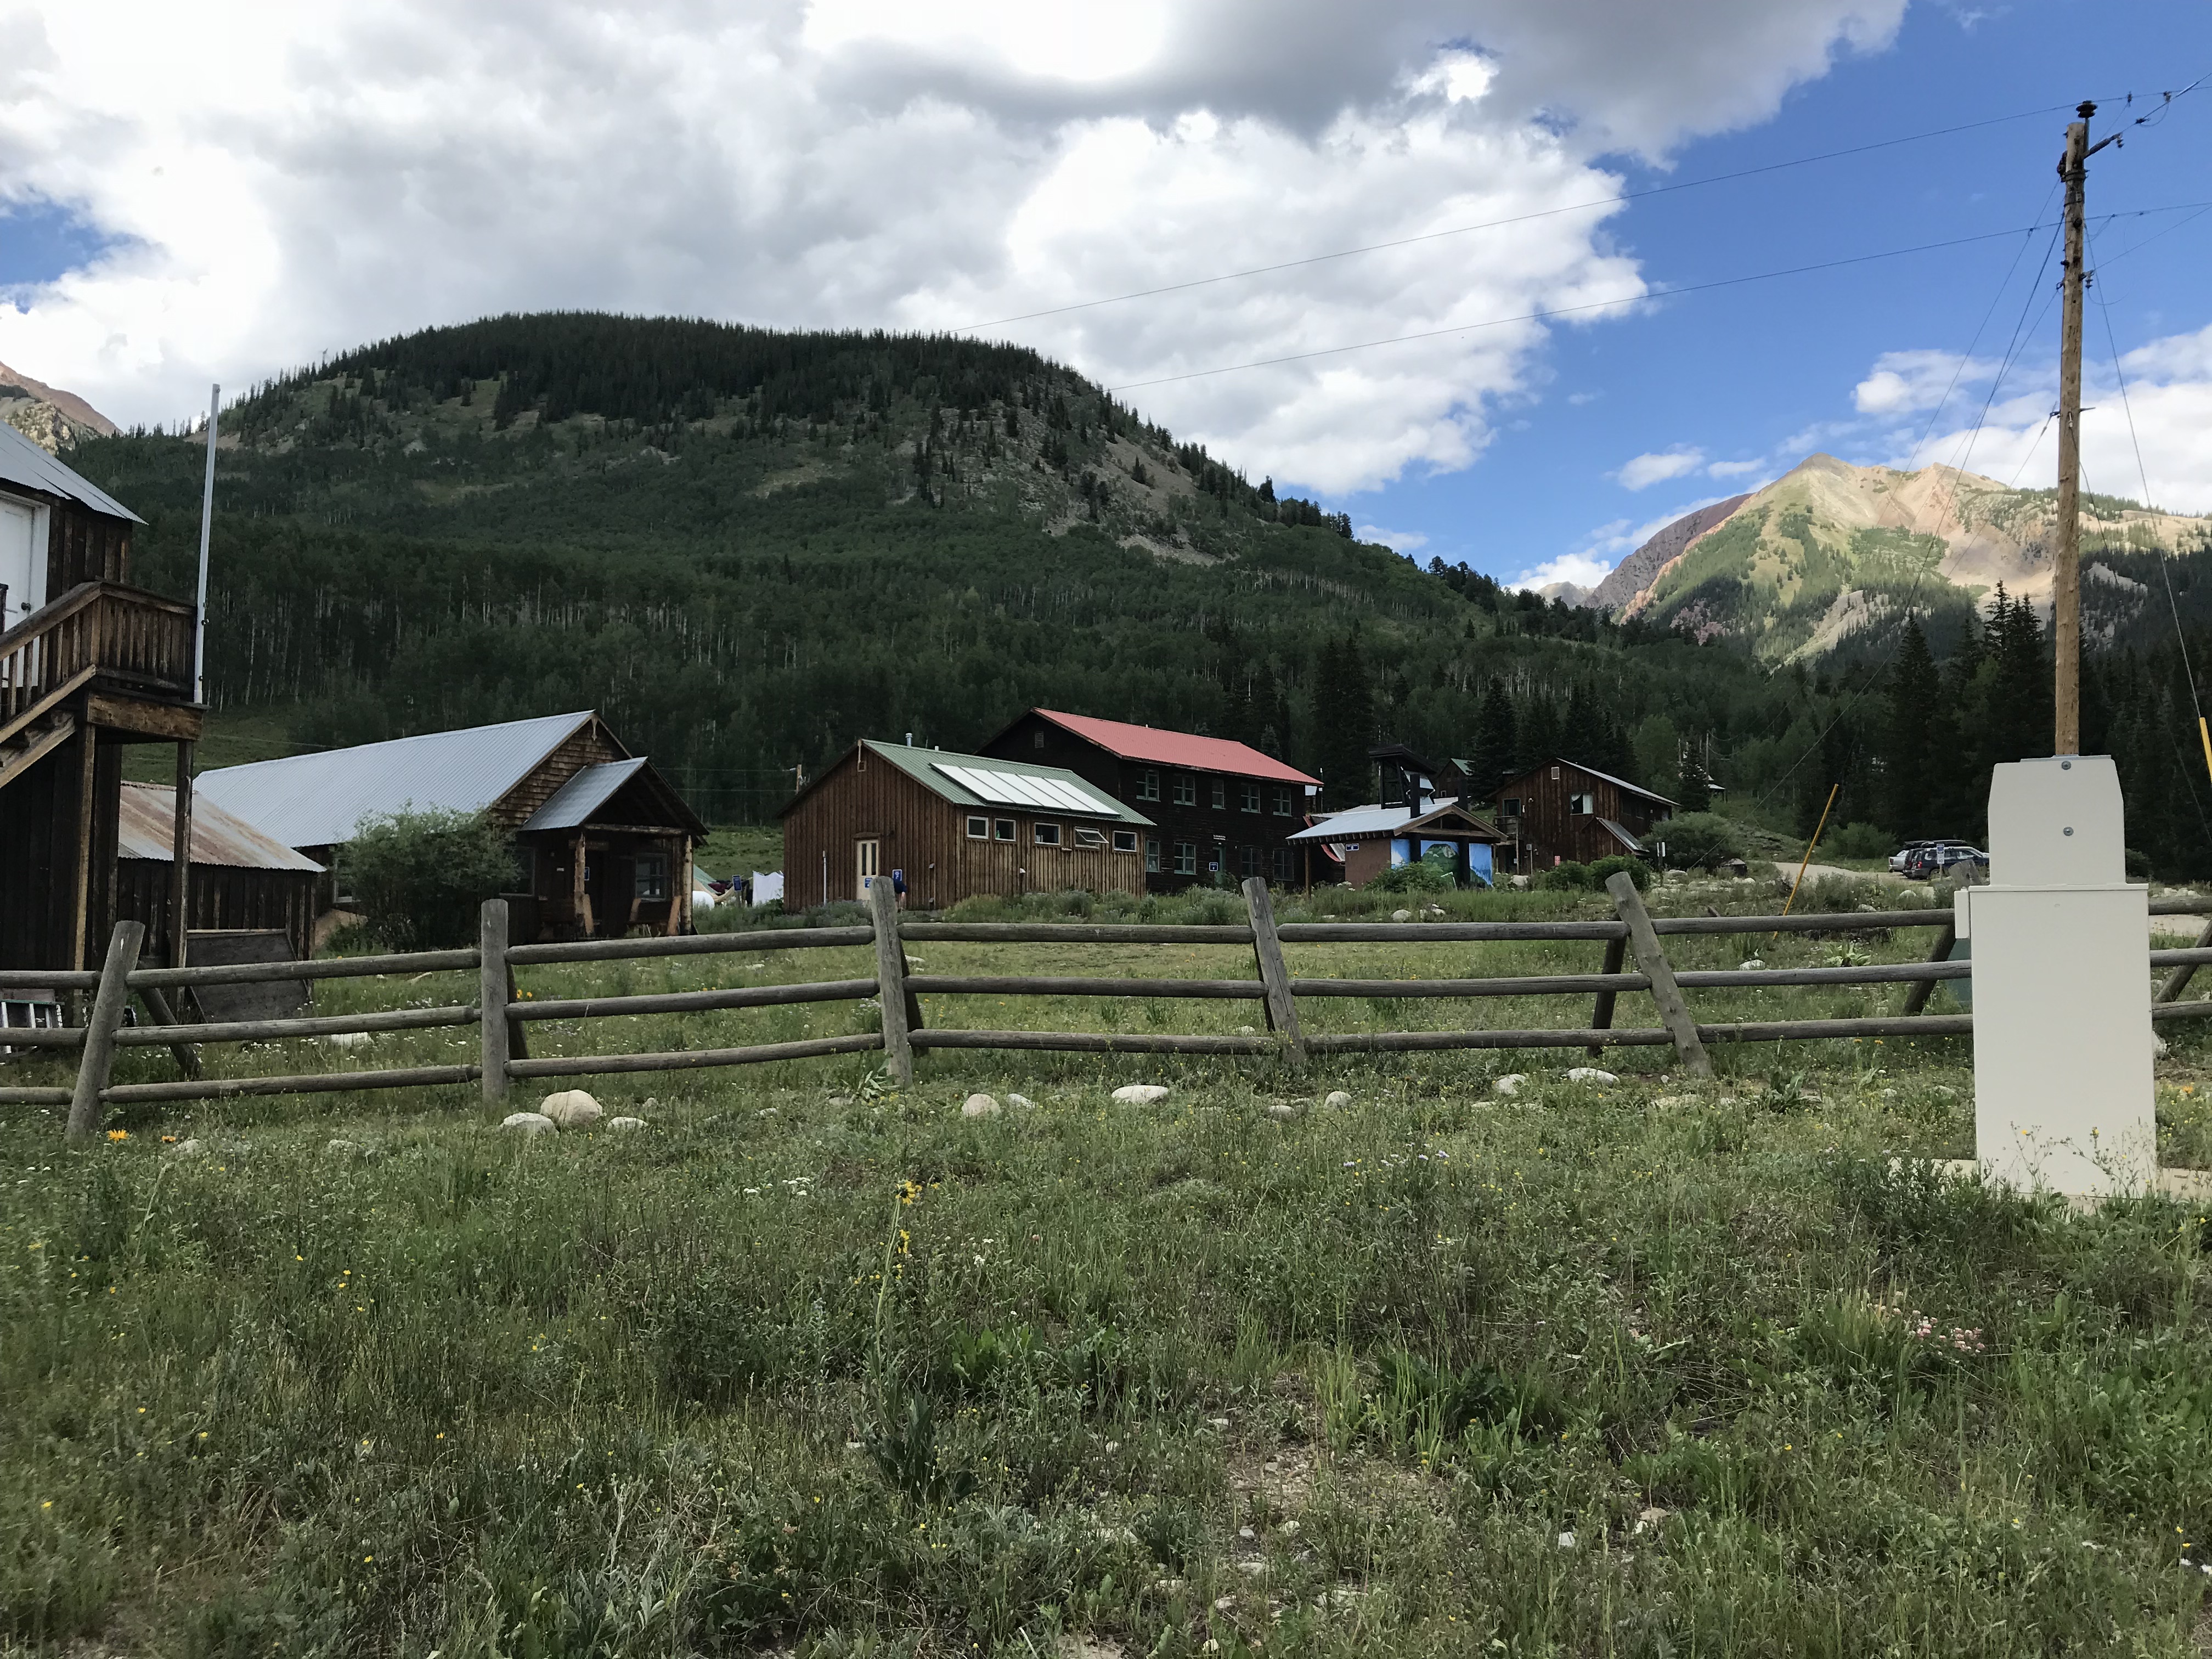
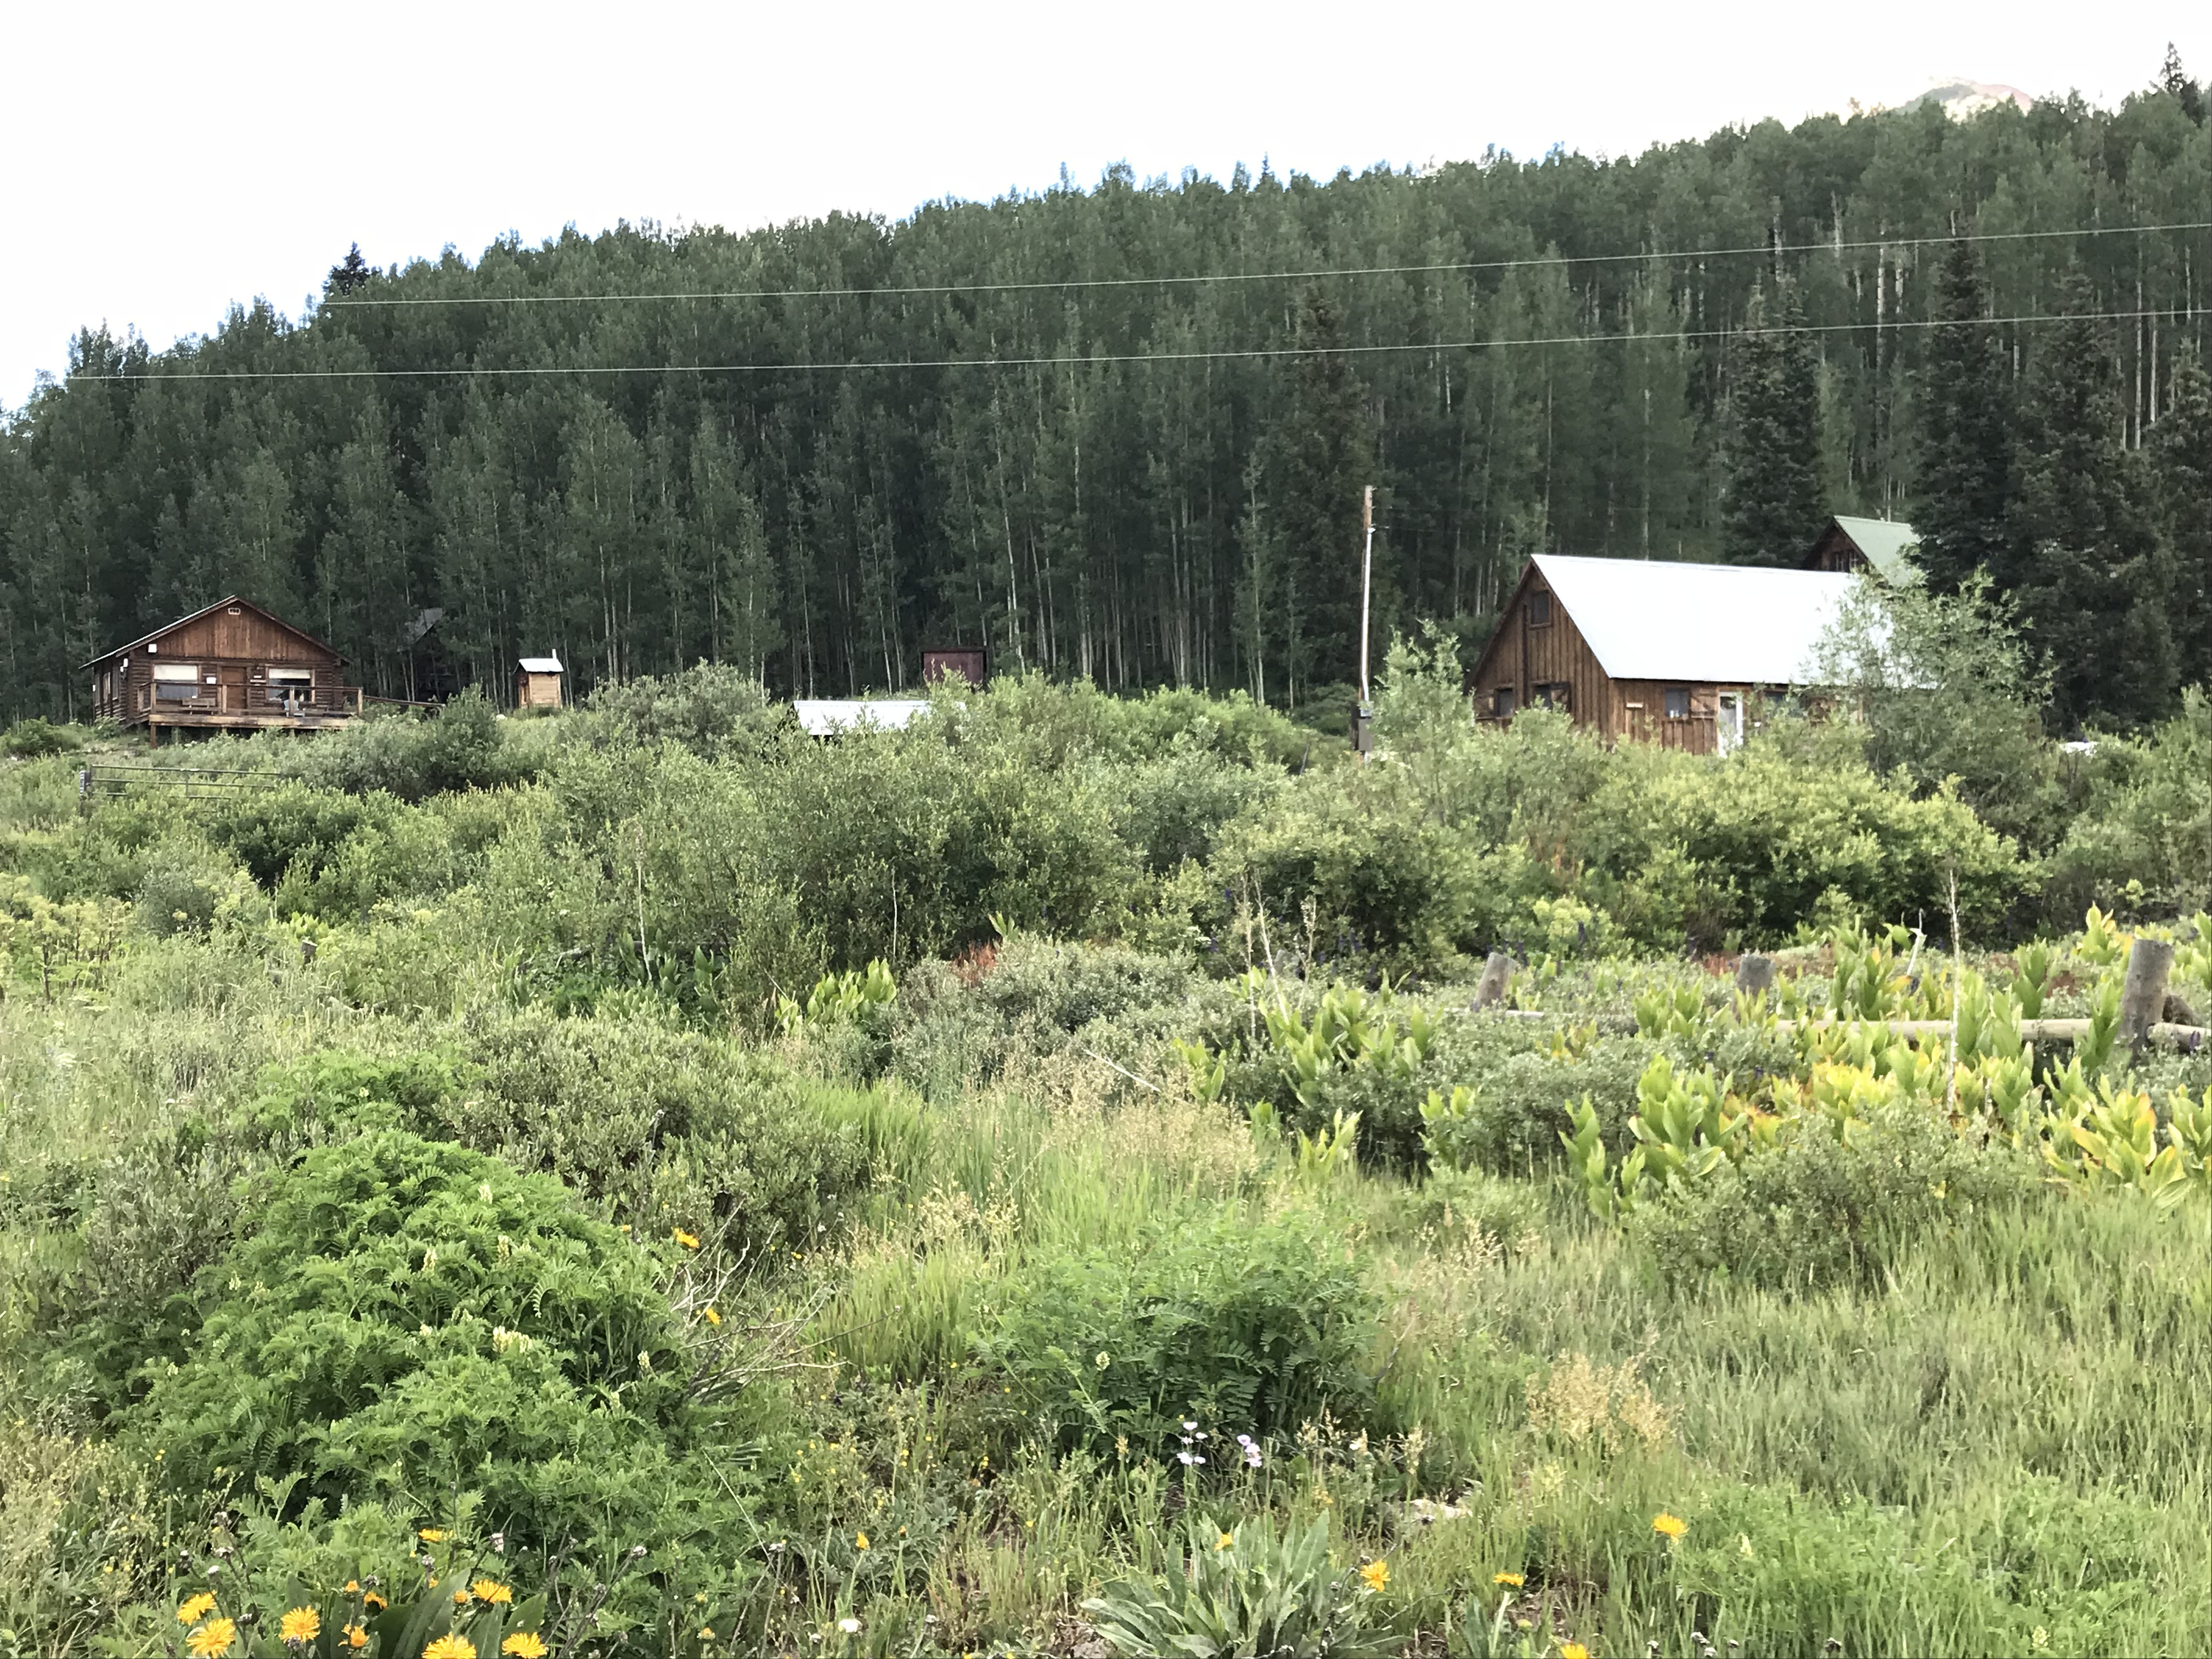
I was a bit disappointed by this town.  The Rocky Mountain Biological Laboratory bought the town and did an exceptional job of restoring many of the old buildings which the lab uses for its work.  This we knew going in… what I hadn’t realized is that the lab has taken over almost the entirety of the townsite.  As it’s now, mostly, all private property, it’s almost impossible to tour around and browse the various buildings. 😒

I’m glad the town is being used for something, and I’m thankful to the lab for helping to save its structures, I just wish the historical features were easier to access.  And a note to the general store in town:  you close by four? In the middle of summer?? On a Saturday???  REALLY?!  Afternoons are a good time for people to eat ice cream you know!  😝😳😉

Sign at the edge of town reads, "GOTHIC site of The Rocky Mountain Biological Laboratory founded 1928"

No trespassing/no pets signs on a wooden fence. Old cabins sit in an open field within the fence. Rocky mountains are in the far background
Signs regarding the lab dotted the entire town 😕

You can reach Gothic by taking Gothic Road, Route 317, north of Crested Butte and the ski village.  You can’t miss it, this is, literally, the only main road going north of town! 😉  This will also lead you to Schofield Pass that I discussed in this post.  

Old cabins sit in front of a rocky mountain. Modern day cars and a construction cone are parked on the dirt street
Old cabins sit in a grassy field in front of a rocky mountain

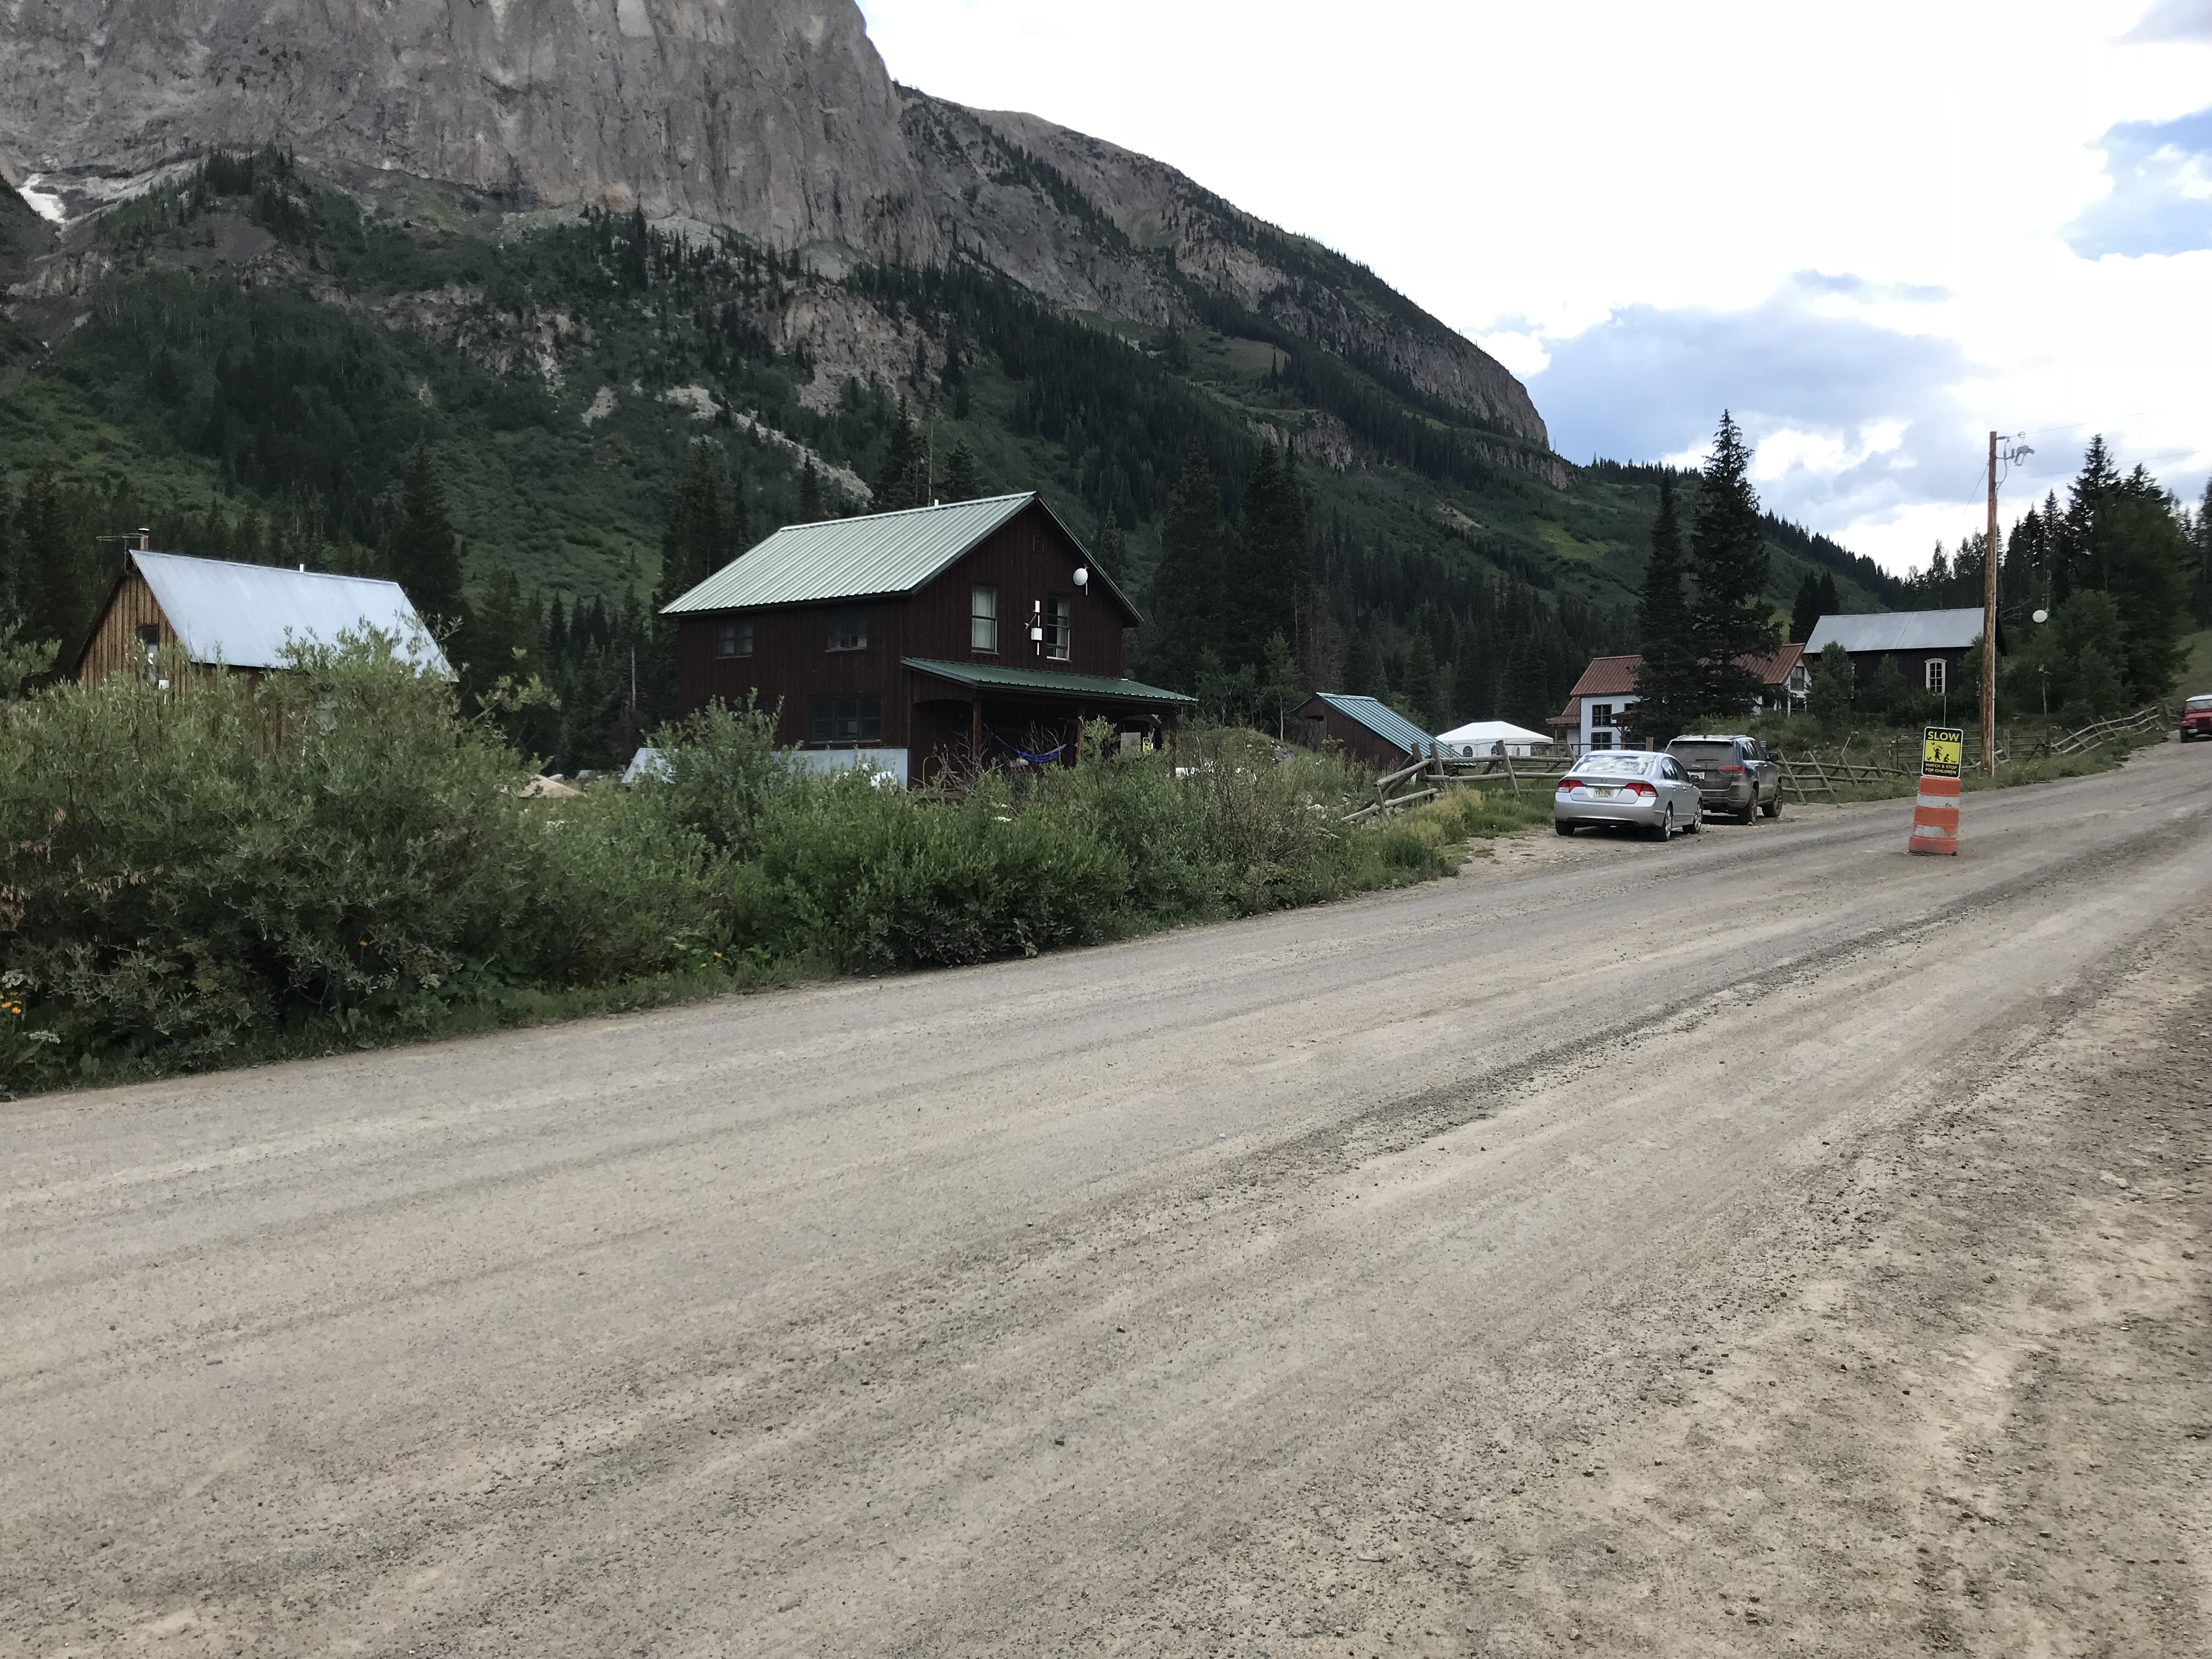
Modern cars line both sides of the dirt street. Old cabins sit in front of a rocky mountain far in the background
Main Street in Gothic

Old cabins sit in an open field within a wooden fence. Tree-covered mountains are in the background

Old, brown, two-story building. Sign on front reads, "1880 Town Hall"
The General Store with its questionable hours of operation 😝

Old cabins sit amongst short trees with the forest in the background

Independence Ghost Town and Independence Pass:

Independence ghost town is located on Independence Pass (Route 82), around 16 miles east of Aspen, and around 21 miles west of Twin Lakes.  

It’s just east of the peak of the Pass itself, and is, actually, easy to miss.  It’s below the grade of the road and the two parking pullouts are small and not well-marked.  There are, blue, “Places of Interest” signs, but you have to be watching for them.  We actually saw the ruins of the mill, on the other side of the road, first.  

The townsite is located in a valley, along the Roaring Fork River, framed by the towering Sawatch Range on both sides.  

Independence Ghost Town:

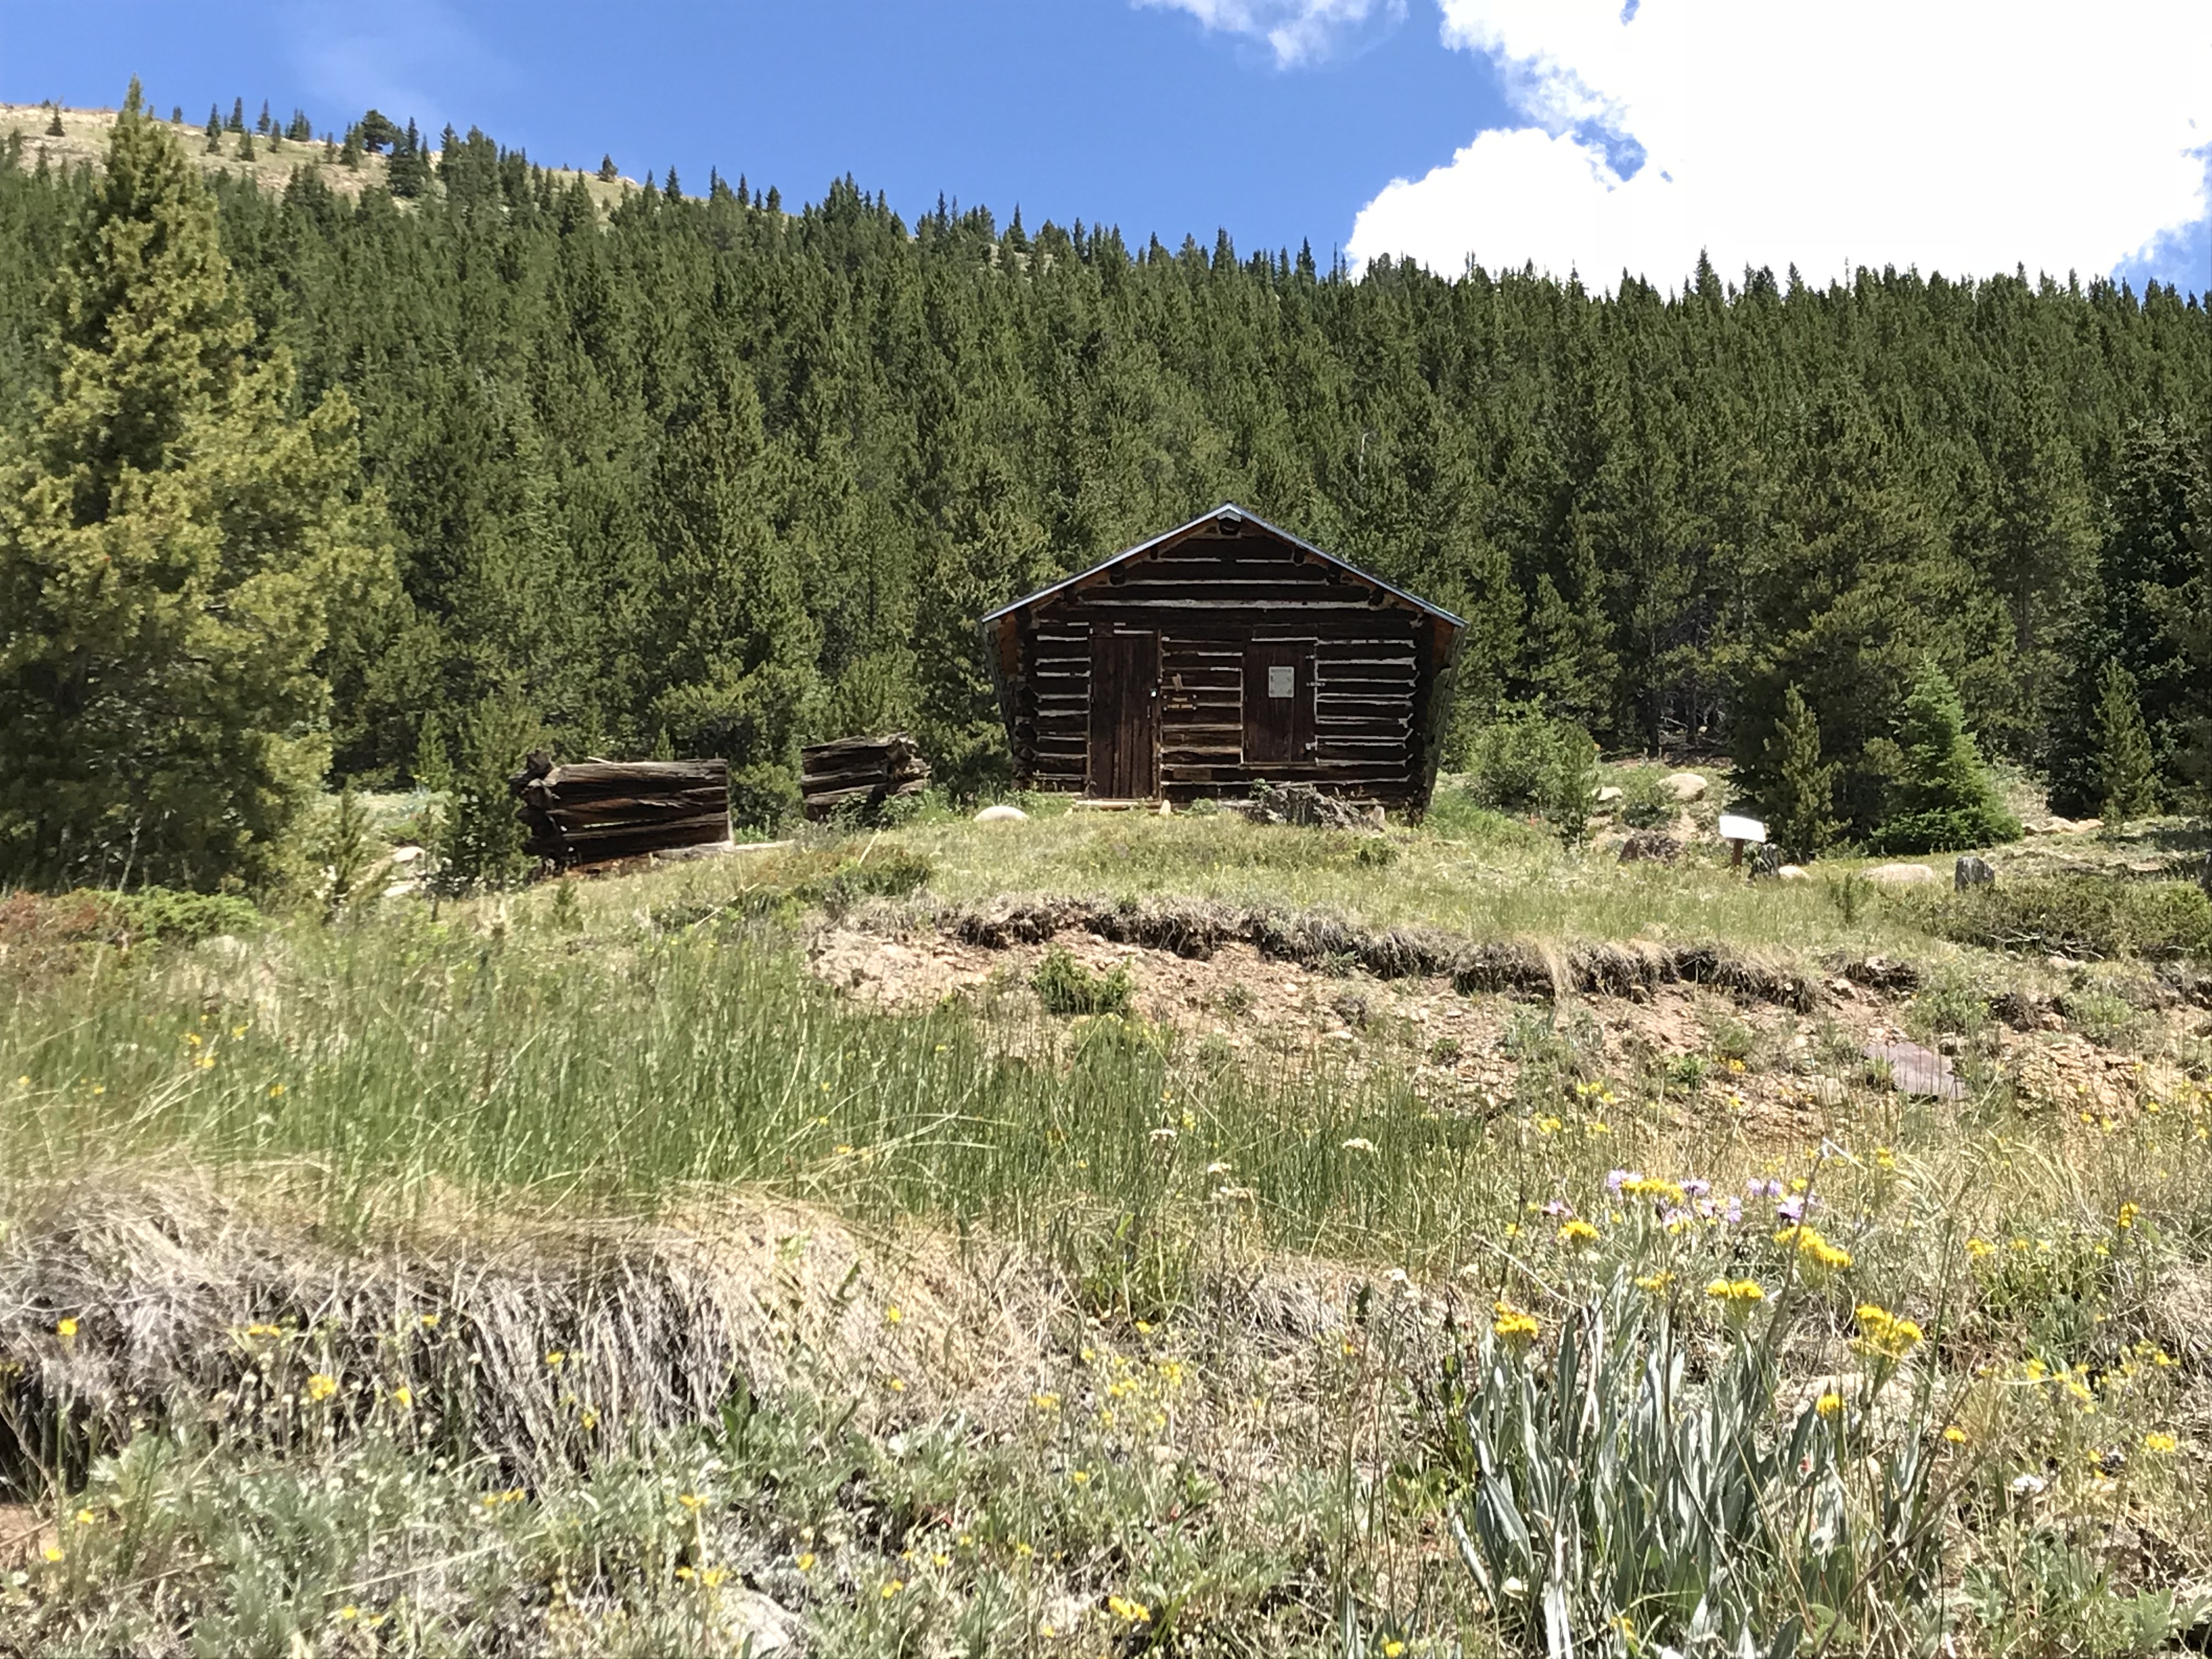
This was my favorite ghost town of the entire trip!  It’s easy to access as the site is located directly on Independence Pass.  You actually park at a pullout on the Pass road and then hike out to the site, so no vehicles marred the view. 

The walk into the town site is about one-mile in each direction, on an old, two-track, dirt road. (The hike is pretty easy as there is almost no elevation gain.  Beware though, the town site still sits at about 10,000 feet in elevation.)  You can see the town from quite a ways off, which helps you to imagine what it must have felt like riding a horse or wagon along that route during the height of the town’s life.

This would have been an incredibly beautiful place to live! (Had it not been so isolated and suffered such extreme weather.)

Colorado is one of my favorite places to visit. Click here for more posts on this awesome state!

The wooden remains of an old structure sit on a hill with a tree-covered mountain in the background
The old mill in Independence, Colorado. (This is the first building we saw to clue us in that we were “there”.)

The wooden remains of an old structure that has no roof. Trees are in the background

A two-track dirt road leads over a small, grassy hill. Old cabins in a grassy meadow can be seen far in the distance with tree-covered and rocky mountains in the background
I don’t imagine this view was much different when the town was thriving

An old cabin sits in a grassy meadow with a tree-covered mountain in the backgroundThe wooden remains of an old structure that has no roof or doors. Trees are in the backgroundThe wooden remains of an old, in-tact structure. Trees are in the backgroundA grassy meadow leads down the hill into a valley. Tree-covered and rocky mountains are in the backgroundThe remains of two old cabins sit on a grassy hill. A tree-covered mountain is in the background.

Independence Pass:

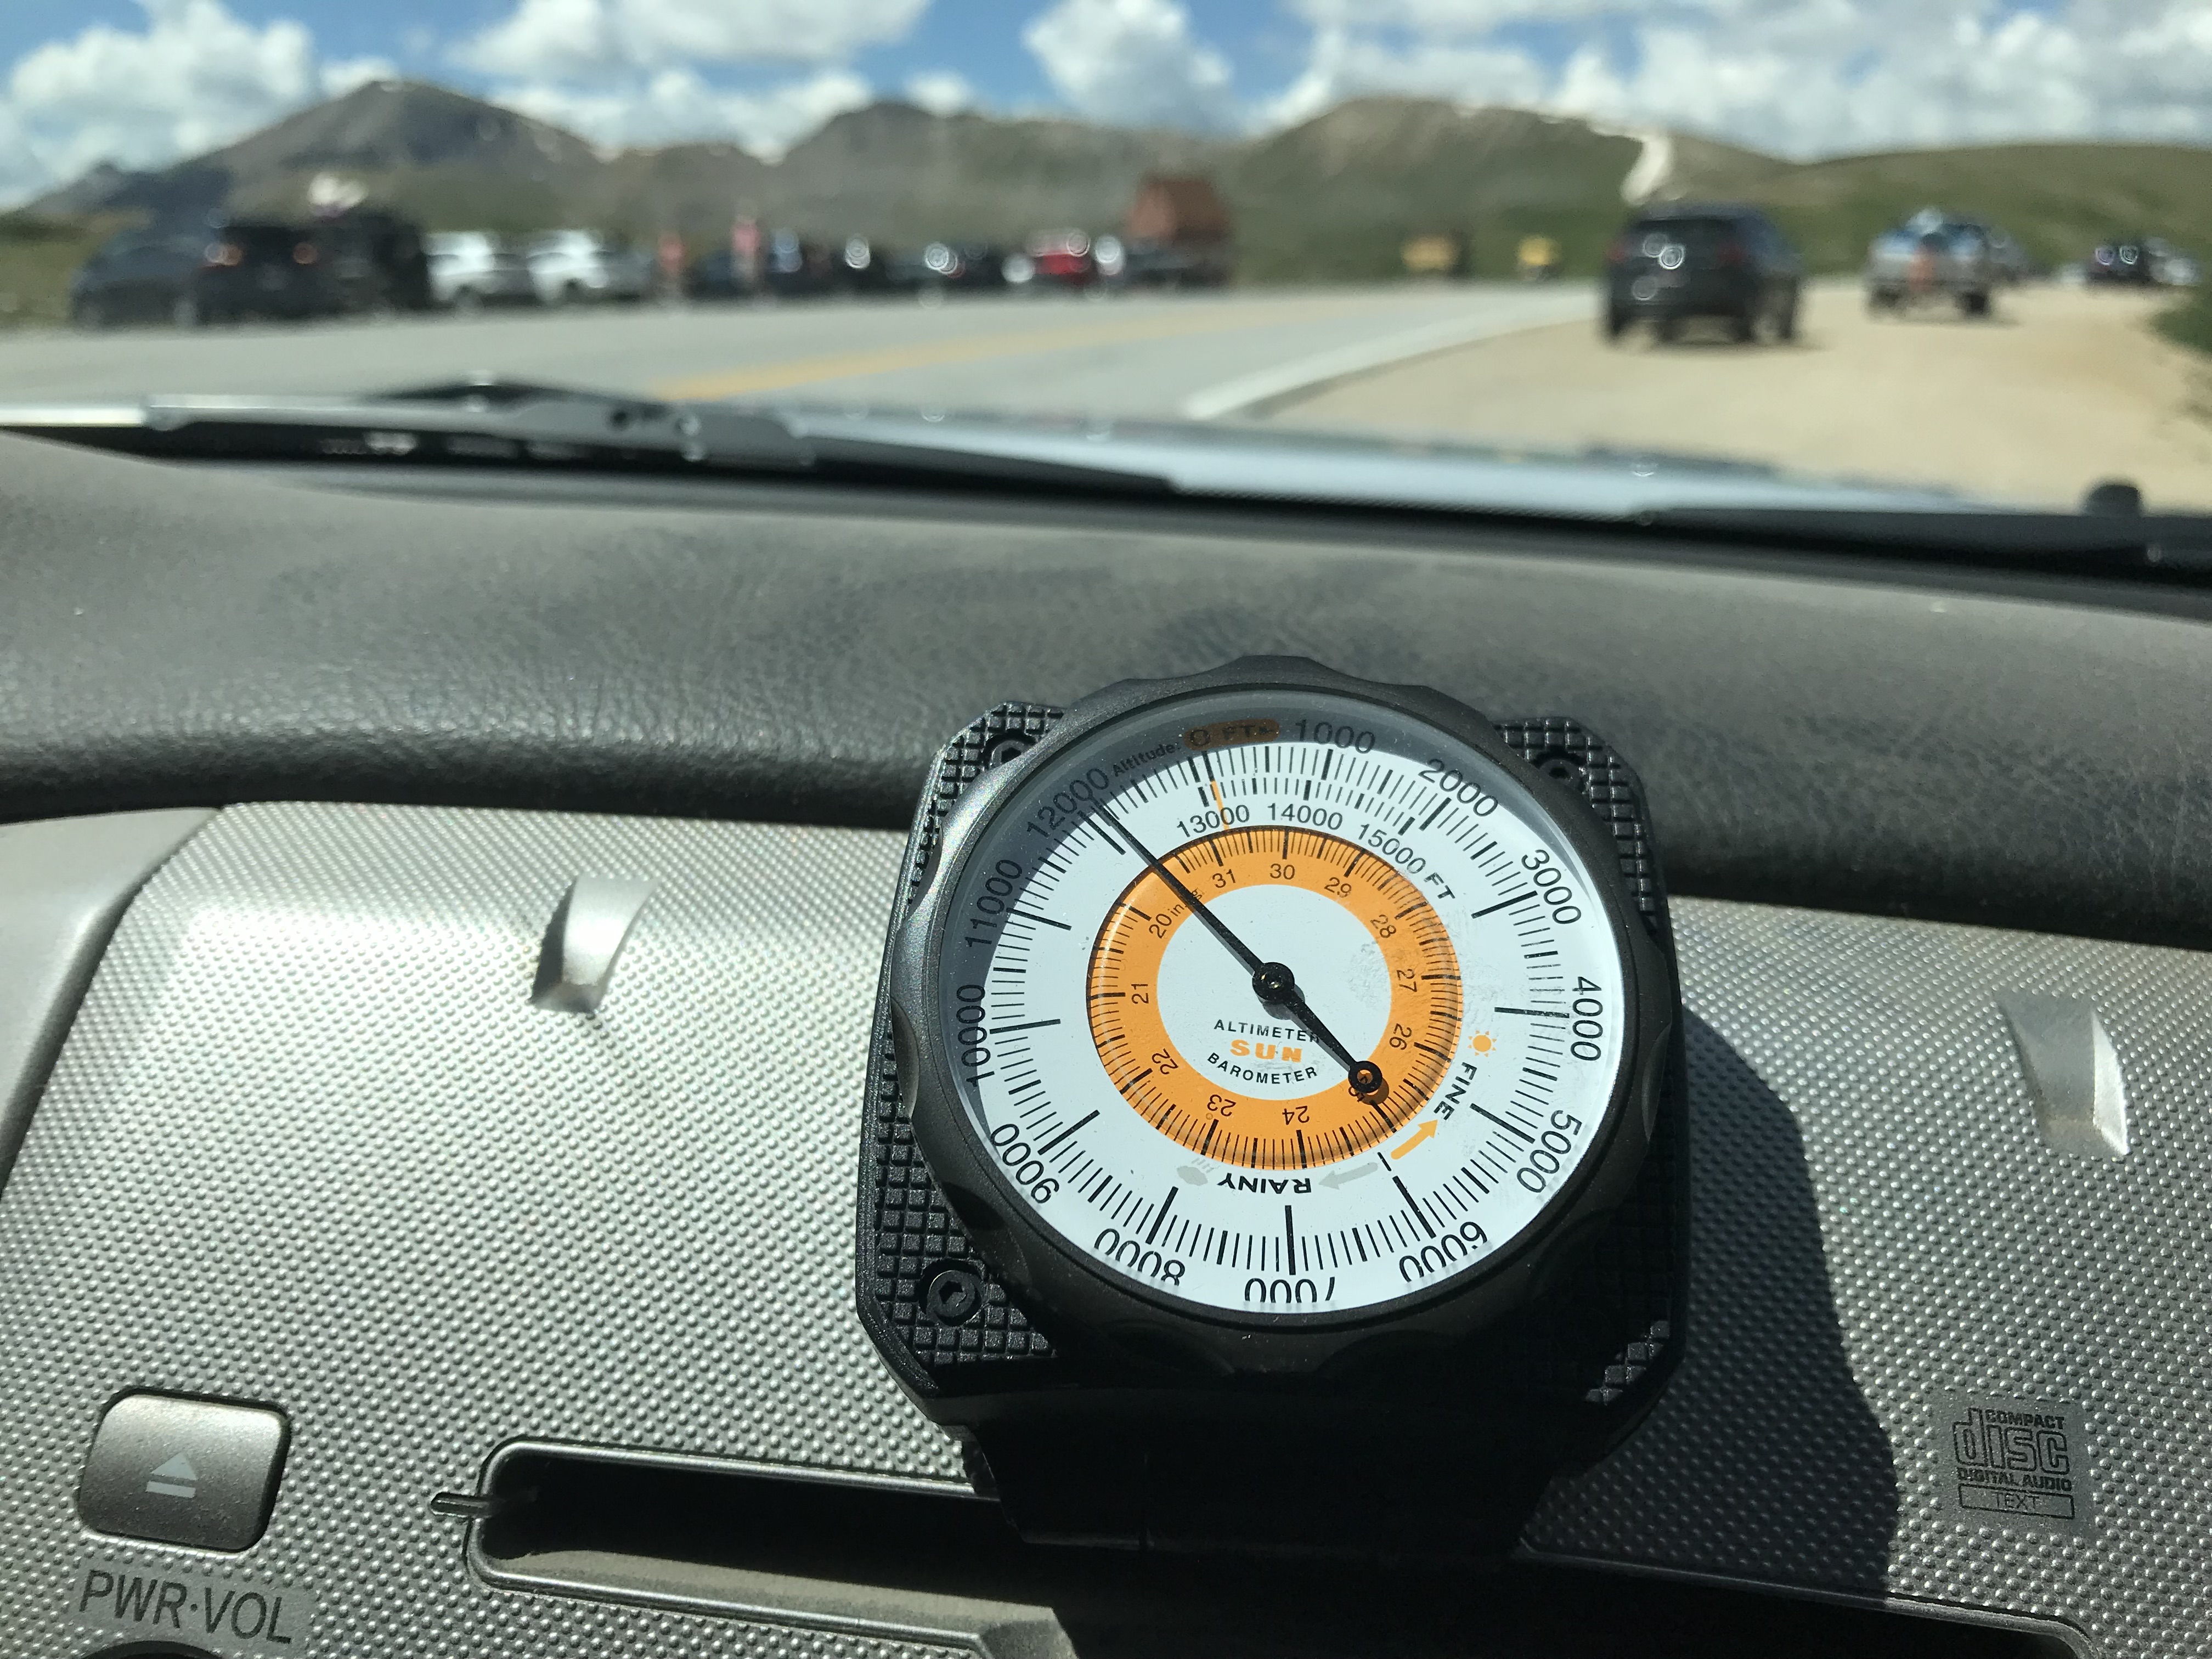
Independence Pass was incredibly beautiful, as well.  This one has been on my Colorado Bucket List for some time and it did not disappoint! (It was also the highest altitude we reached on this trip, maxing out at, just over, 12,000 feet!)  The scenic overlook and hiking area at the top of the Pass offer, almost, 360-degree views of the Continental Divide, which the Pass spans.

Looking down into a grassy, mountain valley. Rugged, rocky peaks and tree-covered mountains stretch to the horizon where they meet a blue sky filled with white, puffy clouds

Sign reads, "Independence Pass, elevation 12,095 feet, Continental Divide"

An analog device sits on a vehicle dashboard. It's dial is pointed to just over 12,000 feet
We finally topped 12,000 feet!

You may have noticed I’ve been enjoying using a Sun Company altimeter† in many of these posts.  It responds to changes in barometric pressure caused by weather as well as air pressure at-elevation, so you may have to recalibrate it a little each day to maintain the most accurate readings.  But, for amateur interest, it’s a fun, portable, way to keep track of changes in altitude–it connects to the vehicle using velcro so it can be easily removed and taken on a hike if you’re so inclined. 

A paved road winds down and around a hill. Rocky, rugged and tree-covered mountains are in the background and line both sides of the road

I made another video of our drive up Independence Pass.  I think my videographer skills got a “little” better with this one! 🤔

If you’re looking for something fun to do this summer, definitely check out the ghost towns of the Colorado High Country! 

Have you visited any of these amazing places?  Tell me about it in the comments!


Did you enjoy this post?  Pin it!

Four pictures of old buildings at ghost towns and Rocky Mountain passes. Pin reads, "The Ghost Towns of Colorado's High Country"


†As an Amazon Associate I earn from qualifying purchases

Like what you read here today? Please feel free to leave a comment, like or share this post! Add your email at the bottom of the page, or the sidebar to the right, to be notified when a new post is published. By signing up for the email list, you will also receive a free copy of the Tranquil Trekker’s Top 10 Tips of Trekking Do’s and Don’ts!

You can also follow the blog on social media by clicking the links below!
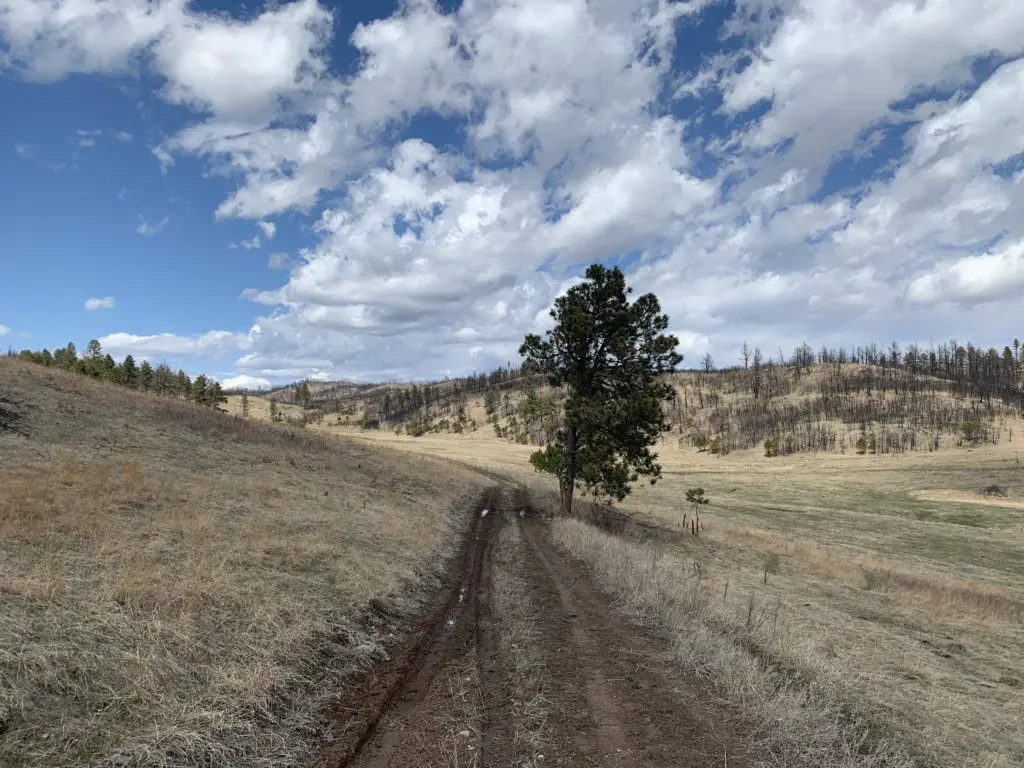
Facebook

Twitter

Instagram

Pinterest