We enjoyed the northern Colorado portion of our 2017 road trip so much, we thought we’d return there for our 2018 summer vacation! This trip turned out far better. No projectile vomiting, no rivulets of blood running down a certain blogger’s leg, almost no injuries at all actually…just many, MANY, mosquito bites. 😜
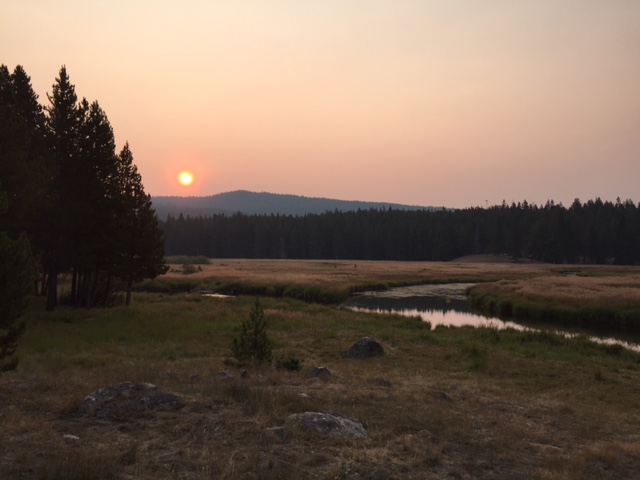
For six months, we’d planned to complete a grand loop of Colorado’s Hidden Gems; visiting ghost towns, furthering our 4×4 skills, and enjoying the awesome scenery that is, Colorado. Unfortunately, a winter with unusually low snowfall, and a dry spring, yielded a predictable result, wildfires. One entire National Forest was placed under a Stage 3 fire ban and closed to all visitors for a time, while many others were under Stage 2 bans (no fires of any kind with the exception of gas cooking stoves).

At first, we considered changing the trip entirely as it seemed likely that the beautiful vistas we were anticipating would be marred with heavy smoke, we also didn’t want to be an additional burden to those dealing with the fires on a daily basis. After briefly considering the Montana backcountry, and deciding we’d like to leave grizzly encounters for another trip, 😳 we decided to stick with Colorado. Fortunately, about that time the monsoon season kicked in and the fires began to slacken. We were SO glad we made the choice we did!
Colorado is one of my favorite places to visit. Click here for more posts on this awesome state!
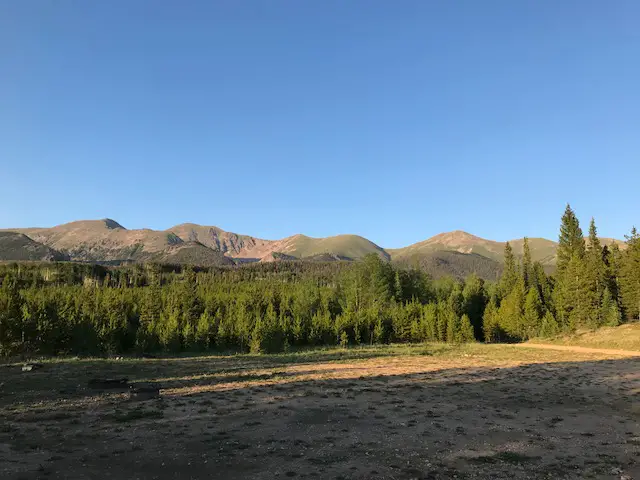
In an effort to avoid the worst-hit areas, we altered our trip a bit and returned to the northern portion of the state to both State Forest State Park and Grand Mesa National Forest, two locations we had enjoyed so much last year. We again had a great time at both locations!
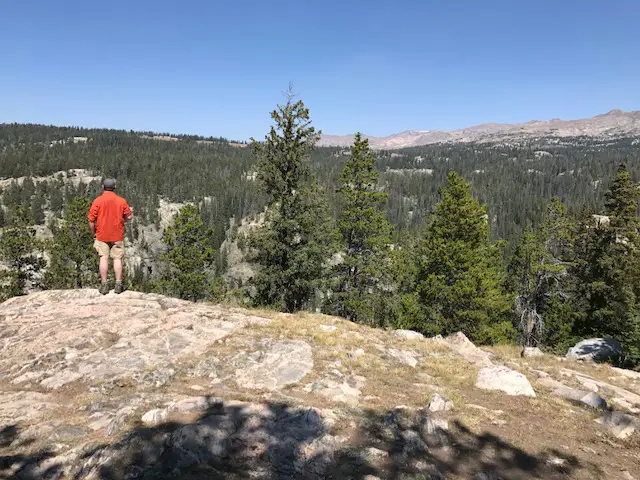
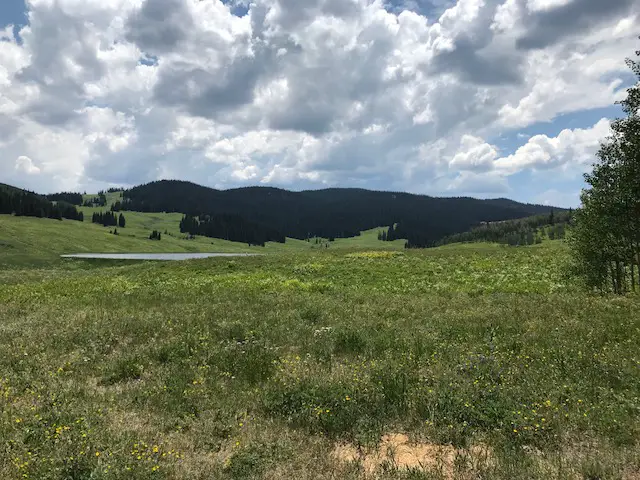
We experienced dispersed camping for the first time at State Forest, and at Grand Mesa, we enjoyed a lovely campsite within sight of the–albeit low–lake. We got to explore new places like Montgomery Pass (discussed in this post), as well as Lake Agnes, the Crags, the Flattop Wilderness area, and the Land’s End Road at Grand Mesa.
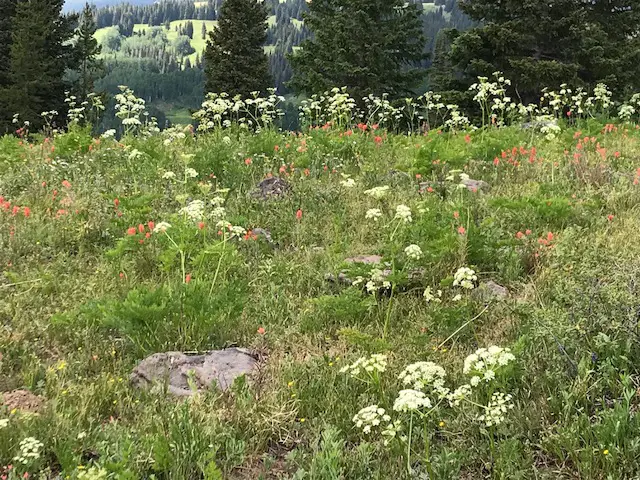
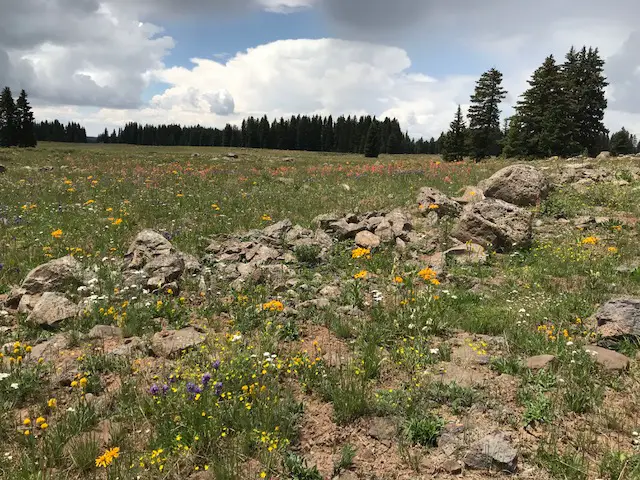
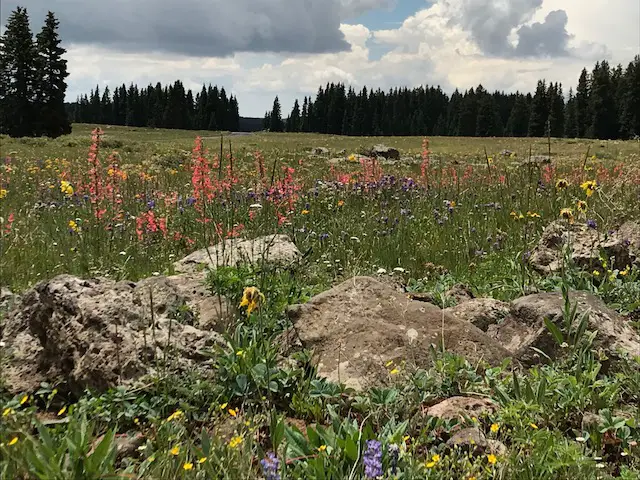
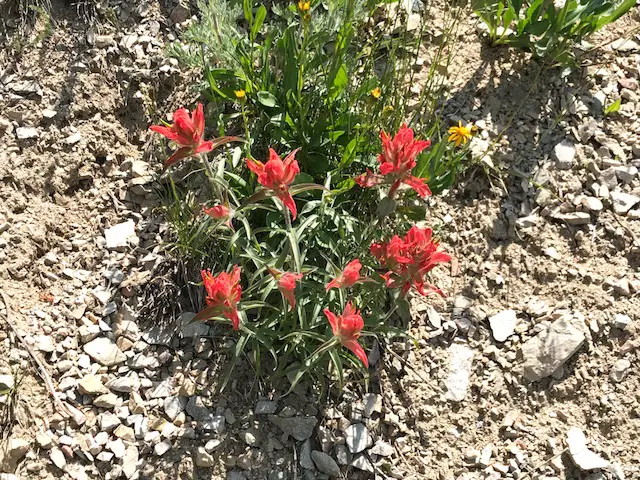
Wildflowers in the Colorado High Country!
We enjoyed COUNTLESS wildflowers throughout the trip. We’d heard stories about the beautiful flora that carpets the Colorado mountains during summertime but had never been there late enough in the year to experience it. Their colors consisted primarily of red, yellow, purple, and white variations. Their beauty was worth the mosquitoes!
This brings me to another point…if you visit these areas in the summer…buy stock in mosquito repellant first! We’d experienced the little buggers (no pun intended 😇) a little in the past but not during prime season. Those things can, almost, carry you away! And they’re tenacious! They latch on until physically removed and are undeterred by vigorous hand-shaking or other, less forceful methods (which is problematic when you’re using both hands to complete other tasks). I’m all about respecting Nature, but mosquitoes may be the one critter where I draw the line. I just don’t see where they have ANY redeeming value. They’re annoying, they spread–potentially deadly–disease, they do act as a food source for other animals, but aren’t there enough other creepy crawlies for those critters to live on? I mean, COME ON! Is it possible Mother Nature made a mistake with this one? 🤔
Public Service Announcement: While I don’t enjoy smearing poison laden with Deet across my body, as someone who reacts STRONGLY to bug bites–to the point of being woken up by the itching in the middle of the night–I’ll defer to the poison on this one. 😝 There are more natural bug repellants available, but I’d encourage you to be VERY careful with your choices in bear country (especially grizzly country). Anything, with any smell, should be avoided. They claim bears can even be attracted to hand lotion or chapstick that’s been left in someone’s pocket inside a tent. 😮 One perk to the drier areas we ventured through later in the trip was the lack of mosquitoes! 🤭

Colorado Crowds
This trip did reiterate for us, again, how spoiled we are living in the Black Hills. In South Dakota, even during high-traffic times, you can enjoy a weekend in the backcountry without encountering nary another human (unless you bring them along 😉).
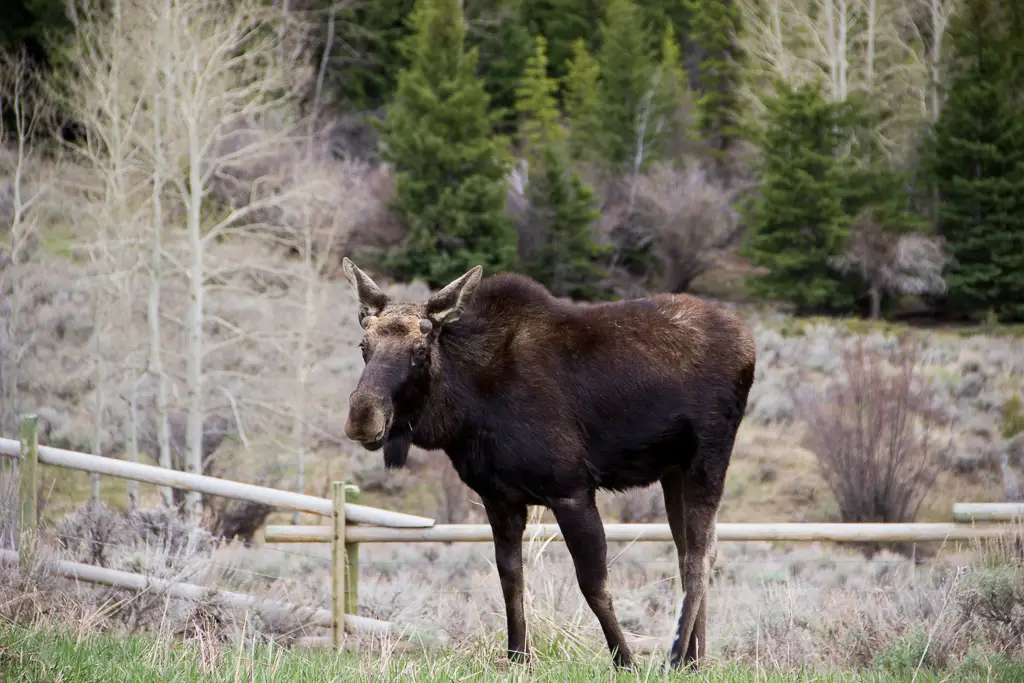
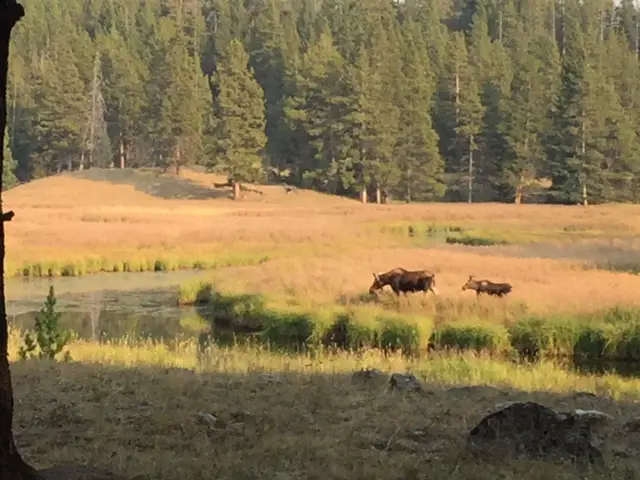
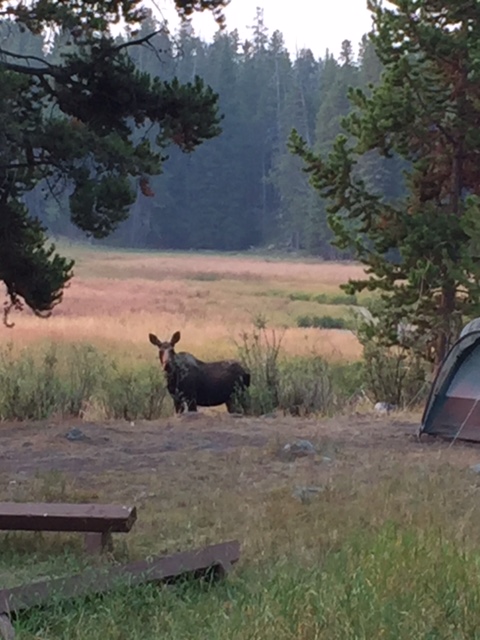
In Colorado, we were–somewhat unpleasantly–surprised by the number of human companions we encountered. It wasn’t just busy weekends either. While we were in a heavy-use area, I was shocked that we had trouble finding a National Forest campsite on a Monday. I was rather disappointed by the lack of wildlife we encountered on this trip and I wondered if it was at all due to the higher percentage of people in the vicinity? We spent 2.5 days in the “moose capital of Colorado” and didn’t see one moose (actually, we didn’t see any the entire trip!) 😫 We saw LOTS of marmots, but I was hoping, with intentionally spending time in the backcountry, we would have a higher likelihood of encountering more wildlife. I don’t think the heat was a problem as it wasn’t that hot, and we spent the majority of our trip at-or-above 9000 feet. There weren’t THAT many higher locations for the critters to roam!
We DID see countless bovine–which I dubbed “Colorado Bears” by the end of the trip. 🙄 I’m all about everyone having equal access to our National Forest land; however, the cows got a little annoying. They smell, you have to avoid getting their “remnants” on your shoes, and when you’re looking for exciting wildlife–like actual bears, or moose–and all you see are cows, you get a little discouraged. Maybe some “city folk” find our steak-producing cohabiters interesting, but this farm girl from Indiana was not impressed. 😜
We also learned on this trip that no matter where you go in Colorado, and no matter how remote you think your location may be, you will likely always be in the flight path of some airport. You’d settle down in your tent at night, being lulled to sleep by the, surprisingly, deafening silence of the forest (apparently it’s too cold for crickets at 10,000 feet, even in the summer?), and your reverie is suddenly disrupted by the roar of jet engines flying overhead!* 🤫
*I really don’t mean to complain, we honestly had a SPECTACULAR time on this trip and we’re already looking forward to and planning our next excursion to the Rocky Mountain State (I’ve mentioned before my unbounded love for vacationing there). These are just the things you contemplate after 10 days of suffering from altitude-induced hypoxia and the venom of countless insect bites. 😳😉

National Forest Campgrounds are the Best!
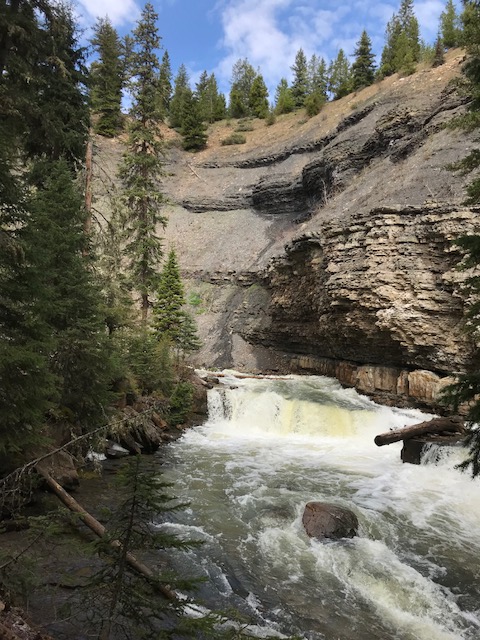
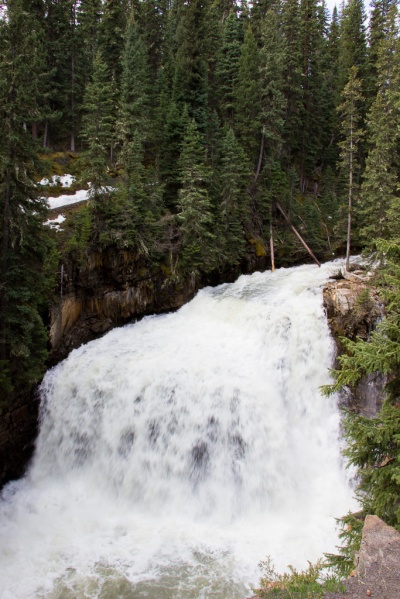
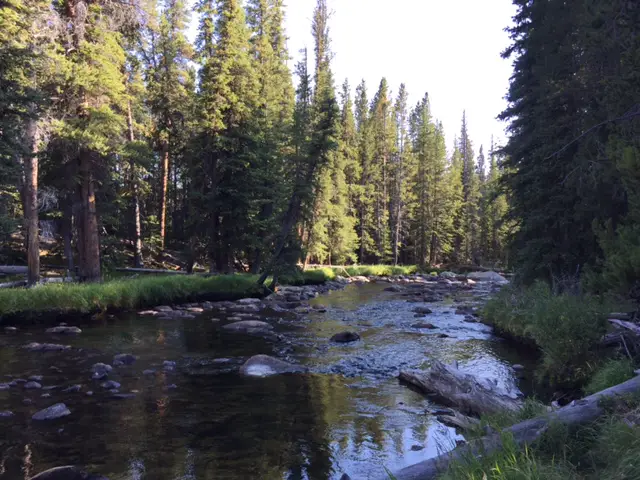
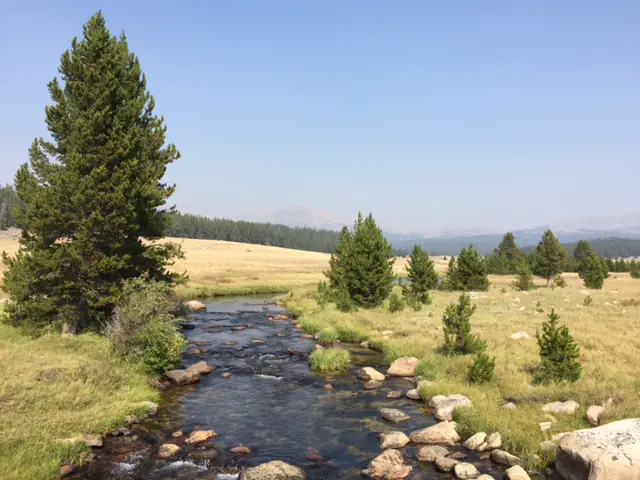
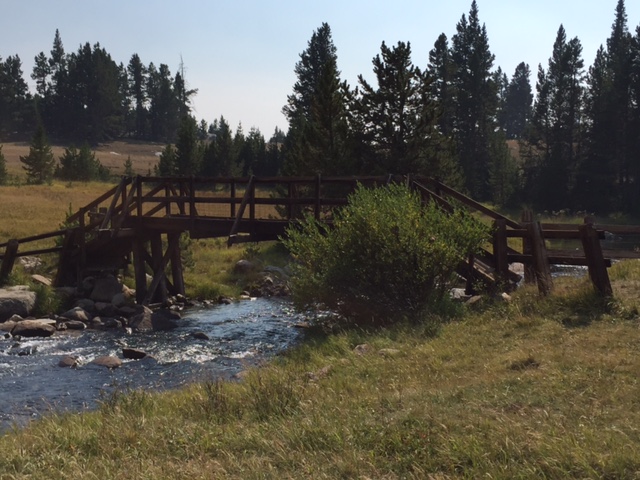
We were also, again, reminded of our love of National Forests on this trip. I’ve mentioned this before, but if you can make do with more primitive facilities at their campgrounds (which usually means no flush toilets, though potable water is often available in the summer months), National Forests are a must-see. They are at least as scenic as National Parks, with far cheaper fees and FAR fewer people. We’ve enjoyed campsites where we fall asleep to the sound of the nearby babbling river, and ones where the moose almost walk through your campsite multiple times per day!
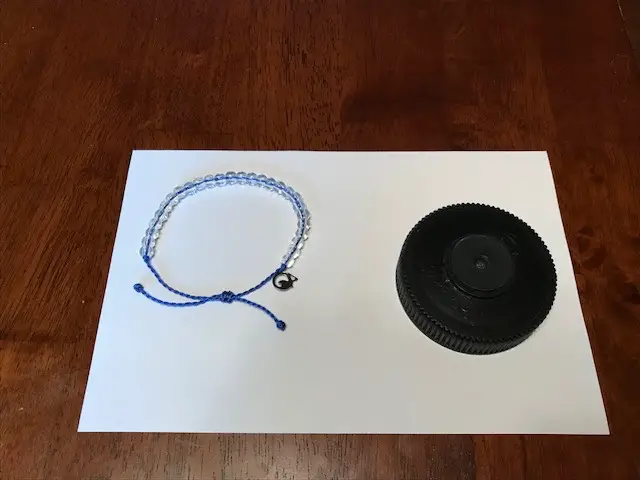
A new “device” we acquired for this trip was a Luggable Loo and Double Doodie Bags (seriously, one of the greatest inventions EVER) and **sun shower, which made the dispersed camping experience far more tolerable.
**A sun shower is simply a reusable, robust, vinyl bag and tube with a spout, with black backing that you fill with water and leave out in the sun. When you return to camp later in the day, you have warm water (it also works well to make sure your fire is out at the end of the evening 😁).
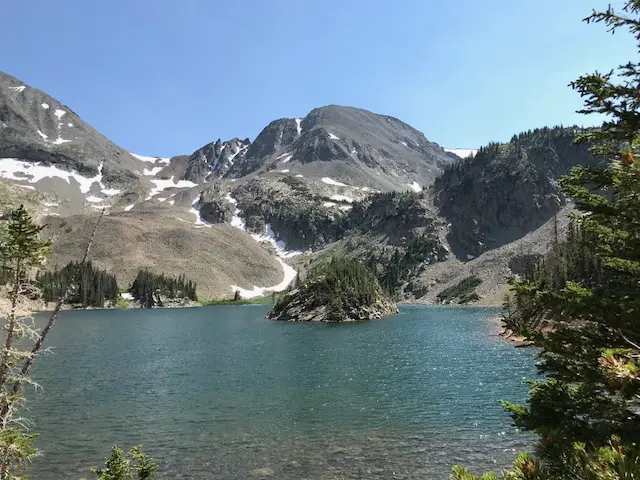
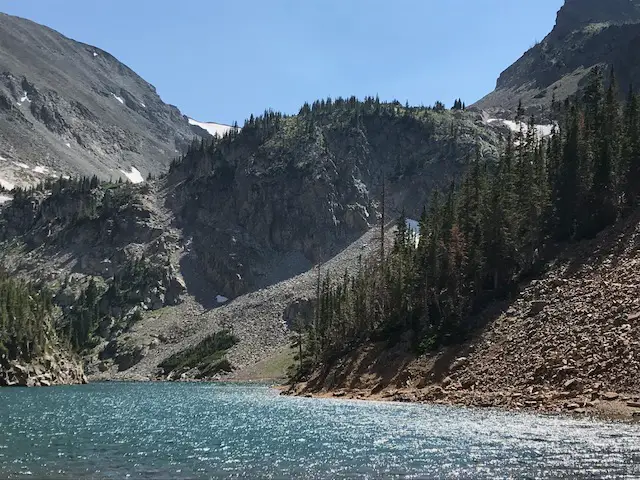
State Forest State Park, the Crags and Lake Agnes:
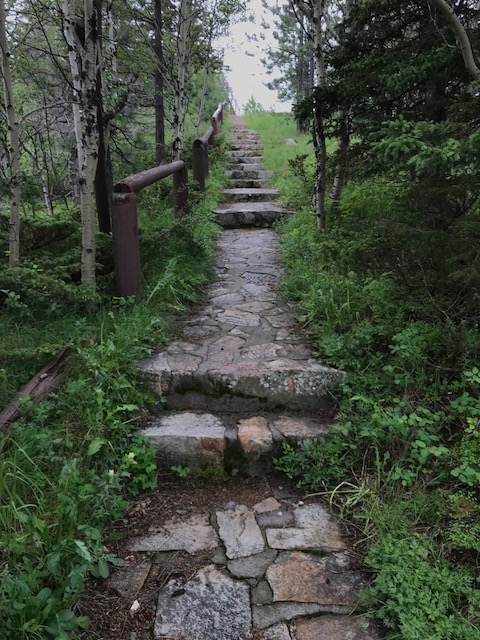
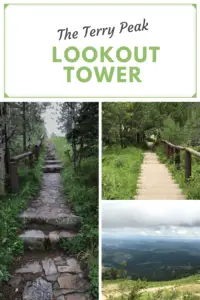
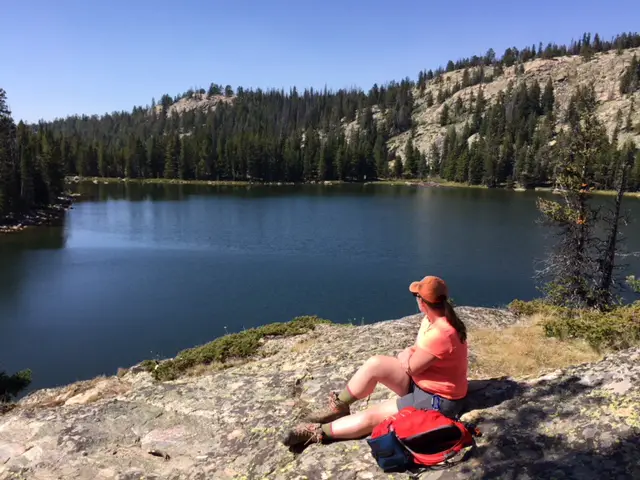
On this visit to State Forest State Park, we were able to complete the Lake Agnes trail and enjoy the Crags. It’s a fairly short trail, well-graded and not-overly-strenuous. I should caution you though, through many switchbacks you are carried up a fairly decent elevation gain, at 10,000+ feet mind you. 😓
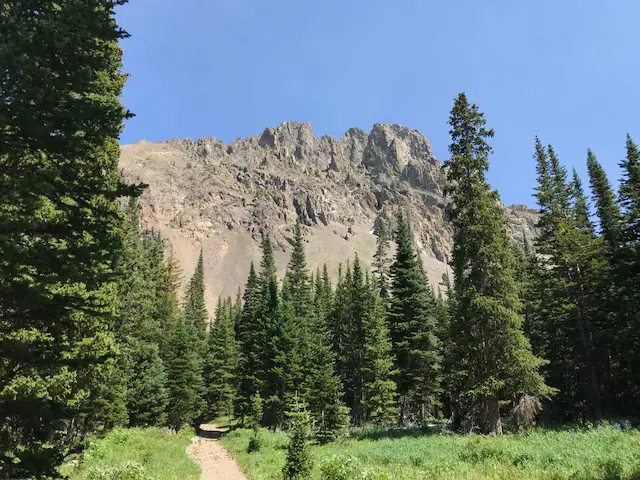
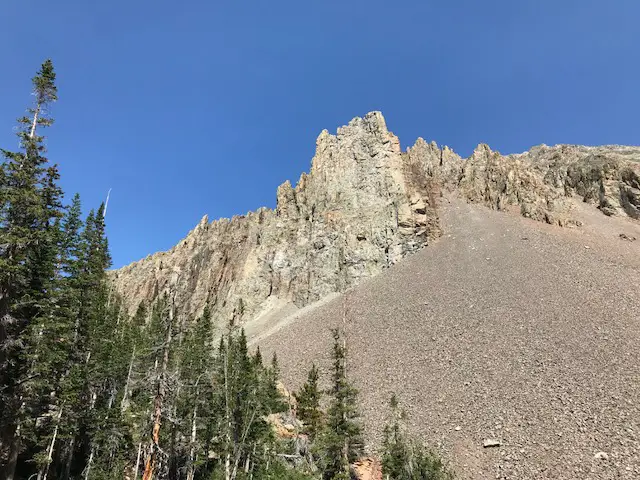
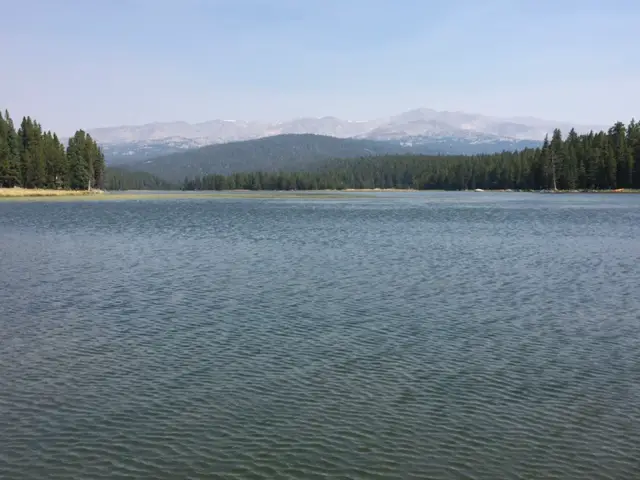
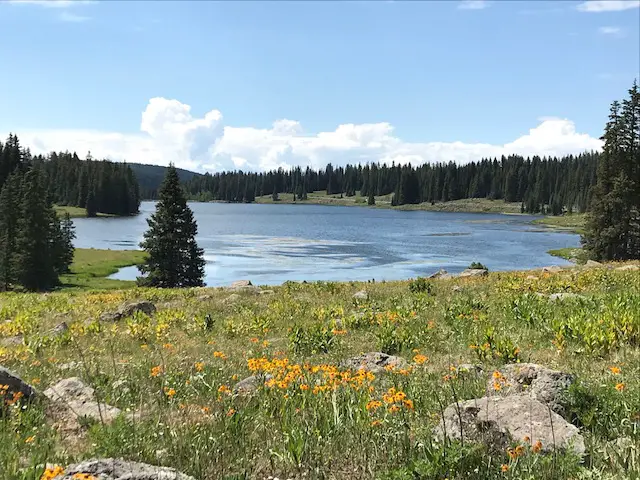
The entire trail is only about two miles round-trip and the lovely wildflowers that accompany you on your hike, as well as the SPECTACULAR view at the trail’s midpoint, are absolutely worth the effort required to complete the trek.
While it’s still on our list to visit, it reminded me of pictures I’ve seen of Avalanche Lake at Glacier National Park, complete with the turquoise-colored water. This was comforting to me as I was under the impression this color of water is mostly seen near glaciers, and if glaciers continue to recede, it would be a shame if future generations are unable to enjoy this spectacular view.
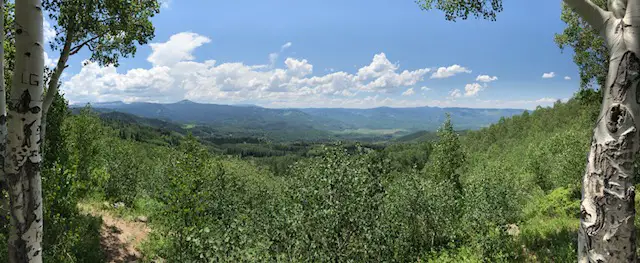
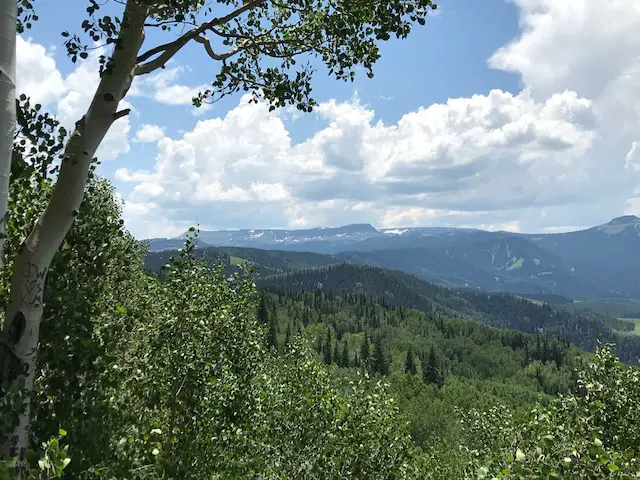
Flat Tops Wilderness:
We also traversed the Flattop Wilderness Area. It was gorgeous as well! The best way to see this area is to take the Flat Tops Trail Scenic Byway which meanders through the countryside. It Follows Routes 13, and 317, and some county roads (two of them are also called North Fork Road and East Williams Fork Road). The Byway connects the small towns of Meeker and Yampa, in far, northern Colorado. The road system was a little confusing out here. There were some intermittent signs for the Byway but I’d recommend a good map before venturing out this way. (Don’t rely on your phone, it’s easy to lose signal in these rural areas.)
People who take this route should be away, the majority of the “highway” that traverses the wilderness area was a dirt road comprised of a rutted, washboard surface. It wasn’t a difficult drive, we saw plenty of sedans traveling it. The surface choice is understandable as the road is completely closed throughout the winter months, so maintenance during the rest of the year is probably more easily completed on a gravel road. I just want people to be aware if you’re expecting a typical “scenic byway” experience consisting of a two-lane, blacktop road, that isn’t exactly what you’re going to get!
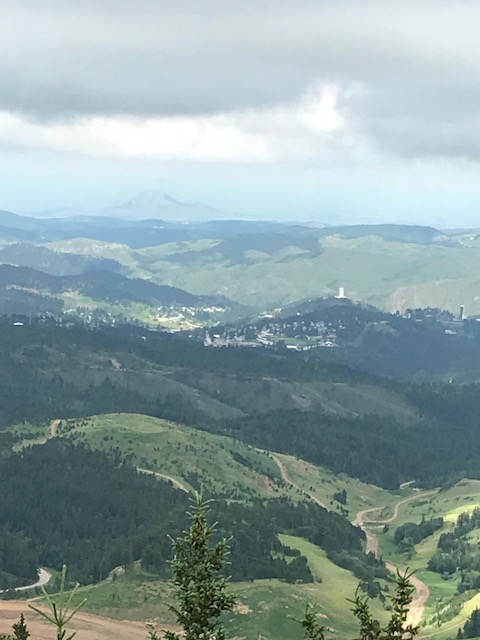
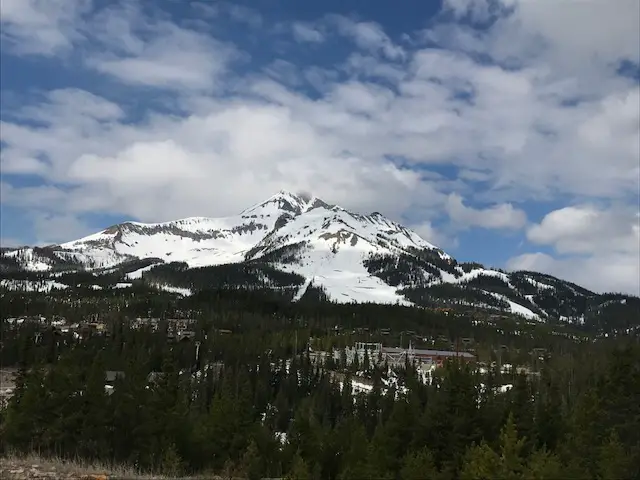
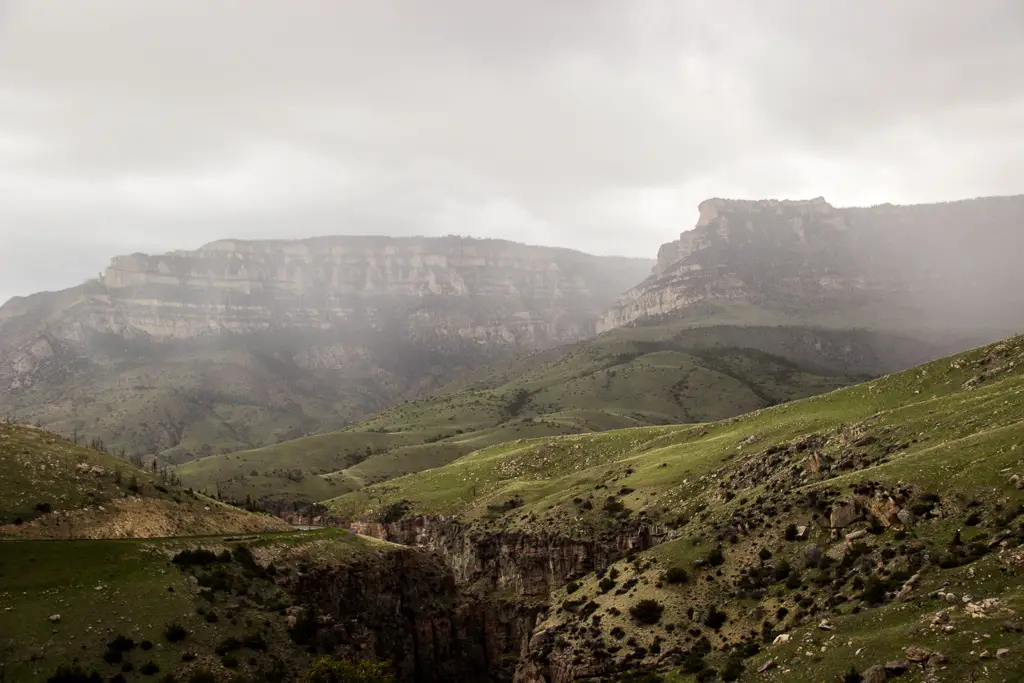
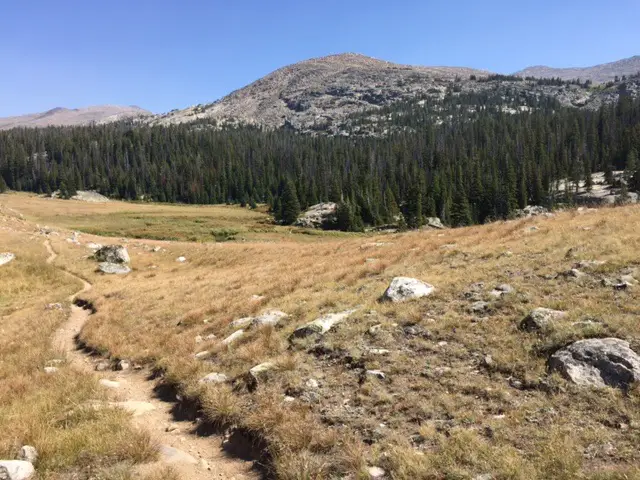
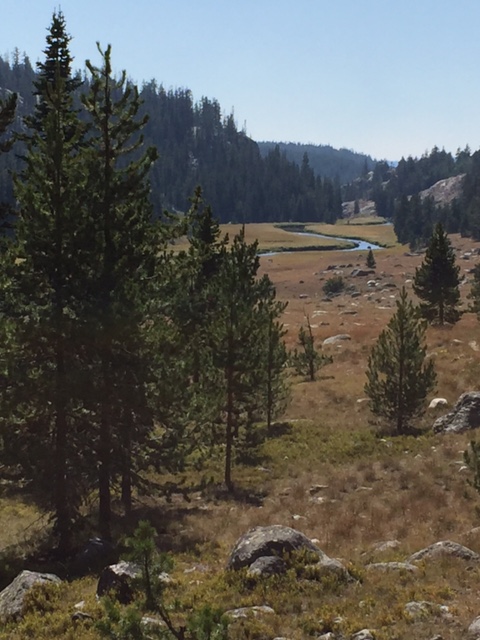
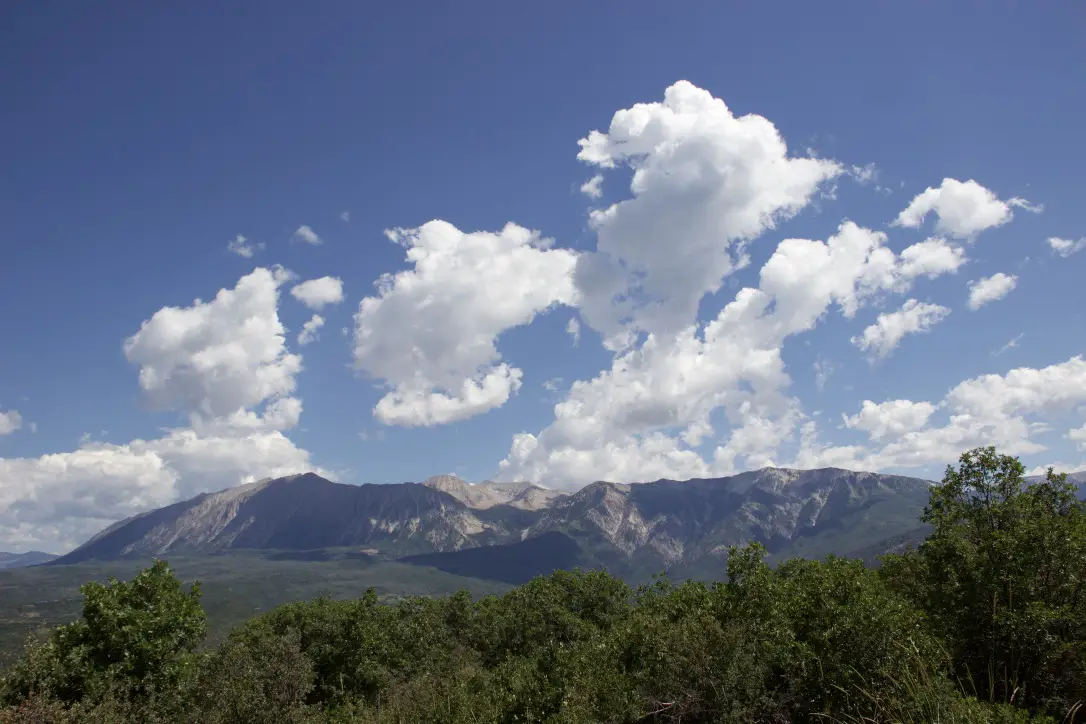
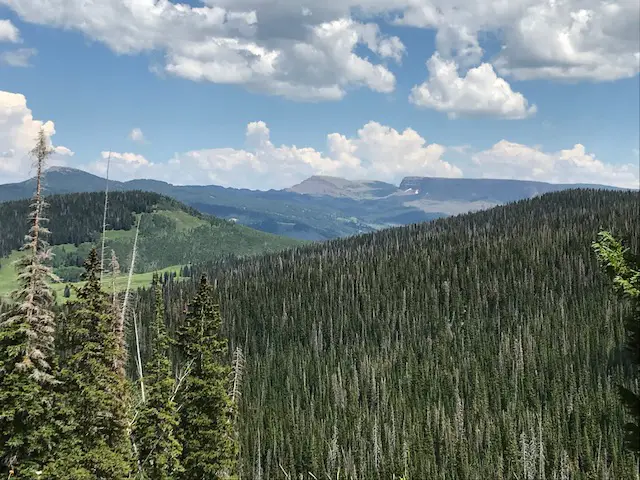
The area was spectacular though, full of sweeping vistas of far-off peaks and valley floors dotted with lakes perfect for fishing and picnicking.
Grand Mesa National Forest:
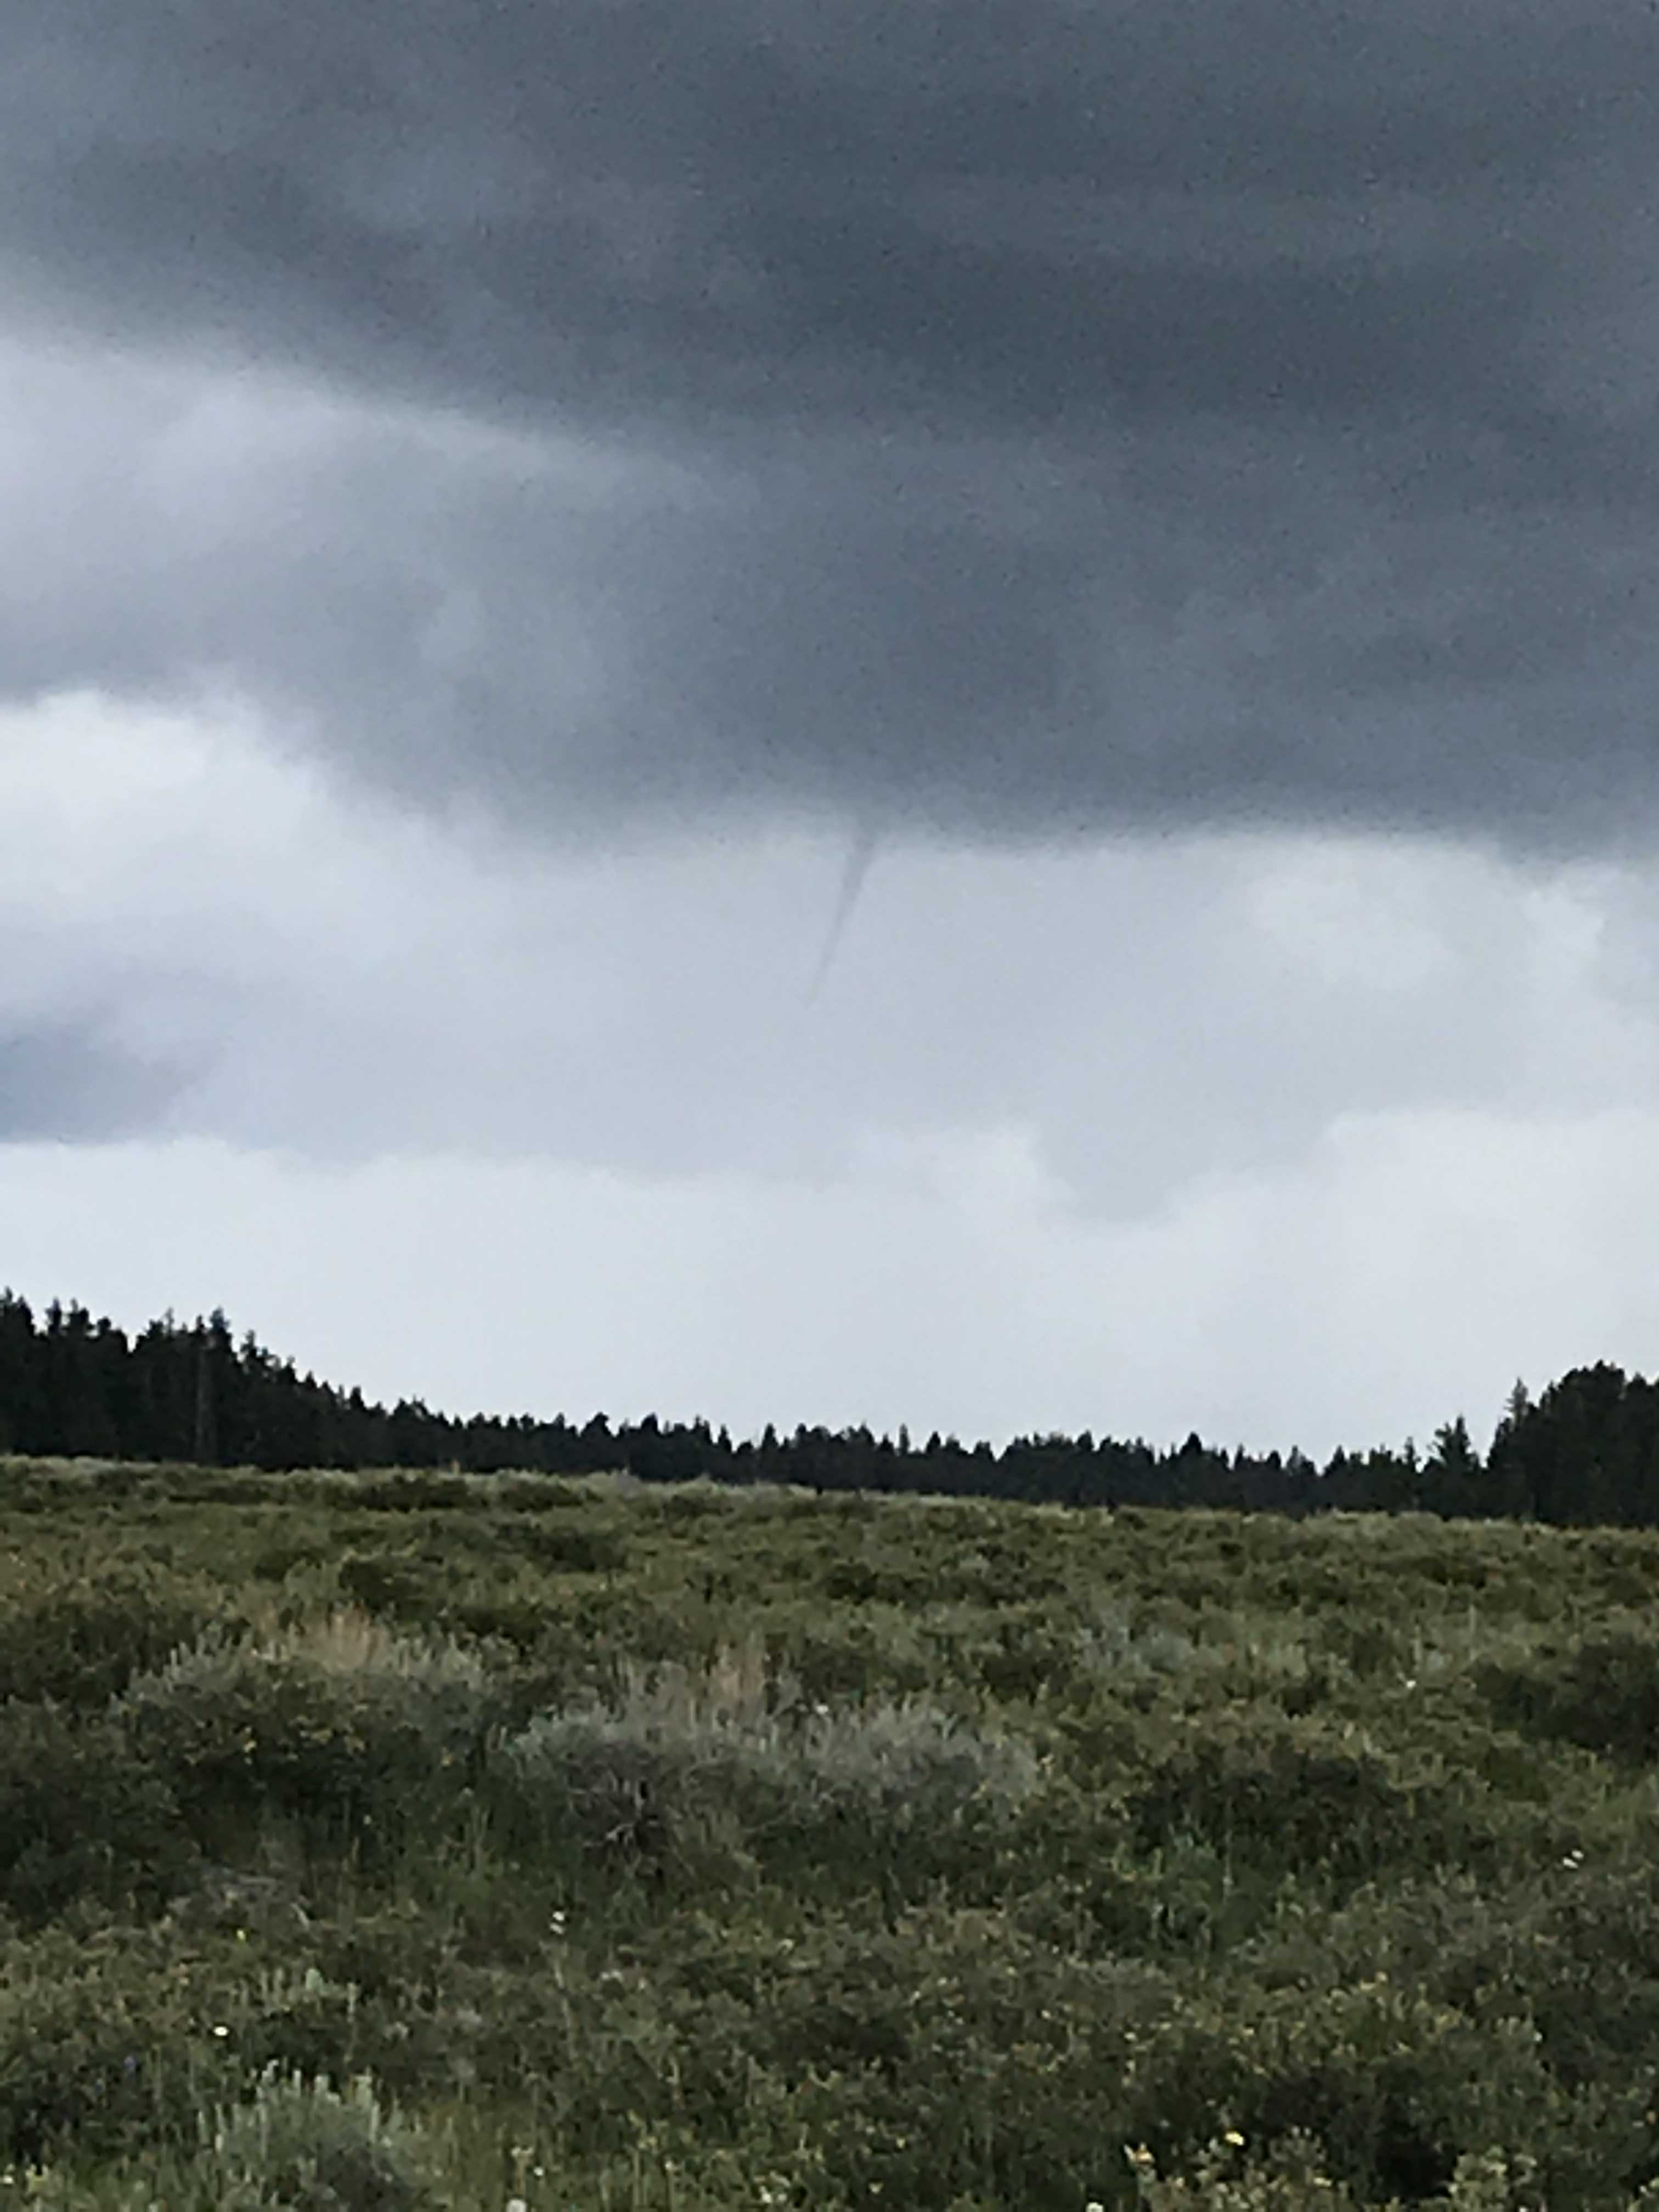
At Grand Mesa, we had hoped to hike more, but the impending thunderstorms and extreme exposure on our intended trail encouraged us to seek out other recreational options.
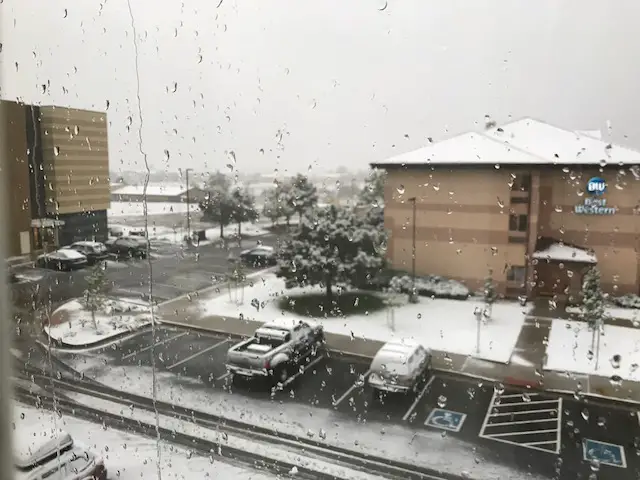
Those storms actually produced a small, short-lived, funnel cloud! Accidental storm chasing, on a mesa, with only two escape routes (one a potentially muddy, dirt road), what could possibly go wrong? 😳😉 Fortunately, I had a meteorologist with me who determined the risk to us was slight.
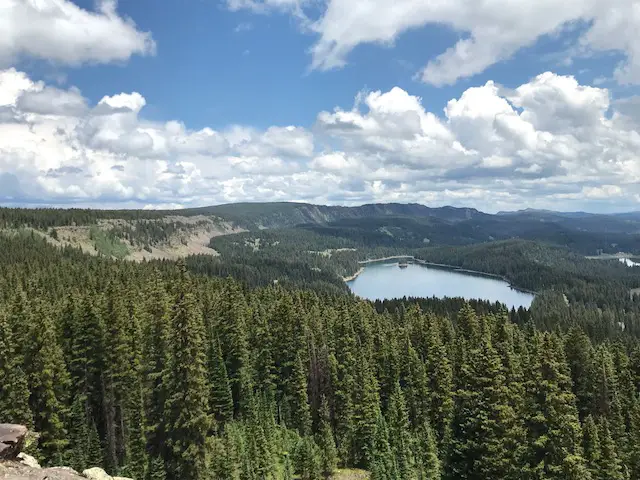
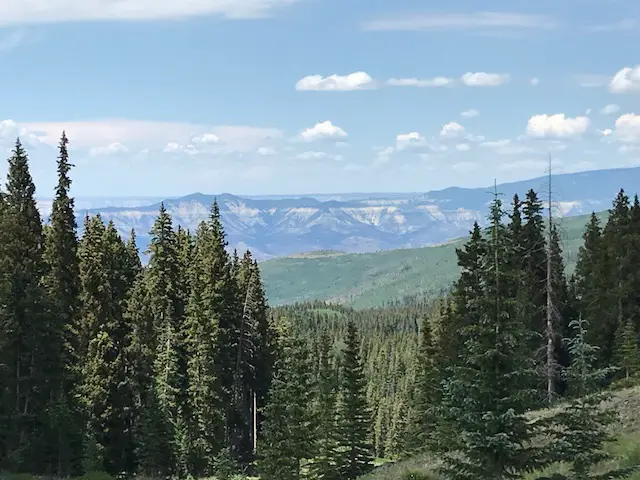
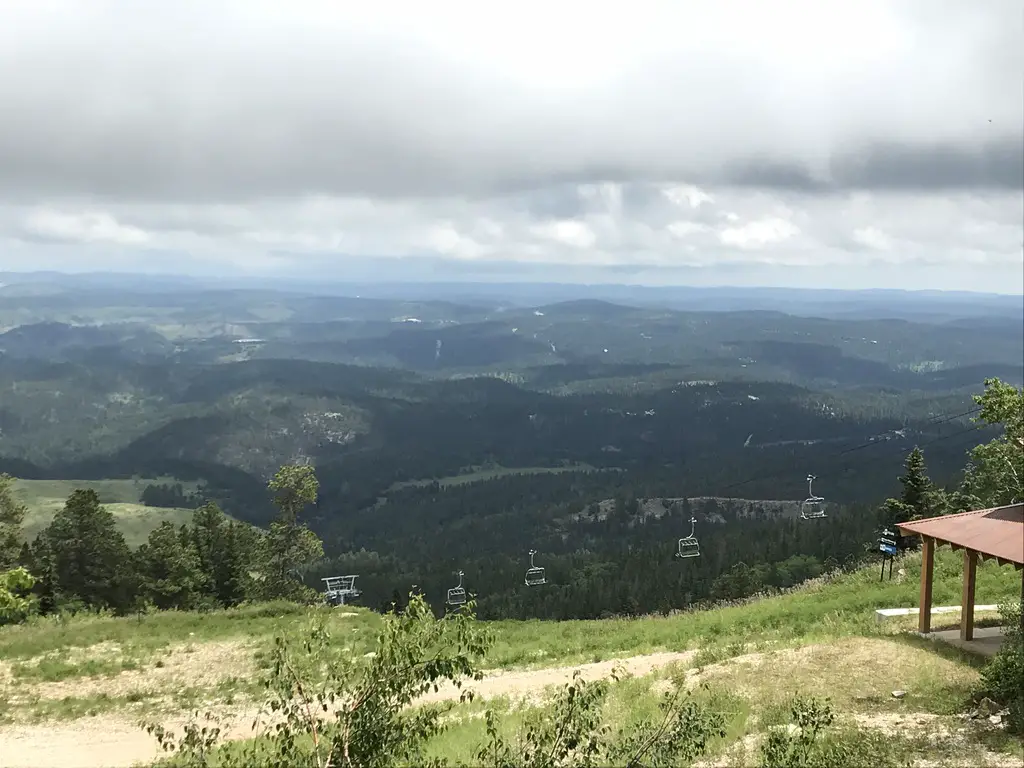
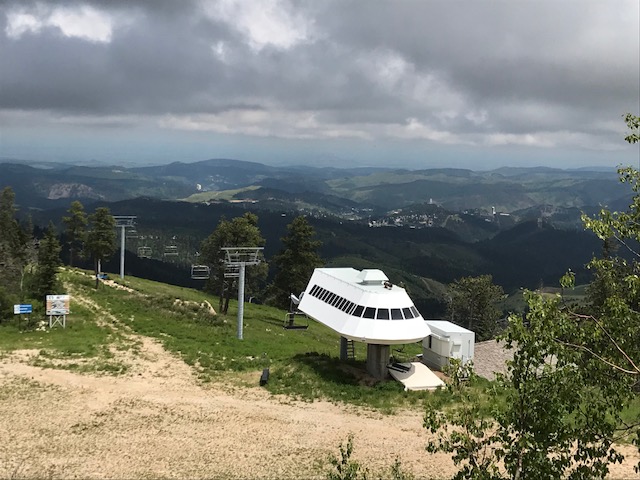
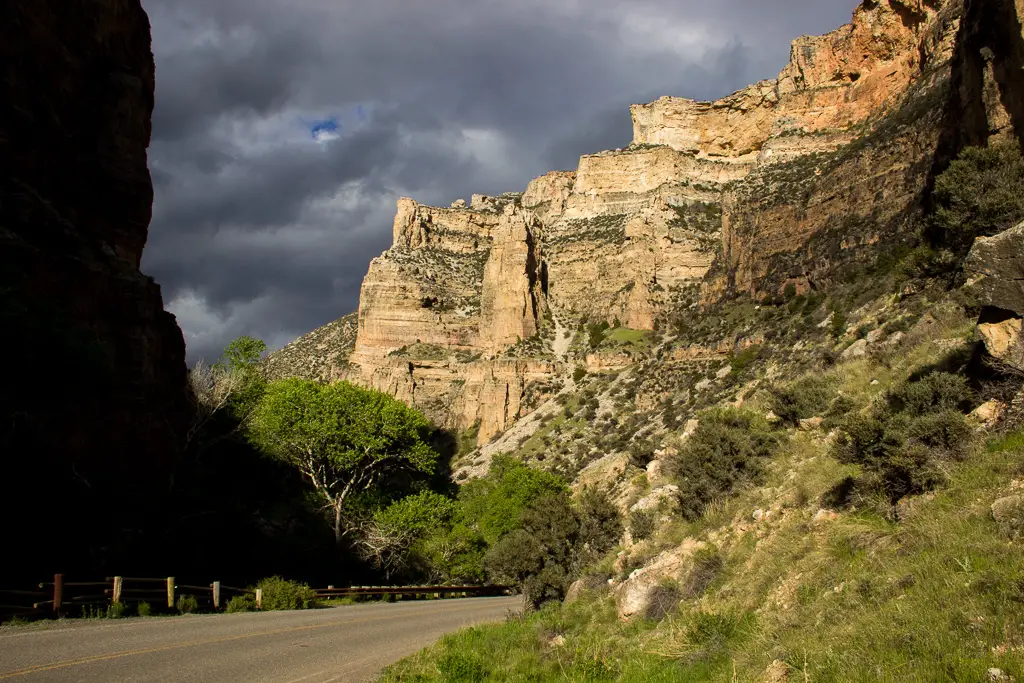
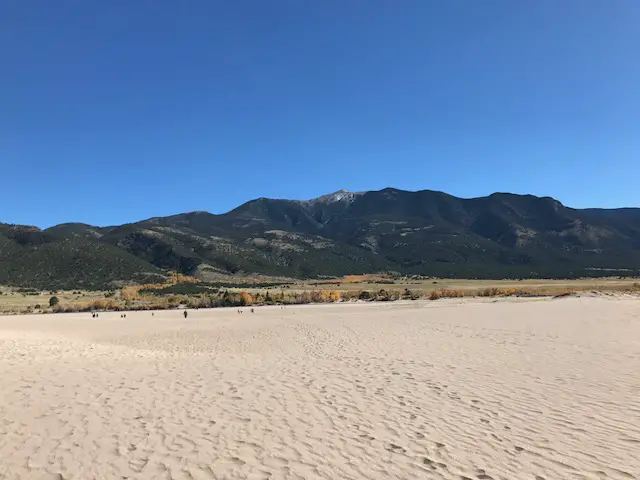
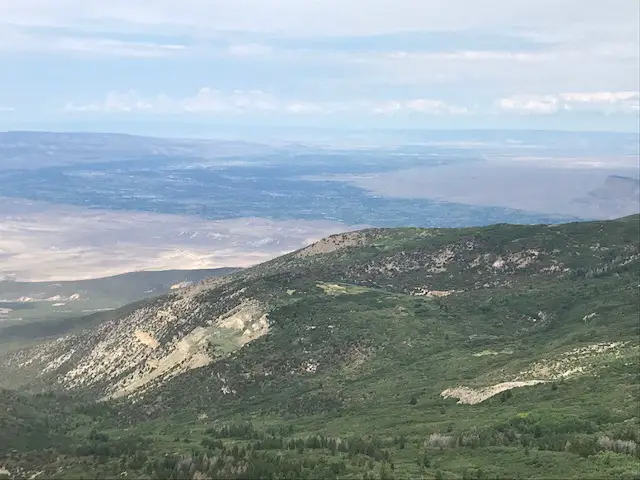
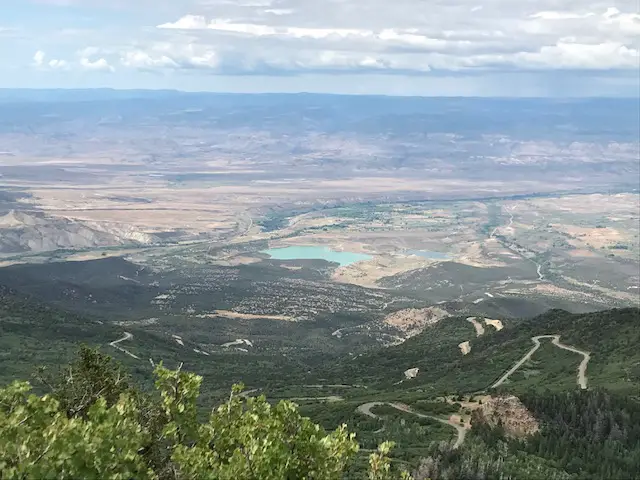
We were able to complete the Land’s End Road–also, primarily, gravel, but in much better condition than the previously mentioned Byway. This route takes you to a, now-closed, Observatory. It also proffered an incredible vista of the valley far below and granted a birds-eye view of the interchanging ecosystems that encompass so much of western Colorado. Here, lush forests in the highest elevations transition into scrubland and nearly-desert as the altitude decreases.
For some views of Grand Mesa in fall, check out this post from when we visited several years later!
We saw some of the friendliest (pushiest?) chipmunks we’d ever encountered on top of the Mesa. The Trekkers believe in keeping wildlife wild so we did NOT feed them. But, evidenced by the mounds of sunflower shells we saw scattered about (and that we watched the critters literally take food from other peoples’ hands), they have been habituated to human contact. The greedy little buggers come at your with cheeks full, begging for more!


If you’re looking for some hidden gems to visit in Northern Colorado, make sure you check out State Forest State Park, Grand Mesa National Forest, and the Flattop Wilderness!
Have you enjoyed any of these hidden gems of Colorado? Tell me about your experience in the comments!
Did you enjoy this post? Pin it!
Like what you read here today? Please feel free to leave a comment, like or share this post! Add your email at the bottom of the page, or the sidebar to the right, to be notified when a new post is published. By signing up for the email list, you will also receive a free copy of the Tranquil Trekker’s Top 10 Tips of Trekking Do’s and Don’ts!
You can also follow the blog on social media by clicking the links below!
†As an Amazon Associate I earn from qualifying purchases